5. Stick the PE sheeting onto the inner surface of the glass. By default, the sheeting is
already affixed in the sandblaster.
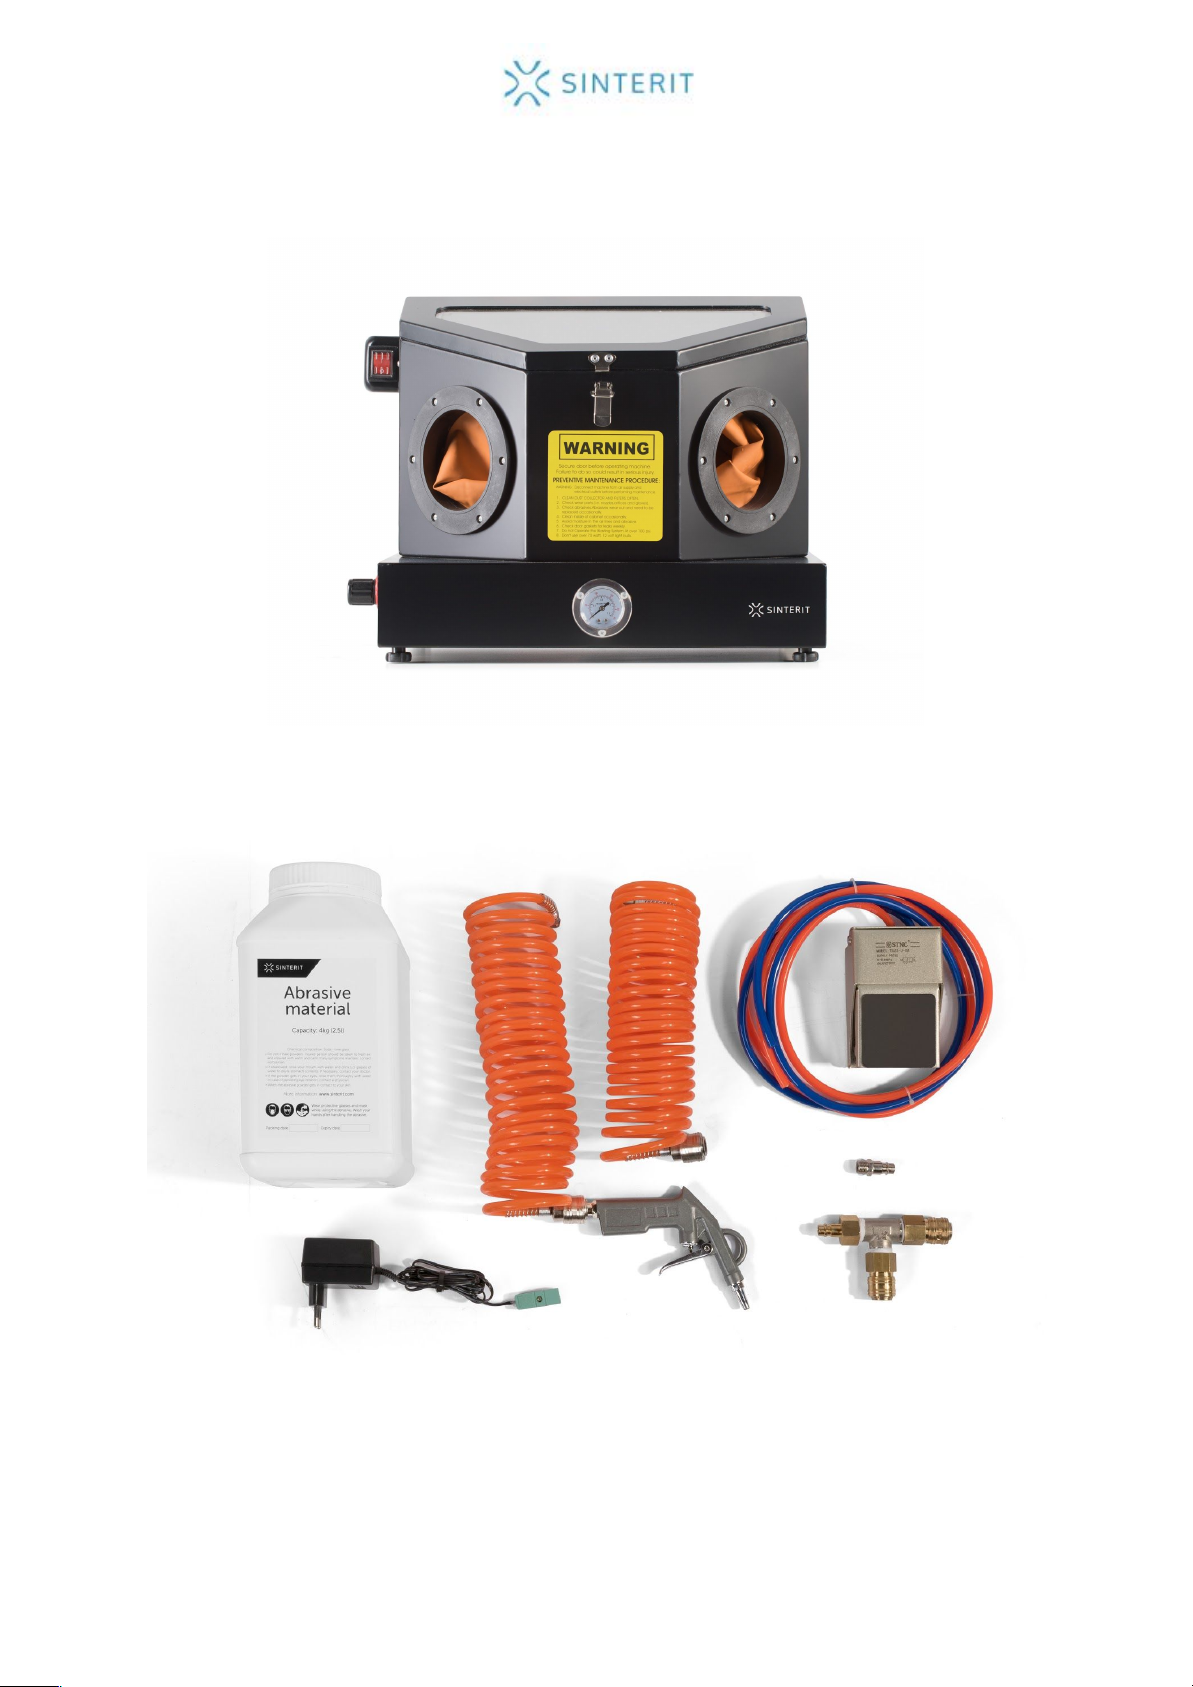
6. Pour the box of the abrasive material provided into the sandblaster. When
replacing/replenishing the abrasive material, pour no more than 4.53kg. Too much
abrasive material will cause ineffective operation. When pouring the abrasive material
into the sandblaster, wear safety goggles.
7. Carefully close the sandblaster cover.
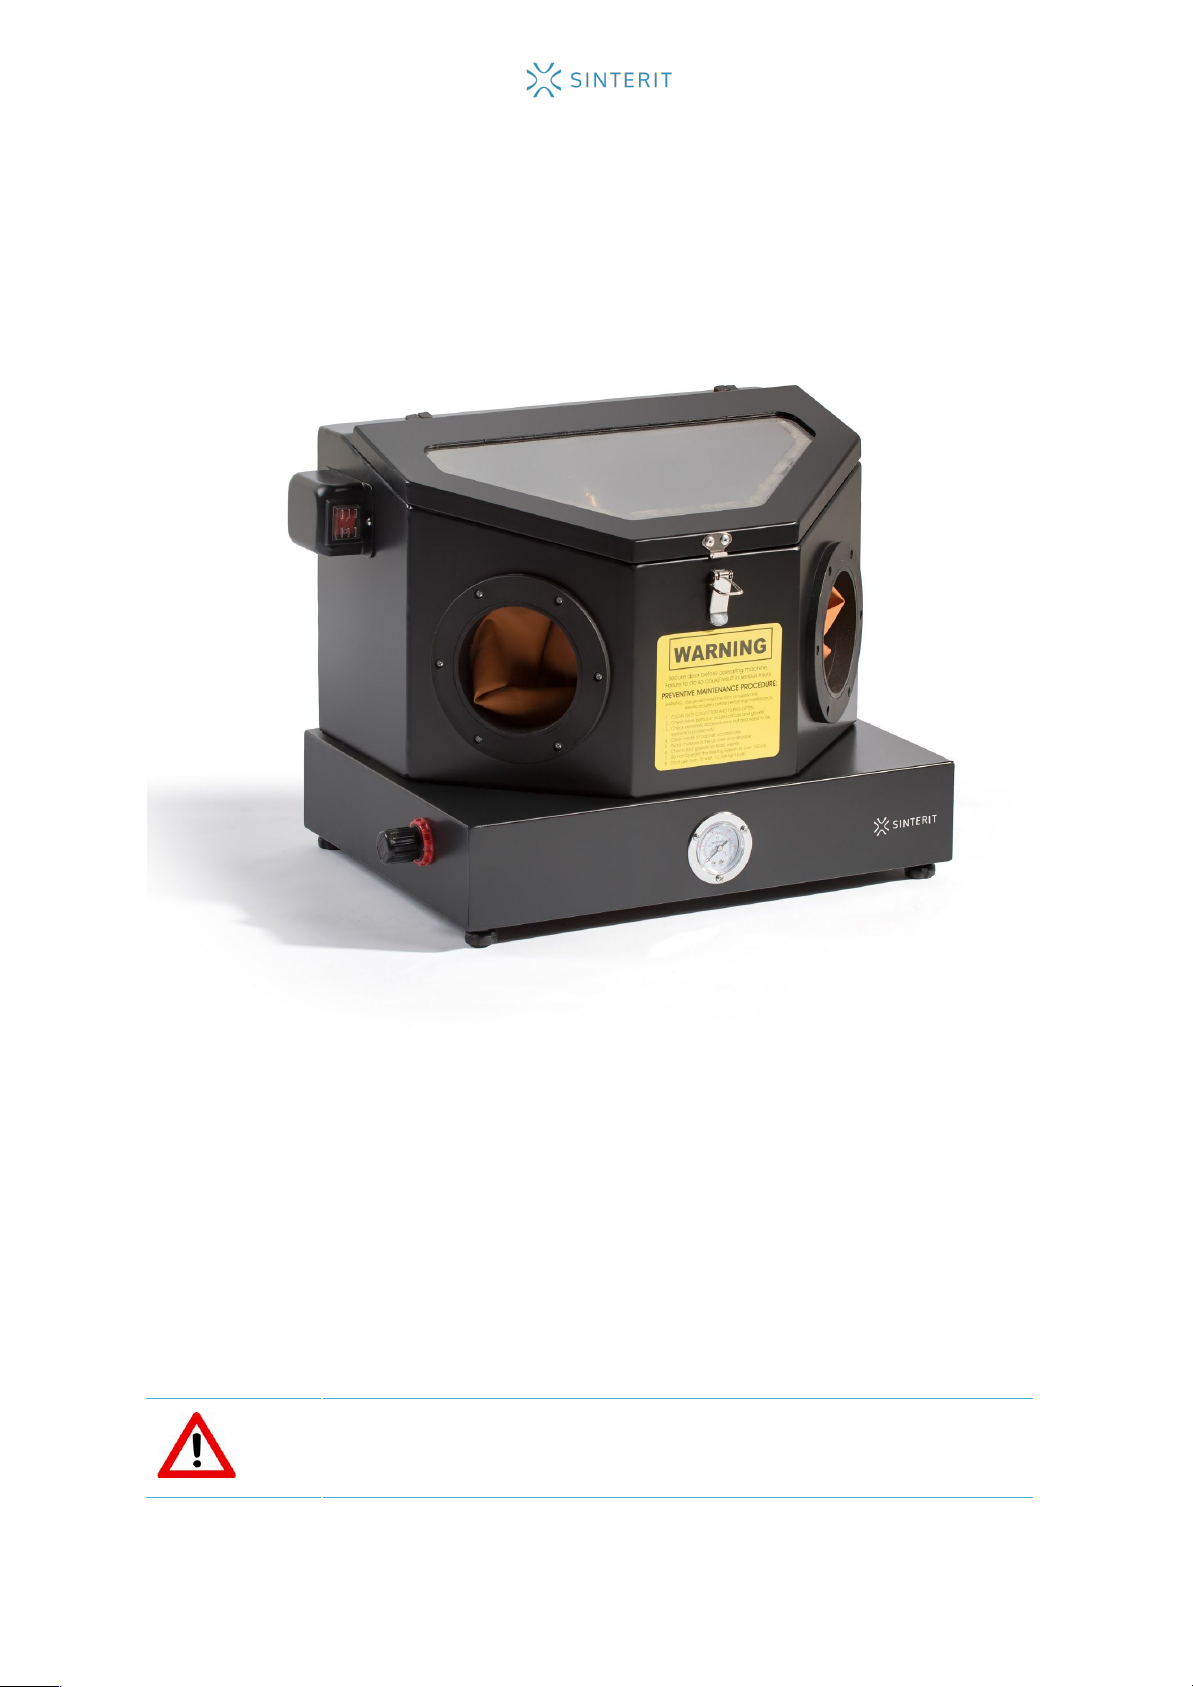
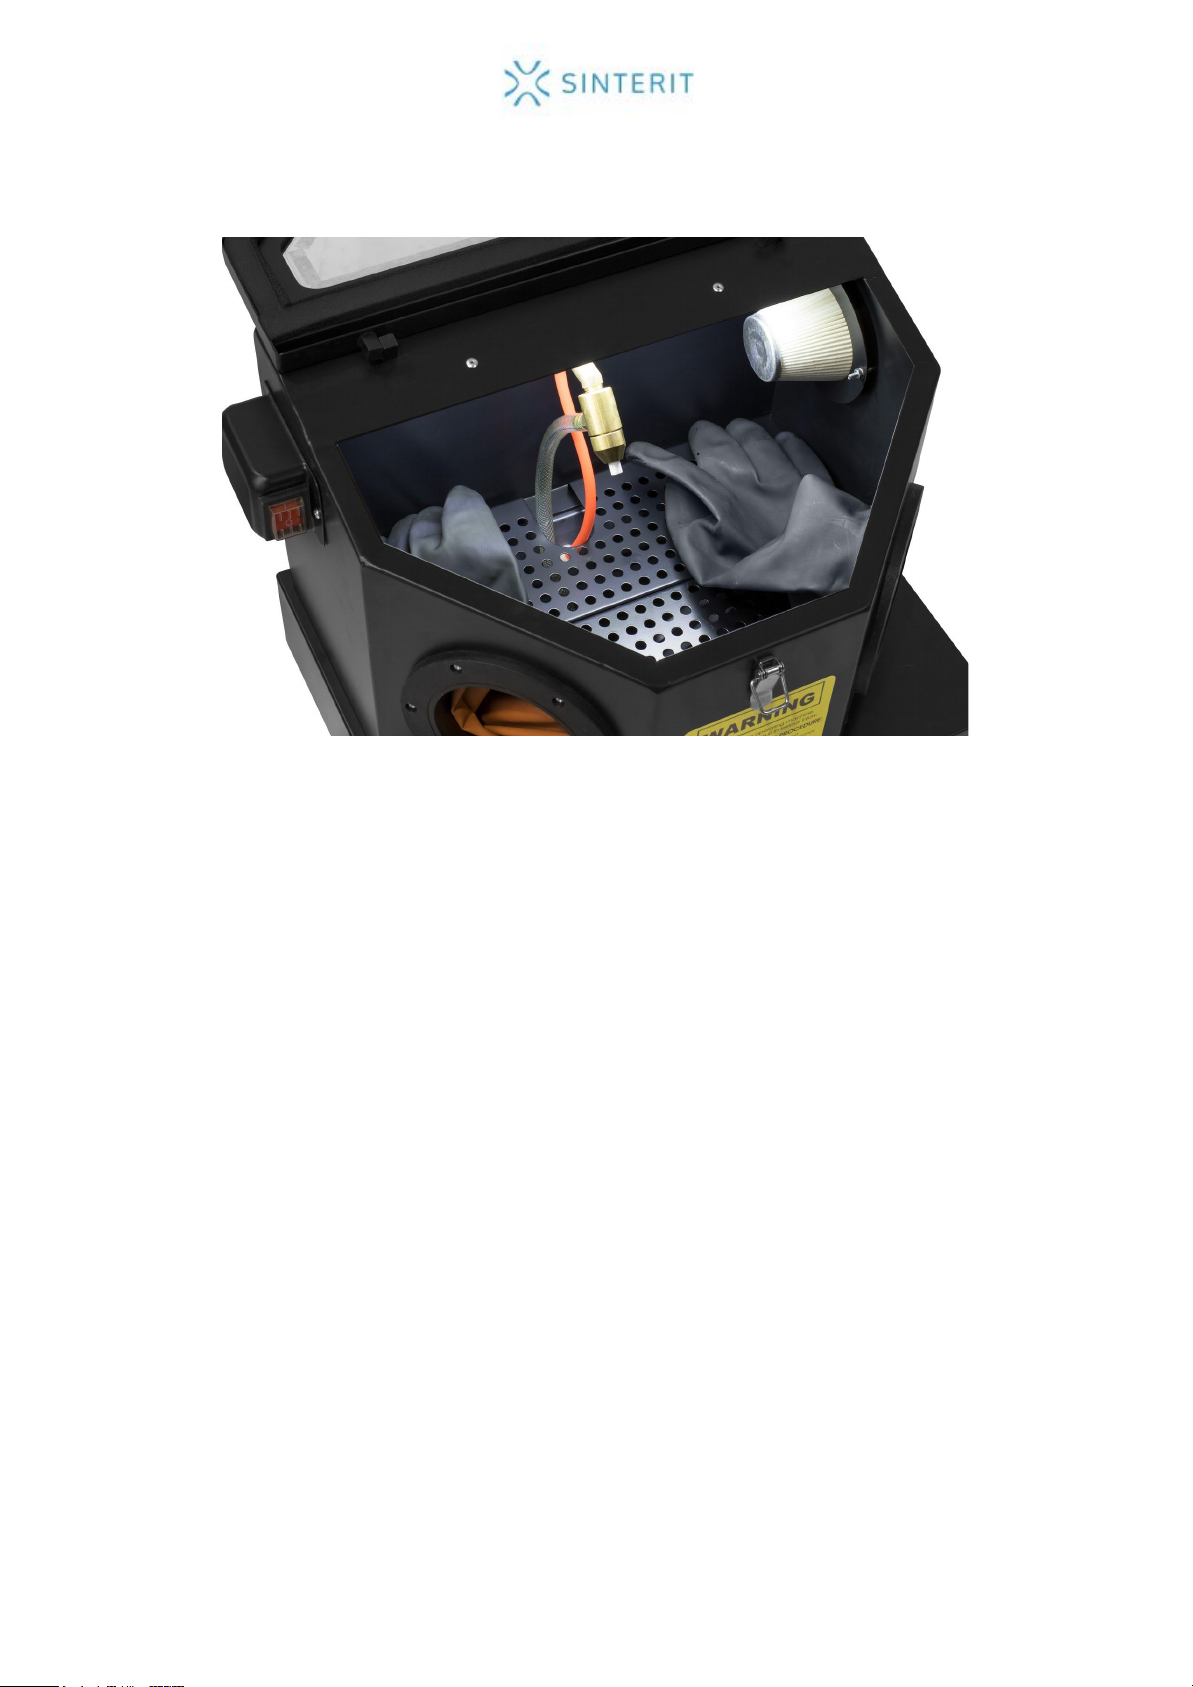
8. Put your hands into the protective gloves, place the object to be cleaned below the
nozzle
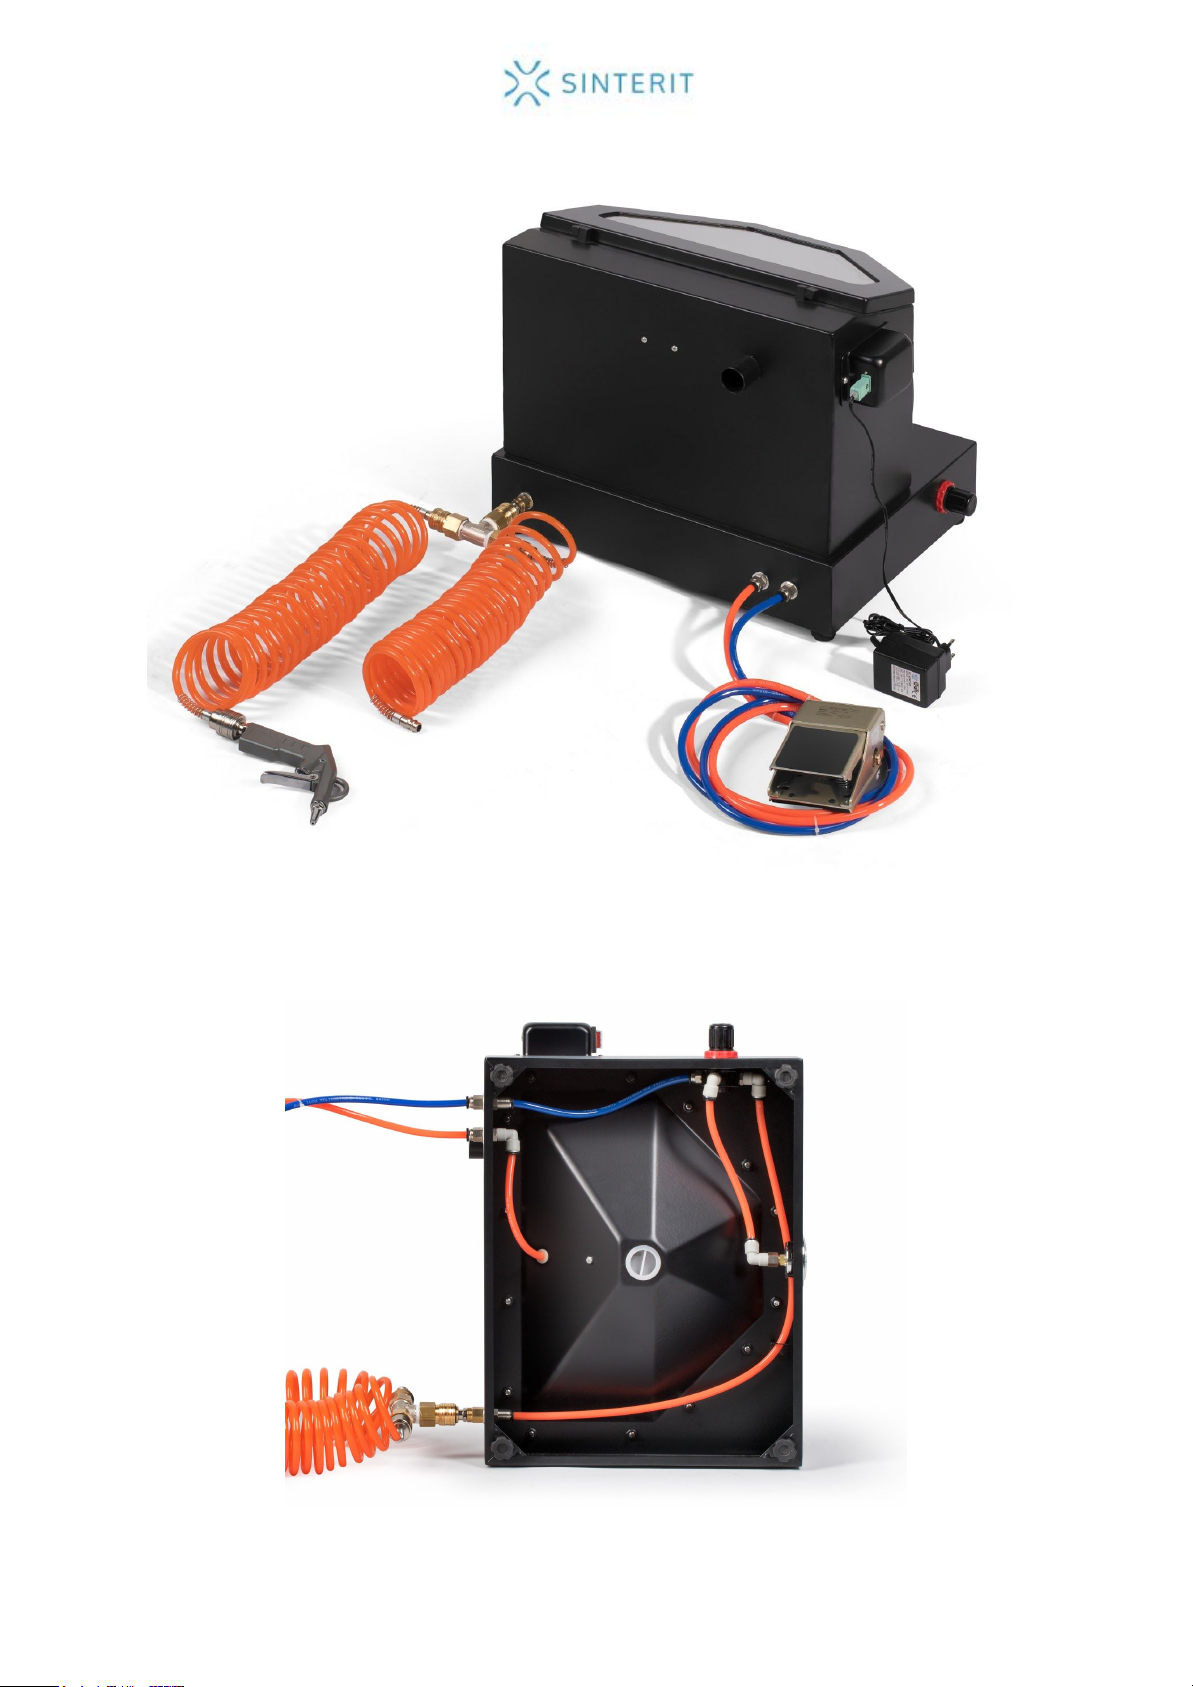
and begin cleaning by pressing the foot control.
9. Perform sandblasting with a continuous stream of air, moving the object in circular
motion.
10. In order to empty the sandblaster, remove the plastic plug from the bottom of the
device.
5. Maintenance:
Before performing maintenance of the device, disconnect the power and the air.
Clean the cover and parts of the sandblaster with soft cloth. Do not use solvents for
cleaning.
Avoid allowing moisture into the abrasive material, as it may cause clogging of the nozzle.
Attempt to remove such clogging with a drill.
6. Safety Information:
The sandblaster may create a powerful stream of abrasive particles. In order to avoid bodily
injury and/or property damage, carefully read the instruction manual before assembling,
operating or performing maintenance of the sandblaster.
CAUTION !
1. During operation, do not expose your skin or hands directly to the line of operation of
the sandblaster nozzle.
2. Check that all components of the sandblaster are properly sealed.
3. Do not exceed the maximum operating pressure of the sandblaster.
4. Before replacing the accessories or beginning the assembly, repair, transport, or any
form of maintenance, disconnect the sandblaster from the air container.
5. Check the quality of all hoses and pneumatic conduits before each use. Check that
all connections are secured.
6. Do not direct the nozzle at people or objects.
6