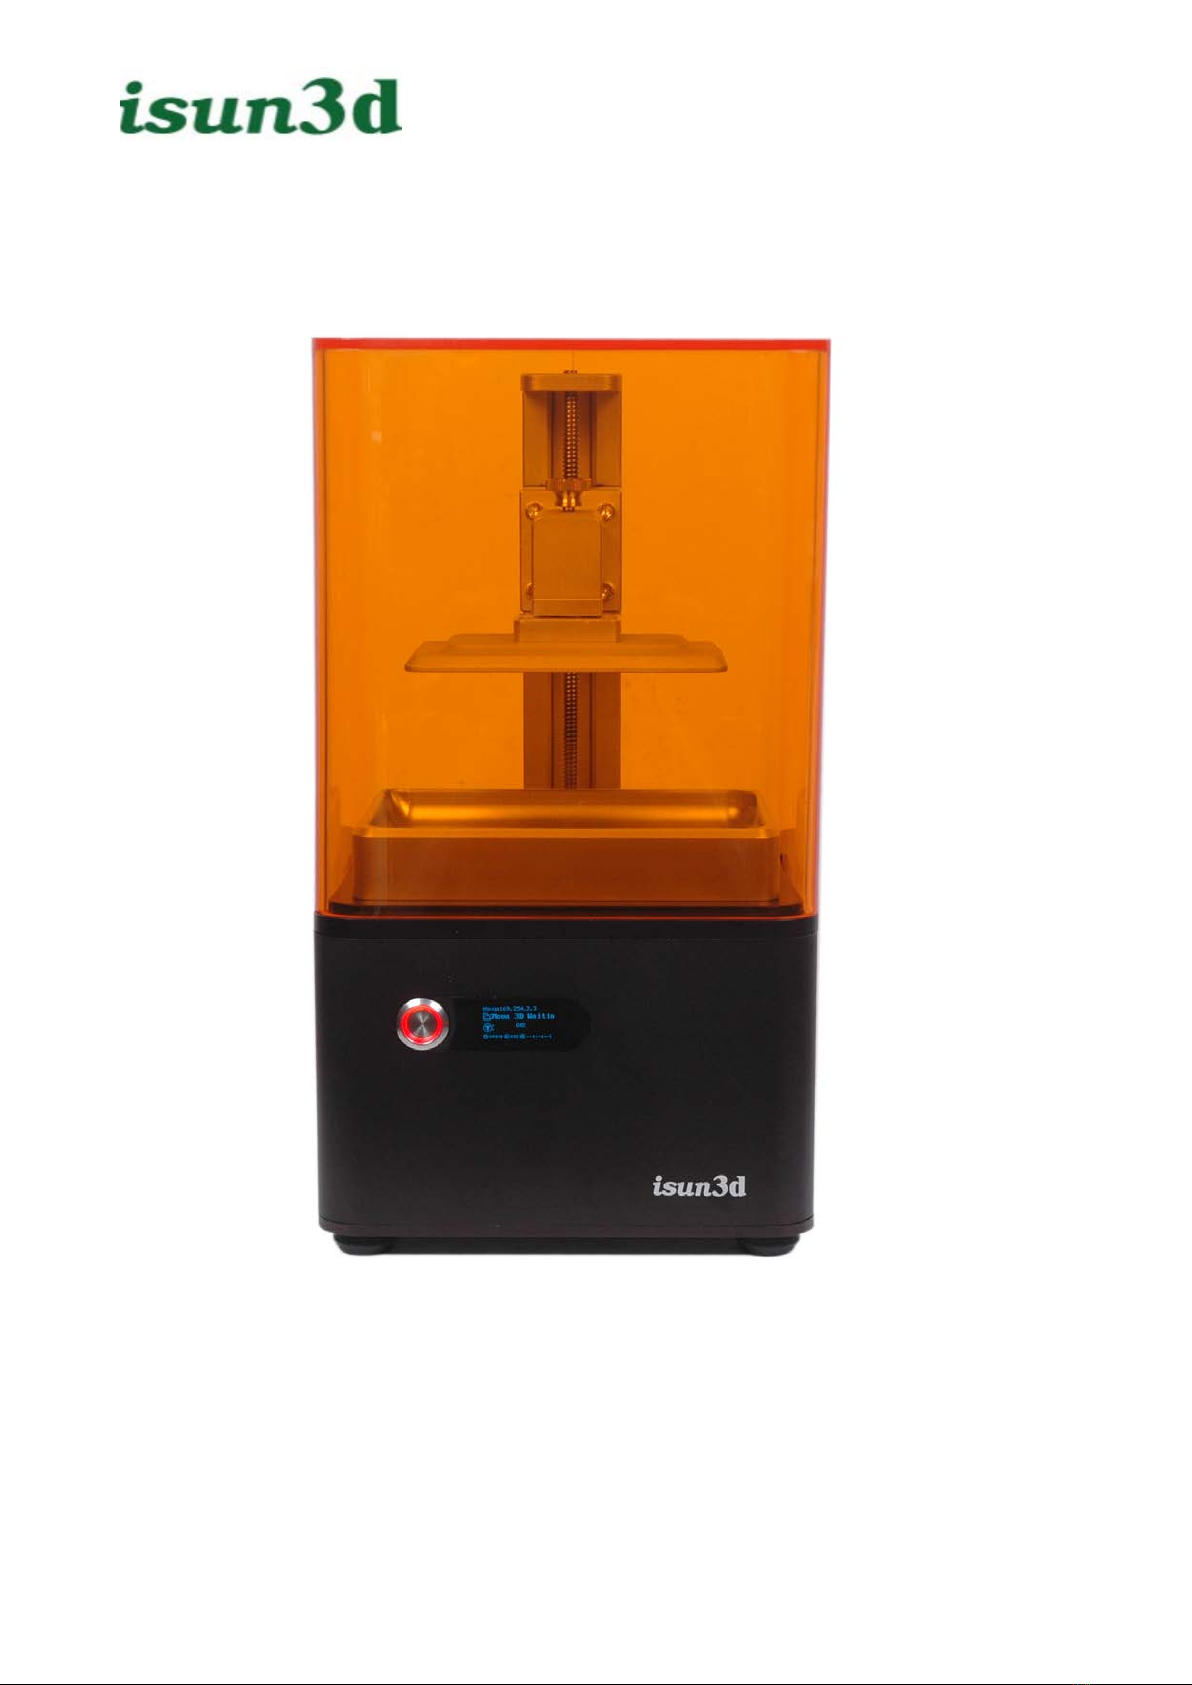
iSun L120 Manual de usuario

1
ISUN3D User Manual
isun 3D Printer

2
Important
Read the manual carefully,It is highly recommended that you read everything from start to
finish, unless the document explicitly states that you can ignore.
Visit http://www.isun3d.com to getadditional support videos and guides.
Warranty Note
If you experience any issues with this product, or it’s performance is not what you had expected,
please contact usbefore returning the item tothe store. It is likely that wecan resolve any
problems for you via phone or email.
We can be reached on
Phone: +86-755-26031976(Mon-Sat; 8:30am-6:00pm)
Email: [email protected]
Safety Instructions
Before you get started, please read these importantsafety instructions.
CAUTION: The ISUN 3D Printer includes moving parts that can cause injury. Never reach inside
of the ISUN 3D Printer while it is in operation, and allow time for the printer to cool down after
operation.
Do not leave the ISUN 3D Printer unattended during operation
Always wear the glove while handling resin or printing object.
Always take care when using the Scraper.Never direct the Scraper towards your fingers.
Do not allow the machine to be opened without authorization
Keep the printer and all accessories out of reach of children

3
The printer must not be exposed to water or rain, or damage will occur.
Do not expose this device to water or moisture of any kind. Do not place drinks or other
containers with moisture on or near the device. If moisture does get in or on the device,
immediately unplug it from the power outlet and allow it to fully dry before reapplying power.
The printer is designed to be used with ambient temperature ranging 15°C - 30°C, and
humidity ranging 20% - 50%. Operating outside these limits may result in low quality models.
In case of emergency, turn off the 3D printer at the power outlet.
Unplug this device from the power source when not in use.
It is recommended that you use eye protection when cleaning/sanding printed models to avoid
small particles contacting eyes.
Be careful not to damage the LCD screen on the build plate
This device is intended for indoor use only
Avoid eyes looking directly at the printer while printing, the ultraviolet radiation may damage
your eyesight.
Do not reach inside the printer during operation.
Ensure that the printer is turned off and unplugged from its power source before making
repairs or performing service.
Do not install this device on an unstable surface where it could fall and cause either persona
injury or damage to the device and/or other equipment.
Do not touch the device, the power cord, or any other connected cables with wet hands.
Use only in a well-ventilated area. Do not use in dose, confined spaces.
Prior to operation, check the unit and power cord for physical damage. Do not use if physical
damage has occurred.
Before plugging the unit into a power outlet, ensure that the outlet provides the same type and
level of power required by the device.
Take care to prevent damage to the power cord. Do not allow it to become crimped, pinched,
walked on, or become tangled with other cords. Ensure that the power cord does not present a
tripping hazard.
Never unplug the unit by pulling on the power cord. Always grasp the connector head or
adapter body.

4
Table of Contents
1. Welcome to the isun 3D..............................................................................................................................6
Specification of the isun 3D....................................................................................................................6
2. Package contents..........................................................................................................................................7
Product overview.......................................................................................................................................8
3. First boot, connect to the printer ...........................................................................................................14
Network configuration...........................................................................................................................15
Network Configuration Repair.............................................................................................................15
Configure the printer to connect to the router...............................................................................16
4. Quick guide for first printing...................................................................................................................18
test printing, without resin tank ..........................................................................................................19
Print test sample......................................................................................................................................19
5. Adding support for the 3D model .........................................................................................................20
Where to get CWS................................................................................................................................ 20
CWS basic operations.............................................................................................................................20
Adjust the angle of object.....................................................................................................................22
Adding support.........................................................................................................................................23
Where to adding support?.....................................................................................................................24
Other 3D modeling software.................................................................................................................25
6.
CWS Slicing....................................................................................................................................................26
Slicing configuration ...............................................................................................................................27
Slicing ..........................................................................................................................................................28

5
7. Printing object .............................................................................................................................................29
7.1 Preparing before printing...............................................................................................................29
Printable file upload, management....................................................................................................30
stl/slc file configuration.........................................................................................................................31
Start printing.............................................................................................................................................32
Check printing process ..........................................................................................................................32
Adjusting exposure parameters in print............................................................................................33
After printing ............................................................................................................................................33
Post-processing & twice exposures....................................................................................................36
Other printer operations .......................................................................................................................36
8. Daily Maintenance and FAQs...................................................................................................................37
Printing platform leveling .....................................................................................................................37
Off-membrane maintenance............................................................................................................... 37
Replace LCD screen................................................................................................................................ 37

6
1. Welcome to the isun 3D
This User manual is designed to help you start your experience with ISUN 3D. Within these
pages, we want to show you how simple and easy it is to produce great prints.
You might be familiar with other 3D-printers. It is essential that your read this manual carefully
as there are a lot of new procedures with ISUN 3D.
Specification of the isun 3D
Printing
Print technology LCD photocurable, surface forming
Build volume
120mm*60mm*135mm
curing rate
5s~15s per layer
X/Y Accuracy
0.05mmmm
Z Accuracy
0.02mm, layer thickness
material
Photosensitive resin (405nm wavelength)
LCD resolution
2K
(
1440*2560
)
Connectivity
Ethernet RJ45, WIFI
Physical dimensions
Frame Dimension 210mm*210mm*386mm
Weight
10.kg
Shipping box
325mm*340mm*540mm
Total shipping weight
9.5 kg
Software
Slice software
CreationWorkShop (Only windows)
File types
STL/CWS/SLC
Printing software
Browser (Chrome is the best)
Electrical
AC INPUT 100–240 V ~ 1.5A 50-60HZ
Power Requirements
12V 5A 60W MAX

7
2. Package contents
What’s in the box:
1. UV Protection lid
2. Printer(including printing platform)
3. Resin tank
4. Power cord

8
Product overview

9

10
Tabla de contenidos