
ESDEC Clickfit Evo Manual de usuario

EN
MOUNTING SYSTEM FOR METAL SHEET ROOFING
MANUAL
©ESDEC BV 2021
Rev. 15.06.21
Mounting system for solar panels
on metal sheet roofing
portrait orientation
landscape orientation

Rev. 15.06.21 MANUAL MOUNTING SYSTEM FOR METAL SHEET ROOFING
CONTENTS
page
1. Introduction 1
2. General installation conditions 1
3. Product description 3
4. Parts overview 3
4.1 Exploded view mounting system in landscape orientation 3
4.2 Exploded view mounting system in portrait orientation 4
4.3 Parts list mounting system in landscape orientation 5
4.4 Parts list mounting system in portrait orientation 5
5. Mounting preparations 6
5.1 Tools and accessories check 6
5.2 Cleaning the roof 6
5.3 Determining and measuring position of solar panels 7
6. Installation mounting system in landscape orientation 8
6.1 Positioning the mounting profiles 8
6.2 Attaching the mounting profiles with screws 9
6.3 Attaching the mounting profiles with blind rivets 10
6.4 Installation of the optimizer (optional) 11
6.5 Installation of 1st solar panel on mounting profiles 12
6.6 Installation of other solar panels on the mounting profiles 13
6.7 Final assembly / multiple rows 14
7. Installation mounting system in portrait orientation 15
7.1 Positioning the mounting profiles 15
7.2 Attaching the mounting profiles with screws 16
7.3 Attaching the mounting profiles with blind rivets 17
7.4 Installation of the optimizer (optional) 18
7.5 Installation of 1st solar panel on mounting profiles 19
7.6 Installation of other solar panels on the mounting profiles 20
7.7 Final assembly 1st row of adjacent solar panels 21
7.8 Final assembly / multiple rows below each other 22
8. Attachments 23
8.1 Application matrix 23
8.2 Installation of the corrugated adapter profile for landscape 25
installations
THIS MOUNTING MANUAL SHOULD BE KEPT FOR FUTURE USE!
For the warranty period and terms, we recommend you contact your supplier. In addition, we would like to refer to our
General Terms of Sale and Delivery, which are available upon request.
The manufacturer cannot be held liable for damage or injury resulting from a failure to comply with this mounting
manual and a lack of general carefulness during transport, assembly and use of the mounting system. As a result of
our constant desire to improve, it is possible that the product differs from what is described in this manual in certain
details. For this reason, the instructions only serve as an installation guideline for the product described in this manual.
This manual was compiled with the utmost care, but the manufacturer cannot be held liable for any mistakes in this
manual or the results of these.
In addition, all rights are reserved and nothing in this manual can, in any way, be copied.

01
Rev. 15.06.21 MANUAL MOUNTING SYSTEM FOR METAL SHEET ROOFING
1. Introduction
This manual covers the installation of our mounting system for metal sheet roong (for solar panels in landscape and
portrait orientation).
Carefully read the manual, so you are fully familiar with its contents. Carefully follow the instructions in the manual. Always
perform actions in the right order.
Keep the manual in a safe and dry place. If the manual is lost, a new copy can be downloaded from www.esdec.com.
2. General installation conditions
General
A failure to comply with the regulations stated in this document may cause all warranty and product liability claims to
become void.
The information, comments, and recommendations in this document are legally binding and users should check if they are
complete and up to date. Esdec BV reserves the right to adjust this document without prior notice.
Stability and condition of the roof
The roof should be in good condition and should have sufcient strength to bear the weight of the solar panels including
any additional materials, wind, and snow load. Check the stability of the roof and adjust the roof/construction if necessary.
Always consult a contractor in case of doubt. Make sure the reserve load capacity of the roof is not exceeded anywhere.
Safety warnings
• The assembly of the mounting system should be performed by qualied technical personnel (at least 2 skilled people).
• Adding or omitting parts can negatively impact the functionality and is strongly discouraged!
• Before placing the solar panels, the roof should be dry, clean, level and free of algae etc.
• Avoid assembly with strong winds or a slippery roof surface.
• On a sloping roof, always work with fall protection and, if necessary, with safety nets and edge protection.
• Note! Never stand in the gutter.
• Wear shoes with reinforced toecaps and strong anti-slip soles.
• Always wear the appropriate protective clothing when performing work.
• Always use a lifting aid/lift installation when moving materials (solar panels etc.).
• Always place ladders on a sturdy, stable surface.
• Always place the ladder at an angle of about 75º and make sure it extends about 1 metre above the edge of the roof.
• If possible, secure the ladder at the top using a rope or lashing strap.
• Preferably comply with the manual “working safely on rooftops”.
Scope of application
• Solar panels of all brands and models with a frame height between 30 and 50 mm and a maximum size of about 2,6m2
per solar panel.
• Applicable windloads can be checked in the application matrix (chapter 8.1) and/or Esdec calculator at www.esdec.com
• Roong type: Metal sheet roong
• Roof slope: Between 15 - 60 degrees (35 degrees is optimal)
Note! To prevent galvanic corrosion do not apply aluminium rivets at stainless steel roong material.
No installation zone
The distance in between solar modules and roof edge should be at least 30cm due to unpredictable windloads.
Edge zones according Eurocode will be calculated by the Esdec calculator. (www.esdec.com)

Standards, regulations and rules
When installing the assembly system, it is important to follow the assembly manual and related standards to prevent
accidents. In particular, observe the following standards, regulations and rules:
• Buildings Decree 2012 (regulations for the construction, use and demolition of buildings)
• NEN 7250:2014 - Structural aspects of solar energy systems
• NEN-EN 1990 - Basis of structural design
• NEN-EN 1991-1-3 - General loads - snow load
• NEN-EN 1991-1-4 - General loads - wind pressure
• NEN 1010:2015 - Electrical installations for low voltage (HD-IEC 60364)
• NEN-EN-IEC 62305 - Lightning protection
• Workplace safety laws and regulations - safe working and working conditions
• NEN 3140 - safe operation of low-voltage installations
• VCA checklist - Safe working on the work oor
• Scaffolding directive & workplace safety A-sheet ladders/scaffolding
Removal and dismantling
Dispose of the product in compliance with local laws and regulations.
Warranty
Warranty according to the terms of warranty and the terms and conditions of Esdec BV. These can be found on the website
www.esdec.com.
Liability
The manufacturer shall not be held liable for any damage or injury caused by a failure to (strictly) comply with the safety
regulations and instructions in this manual or due to carelessness during the installation of the product described in this
document and any accessories.
• printing errors reserved
02
Rev. 15.06.21 MANUAL MOUNTING SYSTEM FOR METAL SHEET ROOFING

3. Product description
The mounting system is made of mounting proles and the required mounting materials to mount the solar panels in
landscape or portrait orientation on the metal sheet roof.
The mounting system for metal sheet roong can be used for all metal sheet roofs, including the common corrugated or
trapezoidal metal sheet roofs. (The metal sheet thickness should be minimal 0,5mm)
Roof attachment
The mounting proles are attached to the metal sheet using self-tapping screws or blind rivets. Note!There are two options:
a high (Optimizer ready) or low (Basic) mounting prole. In this manual, the high mounting prole is shown by default.
The height of the mounting prole does not have any consequences for the required parts, with the exception of the optional
cable clip optimizer ready and optimizer. These can only be used for the high mounting prole. The high mounting proles
have a notch that functions as a point of reference when aligning the proles.
Because the mounting proles are not attached to the rafters or purlins, the position of the solar panels on the roof can be
selected freely.
The mounting proles have EPDM sealing tape at the bottom, which serves as a water barrier. In case of corrugated roofs,
the mounting proles are provided with an optional EPDM adapter prole.
Attachment of the panels
The solar panels are attached to the mounting proles using universal module clamps.
4. Parts overview
4.1 Exploded view mounting system in landscape orientation
03
Rev. 15.06.21 MANUAL MOUNTING SYSTEM FOR METAL SHEET ROOFING
1
2
6
6
4
5
5
6
7
2
2A
3. OPTIONAL:
in case of corrugated
shape roofing
4A
Min. radius: 48 mm
Max. radius: 52 mm

4.2 Exploded view mounting system in portrait orientation
04
Rev. 15.06.21 MANUAL MOUNTING SYSTEM FOR METAL SHEET ROOFING
1
5
2
5
65
6
7
2
2A
44A

1. Solar panel
2. Mounting prole metal sheet roof ‘Optimizer
ready’ landscape
Product no.: 100-8050
6B. Module Clamp Universal black
Product no.: 100-8020-B
5B. End clamp support black
Product no.: 100-8065-B
4.3 Parts list mounting system in portrait orientation
05
Rev. 15.06.21 MANUAL MOUNTING SYSTEM FOR METAL SHEET ROOFING
4A. ClickFit EVO Magnatite Rivet
Product no.: 100-8087
4.4 Parts list mounting system in portrait orientation
1. Solar panel
2A. Mounting prole metal sheet roof ‘Basic’
portrait
Product no.: 100-8049
6B. Module Clamp Universal black
Product no.: 100-8020-B
5B. End clamp support black
Product no.: 100-8065-B
4. Self-tapping screw 6.0x25 mm
SW10 HEX/T30
Product no.: 100-8085
2A. Mounting prole metal sheet roof ‘Basic’
landscape
Product no.: 100-8048
3. EPDM adapter prole corrugated metal sheet
roof ‘Optimizer ready’ landscape
Product no.: 100-8082
*optional
3A. EPDM adapter prole corrugated metal
sheet roof ‘Basic’ landscape
Product no.: 100-8081
*optional
7. Mounting rail cable clip
‘Optimizer ready’
Product no.: 100-8062
*optional
2. Mounting prole metal sheet roof
‘Optimizer ready’ portrait
Product no.: 100-8051
7. Mounting rail cable clip
‘Optimizer ready’
Product no.: 100-8062
*optional
5. End clamp support grey
Product no.: 100-8065
6. Module Clamp Universal grey
Product no.: 100-8020
5. End clamp support grey
Product no.:100-8065
6. Module Clamp Universal grey
Product no.: 100-8020
4. Self-tapping screw 6.0x25 mm
SW10 HEX/T30
Product no.: 100-8085
4A. ClickFit EVO Magnatite Rivet
Product no.: 100-8087

Ø6,5 T30
5. Mounting preparations
5.1 Tools and accessories check
The following is a list of the required tools / aids:
Marker / crayon Brush Tape measure Battery drill (incl. T30 &
diameter 6,5mm HSS)
Rivet pliers with correct
nose piece
06
Rev. 15.06.21 MANUAL MOUNTING SYSTEM FOR METAL SHEET ROOFING
5.2 Cleaning the roof
Clean the metal sheet roof with a brush.
Remove algae, moss etc. to reduce unevenness during the installation to a minimum!
Correct nose piece
Safety shoes Safety helmet Safety clothing Safety gloves
The nose piece must have
a raised ring to guarantee
a watertight sealing.

5.3 Determining and measuring position of solar panels
When determining the position of the solar panels on the sloped roof, it is very important to pay attention to the position of
the sun during the day and the entire year. Place the panels on a roof surface that has a minimum amount of shade. Shade
from a chimney, dormer, tree or adjacent building negatively impacts the yield of the solar panels. We strongly recommend
using the optimizer here.
Measuring and demarcating
In order to place the solar panel (in landscape or portrait orientation) you need a space of at least the outside dimensions of
the module of about 160x80 cm or 160x100cm or 200x100cm per panel. (depending on the type of solar panel)
Make sure there is a space of at least 30 cm around the solar panels on the roof. This means 30 cm away from the ridge
and gutter and 30 cm away from the sides because of turbulent wind load.
Mark the contours of the panels and the eld on the steel sheets with a marker or crayon.
Demarcation for landscape orientation:
Mark the contours of the panels and the eld on the metal sheets with a marker or crayon. Draw lines where the mounting
proles will be: (see chapter 6.1). The high mounting proles have a notch, making it easy to align the proles. (view Detail
A in illustration below)
Follow the instructions of the calculator for the distance between the mounting proles. These instructions prevail.
Demarcation for portrait orientation:
Draw lines where the mounting proles will be: (see chapter 7.1). Follow the instructions of the calculator for the distance
between the mounting proles. These instructions prevail.
07
Rev. 15.06.21 MANUAL MOUNTING SYSTEM FOR METAL SHEET ROOFING
min. 30 cm
min. 30 cm
min. 30 cm
min. 30 cm
A
min. 30 cm
min. 30 cm
min. 30 cm
min. 30 cm
Notch for alignment

A
B
Clamp range specified by
module manufacturer
The calculator prevails when it comes to
the number of screws or blind rivets (see
application matrix in attachment)
A
B
180
40
40
40
or
6. Parts list mounting system in landscape orientation
08
Rev. 15.06.21 MANUAL MOUNTING SYSTEM FOR METAL SHEET ROOFING
6.1 Positioning the mounting profiles
Note!In case of a corrugated metal sheet roof, the mounting prole metal sheet roof ‘Optimizer ready or Basic’ landscape
should be equipped with an EPDM adapter prole on the bottom (see chapter 8.2 in the attachment).
You can determine the position of the mounting proles based on the location of the solar panels on the roof.
The mounting proles should be positioned at distance B in the upwards direction of the metal sheet roof. The mounting
proles should be positioned at distance A in the horizontal direction of the metal sheet roof. Distribute the mounting proles
(per panel) widthways parallel to the line where the solar panels will be.
Note!Make sure the mounting proles are separately aligned.
Note!The calculator prevails when it comes to the number of screws or blind rivets per mounting prole (see application
matrix in attachment).
Note!In the instruction, Mounting prole metal sheet roof ‘Optimizer ready’ landscape is used.
Basic
Landscape
Optimizerready
Landscape
Product no.: 100-8048 Product no.: .100-8050
Otros manuales para Clickfit Evo
7
Tabla de contenidos
Otros manuales de Rack y soporte de ESDEC

ESDEC
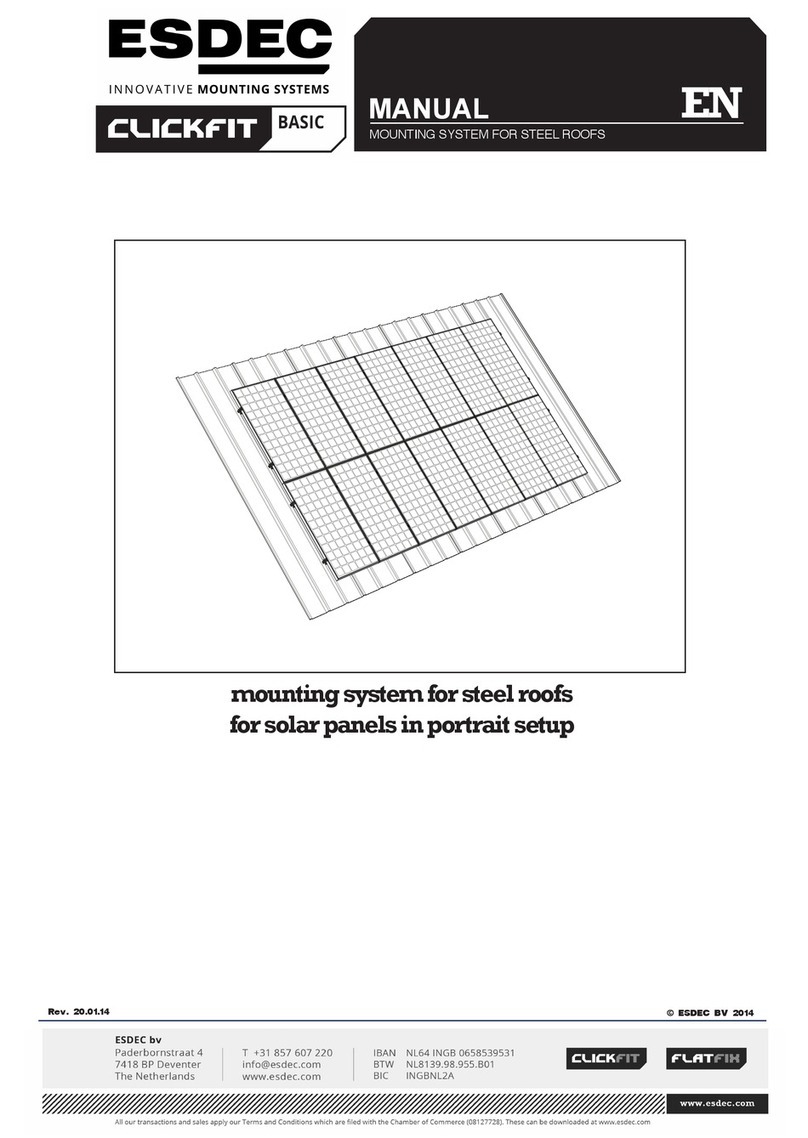
ESDEC CLICKFIT BASIC Manual de usuario

ESDEC
ESDEC PANELCLAW clawFR 10 Degree Manual de usuario

ESDEC
ESDEC PANELCLAW clawFR Dual Tilt 10 Degree Manual de usuario

ESDEC
ESDEC FlatFix Fusion Manual de usuario

ESDEC
ESDEC Clickfit Evo Manual de usuario
ESDEC
ESDEC CLICKFIT BASIC Manual de usuario

ESDEC
ESDEC PANELCLAW clawFR 5 Degree Manual de usuario

ESDEC
ESDEC Clickfit Evo Manual de usuario

ESDEC
ESDEC Clickfit Evo Manual de usuario

ESDEC
ESDEC Clickfit Evo Manual de usuario


