CTC Union FDM Manual de usuario

Manual of FDM 3D Printer
2
- 2 -
CONTENTS
1. Description Matters
1.1 Manual Introduction………………………………………………
1.2 Precautions ………………………………………………………
Safety Precautions………………………………………………
Contact us………………………………………………………
1.3 Accessories List………………………………………………….
2
.Produ
ct Description
2.1 Product Categories……………………………………………………
2.2 Appearance………………………………………………………….
2.3 Product Specifications…………………………………………………
Technical parameters…………………………………………………
Environmental Specifications…………………………………………
3.
O
perati
on In
structions
3.1 Prepare for printing…………………………………………….. …
3.2
Computer preparations………………………………………………
Replicatorg installment……………………………….. …………
Software functions…………………………………………….. …
Makerware installment (compatible with this software)………………
Software function…………………………………………………
3.3
LCD screen function keys / the key functions comment………………

Manual of FDM 3D Printer
3
4.
T
ake
t
he m
od
e
l
5.
M
a
in
te
n
ance
5.1 Clean the printhead……………………………………………………
5.2 Tighten belts…………………………………………………………
5.3 Maintenance the screw axis ……………………………………………
6.
Troubl
es
hooting
7.
W
arranty statements a
nd l
icense agreement
8.
O
perati
on
s
Guid
e

Manual of FDM 3D Printer
4
- 4 -
1. Description matters
1.1
Manual Introduction
This manual includes product description, operating instructions, printing a test model, printer
maintenance, troubleshooting, and several other parts. Please read it carefully, and use the 3D
printer according to the manual.
1.2
Precautions
The voltages of each region are different, so please confirm the voltage of your area before you
use the printer (generally 110V and 230V).
This product requires the customer's maintenance after using a period of time, it can extend the
life of the printer with regular proper maintenance.
1.3
Safety Precautions
Our company don’t recommend using other company’s supplies, in order to get the best 3D
printing results, please use our special supplies. The maintenance and repairing caused by
using other supplies is not included in our company's warranty.
When the printer is printing or just finished printing, please do not touch the model, the head of
printer, the platform or the internal body because of the high temperature.
1.4
Contact Us
If you need to contact the after-sale service, you can contact us through our company’s website.
About 3D printer’s using and troubleshooting information, it is available on the manual, and you
also can contact us through our website for online technical support.
You can add our company's sina micro blog, it contains our company's new technology and
software upgrades. Adding sina micro blog may have chance to obtain " tablet computer ". Go
into the sina micro blog and search “CTC 3D printing in the future". More attention and reprinted,
more chances to win the rewards.

Manual of FDM 3D Printer
5
- 5 -
1.5
Accessories List
NO.
Name
Quantity
1
3D printer
1
2
Power line
1
3
USB cable
1
4
Toolkit
1
5
CD
1
6
Printing supplies
1
2
Product Description
2.1
Product Categories
3D printing is based on the fuse deposition manufacturing process (FDM). CTC 3D printer is a
rapid prototyping device that connected to the computer via the USB or worked with an SD card
offline. An ordinary computer can finish printing. As long as you have STL format 3D file, you can
complete a variety of complex three-dimensional solid model printing job. This device is easy to
use, even if you have never used 3D printer. You can easily print all kinds of 3D models through
3D printer.
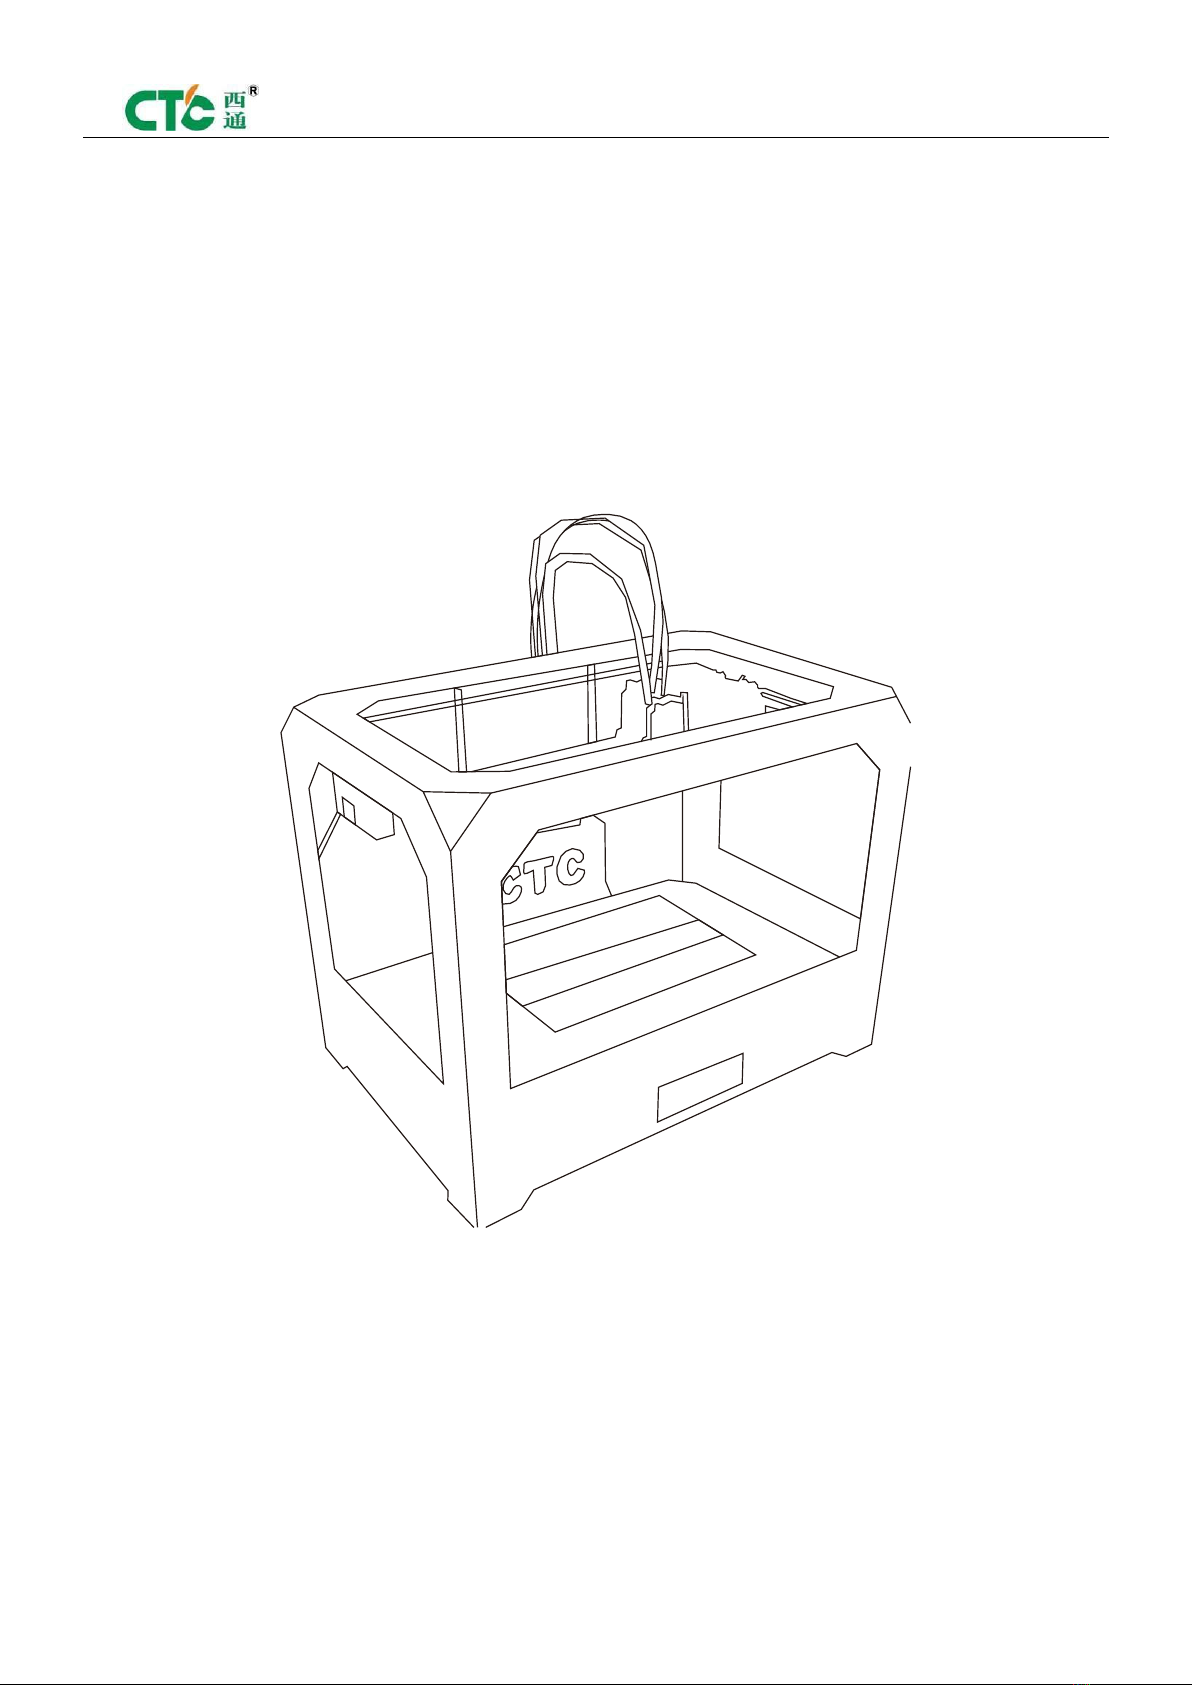
2.2
Appearance

Manual of FDM 3D Printer
6
- 6 -
(Third Generation)
(First Generation) (Second Generation)
2.3
Product Specifications
2.3.1
Product parameters
The total volume of printer: 320*467*381mm
Package size: 565*430*535mm
Weight (with package): 15kg
Construction size: 225*145*150mm
Input voltage: 220V
Power: 210W
Construct platform temperature: About 110℃( higher in winter, lower in summer)

Manual of FDM 3D Printer
7
- 7 -
Extrusion nozzle flow: About 24cc/h
Supported operating systems: Windows XP Windows7/8 (32byte / 64byte)
Software: ReplicatorG or CTC Chinese version (Software is compatible with MakerWare)
Printing materials: ABS, PLA
Material properties: Special ABS and PLA for 3D printing(only produced by our special process)
Layer precision: 0.1-0.5mm
Positioning precision: XY axis 0.011mm
Z axis precision: 0.0025mm
Nozzle diameter: 0.4mm
Speed of moving shaft: 30-100mm/s
Recommended speed of moving nozzle: 35-40 mm/s
Input file types: stl, gcode
2.3.2
Recommended environment
Operation environment: Installed in well-ventilated, dust-free area. Temperature: 15-35 ° C,
Humidity: 20-80% (non-condensing)
Storage environment : Temperature: 0-40 ° C, Humidity: 10-80% (non-condensing).
Non-corrosive gas and cleaning applications.
3. Operation Instructions
3.1
Prepare for printing
(1)
Check the appearance of 3D printers outside the box, if there is scratch or other defects.

Manual of FDM 3D Printer
8
- 8 -
Check the box’s edges and corners to see if there is deformation or rupture.
(2)
Open the box. Cut the tie fixed on the printer nozzle after taking out the printer. (The tie is in
the front left side of the Z-axis X-axis Y-axis)
Cut the tie fixed on the printer nozzle
(3)
Open the foam plastic on print head surface (Note: Try not to use the knife surface to avoid
damaging the connecting lines). Install the print head on the X-axis bracket (refer to the pictures).
Then tighten the two screws.

Manual of FDM 3D Printer
9
- 9 -
(Pic 1) (Pic 2)
(4)
Take out the spool holder and put it on the tripod. Then put printing supplies on the holder
and pull out printing supplies, insert it into circular hole on the print head. (Insert it into the left
print head when using left print head. Insert it into the right print head when using right print
head)
(5)
Check the limit switches’ connecting line on the printer’s surface to see if loose or fall off.

Manual of FDM 3D Printer
10
- 10 -
(Z-axis) (Y-axis) (X-axis)
(6)
Check whether the voltage is matching with the voltage printer required.(110V or 220V)
(7)
Take out the CD card to read the printer driver and install the driver.
(8)
Turn on the printer and manipulate to control panel , make Z axis up to the top of the printer,
check if the distance between the nozzle and platform can meet the criteria (The best distance
test method: Put a A4 paper on the platform’s surface and make Z axis up to the top through
control panel. Then pull the A4 paper, it can be pulled out, but with a little strength, and the paper
has no scratch)
Note: The blue paper on the platform’s surface can’t be torn off. Otherwise it will affect the print
quality
(9)
Prepare STL format file and open it through the software installed on the printer. Adjust the
parameters, then start printing
3.2
Preparations for computer
3.2.1
Installing Replicatorg driver software
(1)
Taking out CD card to read the printer driver, and look for 3dsetup folder
(2)
Open 3dsetup file folder and look for “software” file
Tabla de contenidos
Otros manuales de Impresora 3D de CTC Union


