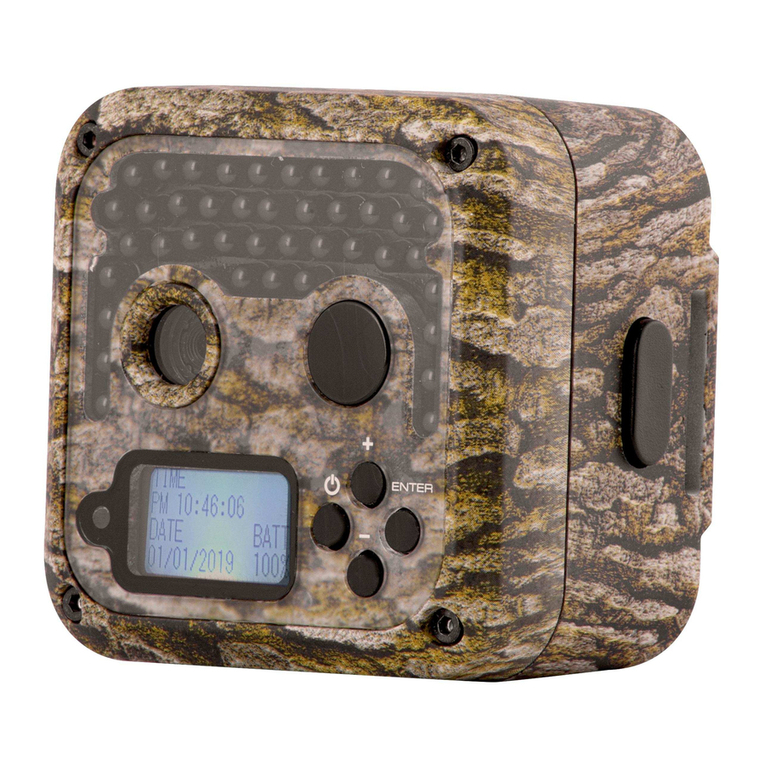
Victure HC-300 Manual de usuario

Infrared Mobile HD Digital Trail Camera
HC-300
Users Manual


Table of Contents
1 Instrucons...................................................................1
1.1 General Descripon ..............................................1
1.2 Camera Body Interfaces ........................................1
1.3 Camera Components And Features…………...…….…2
1.4 Remote Control……………………………….......…...……...3
1.4.1 Navigang ......................................................4
1.4.2 Characters.......................................................4
1.5 Shoong Informaon Display ................................4
1.6 MMS funcon........................................................5
1.7 Supported Format..................................................5
2 Cauons........................................................................6
3 Easy Operaons.............................................................7
3.1 Power Supply.........................................................7
3.2 Insert the SD-card and the SIM-card......................7
3.3 Power on and Enter into the ON Mode ................8
3.4 Enter into the TEST Mode......................................8
3.4.1 Custom Sengs..............................................9
3.4.2 Manual Capturing...........................................9
3.4.3 View Images or Videos....................................9
3.4.4 Send MMS......................................................9
3.5 Power O ..............................................................9
4 Advanced Operaons..................................................10
4.1 Sengs Menu .....................................................10
4.1.1 Camera seng…………………..............……..……11
4.1.2 Video seng…………………….............……………11
4.1.3 System sengs……………….....................……..12
4.1.4 Default Sengs ........................................... 13
4.1.5 General Sengs............................................13
4.1.6 Set Camera Mode.........................................13
4.1.7 Format SD-Card........................................... 14
4.1.8 Set Photo Size...............................................14
4.1.9 Set Video Size...............................................14

4.1.10 Set Date and Time .....................................15
4.1.11 Set Photo Burst...........................................15
4.1.12 Set Video Length ....................................... 16
4.1.13 Set Video Sound..........................................16
4.1.14 Set PIR Triggering Interval Time..................16
4.1.15 Set PIR Sensivity....................................... 17
4.1.16 Set Timer.................................................... 17
4.1.17 MMS Sengs............................................. 18
4.1.18 Set GSM Mode........................................... 18
4.1.19 Enter Password.......................................... 19
4.2 Playback...............................................................19
4.2.1 Viewing Photo or Video ...............................19
4.2.2 Delete Photo or Video ..................................20
4.3 Laser Pointer........................................................20
4.4 File Numbering....................................................20
4.5 Firmware Upgrade...............................................21
Appendix I: Technical Specicaons..........................22
Appendix II: Parts List ...............................................23

1 Instrucons
1.1 General Descripon
This camera, a digital trail camera with MMS funcon,
is a surveillance camera working automatically. It can
be triggered at once by any movement of human (or
animals) in a certain region of interested (ROI) monitored
by a high sensive Passive Infrared (PIR) moon sensor,
and then automacally captures high quality pictures (up
to 12M pixels) or records HD video clips (1080P or 720P).
Then it can send the pictures instantly to your mobile
device via GPRS network. You’ll be alerted just when
something has happened.
At sunrise the unit begins to take color photos and
video unl there is insucient light (dusk) when it begins
to take infrared (monochrome) photos and video.
It is easy to use, because there is a 2 inch colorful
LCD display on camera and a sound recorder, speaker
embedded in the camera. A laser pointer is used to help
target the photo area of the camera. And it supports
MMS/SMS/E-mail via GPRS Network.
It is resistant against water and snow for outside
uses. Furthermore, the camera can be used as a portable
digital camera.
1.2 Camera Body Interface
The camera has the following I/O interfaces: USB
connector, SD-card slot, TV output and external DC
power connector.
On the back of camera, there is a lock for the-proof
and an adjuster to change the lt when mounng on an
irregular interface e.g. tree.
Take a few moments to familiarize yourself following
the camera controls and displays. It is helpful to
1

bookmark this secon and refer to it as you read through
the rest of the manual.
1.3 Camera components and features
1) Boom Cover 9) GSM Antenna
2) SD-Card Slot 10) 2 inch color LCD Display
3) USB Connector 11) Sound recorder
4) TV Out connector 12) SIM card slot
5) PIR 13) Lock
6) Infrared Flash 14) Power witch
7) Lens 15) Baery Depot
8) Microphone 16) Portable remote controller
2

1.4 Remote Control
The remote control is an input device of the camera
and is primarily used for customer sengs and password
input. This is an infrared type wireless remote control.
The maximum remote distance is 9 meters. There are
een buons on the remote control.
Note: (Remote control is inside of the camera)
3

4
1.4.1 Navigang
Press UP or DOWN to select or highlight the menu
item, while press LEFT or RIGHT to select the opon of
each item and press OK to make selecon.
1.4.2 Characters
Press the punctuaon “*” for laser pointer.
1.5 Shoong Informaon Display
When the camera is turned on (the power switch is
slid to ON or TEST posion), the shoong informaon
will be displayed in the monitor.
Select Item(UP)
Select Item(DOWN)
Select Option
(Left)
Display Menu/
Exit (MENU)
Selection (OK)
Select option
(RIGHT)

1.6 MMS funcon
This camera can send pictures instantly to your
mobile device via the GPRS network. You’ll be alerted
only when something has happened; The MMS through
GPRS to send, so before using this function you need
to make the settings in the txt file for mms. Review to
related information, please refer to section 4.1 setting
menu table “MMS mode” and 4.1.15 MMS sengs.
SIM card Icon: There are two SIM card icons. It
means the SIM card is inserted and it works well. It
means can’t work correctly because of low signal
strength or other communications issues such as
entering incorrect settings of your mobile carrier
parameters.
There are 5 submenu settings about the MMS
function. Including: APN, MMSC, WAP Gateway, MMS
Phone, MMS Mail (refer to 4.1 table). MMS Set means to
have the right MMS seng parameters according to your
network. Send to means to input the phone number or
email address which you want to send. All 5 submenus
must have correct sengs.
1.7 Supported Format
Item Format
Photo JPG
Video AVI
File Format FAT32
Here are some important notices. You don’t need
to concern about the le system format of the camera
unless you have problems with reading the SD-card by
your other equipment. If this happened, please format
the SD-card in the camera or in a computer at rst and
then reinsert the card into your camera to make a try.
5

2 Cauons
The working voltage of the camera is 6V. The camera
is supplied by four or eight AA baeries.
Please install baeries according to shown polarity.
Please unlock the write-protect before inserting the
SD-card.
Please insert the SD-card when the power switch is at
OFF posion before tesng the camera.
Please do not insert or take out the SD-card when the
power switch is at ON posion.
It is recommended to format the SD-card by the
camera when used at the rst me.
The camera will be in USB mode when connected
to a USB port of a computer. In this case, the SD-card
funcons as a removable disk.
Please ensure sucient power when having rmware
upgrade, otherwise the upgrade process could be
interrupted incorrectly. If any fault occurs aer improper
upgrading process, the camera may stop function
properly.
As communications networks may vary reasons we
can’t guarantee 100% success by sending and receiving
MMS.
6
Tabla de contenidos
Otros manuales de Cámara de exploración de Victure