E-matic EM304CAM Manual de usuario

E-matic MP3 Video Player w/ Camera and Video Recording Capabilities
(EM304CAM , EM324CAMP, EM344CAM U, EM364CAMR, & EM384CAMG)
For more information, please visit our website at www.Ematic.us
Or email us at customerservice@ematic.us
Basic Controls
On the left side you will find the on/off switch, US port, and earphone jack. On the right side you will find the
CAMERA and MENU buttons, as well as the PLAY, NEXT, and PREVIOUS buttons. On the bottom of the player you
will find the VOLUME button, a TF card slot, and the players’ microphone. The PLAY button is also used to select,
and the volume button also allows you to scroll through sub-menus.
Turning the Player On and Off
You will first need to switch the player to the “on” position. Next, press and hold the PLAY button for 5 seconds. This
should turn your player on. To turn the player off, simply switch the player to the “off” position.
Adding Files
First, connect your player to your computer, making sure the power is off on the player. Then open the folder that
appears in your “My Computer” which correlates to the player (usually called “Removable Disk”), and copy the files
you want into the correct folders. Music files go into the audio folder, videos go into the video folder, and so forth.
Note that the player does not support iTunes formatted songs, so make sure you convert audio files to a compatible
format before transferring. (Compatible formats are MP3, WMA, and WAV)
Converting Video
In order to play videos on the player, they must be converted into the correct format. Insert the CD that came with your
player, and install the video converter software. Open the folder, and select AUTORUN. Follow the instructions and
the software will install on your computer. To begin converting files, open the program. Make sure to set the
destination of the converted files by clicking “ rowse” at the bottom and selecting the folder of your choice. Next,
click “Add Files” and search for the files you would like converted. Your files will appear on the list. Hit “Start” and
your videos will convert and save into the folder you have chosen. Go to the folder where you saved the converted
video and copy it into the video folder on the removable disk.
Playing Music
To play music, select the Audio Player from the main menu. Your list of songs will appear on the right side of your
screen. Use the PREVIOUS and NEXT buttons to scroll through your songs. When you find the song you’re looking
for, press the PLAY button and your song will begin to play. To adjust the volume, press the VOLUME button located
on the bottom of the player to activate the volume control. Use the PREVIOUS and NEXT buttons to adjust the
volume. Press the VOLUME button again to exit volume control. To go back to the previous screen, press the MENU
button. While in the menu, press and hold the MENU button to see the submenu. To navigate the submenu, use the
VOLUME button on the bottom of the player to scroll through the options. Use the NEXT/PREVIOUS buttons to
further scroll in the menus, and use the PLAY button to select your option.
Taking and Reviewing Pictures
Select the Camera option from the main menu. Use the CAMERA button to take pictures. Return to the main menu and
go to Picture View to review the pictures you have just taken. To delete photos, press and hold the MENU button to
open the submenu. In the submenu is the option to delete your pictures.
Recording and Reviewing Video
Select the DV option from the main menu. Press PLAY to begin recording your video. Pressing PLAY again stops the
video recorder. Your video will save to the Video Player folder. Scroll through the folder and press the PLAY button
to view the your video. Uploaded videos and movies will also be in this folder, so follow the same process to view any
of those.
E books
Select the Learning option from the main menu. Select the folder called TxT, which is where your .txt files will be
located.
Accessing files through a Micro SD card
Insert your card into the player. Select Tool from the main menu. Select the memory option, then switch to the SD tab.
Select work space, this will then create the necessary folders on your card. Connect your player, making sure it’s in the
“off” position. Go to My Computer, select Removable Disk, and access your MicroSD card from there. Copy the files
from your computer into the relevant folders.

1
Overview
1. Foreword
Thank you for choosing our product. Please read this manual carefully before using the product.
Specifications and software updates may be subject to change without notice. Some pictures in
this manual may be different than the product display; however, it should perform the same
functions.
2. Warnings
a Do not use the product in extreme temperatures, dusty or wet environments;
b Do not leave the product under direct sunlight;
c Handle the player carefully, or the hardware and housing may be damaged or destroyed;
d When inserting or removing a TF card, make sure the player is set to the “OFF” position, the
current is enough to damage the product;
e When formatting or transferring files, do not disconnect the USB cable from the PC, this may
cause damage to the player;
f Keep this product out of children’s reach;
g Do not open housing, doing so may damage the hardware;
h Keep away from extremely dry places to avoid damage caused by Electrostatic Discharge
(ESD
i Avoid formatting the player. If formatting is necessary, four directories MUST be created for the
player to resume working (AUDIO, VIDEO, PICTURE, and EBOOK ;
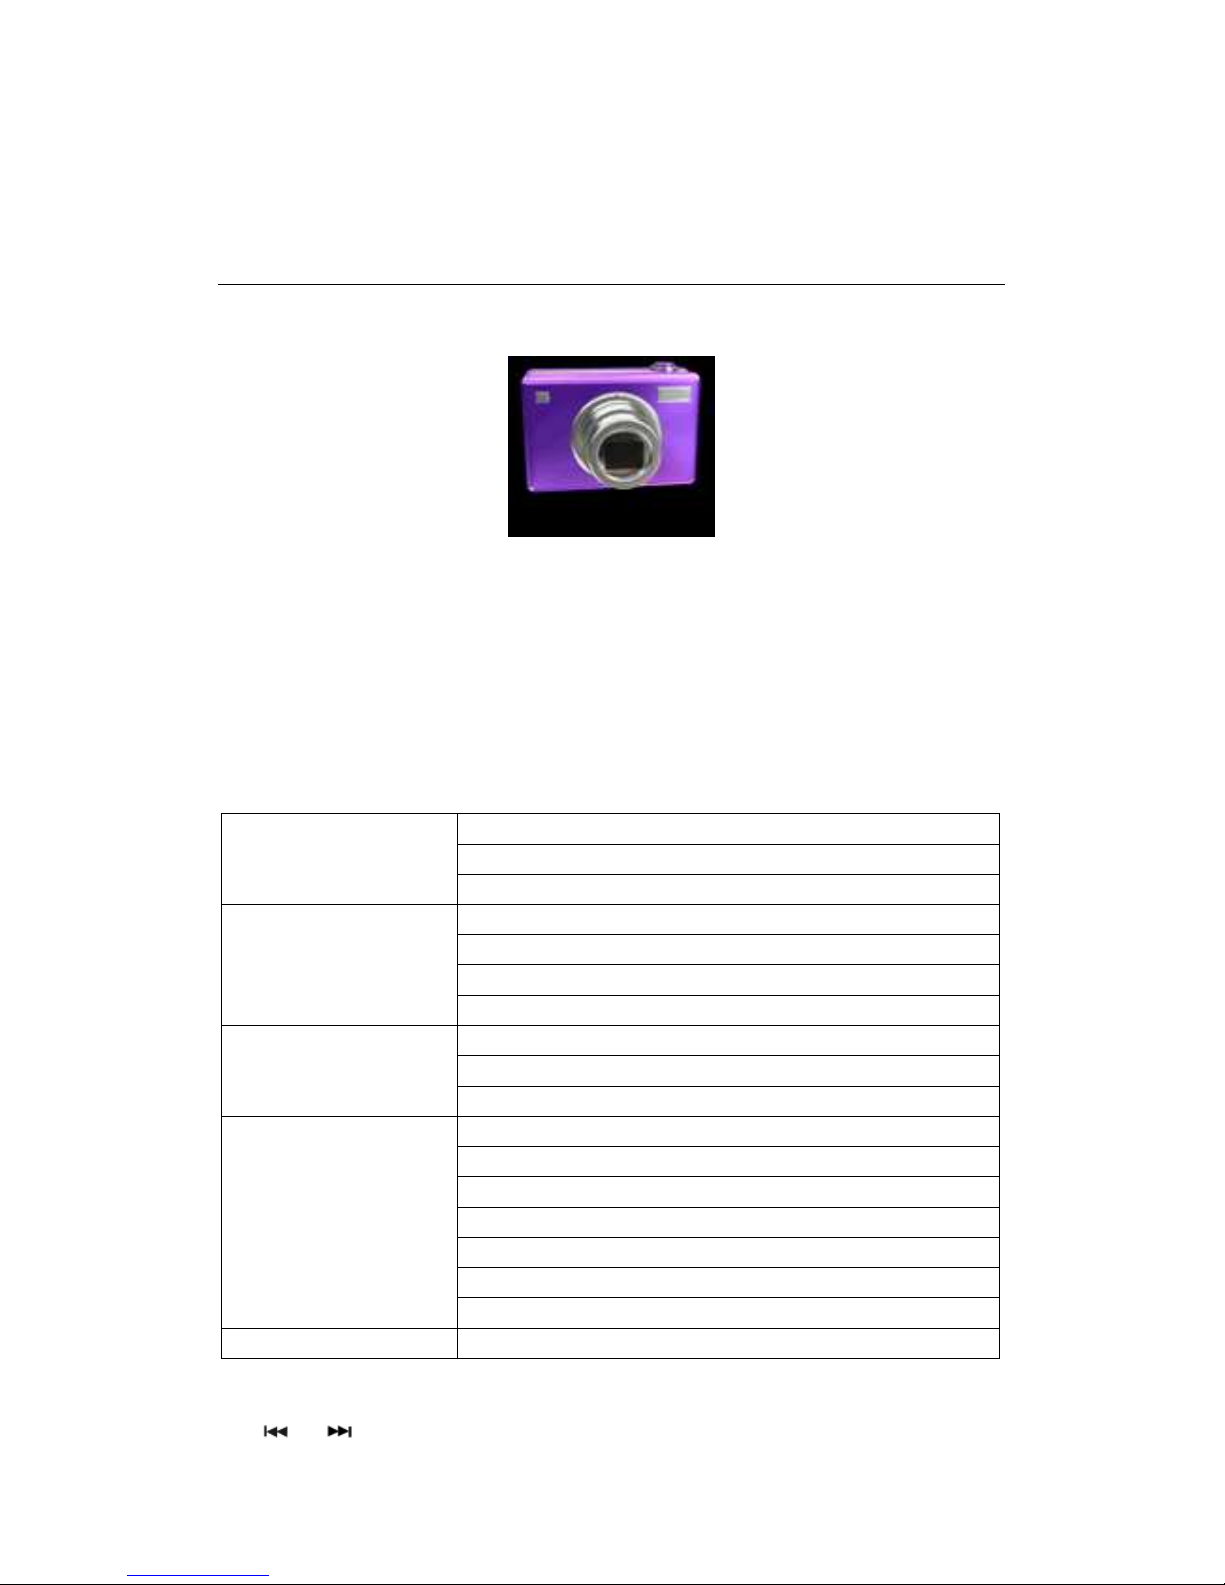
3. Features
Fashionable housing;
Static and dynamic capture;
2.4” LCD Screen with true color;
Movie format at 320x240 @30fps as 3GP, ASF, AVI and MP4 with MPEG4 data stream;
Support MP3 and WMA audio formats;
JPEG picture review, supports EXIF2.1
English-Chinese and Chinese-English dictionaries and E-Book;
Multi-language support, including Spanish and English
External TF (Micro SD card support (not included
4. Requirement for PC
a At least Pentium 100MHz;
b OS of Windows 98/2000/ME/XP/Vista;
c USB slot;

2
d CD-ROM drive;
e At least 15MB free hard disk space;
f At least 32MB memory;
5. Layout of t e Player
EMCAM Controls
User Guidelines
1. Battery Warnings
The icon of the battery with different statuses
Note: If player fails to start, the battery may be empty. Please recharge it and try again.

3
2. Rec arging t e Battery
Connect one end of the supplied mini USB cable to the player
Connect the other end of the mini USB cable to the computer
Charging process begins automatically
When it is fully charged, it will show a full battery icon
Be sure to safely remove the device
Warnings:
Warranty is void when you open the player
3. Basic Operation
a POWER ON
With the player switched to the ON position, long-press the PLAY key for 5 seconds, and the
player will turn on.
b POWER OFF (Manually
In any working status, long-press the PLAY key, the LCD will shut down and the system will turn
off.
c POWER OFF (Automatically
The product will be switched off automatically when the battery is empty. It will also turn off if
left idle for 3 minutes in any working status, unless the Time for “Switch Off Automatically” is set
as NEVER;
d Enter/Select
In any working status, short-press the PLAY key to select an option;
e Directional Keys
Short-press
or
to choose the different icons you want to select; Use the Volume button
to scroll down

4
Main Menu
1. T e Main Menu
SC-1 The Main Menu status
2. Video Player
a To enter video mode:
Use the directional keys to choose the Video Mode icon in the Main Menu, shown in SC-2.
Short-press the PLAY key to enter video mode.
SC-2 The icon of Video Mode
b Video Configuration
Long-pressing the Menu key while in the video menu will display the sub-menu of the video
mode. Press VOL to scroll through the sub-menu options, and press
or
to access them.
Press PLAY to confirm your choice. Press Menu to go back to the video menu. The functions are
listed below:
List
Disp Mode
Thumbnail
Current
All
Loop Mode
Random
Lock
File Protect
Unlock

5
Current
Del File All
Exit
TC-1 The sub-menu of the video mode
c Video Play
Use
or
to select the file you want to play in the video mode menu, then short-press the
PLAY key to begin playing the video.
While playing, short-pressing PLAY will pause the video, and again to resume playing paused
videos. Short-pressing
will jump to the next file, while short-pressing
will jump to the
previous one.
Short-press the VOL key to access the volume menu, then short-press
or
to adjust the
music volume.
Press and hold the MENU key to go back to the video menu.
d Exiting the video mode
While in the video menu, short-press the MENU key to go back to the Main Menu.
3. Audio Player
a To enter audio mode:
Use the directional keys to choose the icon of Audio Mode in Main Menu, shown in SC-3.
Then short-press PLAY to go to the audio mode.
SC-3 The icon of Audio Mode
b Audio Configuration
Long-pressing the Menu key while in the video menu will display the sub-menu of the video
mode. Press VOL to scroll through the sub-menu options, and press
or
to access them.
Press PLAY to confirm your choice. Press Menu to go back to the video menu. The functions are
listed below:
Current
All
Loop Mode
Random

6
Lock
File Protect
Unlock
Current
Del File All
Normal
Dbb
rock
Jazz
Pop
EQ mode
Live
Exit
TC-1 The submenu of the audio mode
c Audio Play
Use
or
to select the file you want to play in the audio mode. Then, short-press the
PLAY key to play your file.
Playback Functions
Short-press the PLAY key to pause or play the audio file
Long-press to fast-forward within the track. Pressing and holding the
key
will
fast-forward to the next speed (4x/6x/8x within the track
Short-pressing
will skip you to the
next track
Short-pressing
will return you to the previous track
Short-press the VOL key, then short-press or
to adjust the volume. Press the
VOL key again to exit volume control.
Note: The volume bar located at the bottom-right will turn blue after pressing the VOL
key during playback. This indicates that you are ready to control the volume
Press and hold MENU key to change Equalizer settings
The playback view is shown below:
e Exiting the audio mode
7
While in the audio menu, short-press the MENU key to go back to the Main Menu
4. Picture View
a To enter the Picture View Mode
Use the directional keys to choose the icon of Picture Mode in the Main Menu, shown in SC-4.
Then short-press the PLAY key to go to the Picture Mode.
SC-4 The icon of Picture Mode
b Picture View Configuration
Long-pressing the MENU key while in Picture View will display the sub-menu of the Picture
View mode, the functions of which are listed as below:
Thumbnail
List
Disp Mode
Slide: 3S / 5S
Lock
File Protect
Unlock
Current
Del File All
Wall Paper
Exit
TC-3 The submenu of the Picture View mode
c Picture Show
In the Thumbnail mode, use
or
to select the row of files you want to show in the Picture
mode menu, and then shot-press the PLAY key to show;
In the List mode, use
or
to select the Picture file you want to view in the Picture View
menu, then short-press the PLAY key to view the picture.
In the Slide mode, the pictures will play automatically
Press and hold the MENU key back to Picture menu.
Note: Only JPEG format is supported by this product. Other picture formats should be converted
to JPEG.
8
d Exiting the Picture mode
When in the Picture View menu, short-press the MENU key to go back to the Main Menu
5. Camera
a To enter Camera mode
Use the directional keys to choose the icon of Camera Mode in the Main Menu, shown in SC-5.
SC-5 The icon of Camera Mode
Short-press the PLAY key to go to the Camera mode. The top left of the viewfinder shows the
status and photo size, on the bottom left is the available number of pictures left with the amount of
memory on your player, and the bottom right is the zoom.
b Camera Configuration
Long-pressing the MENU key while in the Camera mode will display the sub-menu of the
Camera mode, the functions of which are listed as below:
Single
Continuous
Mode
Self
320*240
640*480
1280*960
Size
1600*1200
High
Middle
Quality
Low
Normal
Negative
Solaris
Relief
Binaries
Sepia
Effect
Black/white
Exit
TC-4 The sub-menu of the Camera mode
Use
or
to select sub-menu items. Use the VOL key to scroll down and short-press the

9
PLAY key to enter or confirm. Press the MENU key to go back to the Camera.
c Taking pictures
Short-press the PLAY or CAMERA key to take photos;
Press
or
to adjust the zoom level;
d Exiting the Camera mode
While in the Camera menu, short-press the MENU key to go back to the Main Menu;
e Reviewing your photos
Go to the Main Menu and go to Picture View, from there you can access your photos;
6. DV
a Entering the DV mode
Use the directional keys to choose the icon of DV Mode in the Main Menu, shown in SC-6;
SC-6 The icon of DV Mode
Short-press the PLAY key to go to the DV mode. The top left of the viewfinder shows the status
and video size, the bottom left is the available video time by the current free flash memory, and
the bottom right is the zoom level. When the flash memory is full, a sign “memory full” will
appear at the top right of the LCD and the current video being recorded will be stopped and stored.
b DV Configuration
Long-pressing the MENU key will display the sub-menu of the DV mode, the functions of which
are listed below:
160*128
Video Size 320*240
High
Middle
Video Quality
Low
Normal
Negative
Solaris
Relief
Binaries
Effect
Sepia
Este manual sirve para los siguientes modelos
6
Otros manuales de Reproductor de MP3 de E-matic

E-matic
E-matic EM101VID Manual de usuario

E-matic
E-matic EM208VIDBL Manual de usuario

E-matic
E-matic EM164VID Manual de usuario

E-matic
E-matic E6 Series Manual de usuario

E-matic
E-matic EM404CAM Manual de usuario

E-matic
E-matic E6 Series Manual de usuario

E-matic
E-matic EM604VID Manual de usuario

E-matic
E-matic EM318 Manual de usuario

E-matic
E-matic EM200VID Manual de usuario

E-matic
E-matic Digital Touch screen MP3 player Manual de usuario


