CamFive Qustom Laser CFL-Q2012K Manual de usuario

CFL-Q2012K
INSTALLATION
MANUAL

2
Safety Notice
Pág. Pág.
Pág. Pág.
Pág.
Pág.
Pág.
Installation Guide
The Control
Panel
Set the layer
parameters
Alignment
Standards
of Optical Path
Safety Materials for you and
your Laser Machine
Maintenance
Schedule
46
10 13
21
8
27
3
Preface
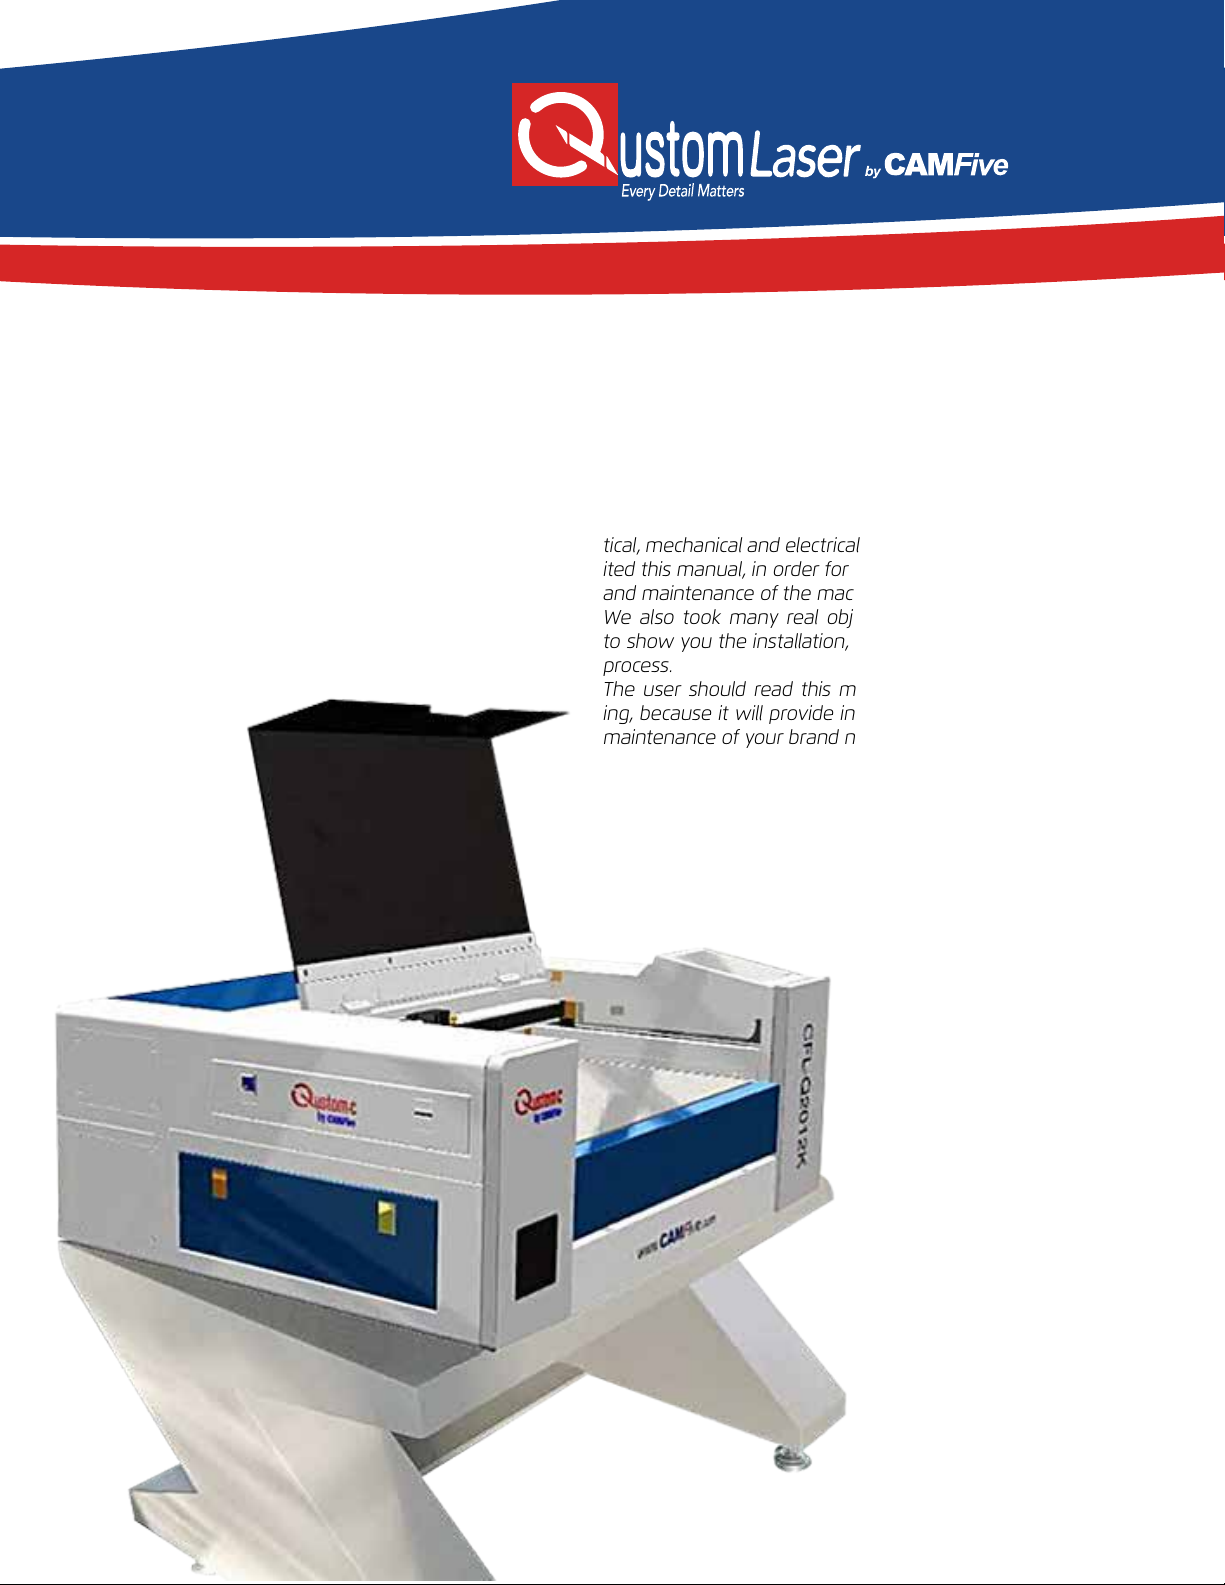
Thank you for buying our product. Our CFL-Q2012K is a
professional and high-tech machine combined with op-
tical, mechanical and electrical sections. We specially ed-
ited this manual, in order for you to learn the operation
and maintenance of the machine.
We also took many real object photos in this manual
to show you the installation, adjustment and operation
process.
The user should read this manual in detail before us-
ing, because it will provide in detail, the setup, use and
maintenance of your brand new CFL-Q2012K.

4
Safety Notice
•The users should read the operation manual carefully prior to operating the machine and must obey the
operating regulations strictly.
• The machine uses IV LASER (strong laser radiation)which type of laser radiation might make following
accidents:
1. Easy to burn combustible materials.
2. Dierent working materials might produce other radiations and toxic or harmful gases while laser en-
graving or cutting.
3. Laser radiation’s direct exposure will cause bodily harm.
•The location of the machine must be within view of fire extinguishing equipment to put out fires, which
are caused by cutting or engraving flammable materials. Do not leave the machine alone while cutting or
engraving, as it must be observed at all times while in operation. The operator should observe the machine
carefully while working and in case of emergency must cut o the power or press the emergency shut
o button.
•Ensure that processing material and emissions conform to local laws and regulations.
•The user should consider carefully whether the materials are suitable for laser cutting/ engraving for
safety.
•There are high voltage and other potential dangers in this machine. Please keep from those that who do
not operate or know of this machine.
• Keep the machine in a dry, non-pollution, non-concussing, non-electrically charged, non-strong mag-
netic field, etc. Environmental temperature should be 5-40℃, the environmental humidity should be from
5-95%(no condensed steam).
•Do not turn on the machine when the power supply voltage is unsteady or mismatched.
Please note, manufacturers won’t take any responsibility and liability because of improper use or disobe-
dience of all above regulations.

5
Appearance of the Machine front:
Back View:

6
Installation Guide
This Highly compact design laser machine is already integrated with a water cooling system as well as an
air assist system. The installation is quite easy. You no longer have to prepare a water bucket or install an
air pump anymore. There are mainly five steps to get started:
1. Open the water tank lid, you will find the water inlet, Pour water into the water tank, and fill the tank.
*We suggest using purified water or distilled water with temperatures under 35 degrees.
2. Install the Exhaust Pipe
Screw in the exhaust pipe fixture; fasten the rings after you put the pipe on the fixture. Then lead the other
end of the pipe outside your window or ventilation point.

7
3. Connect the machine to the computer with data cable or Wi-Fi
This machine comes with a USB data cable, in which you are able to connect to a laptop. If a Wi-Fi connec-
tion is preferred, connect the machine into the Wi-Fi interface and connect the machine to the network.
4. Connect the power
Connect the power cable into the machine, and connect the cable into a 110V outlet.

8
5. Turn On the machine.
Rotate the Control Switch clockwise and the button will bounce up and the machine will be powered on.
The laser head starts to move back to its origin point.
*For first time installation, when the machine turns on, please do not operate the machine immediately.
Wait a few minutes to let the water cooling system fill the laser tube with water fully. You could open the
back lid to check if the laser tube is full of water. Then you could start firing the laser.
Safety Materials for you
and your Laser Machine
The CFL-Q2012K uses high heat to cut or etch a given material. Some materials respond to this method
successfully, while others don’t. It is important to know the materials you are working with, since some, like
PVC are easy to cut, but give o a chlorine gas that’s not healthy for humans or the machine. Below is a list
to use as a guide. New materials come out daily, if you are not sure about its laser ability, contact us and
we’ll try and identify its properties and determine if it’s safe and possible to be processed by Laser machine.
Plastics:

9
• ABS (acrylonitrile butadiene styrene)
• Acrylic (also known as Plexiglas, Lucite, PMMA)
• Delrin (POM, acetyl)
• High density polyethylene (HDPE)-melts badly
• Kempton tape(Polyimide)
• Mylar (polyester)
• Nylon-melts badly
• PETG (polyethylene terephthalate glycol)
• Polyethylene (PE)-melts badly
• Polypropylene (PP)-melts somewhat
• Styrene
• Two-tone acrylic-top color dierent than core material, usually for custom instrumentation panels, signs
and plaques.
Foam:
• Deron foam-often used for RC planes
• EPM
• Gator foam- foam core gets burned and eaten away compared to the top and bottom hard shell
Other:
• Cloth (leather, suede, felt, hemp, cotton)
• Paper
• Rubber (only if they do not contain chlorine Teflon(PTFE, Polytetrafluoroethylene)
• Wood (MDF, balsa, birch, poplar, red oak, cherry, holly, etc)
Materials that can’t or should not be cut:
• Metals
• Polycarbonate (PC, Lexan)due to the fumes
• any materials containing chlorine
a. PVC (Cintra)-contains chlorine
b. Vinyl- contains chlorine
High pressure materials include all the above guidelines and as listed:
• Stainless steel up to 18 gauges
• Mild steel up to 18 gauges
• Thicker and denser woods
10
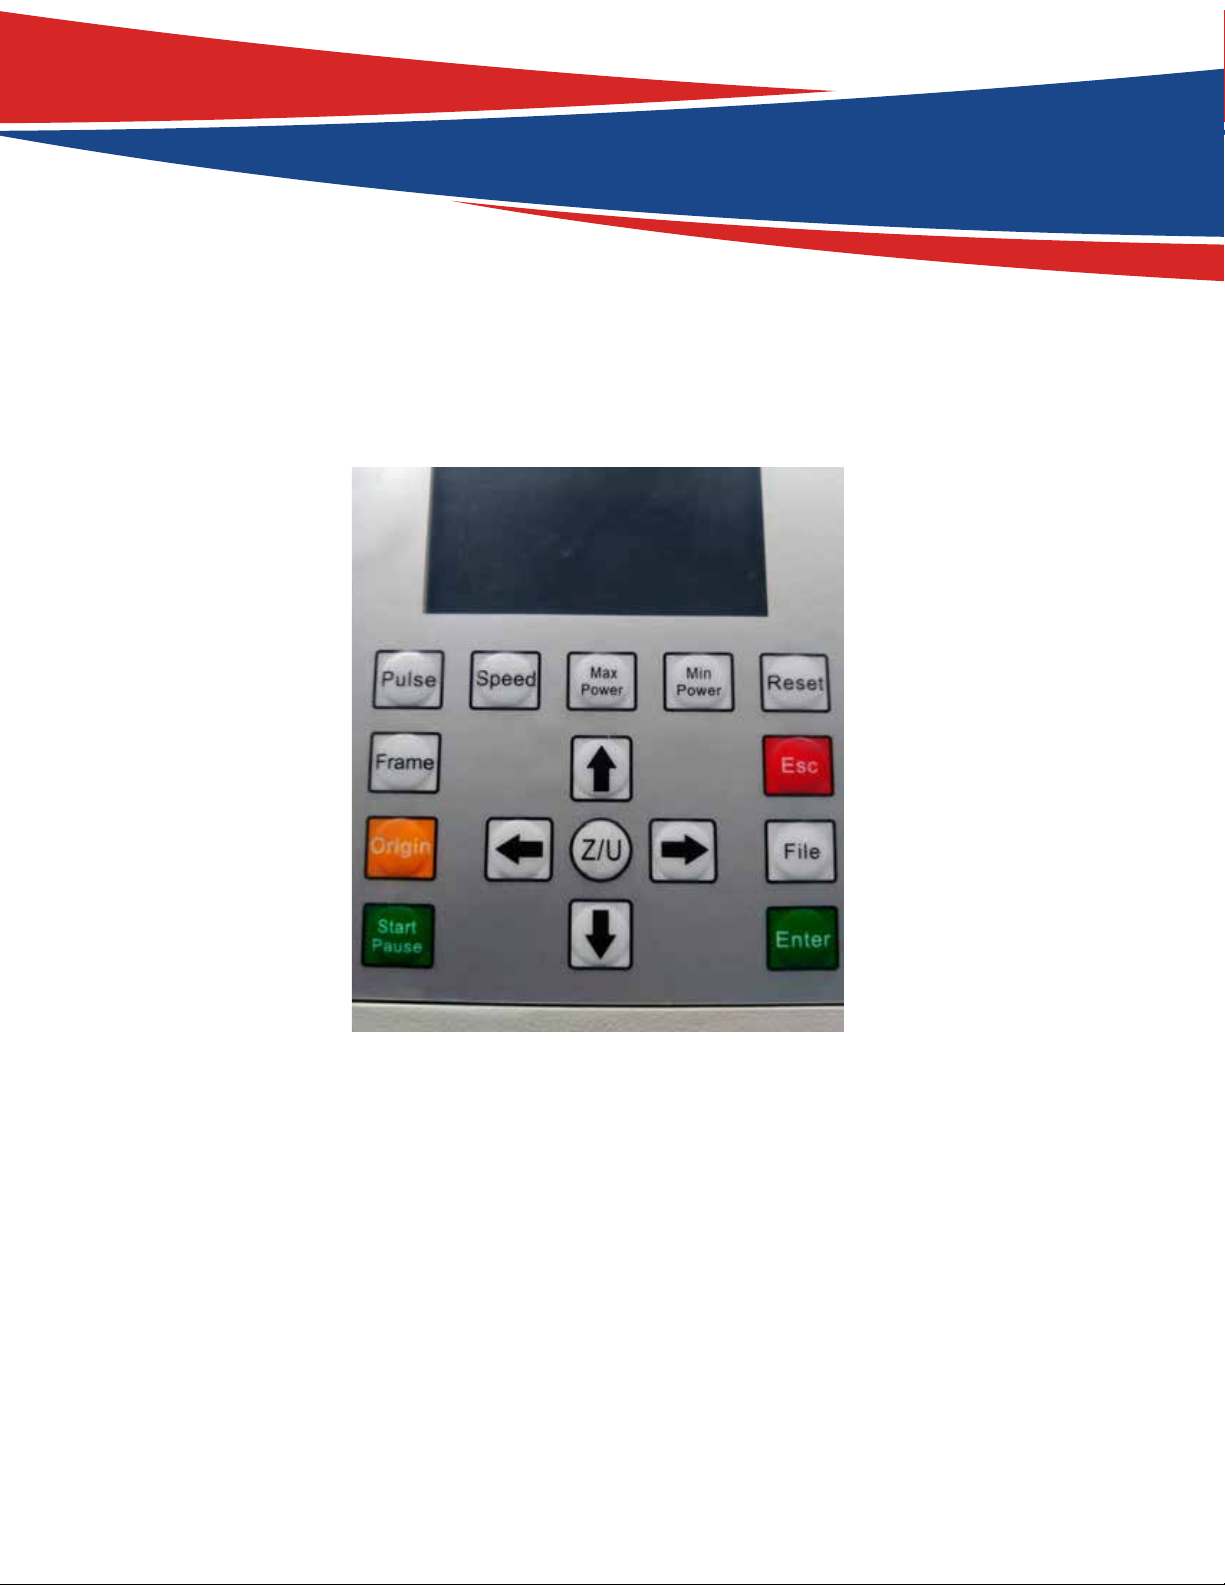
The Control Panel
Introduction to the Keys
Reset: Resets the whole system;
Origin: Sets the relative origin point;
Pulse: Pulses the laser
Frame: To track by the current file’s frame;
File: The management of the memory and U disc files;
Speed: Sets the speed of the current running layer, or set the direction keys’ move speed;
Max. Power: Set the max laser power of the current running layer, or set the power of “Pulse” Key;
Min. Power: Set the min laser power of the current running layer
Start/Pause: To start or pause the work;
Left & Right Arrow: Moves the X axes or the left/right cursor;
Up & Down Arrow: Moves the Y axes or the up/down cursor;
Z/U Buttton: The Z/U key can be pressed when the system is idle or the work is finished. On pressing this
key, it will show some entries in the interface, each entry includes some functions, Z axes movement, U
axes movements, home axes, etc.;
Esc: To stop work, or to exit from menu;
Enter: Validate the change;
Tabla de contenidos


