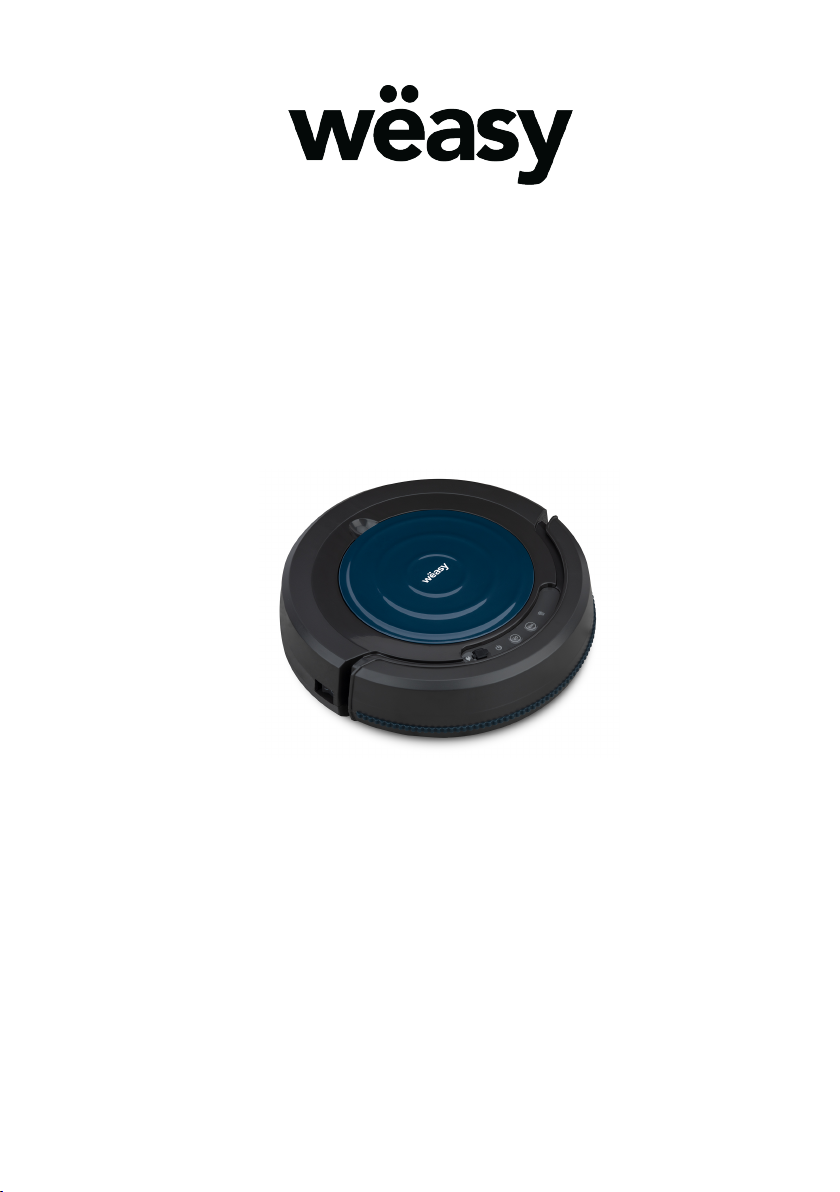
weasy TRC50 Manual de usuario

Instruction manual
Manuel d'utilisation
Gebruachsanweisung
Gebruiksaanwijzing
Manual de Usuario
Manuale d’uso
TRC50
ROBOTIC VACUUM CLEANER
ASPIRATEUR-ROBOT
STAUSAUGER-ROBOTER
ROBOTSTOFZUIGER
ROBOT ASPIRADOR
ROBOT ASPIRAPOVERE

ENGLISH
INSTRUCTION MANUAL
Please read the safety instructions in the Operation
Manual before operating TRC50 and keep this
manual handy for your future reference. Observe
the basic safety rules to prevent any occurrence of
fire, electric shock and personal injury.
Safety Instructions
1.
Please read the Operation Manual before
operating.
2.
Do not operate the vacuum cleaner outdoors.
3.
Before starting, be sure to install the dust bin
filter properly in case of any damage of the
vacuum cleaner.
4.
Do not operate on wet floor or in moisture
conditions, e.g. bathroom. Water and
moisture could damage the circuit board in
the product.
5.
Prior to operate remove any loose articles on
the floor such as clothes, paper, loose cables,
and extension cords as well as making sure to
lift curtains and drapes off the floor to avoid any
possible accidents. In case of a loose cable is
tangled with the vacuum cleaner the cable
might move around with the product as it works

and topple down the table, chairs, or cabinet
and cause property damage.
6.
Never stand or sit on the product. Beware of
children or pets while the vacuum cleaner is in
operation.
7.
Never use the product to clean up sparking
cigarette butts or burning ashes from fireplace.
8.
Never use the product to clean up combustible or
highly volatile liquids such as gasoline.
9.
While the vacuum cleaner is in operation, make
sure all doors leading outside are closed.
10.
During operation, the heat vent should avoid
being clogged. If heat vent clogged, It could
be damaged.
11.
If the product is malfunctioned or damaged by
force, do not operate regardless the cause.
Please call your local dealer for service
information.
12.
Turn off the power and remove the battery
from the vacuum cleaner if the unit will not in
use for a long period of time.
13.
This device is not intended for use by persons
with reduced capacity on the physical, mental
or sensory or lack of experience and knowledge
(including children), unless they have had
instructions to use the appliance by a person
responsible for their safety use of the appliance
and understand the hazards involved. Children

should be supervised to ensure they do not play
with the device.
14.
Plug must be removed from the socket-outlet
before cleaning or maintaining the appliance.
15.
Automatic battery-operated cleaners shall also
be provided with cautionary instructions for
room preparation and constant care.
16.
The device must not be used if it has been
dropped, it obvious signs of damage are
visible or if it has leaks.
17.
This appliance may be used by children of at
least 8 years of age, as long as they are
supervised and have been given instructions
about using the appliance safely and are fully
aware of the dangers involved.
18.
Cleaning and maintenance should not be
carried out by children unless they are at least 8
years of age and are supervised by an adult.
19.
Keep the appliance and its power cord out of
reach of children under 8 years of age.
20.
When using electrical equipment, safety
precautions must always be taken to prevent
the risk of fire, electric shock and/or injury in
the event of misuse.
21.
Make sure that the voltage rating on the
typeplate corresponds to your main voltage of
your installation. If this is not the case, contact

the dealer and do not connect the unit.
22.
Never leave the unit unattended while in
operation.
23.
Please keep this document at hand and give it
to the future owner in case of transfer of your
device.
24.
Do not use outside.
25.
The device must not be used if it has been
dropped, it obvious signs of damage are visible
or if it has leaks.
Battery and Recharging Instructions
1. The battery is rechargeable. Please use the
voltage and current specified on the packing. If
you are not sure of the voltage and current of
your house, please contact your local power
company or a licensed electrician.
2. Use only the battery supplied with your vacuum
cleaner.
3. Charging adaptor is for indoors only.
4. Use only the charging adaptor supplied with your
vacuum cleaner.
5. Do not recharge the battery if the cable or plug of
the battery is damaged.
6. Never touch the charger, plug or cable with damp
hands.
7. If the product requires cleaning, unplug the
adaptor, switch off the unit and take out the

battery.
8. Please take out the battery pack before disposing
of the unit.
9. Please switch off the vacuum cleaner before
taking out the battery.
10. Please recycle and dispose the waste battery
properly.
11. The supply cord cannot be replaced. If the cord is
damaged the charger should be discarded and
replaced. It must be replaced by the
manufacturer, its service agent or a qualified
technician in order to avoid a hazard.

Congratulations on purchasing the Robotic Vacuum Cleaner with sensitive bumper.
This revolution Robotic Vacuum Cleaner is equipped with functions suitable for
cleaning up floor surfaces of home and office such as wood, tile andlinoleum.
This Robotic Vacuum Cleaner is definitely a household helper.
Sequence of the movements of the unit:
Random Spiral Along the wall Spiral "Z" Type
Cleaner x1 Rechargeable Battery x1 Adaptor x1
Dust Bin Filter x1
Dusting Paper Holder x1
Operation Manual x1 Side Brush x2
Dusting Paper x3
SPECIAL FEATURES
MAJOR COMPONENTS AND ATTACHMENTS

Top Cover Control Panel
Dust Bin Inside
DC Jack Plug
Bumper
Power Switch
Anti- Cliff Sensor
Side Brush & Cap
Front Small Wheel Intake Valve
Handle Grip
Side Brush
& Cap
Wheel hood
Base
Battery Cover
Left and Right Wheels
OVERVIEW

Installing and Removing Side Brush:
To install: Remove the side brush caps from the bottom of cleaner. Put the brushes
directly onto the holder and press on the caps to fix it.(Fig. 1)
Then spread the brush bristle evenly as shown in Fig. 3
To remove: Hold the brush bristle and pull upward to remove the brush.(Fig. 2)
NOTE:
Fig. 2 Fig. 1
When cleaning on the carpet, please remove the side brushes to prevent from being
worn- out.
INSTALLATION GUIDE
PULL UP!
Fig. 3
Side brush
holder
PULL UP!

Installing Dusting Paper and Holder:
1.
Remove the dusting paper holder following the instruction shown in Fig. 4.
2.
Flat the dusting paper and put it on the floor or table. Then place the holder (the
side with 4 stoppers face up) on the paper at the midpoint as shown in Fig. 5.
3.
Remove 4 stoppers from the holder, fold the hem of dusting paper on two sides back
to the holder, and place back 4 stoppers on top of the paper then press firmly to fix
the paper onto holder (Fig. 6).
4.
Aim the 2 bolts of the dusting paper holder at the 2 holes (inside the 2 big wheels)
and click the holder on the bottom of the cleaner. (Fig. 7)
NOTE:
1.
Do not use mopping function on the carpet. At the same time you should remove
the side brushes to prevent it from damaging the brushes.
2.
If you don’t need to use mopping function, please remove the dusting paper holder
from the cleaner (follow the instructions shown in Fig. 4) before you turn it on for
cleaning.
Stoppers
Hole for the
stopper
Dusting Paper
Fig. 5
Press the two bolts on
the dusting paper holder
into the two holes on
the bottom of the
cleaner.
Fig. 7
INSTALLATION GUIDE
2 Lift up
Push to
the left
Fig. 4
Fold back
Press
Fold back
Finished !
Fig. 6
Tabla de contenidos
Idiomas:
Otros manuales de Aspiradora de weasy


