
TOUGH-WORKS DC-D Manual de usuario
INSTRUCTION
MANUAL
IMPORTANT:
For your own safety, read and follow all of the Safety
Guidelines and Operating Instructions before operating
this product.
DC-D
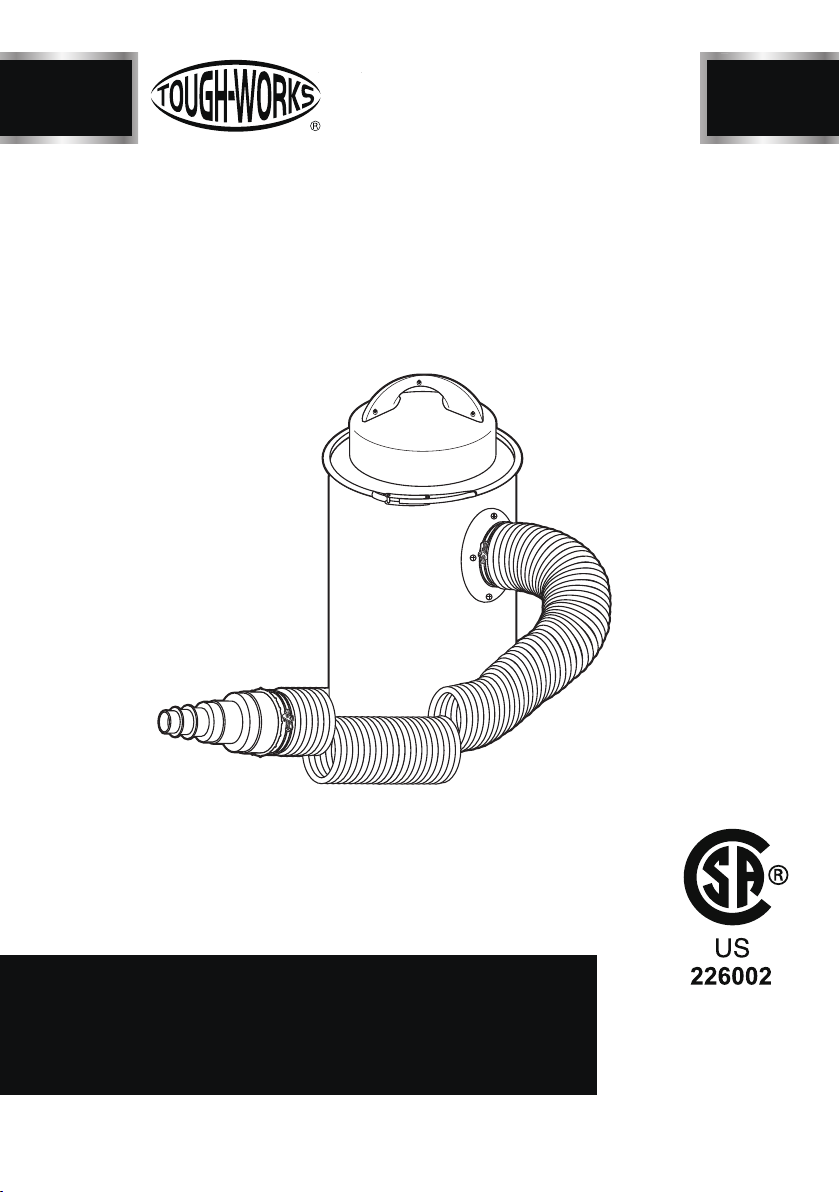
DUST EXTRATOR
1200W 50 LITRE

2
TABLE OF CONTENTS
SPECIFICATIONS
TABLE OF CONTENTS
BD4603
TABLE OF CONTENTS ...............................................................................................
2
SAFETY GUIDELINES ................................................................................................
4
PACKAGE CONTENTS ..............................................................................................
7
KEY PARTS DIAGRAN
..................................................................................................
8
ASSEMBLY/MOUNTING
........................................................................................
9
OPERATION .................................................................................................................
10
MAINTENANCE ............................................................................................................
11
TROUBLESHOOTING GUIDE .....................................................................................
12
EXPLONED VIEW .........................................................................................................
13
PARTS LIST ..................................................................................................................
14
WARRANTY ..................................................................................................................
15
ELECTRICAL SAFETY .................................................................................................
6
SPECIFICATIONS .......................................................................................................
2
Motor 120 VAC, 60 Hz, 9.5Amp, 1-1/2HP
Filter 0.5 micron
Air Flow 108 CFM
Canister Capacity 13 gallons (50 L)
Hose Length 78-3/4"
DC-D
Suction Connector
Diameter.
4"

BD4603
SAFETY GUIDELINES
3DC-D
For your own safety, read and understand
all warnings and operating instructions before
using any tool or equipment.
Some dust created by power sanding, sawing,
grinding,drilling and other construction activities
contains chemicals known to the State of
California to cause cancer, birth defects or other
reproductive harm.
Some examples of these chemicals are:
• Lead from lead-based paints.
• Crystalline silica from bricks and cement and
other masonry products.
• Arsenic and chromium from chemically-treated
lumber.
Your risk from these exposures vary, depending
on how often you do this type of work. To reduce
your exposure to these chemicals:
work in a well ventilated area and work with
approved safety equipment. Always wear OSHA/
NIOSH approved, properly fitting face mask or
respirator when using such tools.
Always follow proper operating procedures as
defined in this manual even if you are familiar with
the use of this or similar tools. Remember that
being careless for even a fraction of a second can
result in severe personal injury.
WORK PREPARATION
• Wear proper apparel. Do not wear loose clothing,
gloves,neckties, rings, bracelets or other jewelry
which may get caught in moving parts of the tool.
• Wear protective hair covering to contain long
hair.
• Wear safety shoes with non-slip soles.
• Wear safety glasses complying with United
States ANSI Z87.1. Everyday glasses have only
impact resistant lenses. They are NOT safety
glasses.
• Wear face mask or dust mask if operation is
dusty.
• Be alert and think clearly. Never operate power
tools when tired, intoxicated or when taking
medications that cause drowsiness.
WORK AREA PREPARATION
• Keep work area clean. Cluttered work areas
invite accidents.
• Do not use power tools in dangerous en-
vironments. Do not use power tools in damp
or wet locations. Do not expose power tools
to rain.
• Work area should be properly lit.
• Proper electrical receptacle should be
available for tool. Three-prong plug should
be plugged directly into properly grounded,
three-prong receptacle.
• Extension cords should have a grounding
prong and the three wires of the extension
cord should be of the correct gauge.
• Keep visitors at a safe distance from work
area.
• Keep children out of the work area. Ensure
your work shop is child-proof. Use padlocks,
master switches or remove switch keys to
prevent any unintentional use of power tools.
TOOL MAINTENANCE
• Always unplug tool prior to inspection.
• Consult manual for specific maintaining
and adjusting procedures.
• Keep tool lubricated and clean for a safe
operation.
• Remove adjusting tools. Form habit of
checking to see adjusting tools or accessories
are removed before switching tool on.
• Keep all parts in working order. Check to
determine that guard or other parts will
operate properly and perform their intended
function.
• Check for damaged parts. Check for alig-
nment of moving parts, binding, breakage,
mounting and any other condition that may
affect tool’s operation.
• A guard or any other part that is damaged
should be properly repaired or replaced. Do
not perform makeshift repairs.
TOOL OPERATION
• Use the right tool for your job. Do not force
your tool or attachment to do a job for which
it was not designed.
• Avoid accidental start-up. Make sure that

4
DC-D
SAFETY GUIDELINES
the tool is in the “OFF" position before plugging
in.
• Never leave tool running unattended.
• Know your tool. Learn the tool’s operation,
application and specific limitations before
using it.
Think safety! Safety is a combination of operator
common sense and alertness at all times when
tool is being used.
Do not attempt to operate tool until it is completely
assembled according to the instructions.
CAUTION
ELECTRICAL SAFETY
BD4603
5DC-D
Do not connect dust collector to the power source
until all assembly steps have been completed.
The motor is designed for operation on the
voltage and frequency specified. Normal loads will
be handled safely on voltages not more than 10%
above or below specified voltage. Running the
unit on voltages which are not within the range may
cause overheating and motor burn-out.
Heavy loads require that the voltage at motor
terminals be no less than the voltage specified
on nameplate.
Improper connection of equipment grounding
conductor can result in the risk of electrical
shock. Equipment should be grounded while
in use to protect operator from electrical shock.
• Check with a qualified electrician if you do not
understand grounding instructions or if you
are in doubt as to whether the tool is properly
grounded.
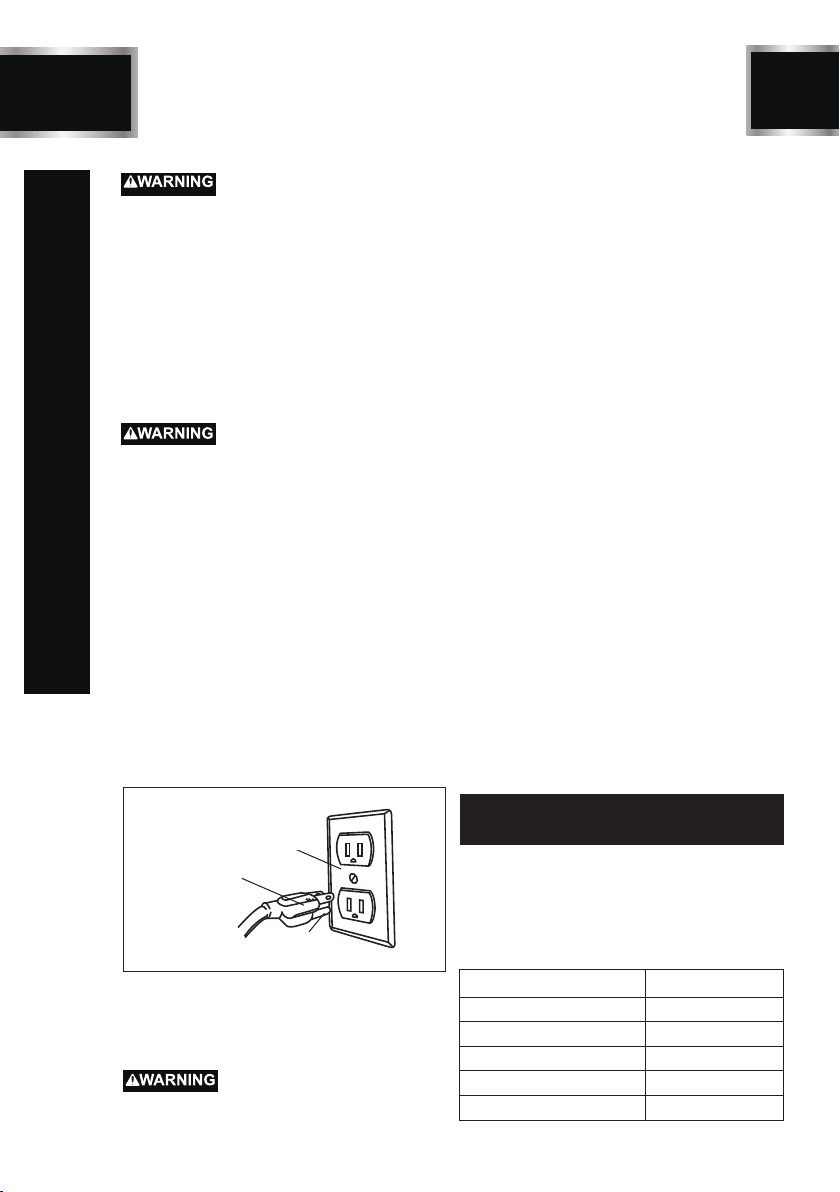
• This tool is equipped with an approved cord
rated at 120V and a 3-prong grounding type
plug (see Figure A)for your protection against
shock hazards.
• Grounding plug should be plugged directly
into a properly installed and grounded 3-prong
grounding typer eceptacle, as shown (see
Figure A).
• Do not remove or alter grounding prong in
any manner. In the event of a malfunction
or breakdown, grounding provides a path of
least resistance for electrical shock.
Do not allow fingers to touch the terminals of
Properly Grounded Outlet
Grounding Prong
3-Prong Plug
Figure A
plug when installing or removing from outlet.
• Plug must be plugged into matching outlet
that is properly installed and grounded in
accordance with all local codes and ordin-
ances. Do not modify plug provided. If it will
not fit in outlet, have proper outlet installed
by a qualified electrician.
•Inspect tool cords periodically, and if damaged,
have repaired by an authorized service facility.
• Green (or green and yellow) conductor in cord
is the grounding wire. If repair or replacement
of the electric cord or plug is necessary, do
not connect the green (or green and yellow)
wire to a live terminal.
EXTENSION CORDS
• The use of an extension cord is not reco-
mmended.
The use of any extension cord will cause some
drop in voltage and loss of power.
• Wires of the extension cord must be of
sufficient size to carry the current and maintain
adequate voltage.
• Use the table to determine the minimum wire
size(A.W.G.) extension cord.
• Use only 3-wire extension cords having 3-
prong grounding type plugs and 3-pole rec-
eptacles which accept the tool plug.
• If the extension cord is worn, cut or damaged
in any Extension Cord Length
Wire Size…………….. 18 A.W.G.
Up to 50 ftway, replace it immediately.
NOTE: Using extension cords over 50 ft. long
is not recommended.
MOTOR
The dust collector is assembled with motor and
wiring installed.The electrical wiring schematic is
shown in Figure B.
The permanently split capacitor motor has the
following specifications:
Horsepower (Peak HP) 1-1/2
Voltage 120
Amp 9.5
Hertz 60
Phase Single
RPM 31000

6
C
DC-D
ELECTRICAL CONNECTIONS
All electrical connections must be performed
by a qualified electrician. Make sure tool is
off and disconnected from power source while
motor is mounted, connected, reconnected
or anytime wiring is inspected. Motor and wires
are installed as shown in wiring schematic
(See Figure B). Motor is assembled with approved,
3-conductor cord to be used at 120 volts.
The power lines are inserted directly into the
switch. The green ground line must remain
securely fastened to the frame to properly
protect against electrical shock. The power
supply to the motor is controlled by a single
pole locking rocker switch.
ELECTRICAL SAFETY
Figure B

BD4603
7
PACKAGE CONTENTS
No. Description Qty.
1
2
3
4
5
6
7
8
9
1
1
1
1
2
1
2
1
4
DC-D
Motor Housing
Collection Canister
Locking Band
Collection Hose
Hose Clamps
Filter Cartridge
Filter Bag
Hose Coupler 1
Stackable Hose Adapters 4
Owner's Manual (not shown)
1
2
4
67
5
3
8
9

8
KEY PARTS DIAGRAN
DC-D
Locking Band Collection Canister
Inlet
Hose
Clamp Hose
Hose
Clamp
Collection
Canister
Motor Housing
Hose
Coupler

BD4603
9
ASSEMBLY/MOUNTING
Do not attempt assembly if parts are missing.
Call the Customer service line to obtain
replacement parts.
• Do not operate dust collector until completely
assembled.
• Do not operate this tool until you have completely
read and understood this manual.
NOTE: After unit is assembled dispose of all
packaging material in an environmentally
safe way.
DC-D
Tools required for assembly:
• Phillips head screwdriver
1. Slide the filter bag over the filter cartridge.
2. Fold and tuck the top of the bag into the filter
cartridge.
3. Push the filter cartridge/bag onto the motor
housing.
Motor
Housing
Filter
Bag
Figure C
4. Place the motor housing with filter cartridge/
bag on to the collection canister and lock in
place with the locking band.
5. Attach one end of the hose to the collection
canister inlet. Secure in place with supplied hose
clamp. Make sure the hose is flush with the
collection canister hose coupler before tightening
the hose clamp.
6. Attach the supplied hose coupler to the other
end of the hose, secure in place with supplied
hose clamp.
BASIC ASSEMBLY
Filter
Cartridge

10
DC-D
BASIC OPERATIONS
Before Starting
• Place the dust collector near the dust prod-
ucing machine to be used.
• There are four hose adapters supplied.
Select the hose adapter that best fits the
machine outlet and attach it to the hose
coupler.
•Connect the dust collector adapter to the
machine outlet. Make sure the connection
is secure.
• Make sure the machine is turned OFF.
• Connect the dust collector's power cord to
the correct power source.
Hose
Adapters
Figure D
To Start
• Place the dust collector's ON/OFF switch
in the ON (I) position.
• Turn the machine ON.
To Stop
IMPORTANT: ALWAYS turn the dust pro-
ducing machine OFF before turning the dust
collector OFF.
• Turn the machine OFF.
• Place the dust collector's ON/OFF switch
in the OFF (O) position.
On/Off
Switch
Figure E
OPERATIONS


