Tiger TIGERFLEX Manual de usuario

TIGERFLEX®
SHIPLAP PENT
BIKE STORE
GENERAL ASSEMBLY
INSTRUCTIONS
INS04

BEFORE YOU GET STARTED
PLEASE READ INSTRUCTIONS CAREFULLY
• Check the pack and make sure you have all the parts listed.
• When you are ready to start, make sure you have the right tools at hand (not supplied).
• Ensure there is plenty of space and a clean, dry area for assembly.
TIMBER
As with all natural materials, timber can be affected during various weather conditions. For the duration of heavy
or extended periods of rain, swelling of the wood panels may occur. Warping, cupping or contraction of the wood
may also occur during excessive dry spells due to an interior moisture loss. Unfortunately, these processes cannot
be avoided but can be mitigated. It is suggested that the outdoor building is sprayed with water during extended
periods of warm sunshine and sheltered as much as possible during rain or snow.
To validate your guarantee and ensure longevity of the product, it is ESSENTIAL that your building is treated with
a suitable wood preserver or paint AFTER assembly, both internally and externally.
BUILDING A BASE
Care must be taken to ensure the product is placed on a suitable base. When thinking about where the building
and base is going to be constructed: Ensure that there will be access to all sides for maintenance work and annual
treatment.
Ensure the base is level and is built on rm ground, to prevent distortion. Refer to diagrams for the base
dimensions which can be found on the product page at tigersheds.com, it is recommended that the base should be
slightly smaller than the external measurement of the building, i.e. The cladding should overlap the base, creating
a run off for water. It is also recommended that the oor be at least 25mm above the surrounding ground level to
avoid ooding.
TYPES OF BASE
• Durable plastic grid.
• Slabs laid on 50mm of sharp sand.
• Concrete 75mm laid on top of 75mm hard-core.
• Timber Base - Self constructed/Buy pre-made.
*We recommend a Fastt EcoBase for your building. It is durable, lightweight, exible and easy to put in place.
Please see tigersheds.com for details.
WOOD WARPING
MAY OCCUR
WINTER
EXPANSION
SUMMER
CONTRACTION
PLASTIC BASE SLAB BASE CONCRETE BASE TIMBER BASE BROKEN SLABS BARE SOIL LOOSE GRAVEL
02 tigersheds.com 0113 205 4189 [email protected]

Please retain instructions for future reference
CAUTION:
All buildings should be erected
by two competent adults.
CAUTION:
It is advisable to wear gloves
during building installation.
Whilst all products manufactured are made to the highest standards of Safety and in the case of childrens products independently tested to
EN71 level, we cannot accept responsibility for your safety whilst erecting or using this product.
* TigerSkin®Water Based Treatment:
The unique formula of our TigerSkin® pre-treatment provides a reassuring layer of protection for your shed or summer
house. Each panel is carefully dipped and dried to provide maximum coverage, and ensure that your building will have
protection from the moment it arrives and is assembled. A water repellent formula which is harmless to plants, not only
does it help to shield the timber, it also gives it a warm tone that looks great on your property. Once erected, your building
should be treated regularly.
MADE IN THE UK SINCE 1913.
We have been making our high quality, great
value sheds here in Britain for decades.
03
ROOF COVERING OPTIONS
All Tiger buildings are designed to use TigerFelt® high grade poly-backed durable mineral roong felt. If you have
chosen a different roof covering option – such as EPDM rubberised roof covering or Shed Shingles, please see
their separate roong instructions available on their product pages at tigersheds.com.
MAINTENANCE
To validate your guarantee and ensure longevity of the product, it is ESSENTIAL that your building is treated with
a suitable wood preserver or paint either BEFORE or AFTER assembly, both internally and externally. For the
continued protection for unpainted areas of your garden building we recommend maintaining your timber treat-
ment with TigerSkin®preserver. This solvent based wood treatment will penetrate deep into the wood giving
years of protection against the weather and also enhance timber grain with a rich long lasting protection. A water
repellent formula which is harmless to plants when dry, it is available in a wide range of colours to refresh the look
and feel of your garden building. Discover more at tigersheds.com.

BEFORE YOU GET STARTED
04 tigersheds.com 0113 205 4189 [email protected]
TOOLS REQUIRED:
We recommend using the following tools (not supplied):
HAMMER DRILL LADDER TAPE MEASURE SHARP KNIFE SPIRIT LEVEL
SCREWDRIVER +
• Assembly is relatively straightforward if you follow these step by step instructions.
• We recommend getting everything aligned properly before screwing together and that
screw holes should be pre-drilled to avoid splitting the timber. (Do not come pre-drilled).
IMPORTANT
• Before assembly please make sure you have a suitable base ready to erect your building on.
• This base MUST be rm and level to ensure that the building is assembled properly and lines up.
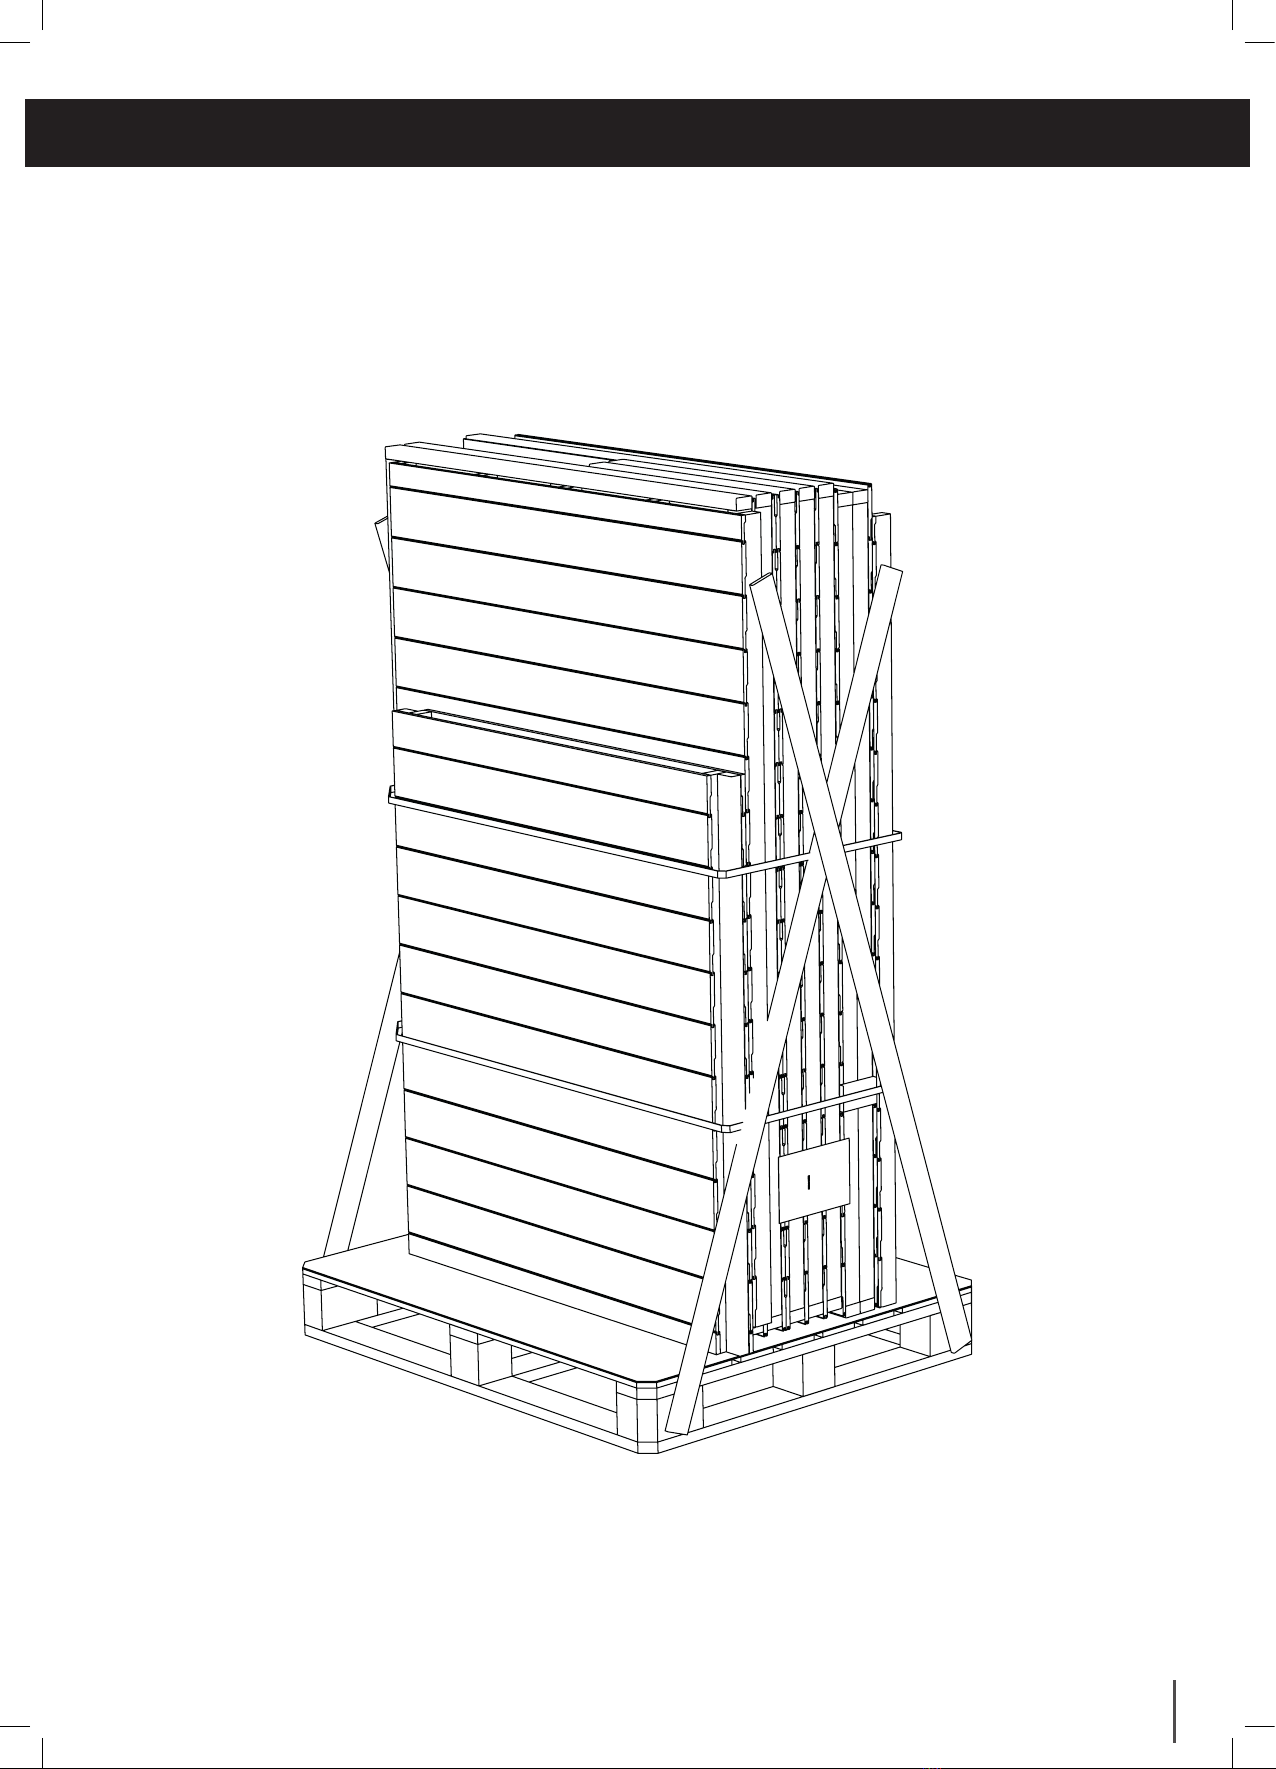
• Please carefully unpack the components in your delivery, and remove the timber supports that make up the
delivery pallet.
• CAUTION: Parts may have moved during transportation. Be careful when unpacking supplied shed.
• DO NOT start your build until you have checked that all the parts of your building are present, correct and in a
suitable condition.
• Pre-drilling screw holes is recommended to reduce the chances of the timber framing splitting.
• If you are organising a third party to install your building, it is best practice not to schedule this immediately on receipt of your
order, to give you time to check your delivery.
RUBBER MALLET
WOOD SAW
CN13
FIXING KIT GUIDE:
Clout Nails (13mm Galvanised - QTY
175)
BS25
Black Drywall Screw (3.5x25mm - QTY 20)
N40
Nail (40mm Galvanised - QTY 55)
N65
Nail (65mm Bright - QTY 50)
S50
Screws (4x50mm - QTY 50)
S90
Screws (5x90mm - QTY 12)
2TBB
Black Turnbutton (2 Inch - QTY 1)
DB
Drop Bolt (QTY 1)
Please retain instructions for future reference
05
• From the outside working in, cut banding holding all components together and remove the panels.
Note: parts may have become loose or moved during transportation.
• Large items like doors and windows are screwed into cross brace. Remove screws as you come to
corresponding panel to reduce the risk of falling components.
BUILDING PACK CONTENTS:
For full details of what should be included please see the list that is supplied with the delivery. They are also
available on request in pdf form from our helpful Customer Support team – please call 0113 2054189 for
Customer Support or use the Items Delivered Query form at tigersheds.com/contact.

TIGERFLEX®SHIPLAP PENT BIKE STORE ASSEMBLY GUIDE
06 tigersheds.com 0113 205 4189 [email protected]
Step 1:
FLOOR PANEL INSTALLATION
• Install Heavy Duty Bearers as shown
• Check your product oor size for the correct diagram (opposite page).
Please ensure oor panels are butted up tightly with no gaps
• Secure bearers to oor panel using 2x 90mm (S90) screws per bearer.
NOTE-Makesurexingsgothroughoorjoists.
S90S90
HEAVY DUTY BEARER
HEAVY DUTY BEARER
FLOOR
PANEL
S90

Please retain instructions for future reference
07
FLOOR PANEL
HD BEARER
HD BEARER
SINGLE FLOOR
6x3*, 6x4*
DOUBLE FLOOR
6x5*, 6x6*
HD BEARER HD BEARER
HD BEARER HD BEARER
FLOOR PANEL
FLOOR PANEL
DOUBLE FLOOR
8x3*, 8x4*
FLOOR PANELS
HD BEARER
HD BEARER
HD BEARERS
HD BEARERS
FLOOR PANELS FLOOR PANELS
HD BEARERS
HD BEARERS
MULTI FLOOR
8x6* Only
MULTI FLOOR
8x5* Only

08 tigersheds.com 0113 205 4189 [email protected]
TIGERFLEX®SHIPLAP PENT BIKE STORE ASSEMBLY GUIDE
Step 2:
SIDE PANEL INSTALLATION
Make sure transport blocks have been removed. (Detail A)
NOTE - Hammer off sideways. Do not prise off.
• Secure blank back & blank side panel to each other in corners using 3x 50mm (S50) screws per joint. (Detail B)
• Secure blank panels to the oor using 65mm (N65) nails (Detail C & D)
NOTE - Make sure xings go through oor joists or into heavy duty timber bearers.
• Secure blank panels to each other in using 3x 50mm (S50) screws per join.
Only applies to side panels butting against each other. (Detail E)
S50 N65
Hit outwards with a
hammer to remove block
A

Please retain instructions for future reference
09
SIDE PANEL
SIDE PANEL
D
E
N65
S50
FLOOR JOIST
SIDE PANEL
B
S50
N65
C
SIDE PANEL
SIDE PANEL
SIDE PANEL
FLOOR
PANEL
FLOOR
PANEL

10 tigersheds.com 0113 205 4189 [email protected]
TIGERFLEX®SHIPLAP PENT BIKE STORE ASSEMBLY GUIDE
Step 3:
DOOR SIDE PANEL INSTALLATION
• Assemble door side panel as shown. (Before afxing to the shed).
• Screw door header to the left and right hand sides as shown using 50mm (S50) screws. (Detail F)
NOTE - Predrill holes to reduce chance of wood splitting
• Screw door base to the left and right hand sides as shown using 50mm (S50) screws. (Detail G)
• Check frame is square by measuring across corners.
S50
F
G
DOOR HEADER
DOOR BASE
LEFT HAND
DOOR SIDE
RIGHT HAND
DOOR SIDE
S50 S50
S50
S50
MEASURE CORNER
TO CORNER TO
CHECK SQUARE
Tabla de contenidos
Manuales populares de Accesorios para bicicletas de otras marcas

Sigma
Sigma BC 16.16 Manual de usuario

Playcore
Playcore Dero Setbacks Manual de usuario

VDO Cyclecomputing
VDO Cyclecomputing x3dw Manual de usuario

Cateye
Cateye RAPID X2 Manual de usuario

buratti meccanica
buratti meccanica Clorofilla Trail Manual de usuario

Shimano
Shimano SG-8R20 Instrucciones de funcionamiento


