Targetmax NT-20A Manual de usuario
Time Stamp &
Numbering Machine
NT-20A
Instruction Manual

- 1 -
Safety Information
This section contains detailed instructions on the operation and
maintenance of this machine. To achieve optimum utility of this device,
all operators should carefully read and follow the instructions in this
manual. Please keep this manual in a handy place near the machine.
- Do not modify this product, as a fire, electrical shock, or breakdown
could result. If the product employs a laser, the laser beam source
could cause blindness.
- Do not attempt to remove the covers and panels which have been
fi ed to the product. Some products have a high-voltage part inside
that could cause an electrical shock or blindness.
- Only use the power cord supplied in the package. Failure to use this
cord could result in a fire or electrical shock.
- Do not unplug and plug in the power cord with a wet hand, as an
electrical shock could result.
- Plug the power cord all the way into the power outlet. Failure to do
this could result in a fire or electrical shock.
- In principle, do not use an e tension cord. Use of an e tension cord
could cause a fire or electrical shock. Contact your authorized
service representative if an e tension cord is required.
- The appliance must be connected to an earthed mains socket-outlet.
- The socket-outlet shall be installed near the appliance and shall be
easily accessible.

- 2 -
I N D E X
1. Package contents 3
2. Structure 4
3. Quick easy setup 5
4. How to program the time stamp 6
5. Setting the Time 7
6. Setting the Date 8
7. Setting the 12/24 hour format 9
8. Setting the print order 10
9. Setting the 2 or 4 year digit 11
10. Setting the type of minute 12
11. Change the leading zero 14
12. Setting the preprogrammed comments 15
13. Setting the customized comments 16
14. Setting the language 23
15. Setting the printing format 24
16. Setting the daylight saving 25
17. Setting the number 27
18. Setting the initial number 28
19. Setting the password 29
20. How to change settings when the password is set 30
21. Canceling the password 31
22. Resetting 32
23. Replacing the ribbon cassette 33
24. Character code for alphanumeric 34
25. Installation of battery (Optional) 38
26. Wall Mounting 39
27. Trouble Shooting 40
28. Other information 41

- 3 -
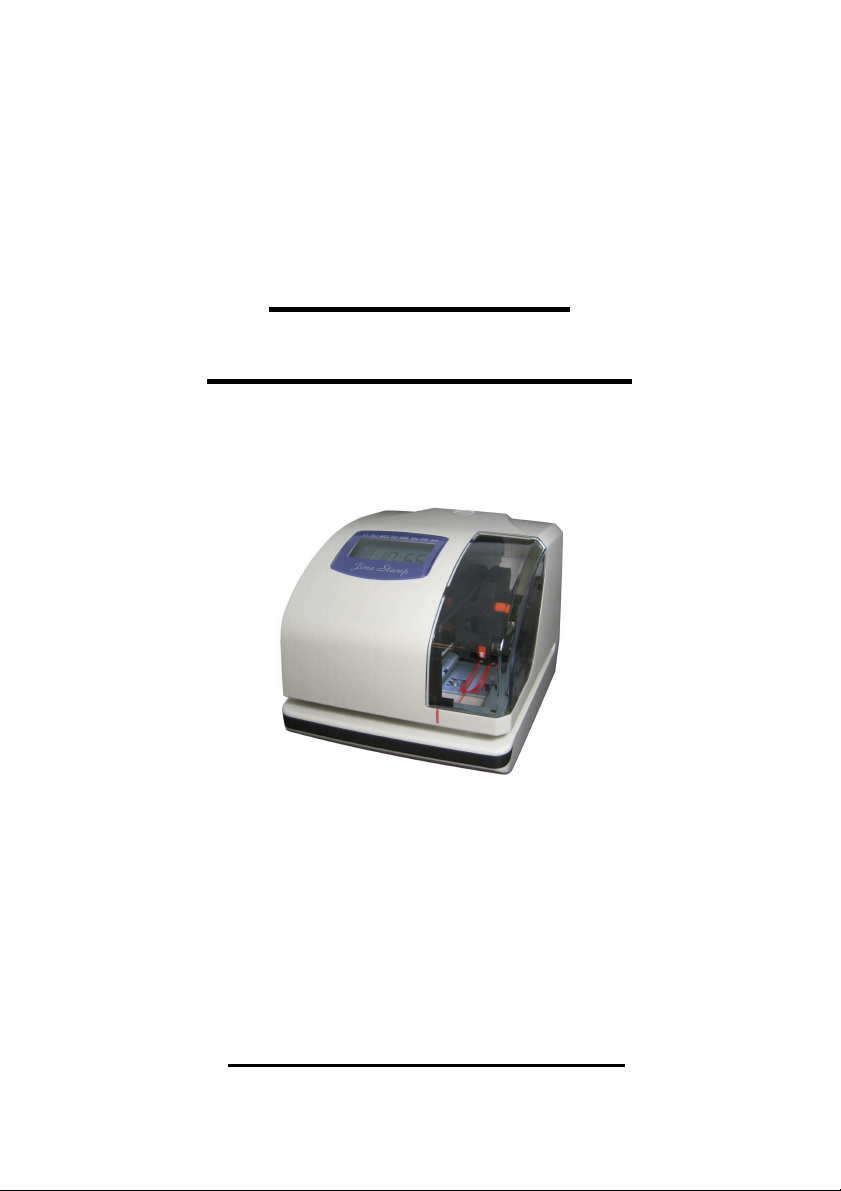
1. Package Contents
Unpack the time Stamp and check its contents to ensure the time stamp
unit and all accessories as shown below are included.
Time Stamp
Accessories
Ribbon Cartridge 1 pc AC Power Cord 1 pc
* The ribbon cartridge is installed at the factory
Key 2 pcs Wall Mount Accessories
Template 1 sheet Screw 2 pcs

- 4 -
2. Structure

- 5 -
3. uick Easy Setup
1. Unlock the key and remove the top case. 2. Remove the Protective Pad.
3. Plug the AC cord into the AC 4. Install back the top cover, get it
outlet. The current time will shown locked and try printing with a
card.
on LCD panel. It is now ready to be
adjusted if necessary.
Please refer to NO. 5 Setting the time if
the time and date are incorrect.

- 6 -
4. How To Program the Time Stamp

- 7 -
5. Setting the Time
E ample: Setting the time 9:30 a.m. (assume the time displayed is “00 00 00”)
Press the {Select} button and position the
▲
under the “TIME” mark. At that moment, the
“Hour” flashes.
(
The flashing means it can be
changed.
)
Press the {Change} button to set at “09” And
then press the {Set} button. At that moment, the
flashing changes from “Hour” to “Minute”
Press the {Change} button to set at “30” And
then press the {Set} button. At that moment, the
“Second” starts to run from “00”.
After you finish setting the time, press the {Set}
button once again. Now the time setting has been
completed.
Replace the cover and lock.
*** Important: If you do not complete Step 4,
the Time Stamp will not print.

- 8 -
6. Setting the Date
E ample: Setting the date to September 2, 2005
Press the {Select} button and position the
▲
under the “DATE” mark. At that moment,
the “Year” flashes.
(The flashing means it can be changed)
Press the {Change} button to set at “05” And
then press the {Set} button. At that moment,
the flashing changes from “Year” to “Month”
Press the {Change} button to set at “09”
And then press the {Set} button. At that
moment, the flashing changes from
“Month” to “Date”
Press the {Change} button to set at “02”
And then press the {Set} button.
After you finish setting the date,
press the {Set} button once again.
Now the time setting has been
completed.
Replace the cover and lock.
*** Important: If you do not
complete Step 5, the Time Stamp
will not print.

- 9 -
7. Setting the 12/24 Hour Format
E ample: Change the hour format to 24 hour.
Press the {Select} button and position Press the {Change} button to set at
“2”
the
▲
under the “HOUR” mark. At that And then press the {Set} button.
moment, the flashing digit indicates
“Hour Format Options” (The flashing
means it can be changed)
Display
Hour Format Options
E : PM 4:00
1 12 Hour PM 04:00
2 24 Hour 16:00
After you finish setting the 12/24 hour format,
press the {Set} button once again.
Now the 12/24 hour setting has been
completed. Replace the cover and lock.
*** Important: If you do not complete Step 2,
the Time Stamp will not print.
Tabla de contenidos


