SoundMax SM-CA2001S Manual de usuario
2-КАНАЛЬНЫЙ АВТОМОБИЛЬНЫЙ УСИЛИТЕЛЬ
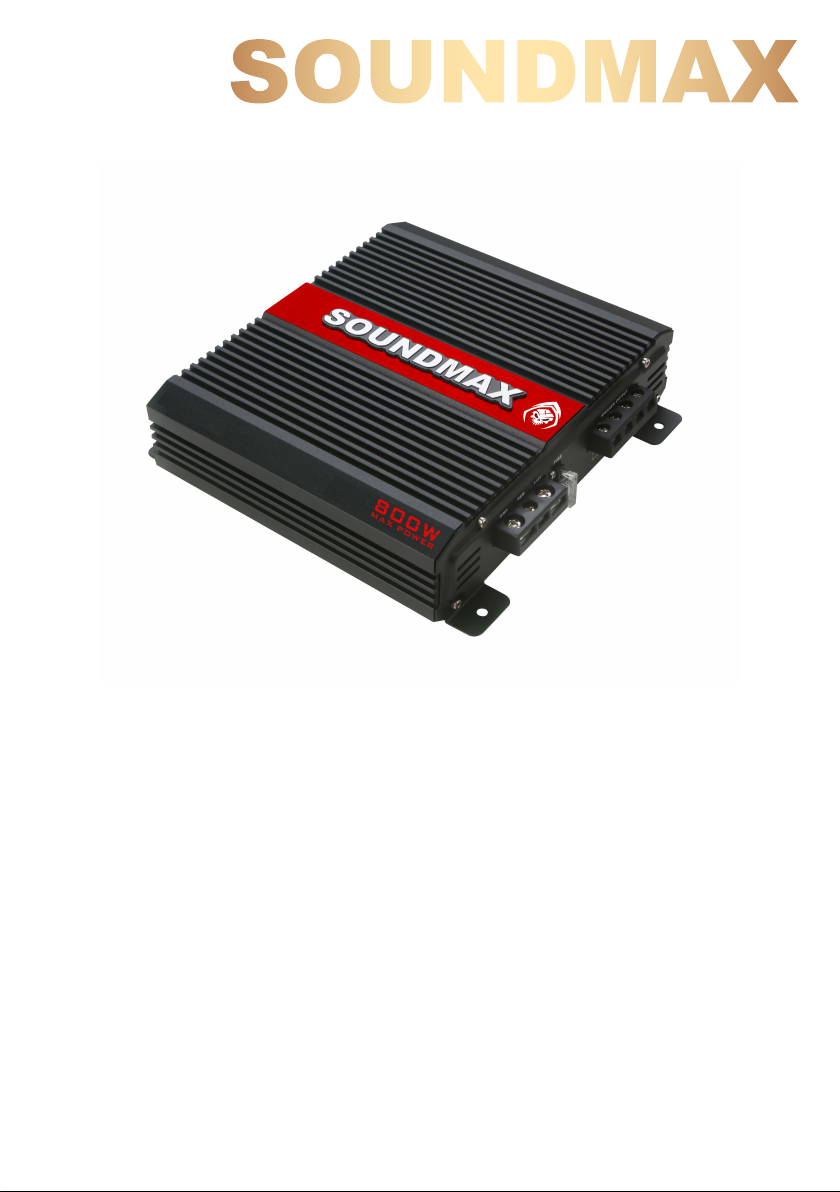
SM-CA2001S
Instruction manual
Руководство по
эксплуатации

Instruction Manual
2
Description
Dear Customer!
Thank you for purchasing our product. For safety, it is strongly recommended to read
this manual carefully before connecting, operating and/or adjusting the product and keep
the manual for reference in future.
LED light
Lights up in green when the power is on.
Lights up in red the amplifier has entered the safety
mode (short circuit, overload, overheating, etc.).
Bass boost
Bass boost adjustable from
0dB to 6/12dB.
Crossover switch
Routes output of the full range (FULL), or a low pass (LPF), or a
high pass (HPF) filter to the internal power amplifier.
High Pass Filter
Variable high pass filter
from 120 Hz to 3 KHz.
Low Pass Filter
Variable low pass filter
from 50 Hz to 250 Hz.
Input Level
Accepts line level
(RCA) inputs from
MIN to MAX.
Line Input
The line-in RCA jacks must be connected to
the head unit's RCA output jacks.
Line Ouput
Allows you to connect an additional amplifier.
Fuse
Protects the amplifier and the vehicle's on-
board network from short circuits.
Power terminals Speaker output terminals

Instruction Manual
instructions for use and care. Please read
this manual before using the device and keep
it for future reference.
•Do not hit the device or drop it.
•Do not expose the device to vibration,
direct sunlight, high or low temperatures or
humidity. Do not turn on the device in
bathrooms, near kitchen stoves, heating
equipment.
•Do not dismantle the body of the
pressure levels in excess of 100 dB can
cause permanent hearing loss. High power
car audio systems can generate sound
pressure levels well above 130 dB, use
common sense and sound hygiene.
Important safeguards
•This manual contains important
•Because the amplifier is sensitive to
electrical and motor noise, and interference
from the amplifier can affect radio reception,
try to install it at least 1 meter away from the
receiver. Good spots include under the seat,
in the trunk or around the sunroof.
Installation
•The amplifier is a high power
device that generates a large amount of
electricity and heat. Therefore, be sure to
install the device in a place with sufficient
airflow, a minimum of dust and moisture.
Leave enough space around the cooling fins
to ensure adequate airflow and cooling. It is
important to ensure that the heatsink's cooling
fins do not touch a panel or surface that
obstructs air circulation.
•Do not install the amplifier in a
place subject to direct sunlight or moisture. Be
sure to install the amplifier on a solid, hard
surface that will not deform under load in the
event of a sudden stop of the vehicle or an
accident.
•When mounting the amplifier
on a side wall, try to position it so that the slots
in the cooling fins are vertical. The amplifier
should not be mounted on the bottom of the
rear deck panel with the fins down, as this will
radiate heat back into the amplifier. Leave
enough space on either side of the amplifier to
make all the wiring and set up the controls. If
your car has a subwoofer box, you can install
the amplifier outside the box.
CAUTION: when mounting the amplifier on
the bottom of the car, make sure that the
screws do not pierce the brake or fuel line.
•Prolonged exposure to sound
device yourself. Have the device repaired
only by qualified personnel. There are bare
high voltage wires in the device. The voltage
inside the appliance is high enough to cause
electric shock.
3

Instruction Manual
•IMPORTANT: before making
any connections, disconnect the car battery
until installation is complete to avoid possible
damage to the electrical system.
Electric connection
Chassis
ground
Battery
Auto antenna
lead
Chassis
ground
CAR STEREO HEAD UNIT
•The +12V DC power cable
must be heavy gauge stranded copper cable
with thick insulation as it draws its power
directly from the positive battery terminal.
Choose a cable with a cross section of at least
10 mm2. The cross section of the earth cable
must be the same as that of the power cable.
•Connect the +12V power
terminal to the battery (+) terminal. The +12 V
power cable must have a built-in fuse close to
the battery at a distance of less than 50 mm. If
there is no fuse, an accidental short circuit may
result in fire and damage to the amplifier.
Connect the fuse holder to the battery, but do
not install the fuse at this stage.
•Connect the ground
terminal directly to the negative (-) battery
terminal or to the vehicle chassis. Make sure
that all paint or other insulation is removed from
the connection, and use a self-tapping screw to
securely attach the bare ends of the wires to
the vehicle chassis. Wires should be as short
as possible.
•Many car radios and
other sources have an output jack for
connecting an amplifier remote control. Connect
the output jack to the REM remote control jack.
If the radio does not have a remote turn on
function, you can connect the REM jack to an
external switch to turn the power on/off of the
amplifier.
•To minimize interference, it
is best to route the power cables in the
opposite direction from the audio cables.
ATTENTION: Power cables must be
connected tightly. A poor connection may result
in malfunction, interference, or distortion.
4

Instruction Manual
Other connections
•This amplifier is equipped
with RCA connectors for low level inputs. The
low level signal is transmitted over RCA
cables. It is preferable to use the amplifier's
low-level inputs if the head unit
(radio) is equipped with low-level outputs.
Input connections
5
Optional full range line
out connection for
additional amplifiers in
the system
Left speaker
2-16 Ohms
Right speaker
2-16 Ohms
Subwoofer
4-16 Ohms

Instruction Manual
Specifications and functions are subject to change by the manufacturer without notice due to
continuous improvement of this product.
MANUFACTURED AND DISTRIBUTED BY TECHNO ELECTRIC LIMITED,
Legal address:
Frequency response
Weighted signal-to-noise ratio
Harmonic distortion
Subsonic filter adjustment range
LPF adjustment range
120 W х 2
10 Hz ~ 30 kHz
96 dB
0.05%
0/6/12 dB
—
50 ~ 250 Hz
Input sensitivity 0.2 ~ 5V
RF frequency adjustment range 120 Hz - 3 kHz
Fuse 1 x 25 A
Unit dimensions (L x H x W) mm 174 х 52 х 209
What's in the box
1 pc.
1 pc.
Car amplifier
Instruction manual
Specifications
Rated output power at 4 ohms
at 2 ohms
bridge mode at 1 ohm
Peak output power
180 W х 2
360 W х 2
800 W
Switchable bass boost control
(Bass boost)
6
•You do not need to set up
the amplifier input connection before
connecting the speaker outputs.
Speaker output connections
•Connect the right and left
speaker wires to the corresponding
speaker output terminals on the
amplifier.
•First, set the volume
control on the amplifier to min. After turning on
the radio for the first time, set the volume
control of the radio to about 80% of full power.
Start playing the sound and slowly turn up the
volume of the amp until you hear distortion,
then turn the volume down for a cleaner
sound.
Volume control
wire from the speaker is connected to the
positive terminal of the amplifier and the
negative wire to the negative terminal.
Reversing either of these connections will
move the speaker cones out of phase,
resulting in bass suppression.
•Make sure the positive

Руководство по эксплуатации
7
Описание
Уважаемый покупатель!
Благодарим Вас за покупку нашего изделия. Чтобы понять, как правильно и без-
опасно пользоваться Вашей моделью изделия, рекомендуется тщательно изучить
настоящее руководство перед включением, регулировкой и эксплуатацией изделия.
Сохраняйте руководство для использования в будущем.
Светодиодный индикатор
Зеленый - усилитель включен.
Красный - сработала защита (например, при коротком
замыкании, перегрузке, перегреве)
Усиление басов
Регулировка усиления
басов от 0 дБ до 6/12 дБ.
Кроссоверный переключатель
Направляет выходной сигнал полного диапазона (FULL),
фильтра низких частот (LPF) или фильтра высоких частот
(HPF) на внутренний усилитель мощности.
Фильтр высоких частот
Переменный фильтр
высоких частот от 120 Гц
до 3 кГц.
Фильтр низких частот
Переменный фильтр
низких частот от 50 Гц
до 250 Гц.
Линейный вход
Гнезда RCA линейного входа должны
быть соединены с выходными гнездами
RCA головного устройства.
Линейный выход
Позволяет подключить дополнительный
усилитель.
Предохранитель
Защищает усилитель и бортовую сеть
автомобиля от короткого замыкания.
Клеммы питания Выходные клеммы динамика
Входной уровень
Регулятор уровня
входного сигнала
(RCA) от MIN до MAX.

Руководство по эксплуатации
8
указания по эксплуатации и уходу. Перед
использованием устройства ознакомьтесь
с руководством и сохраните его для после-
дующего использования.
•Не наносите ударов по устройству, не
роняйте его.
•Не подвергайте устройство вибрации,
воздействию прямых солнечных лучей, вы-
соких или низких температур и влажности.
Не включайте устройство в ванных комна-
тах, около кухонных плит, отопительного
оборудования.
•Не демонтируйте корпус устройства
звукового давления cвыше 100 дБ может
привести к необратимой потере слуха.
Автомобильные аудиосистемы высокой
мощности могут создавать уровни звукового
давления значительно выше 130 дБ,
руководствуйтесь здравым смыслом и
соблюдайте звуковую гигиену.
Меры безопасности
•В руководстве присутствуют важные
•Поскольку усилитель чувствителен
к электрическим помехам и шуму двигателя,
а помехи от усилителя могут повлиять на
прием радиосигналов, постарайтесь
установить его на расстоянии не менее 1
метра от приемника. Хорошие места
включают под сиденьем, в багажнике или в
районе люка.
Монтаж
•Усилитель является устройством
высокой мощности, который вырабатывает
большое количество электроэнергии и
тепла. Поэтому обязательно устанавливайте
устройство в месте с достаточным притоком
воздуха, минимумом пыли и влаги. Оставьте
достаточно места вокруг охлаждающих
ребер, чтобы обеспечить достаточный
приток воздуха и охлаждение. Важно
убедиться, что охлаждающие ребра
радиатора не касаются панели или
поверхности, препятствующей циркуляции
воздуха.
•Не устанавливайте усилитель в
местах, подверженных воздействию прямых
солнечных лучей или влаги. Обязательно
устанавливайте усилитель на прочную,
твердую поверхность, которая не
деформируется под нагрузкой при
внезапной остановке автомобиля или
аварии.
•При монтаже усилителя на
боковой стене постарайтесь расположить
его так, чтобы прорези в ребрах охлаждения
были вертикальными. Усилитель не следует
устанавливать на днище задней панели
палубы ребрами вниз, так как при этом
тепло будет излучаться обратно в
усилитель. Оставьте достаточно места по
обе стороны от усилителя, чтобы выполнить
все проводные соединения и настроить
элементы управления. Если в Вашем
автомобиле есть бокс для сабвуфера, вы
можете установить усилитель снаружи
бокса.
Внимание: при монтаже усилителя на
днище автомобиля, убедитесь, что винты не
проткнут тормозную или топливную
магистраль.
•Продолжительное воздействие
самостоятельно. Доверяйте ремонт устрой-
ства только квалифицированным спе-
циалистам. В приборе находятся оголенные
провода высокого напряжения. Напряжение
внутри прибора достаточно высокое, чтобы
вызвать удар электрическим током.

Руководство по эксплуатации
9
•ВАЖНО: перед выполнением
каких-либо подключений отключите
автомобильный аккумулятор до завершения
установки, чтобы избежать возможного
повреждения электрической системы
Подключение электропитания
Заземление
на массу
АКБ
Автомобильная
антенна
Заземление
на массу
Магнитола
•Силовой кабель постоянного
тока +12 В должен быть многожильным
медным кабелем большого сечения с
толстой изоляцией, так как он получает
питание непосредственно от положительной
клеммы аккумулятора. Выбирайте кабель с
сечением не менее 10 мм2. Сечение кабеля
заземления должно быть таким же, как у
силового кабеля.
•Подключите клемму питания
+12 В к клемме аккумулятора (+). В силовом
кабеле +12 В должен быть установлен
встроенный предохранитель рядом с
аккумулятором на расстоянии менее 50 мм.
При отсутствии предохранителя случайное
короткое замыкание может привести к
пожару и повреждению усилителя.
Подсоедините держатель предохранителя к
аккумулятору, но не устанавливайте
предохранитель на данном этапе.
•Подсоедините клемму
заземления непосредственно к
отрицательной клемме аккумулятора (-) или
к шасси автомобиля. Убедитесь, что с места
соединения удалена вся краска или другая
изоляция, и с помощью самореза надежно
прикрепите оголенные концы проводов к
шасси автомобиля. Провода должны быть
как можно короче.
•Многие автомобильные
магнитолы и другие источники сигнала
имеют выходной разъем для подключения
пульта дистанционного управления
усилителем. Подключите выходной разъем к
разъему дистанционного управления REM.
Если магнитола не оснащена функцией
дистанционного включения, Вы можете
подключить разъем REM к внешнему
выключателю для включения/выключения
питания усилителя.
•Чтобы свести помехи к
минимуму, лучше всего прокладывать
кабели питания в противоположную сторону
от аудиокабелей.
Внимание: Кабели питания
должны быть соединены плотно. Плохое
соединение может привести к сбоям в
работе, помехам или искажениям.

Руководство по эксплуатации
10
Прочие подключения
•Данный усилитель оснащен
разъемами RCA для низкоуровневых
входов. Сигнал низкого уровня передается
по кабелям RCA. Предпочтительно
использовать низкоуровневые входы
усилителя, если головное устройство
(магнитола) оснащено низкоуровневыми
выходами.
Входные подключения
Опциональный
полнодиапазонный линейный
выход для подключения
дополнительных усилителей
в системе
Левый динамик
2-16 Ом
Правый динамик
2-16 Ом
Сабвуфер
4-16 Ом
Автомобильная
магнитола
Правый
Левый
Tabla de contenidos
Idiomas:
Otros manuales de Amplificador de SoundMax


