screwfix E15LF1U Manual de usuario

GB
IE
Radiant panel heater
Version : 06
Model EAN
E15LF1U 1500W 3663602910947
This product is only suitable for well insulated
spaces or occasional use.

2
Getting started...
Safety 3-5
Before you start 6
Quick start 7-10
In more detail…
Trouble shooting 11
Maintenance and cleaning 12
Environmental protection 13
Technical specications 13-14
Installation 15
This instruction manual is important to your safety.
Read the entire manual carefully before using the appliance and
keep it for future reference.
Let’s
get started...

3
PLEASE READ THE SAFETY ADVICE CAREFULLY
BEFORE USING THE APPLIANCE
Warning : risk of re, electric shock, physical injuries and
material damage.
Before using this appliance, always follow the safety
advice during assembly, use and maintenance.
SAFETY ADVICE
- This appliance can be used by children aged from 8
years and above and persons with reduced physical,
sensory or mental capabilities or lack of experience
and knowledge if they have been given supervision or
instruction concerning use of the appliance in a safe
way and understand the hazards involved. Children
shall not play with the appliance. Cleaning and user
maintenance shall not be made by children without
supervision.
- Children of less than 3 years should be kept away
unless continuously supervised.
- Children aged from 3 years and less than 8 years shall
only switch on/o the appliance provided that it has
been placed or installed in its intended normal operating
position and they have been given supervision or
instruction concerning use of the appliance in a safe
way and understand the hazards involved.
Children aged from 3 years and less than 8 years shall
not plug in, regulate and clean the appliance or perform
user maintenance.
- CAUTION : Some parts of this product can become
very hot and cause burns. Particular attention has to
be given where children and vulnerable people are
present.
Safety
...

4
PLEASE READ THE SAFETY ADVICE CAREFULLY
BEFORE USING THE APPLIANCE
- WARNING : In order to avoid overheating, do not
cover the heater.
- If the supply cord is damaged, it must be replaced by
the manufacturer, its service agent or similarly qualied
persons in order to avoid a hazard.
- The appliance must not be used outdoors.
- The appliance is intended for domestic use only. Do not
use this appliance for anything other than its intended
purpose.
- Do not operate the appliance in a room where ammable
liquids, solvents or varnishes are stored and/or where
ammable vapours may exist.
- The appliance must be placed at a minimum distance of
one metre from ammable materials and objects (curtains,
bedding, textiles, paper, etc.)
- Do not attempt to disassemble this appliance, repair it or
perform any modications yourself. This appliance does
not contain any parts that can be used separately.
- Keep plastic packaging out of the reach of children.
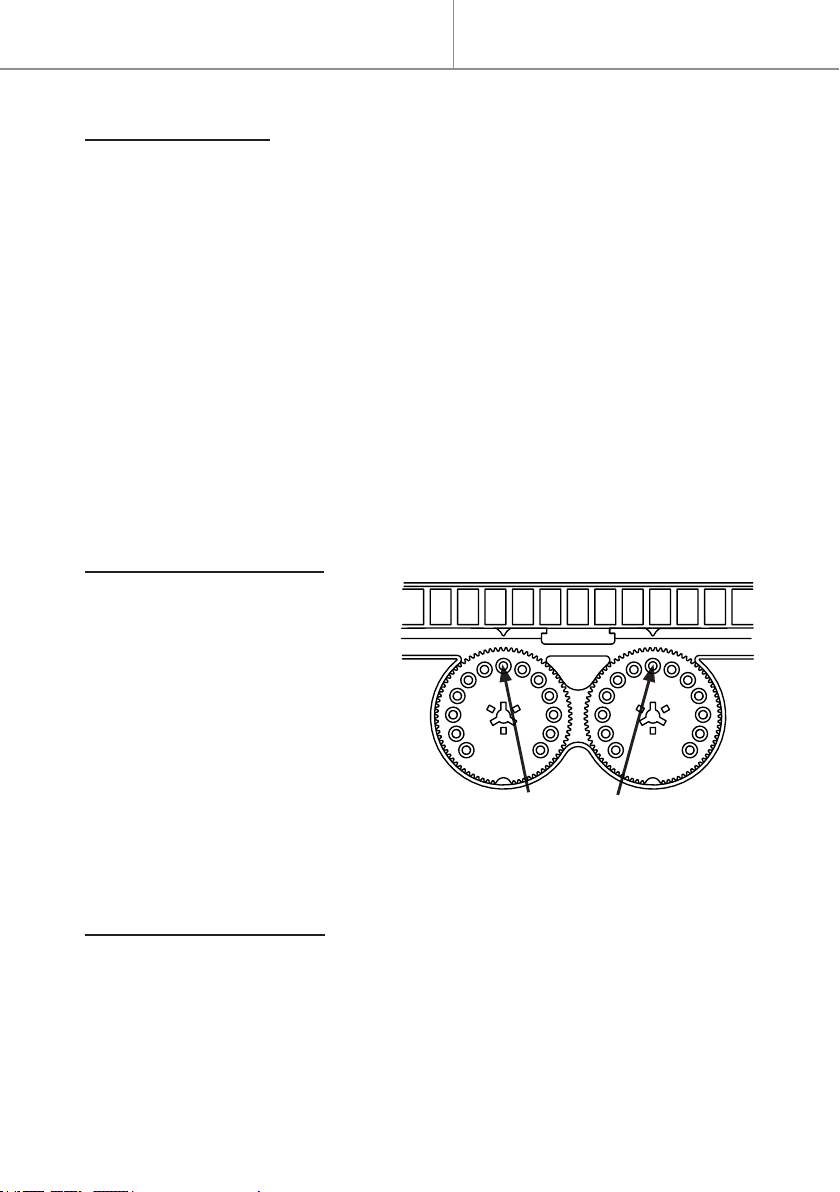
- Air inlet and outlet vents must not be covered or obstructed
under any circumstances. Do not insert any objects into
these vents.
- Do not exert pressure on or hit the walls of the appliance.
- The appliance must be set upright on its feet.
- The appliance must be set on a horizontal, at, stable and
heat-resistant surface. Any other position is potentially
dangerous.
Safety

5
PLEASE READ THE SAFETY ADVICE CAREFULLY
BEFORE USING THE APPLIANCE
- Do not use this heater in the immediate surroundings of
a bath, a shower or a swimming pool. Keep the appliance
dry.
-The appliance must be unplugged after use and before
moving or cleaning it. Do not unplug it by pulling on the
power cord.
- The heater must not be located immediately below a
socket-outlet.
- CAUTION : In order to avoid a hazard due to inadvertent
resetting of the thermal cut-out, this appliance must not be
supplied through an external switching device, such as a
timer, or connected to a circuit that is regularly switched on
and o by the utility.
- Information on appliance installation is provided in the
Installation section on page 15.
- Always make sure the feet are installed on your appliance
when using it.
- CAUTION : do a professional install according to installation
standard in each country.
- Before connecting the appliance, be sure that the
mains voltage available matches that specied on the
rating plate.
IMPORTANT : KEEP THIS INFORMATION FOR
FUTURE REFERENCE. READ CAREFULLY.
Safety

6
Your product
Points to check before beginning
Before you start
For domestic use only.
Children or any other persons incapable of using the appliance
safely must not use this appliance.
Please discard of plastic packaging appropriately and keep it out
of reach of children.
To install your product, please read the installation
guidelines at the end of the instruction manual.
You need (no included)
1 : Control panel
2 : Main part
x4
x2
1
2
1 screwdriver

7
The controls
Mode Temperature
selection setting
Heating LED
STOP HEATING (the appliance is in standby mode)
- In position, the appliance stops heating ; the red light
remains o.
This position can be used to stop heating momentarily (to
air the room).
The heating LED comes on when the appliance is in heating mode. It
switches on and o cyclically.
SELECTING COMFORT MODE
.
- The appliance is continually in Comfort mode (no eco pro-
gramme).
.
Quick start

8
SELECTING AN ECO PROGRAMME
You have the choice of 3 programmes that are adapted to dierent room
occupancy schedules. This enables real energy savings without you having
to intervene and without the need for an external programmer.
The programmes are only activated after setting the time. (see § Setting the
time).
IMPORTANT : when the time is not set, programmes remain in Eco
mode.
____________________________________________________________
P1
.
°C
Programme 1 (evening)
0h 2 4 6 8 10 12 14 16 18 20 22 24 2h
Comfort
Eco
- The Comfort mode temperature is programmed automatically in the
evening from 18:00 to 22:00. Outside of this time period, the temperature
automatically switches to economy mode.
____________________________________________________________
P2
.
Comfort
Eco
°C Programme 2 (morning and evening)
0h 2 4 6 8 10 12 14 16 18 20 22 24 2h
- The Comfort mode temperature is programmed automatically in the morn-
ing from 6:00 to 8:00 and in the evening from 17:00 to 22:00. Outside of
this time period, the temperature automatically switches to economy mode.
____________________________________________________________
P3
.
Comfort
Eco
°C Programme 3 (morning to evening)
0h 2 4 6 8 10 12 14 16 18 20 22 24 2h
- The Comfort mode temperature is programmed automatically from morn-
ing to evening from 6:00 to 22:00. Outside of this time period, the temper-
ature automatically switches to economy mode.
____________________________________________________________
Quick start

9
SETTING THE COMFORT MODE TEMPERATURE
- The button runs between 2 and 8, setting the Comfort mode temperature
from 15°C to approximately 30°C.
What you need to do :
- Set the button to position 4: the red light comes on when
the set temperature is higher than the room temperature.
- If the room temperature exceeds the desired tempera-
ture, reduce the temperature setting until the red light
goes out.
- Wait at least one hour for the room temperature to stabi-
lise before adjusting the temperature setting again.
- If the room temperature does not reach the desired tem-
perature, increase the temperature setting.
- Wait at least one hour for the room temperature to stabi-
lise before adjusting the temperature setting again.
- When the temperature is right for you, set the tempera-
ture position once and for all.
Note : the room temperature depends on the temperature setting as well
as on the size and insulation of the room.
SELECTING FROST PROTECTION MODE
.
Frost protection mode is located on the temperature set-
ting button.
- Select a constant frost protection temperature of around
7°C.
Quick start

10
SETTING THE TIME
A ash every 2 seconds indicates a time disruption following a power cut.
This ash is reversed (light goes out briey every 2 seconds) when the LED
is on during the heating cycle.
The time can only be set to certain hours: 12:00, 17:00 or 20:00.
1- Select frost protection mode.
2- Select programme P1 if it is 12:00, or programme P2 if it is 17:00, or Pro-
gramme P3 if it is 20:00.
3- Briey disconnect the appliance from the mains supply.
4- Select the desired program and set the setpoint temperature.
Tip : the oset of the time setting osets all of the programme times (for
example, setting the time to 13:00 instead of 12:00 delays the programme
times by 1 hour).
LOCKING THE BUTTONS
- The position of the button
can be locked by screwing a
small screw (12 mm long) into
the hole opposite the position
marker.
- The rotation of the button can
be limited by screwing one or
two small screws (12 mm long)
into one or two dierent holes
(apart from the hole opposite
the position marker that locks the button).
PRECAUTIONS FOR USE
- There is no point setting the temperature to the maximum as the room tem-
perature will not reach that level.
- Wait several hours for the room temperature to stabilise before adjusting
the temperature setting.
- Switch the appliance o when you air the room.
Hole for locking the button
Quick start
Este manual sirve para los siguientes modelos
1
Tabla de contenidos
Idiomas:
Otros manuales de Calentador de screwfix
Manuales populares de Calentador de otras marcas

Empire Heating Systems
Empire Heating Systems WCC65 Manual de usuario

Wetekom
Wetekom 92 86 43 Manual de usuario

Desa
Desa SPC170-F Manual de usuario

Watlow
Watlow Watrod Electric Tubular Heaters Manual de usuario

Haverland
Haverland ECO-DRY GPS Series Manual de lista de piezas

Stelpro
Stelpro ASILVC2060 Series Manual de usuario


