Razorri MT04 Manual de usuario

ATTENTION: PLEASE READ AND SAVE THESE INSTRUCTIONS BEFORE USE
User Manual
Smart Meat Thermometer

Warnings
Specifications
Package Contents
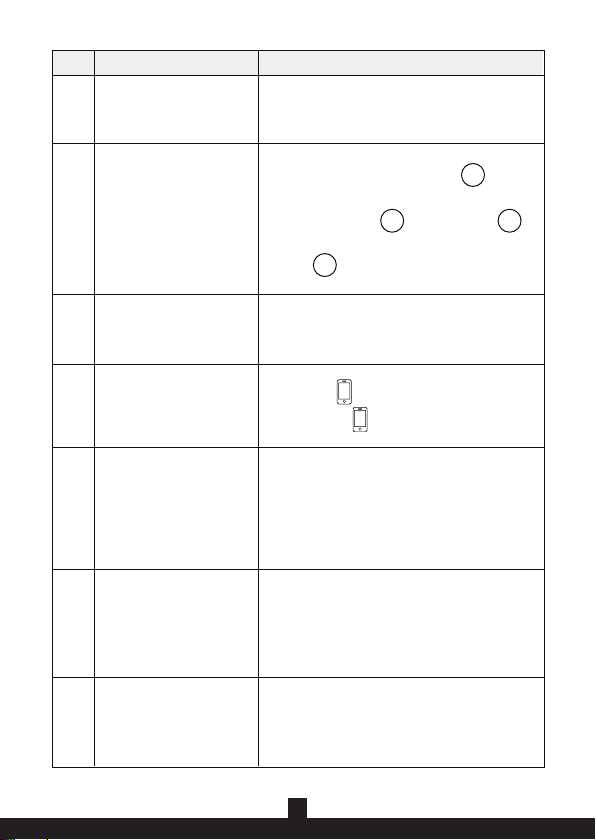
Parts
Instructions of the Device
Instruction of the App
Clean and Maintenance
01
01
02
03
06
07
12
Table of Contents

Warnings
●
●
●
●
●
●
●
●
Do not leave the probe in extremely hot foods or liquids (anything over 572°F/ 300°C) for more
than one minute.
Always wear heat-resistant gloves to use the probe. Do not touch the probe or wire with bare
hands during or right after measuring temperature since it may be very hot.
Do not use this device in a microwave oven.
Do not place this device in a place where the temperature is too high. Please operate the device
within the ambient temperature range of 32°F to 122°F(0°C to 50°C).
Do not place the probe in the dishwasher or completely immerse it in any liquid. For cleaning,
please wipe the probe tip with a damp soapy cloth or sponge and dry it.
Do not use the device in the rain. The thermometer is not waterproof.
Keep the probes and wires away from children. This device is not intended for use by persons
under the age of 12.
If this device is not in use for a long period of time, please remove its battery to prevent
corrosion.
01
Specifications
Model
Material
Measurement Range
Alert Temperature Range
Net Weight
Battery Type
Working Voltage
MT04
ABS, Food-grade Stainless Steel
-22°F to 572°F / -30°C to 300°C
-22°F to 572°F / -30 °C to 300°C
6 oz ( 169 g )
AAA Batteries × 3
4.5V

Package Contents
02
+
-
+
-
+
-
Smart Meat Thermometer × 1
●
Fasten Clip × 1
●
Probe Storage Racks × 2
●
Probes × 4
●
AAA Batteries × 3
●
User Manual × 1
●

Parts
03
Introduction
Displays the setting status and temperatures.
To check each of the 6 probes’s status.
The temperature alarm is on by default. You
can turn off the temperature alarm by
pressing the Temperature Alarm Button ⑮
(Page 5) in the battery compartment. The
icon will display when the temperature
alarm is turned off.
The icon will display when the battery is
low.
·During the cooking process, press to
cycle from Probe 6 to Probe 1.
·Hold to decrease the value
continuously.
·After pressing the Set Button,
press to decrease the target alert
temperature.
No.
①
②
③
④Low Battery
Mute
“-” Button
⑤
Part Name
-
-
-
o
LCD Display Screen
Probe Channel Number
⑫
⑪
⑩
⑨
⑧
①
⑤
⑥
⑦
②
③
④
04
Introduction
·Hold for three seconds to turn the device on/off.
·Press to enter the alert temperature setting.
Display the current temperature for the selected
probe.
There are 6 probe jacks on the thermometer ( 4
probes are included, extra probes can be
purchased separately ).
Default at °F, hold the Temperature Alarm Button
⑮(Page 5) in the battery compartment for 3
seconds until it beeps to switch into °C. Hold again
to switch back to °F.
While the probe senses the food reaching the
preset temperature, the device will start beeping
and the displays on the screen will keep flashing,
pressing any button to stop.
No.
⑥
⑦
⑧Current Temperature
Connection Status
⑨
Preset Temperature
⑩
Temperature Unit
⑪
Probe Jack⑫
Part Name
·During the cooking process, press to
cycle from Probe 1 to Probe 6.
·After pressing the Set Button, press
to increase the target alert temperature.
·Hold to increase the value continuously.
o
Power / Set Button
“+” Button
Connected: on
Disconnected: flashes

05
·Press to turn on/off the temperature alarm.
·Hold 3 seconds to switch the temperature unit
between Fahrenheit and Celsius.
Introduction
The tip for the probe, to sense the
temperature of the foods.
To attach the device on the refrigerator or
other metal surfaces.
To protect the batteries and the Temperature
Alarm Button ⑮.
To insert 3 batteries.
No.
⑬
⑭
⑮
⑯
Temperature Alarm Button
Battery Compartment
Battery Lid
Probe Tip
⑰
Part Name
Built-in Magnet
⑰
⑬ ⑬
⑯
⑮
⑬
⑭

Instructions of the Device
Note:
●
●
Before using, please install the batteries (included) in the battery compartment of the device.
When there is no operation on the buttons for 10 seconds, the backlight of the device will
automatically turn off to enter Low Power Mode.
Note:
When the measured temperature reaches the preset temperature, the device will start beeping
and the value display will keep flashing. Press any button on the device to stop the flashing and
beeping.
1) Power on/off
Press and hold the Power/Set Button for 3 seconds.
2) Connect the probe to the device
Plug the connection port of the probe jack to the device. The screen will display the current
temperature of the probe.
3) Switch the measurement unit
Remove the battery compartment cover on the device. Hold the Temperature Alarm Button for 3
seconds until it beeps to switch the temperature unit between Fahrenheit and Celsius ( the
default unit is Fahrenheit ).
4) Set the preset temperature
a) Press the Power/Set Button to enter the preset temperature setting.
b) Press the “+”/”-” Button to increase / decrease the value or hold the button to speed up the
adjusting.
c) Press the Power/Set Button to confirm the setting. Or wait for 10 seconds, the value will
be automatically confirmed.
06
o
o
o

Instruction of the App
App Installation & Connection
You can set and check the temperature with the SmartLife App. Please download it from the App
Store for IOS or Google Play Store for Android. You can scan the QR code here:
1. Account registration and login
Please register an account with a valid email address. After registration, check your inbox to get
the verification code, then enter the code and set your password to log in.
2. Connect the device with your phone
a. Press and hold the Power/Set Button to turn on the device.
07
c. Turn on the SmartLife App on your phone .
Tap “Add Device”→"Auto Scan",
the device will pop up.
b. Enable the Bluetooth of
your smartphone.

d. Tap "Go to add" and the connection will start to load.
e. Wait for the connection to succeed.
08
Tabla de contenidos


