Noritz NAW-1 US Manual de usuario

2
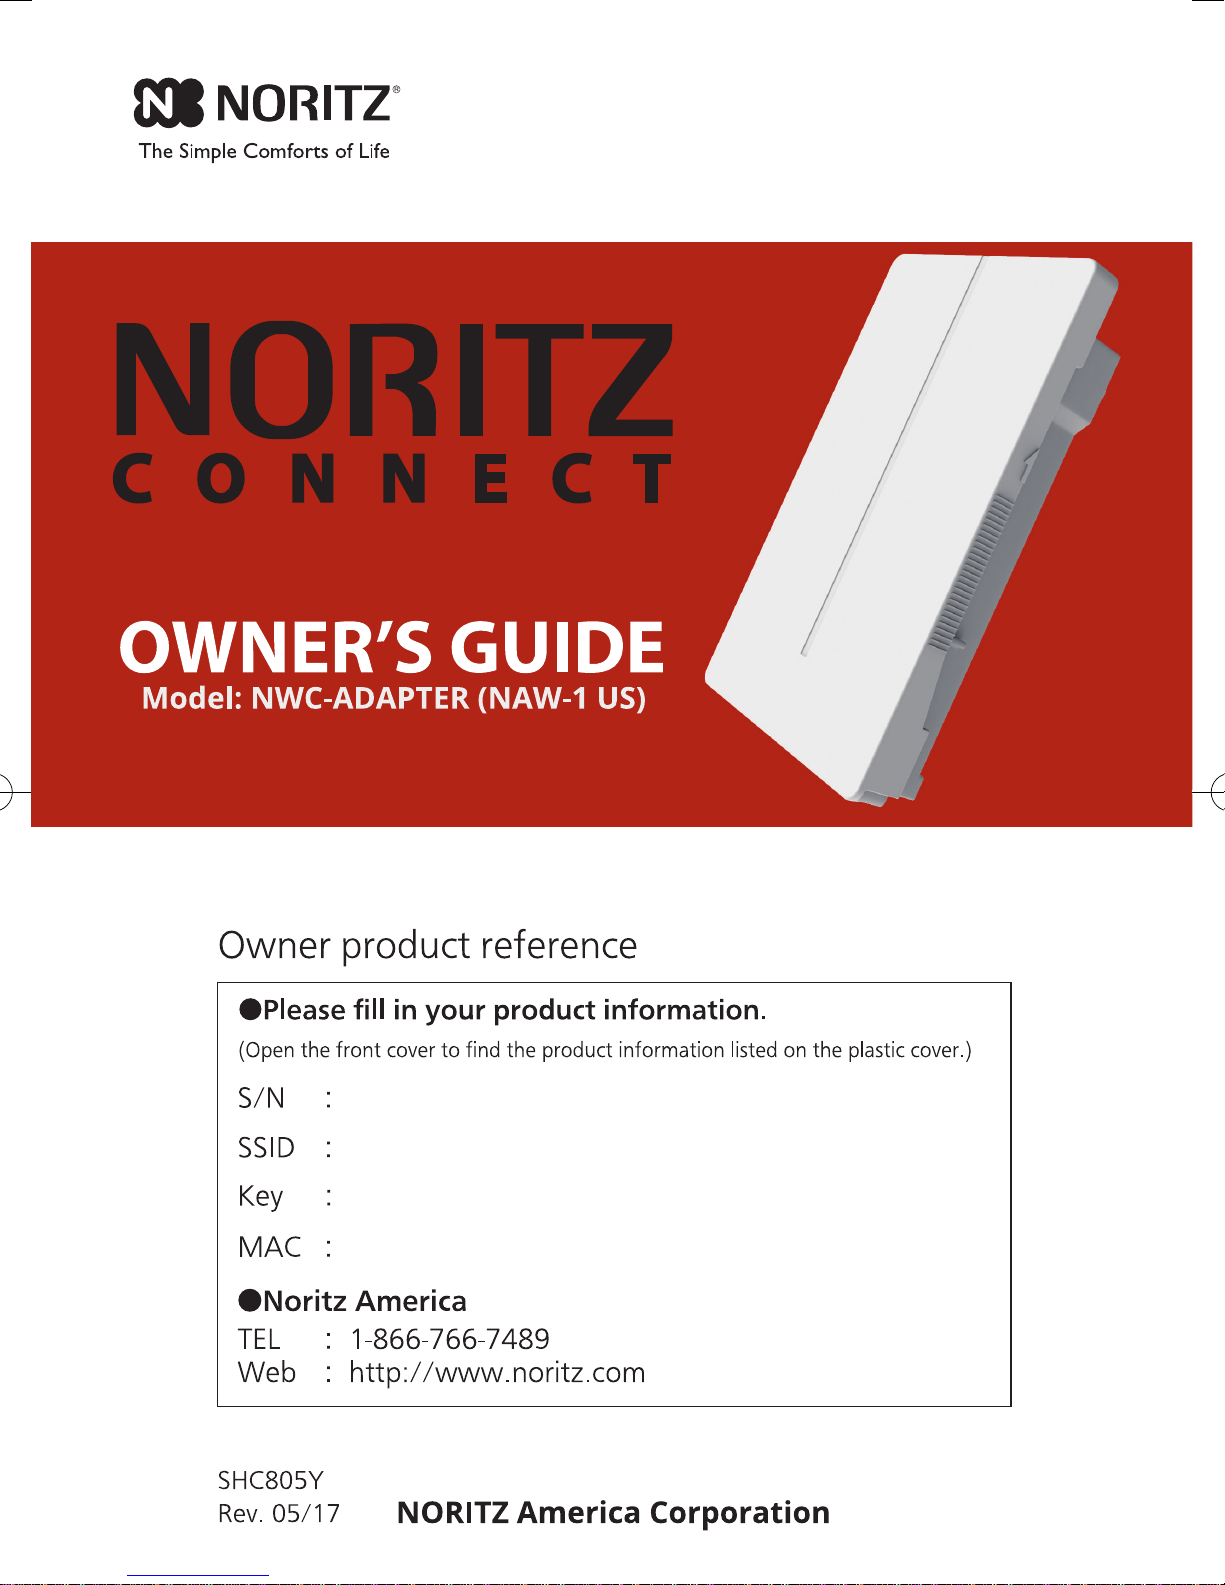
Thank you for purchasing this NORITZ CONNECT NWC-ADAPTER (this product).
This product is used for remote operation, setup and monitoring Noritz heater by
Smart Devices.
Noritz America reserves the right to discontinue, or change at any time, the
designs and/or specications of its products without notice.
When there are any changes in this Owner’s Guide (this manual) due to version updates
of any functions of this product, download this manual from http://support.noritz.com/.
This product functions may be restricted depending on the operating situation.
Introduction

3
Contents
Important Safety Information ............................................................. 4
Product Overview ............................................................................... 7
System Diagram................................................................................. 7
Product Limitations............................................................................. 7
How to open the front cover ............................................................... 7
General Parts ....................................................................................... 8
Description of each LED condition ..................................................... 9
How to Use .......................................................................................... 10
Button Operations ............................................................................. 10
Activate WPS Mode ....................................................................... 10
Activate AP Mode........................................................................... 10
Signal Strength Check Mode ......................................................... 10
Status LED brightness settings ...................................................... 11
Reset (Reboot)............................................................................... 11
Clear settings ................................................................................. 11
Dip Switch settings............................................................................ 11
Before setting up this product........................................................... 12
Pre-installation Checklist................................................................... 12
Install the NORITZ CONNECT App................................................... 12
Setting up this product
1st step: Account registration............................................................ 13
2nd step: Register the heater ........................................................... 14
3rd step: Pair the product to your smartphone ................................ 16
4th step: Add the product to your network (wireless router) ............. 17
Hardware checking points after setup............................................... 20
Appendix ............................................................................................. 21
Specications .................................................................................... 21
Compatible OS.................................................................................. 21
Prior notice for software updates ...................................................... 21
Troubleshooting................................................................................. 22
Trademarks ....................................................................................... 23
Warranty .............................................................................................. 24

4
Keep the area around this product clean.
If boxes, weeds, cobwebs, cockroaches etc. are in the vicinity of
this product, damage or re can result.
Do not disassemble this product.
Do not use benzene, oil or fat detergents to clean this product.
This may cause deformation.
Important Safety Information - 1
Prohibited
Don’t disassemble
the equipment.
Don’t touch
with a wet
hand.
Important Safety information
Refer to the Owner’s Guide of the heater before using this product.
To prevent damage to property and injury to the user, the icons shown below will be used to warn of
varying levels of danger.
Every indication is critical to the safe operation of this product and must be understood and observed.
Potential dangers from accidents during installation and use are divided into the following two categories.
Closely observe these warnings; they are critical to your safety.
Other icons
WARNING
CAUTION
WARNING indicates a potentially hazardous situation which, if not
avoided, could result in death or serious injury.
CAUTION indicates a potentially hazardous situation which, if not
avoided, may result in minor or moderate injury.
Be sure to do. Electric Shock.
Icons warning of risk level
This is the safety alert symbol. It is used to alert you to potential personal injury hazards.
Obey all safety messages that follow this symbol to avoid possible injury or death.
WARNING
Contact a qualied service technician for any necessary repairs,
service or maintenance.
CAUTION

5
Do not splash water with hose etc on this product.
This product can be installed outdoors, however install the product in a
location to avoid direct rain or severe wind.
When installing outdoors the wireless signal strength may be weak
and/or unstable.
Do not expose this product to steam.
Do not locate this product near stoves or ovens, this may cause damage or failure.
Do not use parts other than those specied for this product.
Do not look straight an LED when a front cover is opened.
Do not remove a plastic cover ( page 8).
Do not touch the Circuit Board.
Do not paint this product.
This product is not designed for radiation resistance, prohibited to
use this under radiation environment.
Communication between this product and other might not be established
nor maintained depending upon radio environment or operating condition
of this product and other products with wireless technology.
This product operates in the unlicensed ISM band at 2.4GHz. In case this
product is used around the other wireless devices which operate in same
frequency band of this product, there is a possibility that interference occurs
between this product and such other devices. If such interference occurs,
please stop the operation of other devices or relocate this product.
CAUTION

6
This device complies with Industry Canada’s Licence-Exempt RSSs.
Operation is subject to the following two conditions:
(1) This device may not cause interference.
(2) This device must accept any interference, including interference that may
cause undesired operation of the device.
This equipment complies with IC radiation exposure limits set forth for an
uncontrolled environment and meets RSS-102 of the IC radio frequency (RF)
Exposure rules. This equipment should be installed and operated keeping the
radiator at least 7.87” (20cm) or more away from person’s body.
-Contains IC : 4389B-WYSACVLXY
This device complies with part 15 of the FCC Rules.
Operation is subject to the following two conditions:
(1) This device may not cause harmful interference.
(2) This device must accept any interference received, including interference
that may cause undesired operation.
• Changes or modications not expressly approved by the party responsible
for compliance could void the user’s authority to operate the equipment.
• This equipment complies with FCC radiation exposure limits set forth for
an uncontrolled environment and meets the FCC radio frequency (RF)
Exposure Guidelines. This equipment should be installed and operated
keeping the radiator at least 7.87” (20cm) or more away from person’s body.
-Contains FCC ID: RYYWYSACVLXY
CAUTION
■ Canada Regulatory Information
■ FCC Regulatory Information
Important Safety Information - 2

7
Product Overview
Product Limitations
•
This product is not compatible with WEP encryption method. ( page 21).
• This product operates only in the 2.4 GHz frequency band. It is not compatible
with the 5GHz frequency band. Also since this product does not support 12ch and
13ch,
attention is necessary when xing the channel of the wireless router.
• This product is only for wireless LAN connection.
This is not compatible with a wired LAN.
• Do not bring a radio close to this product. It may cause radio noise.
How to open the front cover
When setting up this product, it is necessary to open the front cover.
To open the front cover, grab the ribbed stoppers on each side of the front
cover, slide the cover up then pull off the front cover.
System Diagram
Front Stopper
Server
Wireless router
Wireless
LAN
Remote Cord
LTE, Wireless LAN
Smartphone Tablet
Remote Controller
NWC-ADAPTER
Unit (Heater)
Internet
Side
An overview of the NORITZ CONNECT System is below.

8
䐟
䐟
䐡
㻌
䐣
䐤
䐦
䐧
䐥䐢
䐠
䐨
General Parts
Name Description
①Status LED (RED) Displays current system status. ( page 9)
②Plastic Cover
Product information, labels, protection of Circuit Board.
③Instruction Sheet
Indicates each button operation and LEDs condition.
④
Product information sticker
Indicates Model, Serial Number(S/N), SSID, Key and MAC.
⑤Dip Switches To enable or disable functions. ( page 11)
⑥RESET Button
Buttons used for settings and operation.
( page 10, 11)
⑦MODE Button
⑧WPS Button
⑨AP Button
⑩
Unit, Router, Server LED
Shows Unit(Heater), Wireless Router and Server
connection status. ( page 9)
Inside
Front Inside the Front Cover

9
Description of each LED condition
LED condition Description
During Normal condition
Status
(RED)
ON The system is normal.
Blinking
When there is an error somewhere in the system. ( page
22)
Unit
(RED)
ON Connected to the unit.
OFF While checking connection with the unit.
Blinking Lost connection with the unit. ( page 22)
Router
(YELLOW)
ON Connected to the wireless router.
OFF While checking connection with a wireless router.
Blinking Lost connection with the wireless router. ( page 22)
Server
(GREEN)
ON Connected to the server.
OFF While checking connection with the server.
Blinking Lost connection with the server. ( page 22)
Router & Server
OFF When wireless LAN is disconnected. ( page 11)
During any button operation (when pressing any buttons, LED’s show each pattern)
All LEDs
6 Blinks When this product setting is returned to factory default.
( page 11)
5 Blinks During WPS mode
2 Blinks During AP mode
OFF When this product is rebooted. ( page 11)
During Signal Strength Check Mode
Status
(RED)3 Blinks During Signal Strength Check Mode ( page 10)
Indicates Signal Strength with each LED
(Unit, Router and Server).
Description of each LED condition
Four LEDs show current system status.
There are three display modes: Normal, Settings and Signal Strength Check Mode.
Status LED Unit, Router, Server LED

10
How to Use
■ Button Operations
Connection Methods
Other Settings
Signal Strength Check Mode
1.
Press and hold the MODE button for 3 seconds
or more, it alternates between Signal Strength
Check Mode and Normal condition mode.
2. Status LED is blinking 3 times during the Signal
Strength Check Mode.
3.
During the Signal Strength Check Mode, the
signal strength is displayed with the Unit, Router
and Server LEDs.
Press and hold 3 seconds or more
Press and hold 3 seconds or more
Press and hold 3 seconds or more
Activate WPS Mode
To activate the WPS Mode, press and hold the
MODE button for 3 seconds or more to connect
this product to the wireless router.
During WPS Mode, all LEDs will blink 5 times.
To deactivate the setting, press and hold the WPS
button for 3 seconds or more or leave it for 2 minutes.
Activate AP Mode
To activate the AP Mode, press and hold the
AP button for 3 seconds or more.
During AP Mode, all LEDs will blink 2 times.
You can directly connect to a smartphone or
tablet device and congure this product settings
with the NORITZ CONNECT App.
To deactivate the AP Mode, press and hold the AP button
for 3 seconds or more or leave it for 30 minutes.
* To return to the normal condition, press
and hold the MODE button for 3 seconds
or more, or leave it for 30 minutes.
3 BlinksON
Unit
ON
ON
ON
OFF
ON
ON
OFF
OFF
ON
OFF
OFF
OFF
Router Server
Good
No Good
Enough
Weak
Otros manuales para NAW-1 US
1
Este manual sirve para los siguientes modelos
1
Tabla de contenidos
Manuales populares de Módem de otras marcas


US Robotics
US Robotics 3453C Manual de usuario

MaxTech
MaxTech Plug & Play Internal Voice/FAX/Data/SVD... Manual de usuario

Zte
Zte MF823 Manual de usuario

Four-Faith
Four-Faith F1403 Manual de usuario

Sierra Wireless
Sierra Wireless AIRLINK MP595W Manual de usuario

Gemtek
Gemtek WiMAX WIXFBR-103 Manual de usuario