
MaxTech Plug & Play Internal Voice/FAX/Data/SVD... Manual de usuario

Part#MAN128Rev.1.0 K56Plus-L/CPI-SVD
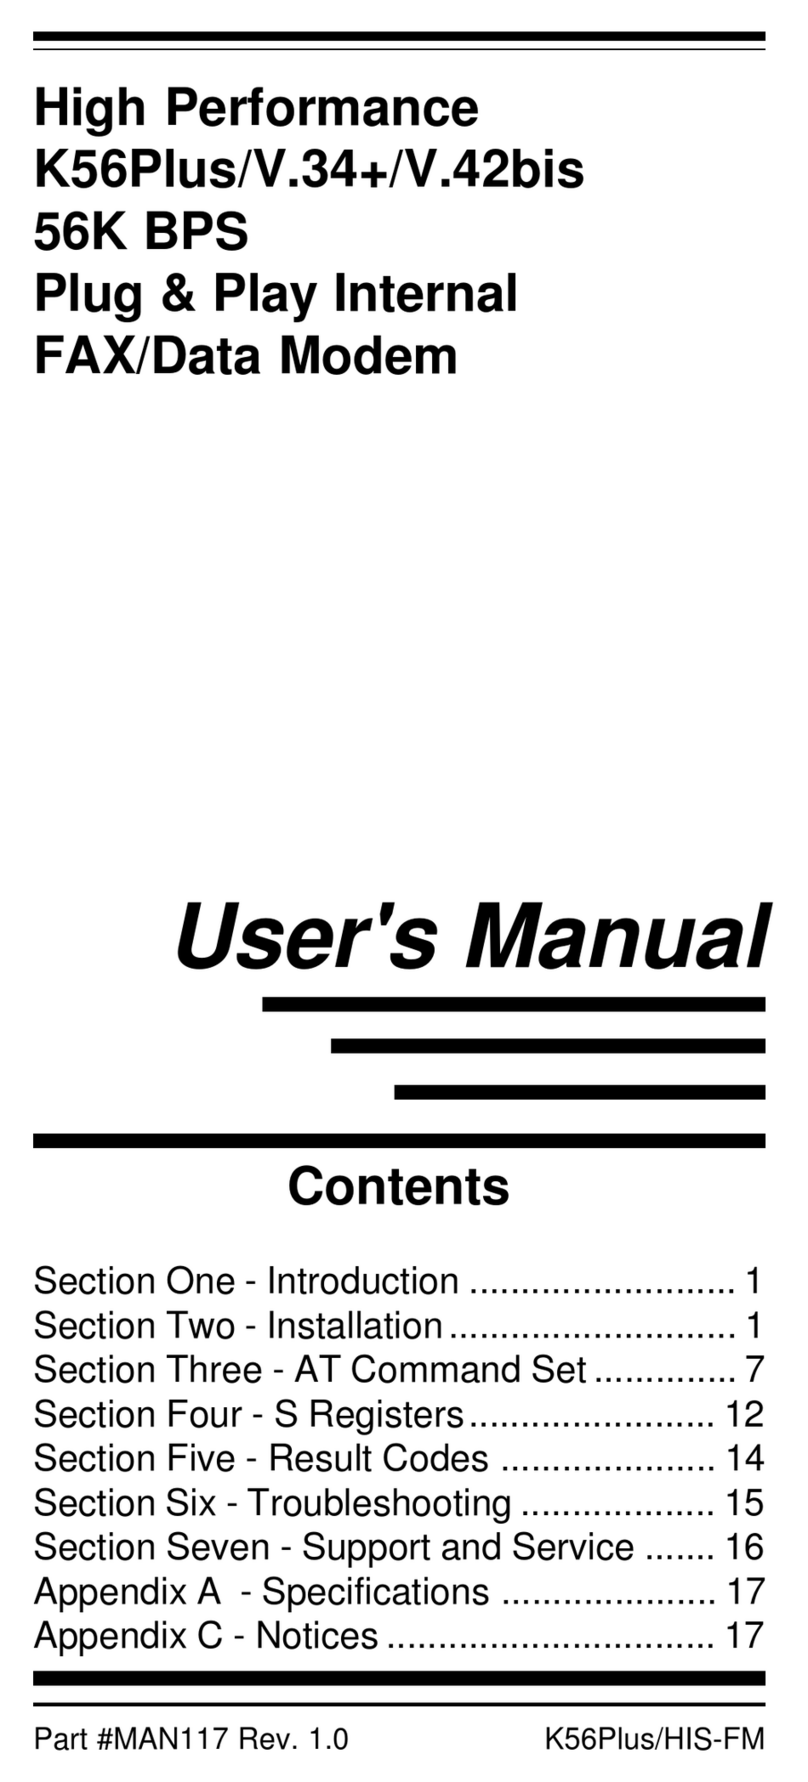
High Performance
K56Plus/V.34+/V.42bis
56K BPS
Plug & Play Internal
Voice/FAX/Data/SVD
Modem
With Advanced
Speakerphone functions
User's Manual
Contents
Section One - Introduction ..........................1
Section Two -Installation............................. 1
Section Three - AT Command Set............... 7
Section Four - S Registers........................ 14
SectionFive - Result Codes...................... 15
SectionSix-Troubleshooting.................... 15
Section Seven - Support and Service ....... 16
Appendix A - Specifications ..................... 16
Appendix B - Notices ................................ 17

The information contained in this manual has been
validated at the time of this manual's production.
The manufacturer reserves the right to make any
changes and improvements in the product de-
scribed in this manual at any time and without
notice. Consequently the manufacturer assumes
no liability for damages incurred directly or indi-
rectly from errors, omissions or discrepancies be-
tween the product and the manual.
All registered trademarks are the property of their
respective owners.
Copyright©1997Allrightsreserved.Noreproduction
ofthisdocumentinanyformispermittedwithoutprior
writtenauthorizationfromtheManufacturer.

1
Section One - Introduction
This 56 Kbps* Plug and Play FAX/Voice/Data/
SVD Speakerphone Modem connects your computer
toallpopularhighspeedmodemsavailabletoday.The
modem incorporates
“K56Plus” (56Kbps)
technology
to provide increased download speeds using regular
telephone lines. The modem incorporates Plug and
Play for ease of installation. It features speakerphone
capability for hands-free communication and full-du-
plexanalog/digitalsimultaneousvoiceanddata(SVD)
over a single telephone line.
This manual describes the hardware installation
procedures for your new modem. Additional informa-
tion on AT commands and S-registers is provided so
that your system can be customized for a particular
operating environment.
*Note: K56Plus is capable of downloading at 56Kbps.
However, current FCC regulations limit its speeds to
53Kbps.
Section Two - Installation
Thissectionwillprovidestepbystepinstructions
on how to install your new 56 Kbps FAX/Voice/Data/
SVD modem. Installation of this modem product is a
three-step process consists of 1) actual hardware
installation, 2) plug and play configuration, and 3)
communication software installation and configura-
tion.
2.1 Unpacking Your Modem
Be certain that you have all the items listed
below. This package contains:
• A modem • A telephone cable
• User's manual •Softwareforthemodem
• Software user's manual
2.2 What You Need
You will need:
1. A phillips-head screw driver
2. A) A Plug and Play enabled Operating System

2
(e.g., Windows 95),
or
B) APlugandPlayRevision1.0acompliantPC.
ProceedtoSection2.3nowifyouhaveevery-
thing required.
If you have neither 2A or 2B above, youneed to
install Windows 95 to provide Plug and Play function-
ality to your PC.
2.3 Hardware Installation
Installation of this modem requires opening and
manipulating your PC. Exercise caution at all times
when working with AC powered and static-sensitive
equipment.Turn offand unplugyour PCbefore instal-
lation. Discharge any static electricity from your body
by touching any bare metal surface of the PC system,
such as its power supply cover.
1. Turn off and unplug your computer from the AC
outlet.
2. Remove your computer's cover (refer to your
computer's owner's manual).
3. Select any available half-card slot, and then re-
move the slot cover (refer to Figure 2-1).
4. Carefully slide the internal modem into the slot
you have chosen, applying even pressure until
the modem is completely seated in the slot.
5. Fasten the retaining bracket with the screw from
the slot cover. Make sure the modem is properly
aligned. Store the slot cover for future use.
6. Replace the computer cover and plug in your
computer.
Figure 2-1 Expansion Slots

3
7. Connect the telephone cable from the modem's
LINE connector to the telephone wall jack.
8. Optionally,connectyourtelephonetothemodem's
PHONE connector.
9. Turn your computer on. Your modem is now
installed.
2.4 Hardware Configuration (Plug and Play)
Your modem is configured using the Plug and
Play (PnP) capabilities of your computer. Plug and
Play is a set of specifications that define the ability for
thecomputerhardware andoperatingsystem toauto-
matically configure all compliant devices that are in-
stalled, relieving the user of the need to determine
whichaddressesandinterruptstouseforeachdevice.
Consult your PC's owner's manual to determine if it is
PnP Revision 1.0a compliant. You most likely have a
PlugandPlayRevision1.0acompliantsystemifitwas
purchasedafterJune1994oriftheBIOSisdatedafter
June 1994.
Proceed to one of the following sections, de-
pending on your system's configuration:
• Section 2.4.1 if you are running Windows
95 (with or without a Plug and Play PC)
• Section 2.4.2 if you are running Windows
3.1x or DOS on a PnP-compliant PC.
2.4.1Configuring in Windows 95
The version of Windows 95 you have will deter-
mine which set of dialog boxes is presented to you
wheninstallingthemodeminWindows95.Proceedto
one of the following sections, depending on your
Windows 95's diaglog box:
• Section 2.4.1.1 when Windows 95 starts for
the first time after card installation, it
detects the modem and it displays the New
Hardware Found dialog box
• Section 2.4.1.2 when Windows 95 starts for
the first time after card installation, it
detects the modem and it displays the
Update Device Driver Wizard.

4
2.4.1.1 Windows 95 Release 4.00.950
When Windows 95 starts for the first time after
cardinstallation,itdetectsthemodemanddisplaysthe
New Hardware Found dialog box.
Under New Hardware Found, when asked to
“Select which driver you want to install for your new
hardware,” click on “Driver from disk provided by
hardware manufacturer.” Click “OK.”
The Install From Disk dialog box now instructs
you to “Insert the manufacturer's installation disk into
the drive selected, and then click OK.” Insert the
modem'sdriverdisketteintothediskdriveandtypeA:\
(orB:\ifinsertedindriveB)inthe“Copymanufacturer's
files from:” box. Click “OK.”
Windows 95 may request its own installation
disks or CD-ROM for some files. Insert the Windows
95disksor CD-ROM as required. Whenall necessary
filesarecopied,themodemisconfigured.Windows95
will assign the modem a COM port and IRQ line.
Proceed to Section 2.5.
2.4.1.2 Windows 95 Release 4.00.950 B
When Windows 95 starts for the first time after
cardinstallation,itdetectsthemodemanddisplaysthe
Update Device Driver Wizard.
Insert the driver disk into the disk drive and click
“Next.” Windows will find the driver on the driver disk.
Click “Finish. Windows 95 may request its own instal-
lationdisksorCDforsomefiles.InserttheWindows95
disks or CD as required.
Windows will now find a second device on the
modem.Makesurethatthedriverdiskisstillinthedisk
drive and click “Next.” Windows will find the second
driver. Click “Finish” to complete the installation.
Whenallnecessaryfilesarecopied,themodem
is configured. Windows 95 will assign the modem a
COM port and IRQ line. Proceed to Section 2.5.

5
2.4.2Configuring in a Plug and Play System with-
out Windows 95
When this modem is installed in a Plug and Play
systemwithoutWindows 95, the computer'sBIOS will
assign a COM port and IRQ line to the modem.
Proceed to Section 2.5, Software Installation/
Configuration.
2.5 Software Installation and Configuration
You are now ready to install and configure the
communicationsoftware.Refertoyoursoftwaremanual
for installation procedures.
Wesuggestthefollowingcommunicationparam-
eters when you first use your data communication
software.Consult the softwaremanual forinformation
on using these and other parameters/features.
57,600 bps; 8 data bits; no parity; 1 stop bit;
RTS/CTSflowcontrolsetto“on;”initialization
string: AT&F
We suggest that a “Generic Class 1” or “Ge-
nericClass2”modemtypeshouldbeselectedinyour
fax software, and a “Lucent” modem type should be
selected in your Voice software.
Note that your software must be configured to
communicate with the modem on the same COM port
and IRQ line used by the modem.
2.6 Using the Fax, Voice, SVD, and
Speakerphone Capabilities of the
Modem
Your modem has built-in advanced FAX, Voice,
SVD,andFullDuplexSpeakerphonefunctions.Please
consultyourFAX/Voice/SVD/Speakerphonesoftware
manual about procedures on using these features.
Speakerphonefunctionsrequireacorrectlycon-
figured sound card with attached microphone and
speaker.
Voice functions include recording and playback
of voice prompts (files). You may record or playback
voicewithyourmodembyattachingatelephonetothe

6
RJ-11 jack marked “PHONE” or by attaching a micro-
phone to the MIC jack and a speaker to the SPK jack
of your sound card. Follow instructions in the FAX/
Voice/Speakerphonesoftwareon recording and play-
back of voice prompts.
2.7 Testing Your Modem After Installation
In order to test your modem you should be
familiar with your communication software. Load and
set up your communication software and enter into
“terminal mode.” Make sure that the COM Port and
IRQ settings of the modem match the software. Type
AT on your terminal screen and press ENTER. You
maysee“AT”,“AATT”ornothingonthescreen.Inany
case, the modem should respond with an OK or 0. If it
does not, either the modem may not have been in-
stalled properly or the software has not been properly
configured. Review Sections 2.2-2.5 and be certain
that the modem and the software have been properly
installed. If required, refer to Section 6 for additional
troubleshooting information.
2.8 Using Your Modem
The communication software included with your
modem product provides a user friendly interface to
access the fax, voice and data functions of your
modem.
Thissoftwareshouldbesufficientforallof
your communication needs
. There may be times
when you need to access the modem manually via
modem commands. Read Section 3 for a summary
descriptionof the modemcommand set beforemanu-
ally accessing the modem. You may want to read the
software manual first, however, as the software may
already provide a user friendly method of accessing
thefunctionsyouneed(i.e.dialingoransweringcalls).
2.9 Where To Go From Here
Youshouldfamiliarizeyourselfwiththefunctions
available from the included software by reading its
manual. You will be accessing most, if not all, of the
modem's functions from this software. You may also
useany other commerciallyavailable communication
software with the modem. Read Section 3 only if you

7
are interested in accessing the modem manually, and
not through the included software. Section 4 and 5
containreferencematerial, and can beskipped. If you
have difficulties getting your modem to work, read
Section 6 - Troubleshooting to find answers to com-
monly asked questions and problems.
Section Three - AT Command Set
3.1 Executing Commands
Commands are accepted by the modem while it
isinCommandMode.Yourmodemisautomaticallyin
CommandModeuntilyoudial anumberandestablish
aconnection.Commandsmaybesenttoyourmodem
from a PC running communication software or any
other terminal devices.
Your modem is capable of data communication
at rates of: 300, 1200, 2400, 4800, 9600, 14400,
19200, 28800, 38400, 57600, and 115200 bps. Make
sureyourCOMportbaudratesettingsinyourcommu-
nications software is set to one of the above speeds.
3.2 Command Structure
All commands sent to the modem must begin
withAT andendwithENTER. All commandsmay be
typedin eitherupperorlowercase,butnot mixed.To
make the command line more readable, spaces may
beinsertedbetweencommands.Ifyouomitaparam-
eter from a command that requires one, it is just like
specifying a parameter of 0. Example:
ATH [ENTER]
This command causes your modem to hang up.
3.3 Basic AT Commands
In the following listings, all default settings are
printed in bold text.
Command Function
AManually answer incoming call.
A/ Repeat last command executed. Do not
precedeA/withATorfollowwithENTER.
B_ B0 CCITT mode

8
B1 Bell mode
B2 V.23 originate mode @ 75 bps transmit/
1200 bps receive
B3 V.23 originate mode @ 1200 bps
transmit/75 bps receive
B15 Selects V.21 at 300 bps
B16 Selects Bell 103 at 300 bps
D_ 0 - 9, A-D, # and *
L last number redial
P pulse dialing
T touch-tone dialing
W wait for second dial tone
, pause
@ wait for five seconds of silence
! flash
; return to Command Mode after dialing
DS=n Dial one of the four telephone numbers
(n=0-3) stored in the modem’s non-
volatile memory.
E_ E0 Commands are not echoed
E1 Commands are echoed
+++ Escape Characters - Switch from Data
Mode to Command Mode
H_ H0 Force modem on-hook (hang up)
H1 Force modem off-hook (make busy)
I_ I0 Default speed and controller version
I1 Display factory ROM checksum
I2 Internal memory test
I3 Default speed and controller version
I4 Datapump firmware version
I9 Country code
L_ L0 Low speaker volume
L1 Low speaker volume
L2 Medium speaker volume
L3 High speaker volume
M_ M0 Internal speaker off
M1 Internal speaker on until carrier
detected
M2 Internal speaker always on
M3 Internalspeakeronuntilcarrierdetected
and off while dialing
N_ N0 Disable Autoscan mode
N1 Enable Autoscan mode
Este manual sirve para los siguientes modelos
1
Tabla de contenidos
Otros manuales de Módem de MaxTech

MaxTech
MaxTech PCI Internal Voice/FAX/Data/Speakerphone... Manual de usuario

MaxTech
MaxTech xm144ic V.32bis Manual de usuario

MaxTech
MaxTech 28 Manual de usuario

MaxTech
MaxTech xpvs336i Manual de usuario

MaxTech
MaxTech xps336ir V.34/V.42bis Manual de usuario
MaxTech
MaxTech xpm56i 56K BPS Manual de usuario


