MYOB PayDirect Manual de usuario

MYOB PayDirect Card Reader User Guide

1 MYOB PayDirect Card Reader User Guide
This guide
> Shows you how to use the MYOB PayDirect payments service
> Introduces you to your MYOB PayDirect Card Reader
> Shows you how to ‘pair’ your smartphone to your PayDirect Card Reader
> Provides the information you need to start taking payments
Getting started in a few easy steps
MYOB PayDirect turns your smartphone into a mobile payments terminal,
so you can get paid on the spot anywhere, anytime.
Learn more
Please visit myob.com.au/paydirectsupport for customer support and additional information, including:
> Frequently Asked Questions
> Demo Videos

2 MYOB PayDirect Card Reader User Guide
Get to know your MYOB PayDirect Card Reader
1 Swipe Card Slot Reads magnetic stripes cards (strip facing away from user)
2 LED Display Display instructions for user
3 Power Button Powers the terminal on and o and enters sleep mode
4 Revive™ Button Pin-hole button used to reset the Reader
5 Enter Key Conrms actions including PIN entry
6 Cancel Key Cancels actions including PIN entry
7 Clear Key Removes the last PIN digit entered
8 Function Button Indicates Bluetooth status
9 Smart Card Slot Reads chip cards (chip facing towards user)
10 Charging LED Red LED above Micro-USB connector - indicates unit is charging
11 USB Connector USB Micro-B receptacle - used for charging/le transfer
12 Contactless Sensor Area Reads contactless enabled cards
1
5
6
7
2
3
8
9
4 10
3 MYOB PayDirect Card Reader User Guide
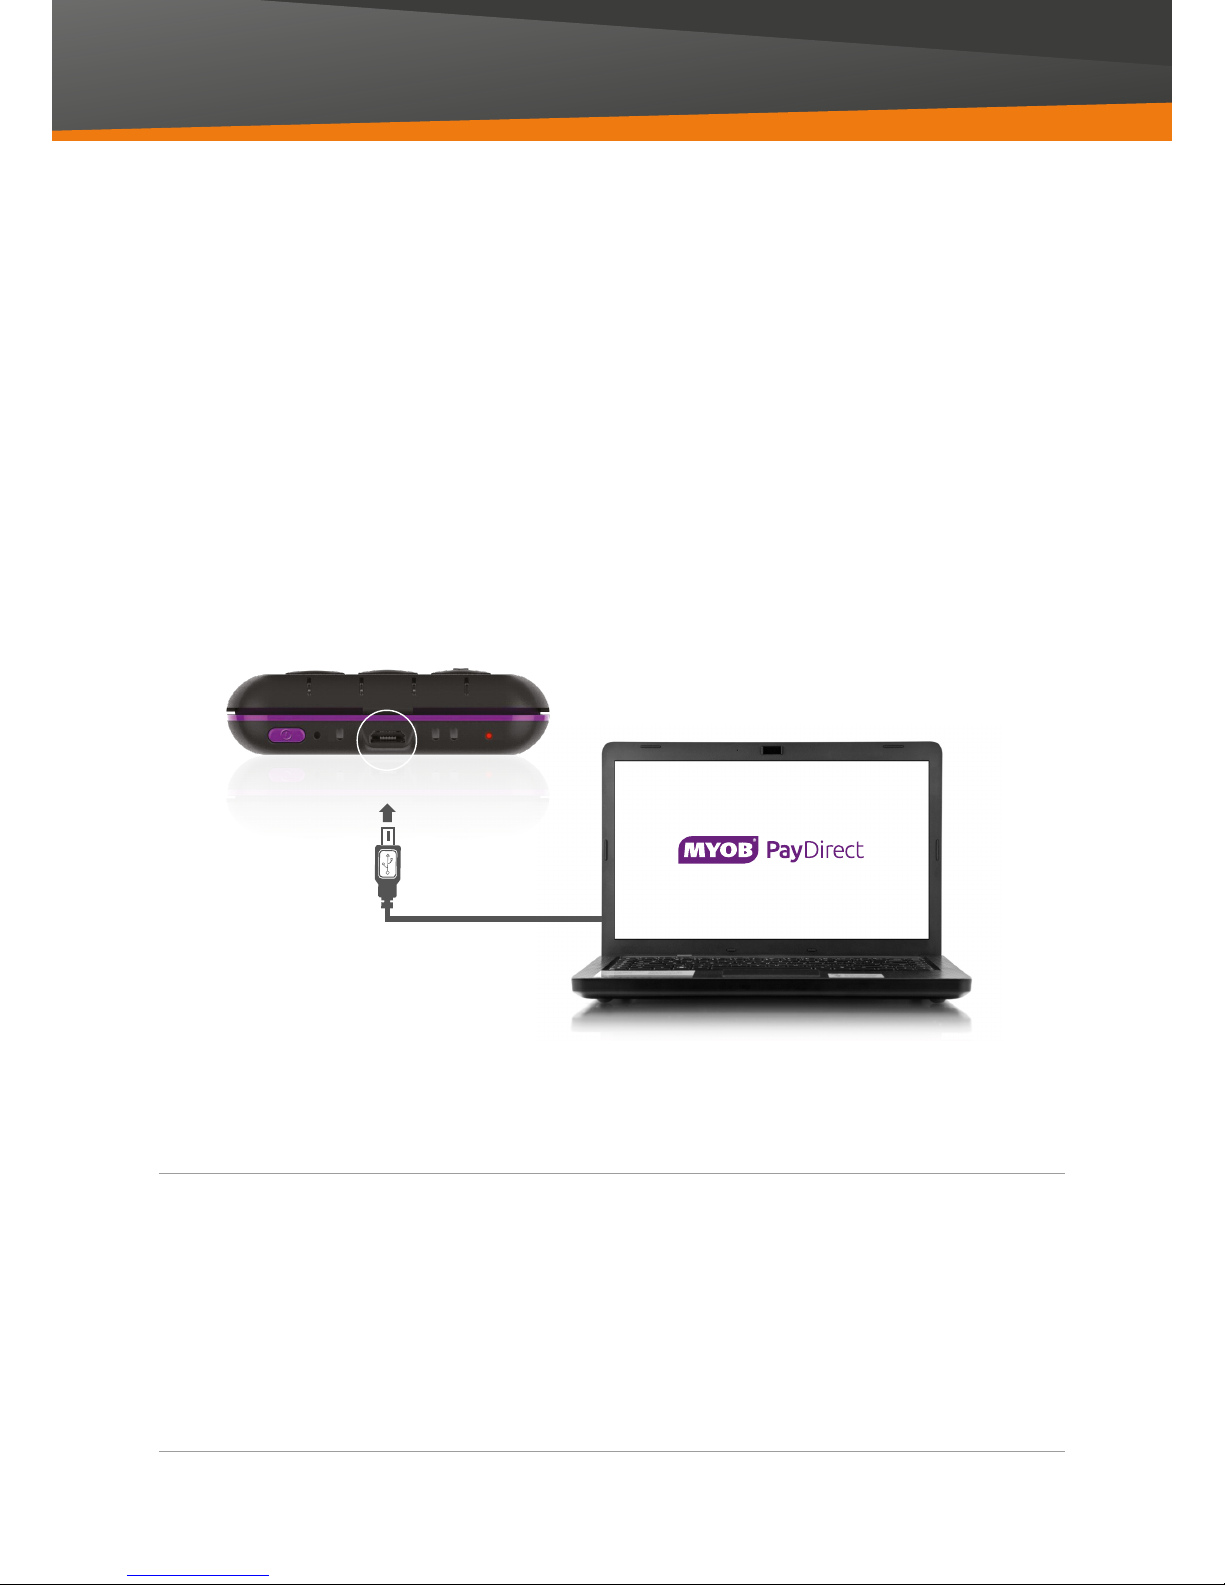
Charging your MYOB PayDirect Card Reader
Your MYOB PayDirect Card Reader may not come fully charged so we recommend you charge
it for 3 hours before using it for the rst time. To recharge your PayDirect Card Reader, plug one
end of the supplied USB cable into your PayDirect Card Reader and the other into a:
> Standard USB charger, or
> Powered USB port on your computer
Important note!
When fully charged, your MYOB PayDirect Card Reader will perform about 150 transactions and last three to
four days in standby mode. Your MYOB PayDirect Card Reader may lose its charge if you do not use it for some
time. We recommend that you shut down your reader between periods of inactivity. To do this, hold down the
power button located on the top edge of the Card Reader until a ‘Shutting Down’ message appears on
the Reader display.
There is a battery level indicator on the screen of your MYOB PayDirect Card Reader. You can nd out the
percentage of charge in the app menu under Reader Information.

4 MYOB PayDirect Card Reader User Guide
If you have an Apple iPhone,
follow these instructions:
1 Go to the App Store on your phone
2 In the search box, type in ‘MYOB OnTheGo’
or ‘MYOB PayDirect’
3 Download the app
If you have an Android phone,
follow these instructions:
1 Visit the Google Play Store on your phone.
If you do not have Google Play, you can
download it at play.google.com
2 In the search box type in ‘MYOB OnTheGo’
or ‘MYOB PayDirect’
3 Download the app
MYOB customers can manage accounts and cash ow on the go
Existing MYOB Essentials and AccountRight subscribers can take advantage of the added convenience and
time saving features of mobile accounting. In just a few taps you can create and send invoices and manage
your contacts, and it’s all automatically updated to your accounting software without the need for any further
data entry. For more information on the MYOB OnTheGo app and the additional mobile accounting features
visit myob.com.au/onthego
Downloading the mobile app
Before you’re able to make your rst transaction, you need to install the MYOB OnTheGo app (if you’re an
existing MYOB Essentials or AccountRight subscriber) or the MYOB PayDirect app (if you’re new to MYOB)
onto your smartphone. A list of supported devices can be found at myob.com.au/paydirectsupport

5 MYOB PayDirect Card Reader User Guide
Log in to the mobile app
1 Open the mobile app on your smartphone
2 Log in using your MYOB username and password
3 You will be prompted to set up a 4 digit security PIN.
This will become your login PIN from now on.
Navigating the Menu in the app
Now that you have logged in, let’s look at the Menu screen.
You’ll use this screen to manage all basic operations, including
your transaction history, reader information and security settings.
Swipe right from within the app to access the Settings Menu
or tap on the Menu icon ( ).
You’ll nd these options:
> Transaction History - Shows all processed transactions.
Use this screen to process a refund.
> Reader Information - Shows your PayDirect Card Reader’s
serial number, Device model and Battery charge %
> Security Settings - Use to enter and change your Signature
Verication Code
> Log out - Use to exit the app
Using the mobile app
The mobile app allows you to process transactions using your MYOB PayDirect Card Reader.
Now you have the app, it’s a good idea to spend a few minutes becoming familiar with it.
It will make processing your rst few transactions quick and simple.

6 MYOB PayDirect Card Reader User Guide
Connecting your Reader for the rst time
1 Charge your card reader with the USB cable for
at least 3 hours before using it for the rst time.
2 Familiarise yourself with the key features and
buttons of your PayDirect Card Reader using
the graphic and explanations on page 2.
3 Turn on Bluetooth® on your smartphone and
turn on your PayDirect Card Reader. The on/
o button is on the top left of the card reader.
The ashing Bluetooth® symbol on your
PayDirect Card Reader indicates you are ready
to connect. If it’s not ashing, hold down the
Function button until the Blue light starts
ashing quickly, once connected it will ash
slowly (note: During a transaction the blue
light will be solid).
4 Find your PayDirect Card Reader in the
Bluetooth® devices menu. It will appear as
‘PayDirect 123’, with the digits being the last
3 numbers of the serial number on the Reader.
5 Tap‘pair’on your phone rst then press Enter on
the Reader to conrm the 6 digit code presented.
6 Now the PayDirect Card Reader is in
connected mode you can start using it to
accept credit card and EFTPOS payments.

7 MYOB PayDirect Card Reader User Guide
1 Connect or Pair the PayDirect Card Reader
to your smartphone via Bluetooth®.
2 Open the mobile app on your smartphone
and log in using your MYOB username and
password or your 4 digit PIN number (if you
have set it up already).
3 Enter the transaction amount on your
smartphone and tap Next. You’ll be asked to
conrm the amount. Press OK.
4 When prompted, ask your customer to insert,
swipe or tap their card, or do it for them.
> If the card has a chip, insert the card into
the card slot at the base of the PayDirect
Card Reader.
> If the card doesn’t have a chip, swipe the
card through the magnetic stripe card slot
at the top of the Reader.
> If the customer chooses Paypass™ or
PayWave™ slowly tap card on the screen
and wait for the light to ash indicating
payment has been approved.
5 Select account
> Once the card has been inserted, when
prompted, ask your customer to select
which account they’d like to use:
1. Savings 2. Cheque 3. Credit
6 When prompted ask your customer to enter
their PIN on the PayDirect Card Reader.
> When prompted to enter a PIN some customers
may tell you they don’t have one. If they
have presented a credit or debit card, ask the
customer to press Enter on the Reader and
follow the instructions under‘Cards that require
a signature’.
7 You will be prompted to remove the card from
your PayDirect Card Reader.
8 If OK, ‘Approved’ will appear on the screen of
your smartphone and PayDirect Card Reader.
If the customer wants a receipt, enter their email
address or mobile number and press Send.
If the card is declined, the reason (incorrect PIN,
insucient funds etc.) will appear on the display
of the smartphone and the PayDirect Card Reader.
> Depending on what the customer wants to do,
repeat the process from step 3.
> If the customer does not provide another card
or a correct PIN, cancel the transaction.
Your daily transaction limit is set to $2,500 AUD.
Contact MYOB Support on 1300 555 931 if you
require an increase.
How to process your rst transaction
Note:
Sometimes a card will require a signature. When this happens a signature panel will appear on your smartphone
and the ‘Signature needed’ message will appear on the PayDirect Card Reader. Follow the instructions under
‘Cards that require a signature’.

8 MYOB PayDirect Card Reader User Guide
1 If the signature panel appears on your
smartphone and the‘Signature needed’
message appears on the PayDirect Card
Reader, ask your customer to sign the screen
with their nger.
2 Check the signature against the one shown
on the back of their card. At this point it’s safe
to remove their card from your PayDirect
Card Reader.
3 Press Signature Veried if you’re happy.
4 Enter your Signature Verication Code at the
prompt. This is set to‘0000’, but you can change
this at any time in Security Settings. You can get
to this from the Menu ( ) on the dashboard or
by swiping right from the dashboard.
5 If OK, ‘Approved’ will appear on the screen of
your smartphone and PayDirect Card Reader.
If the customer wants a receipt, enter their
email address or mobile number and tap Send.
Cards that require a signature

9 MYOB PayDirect Card Reader User Guide
Inserting, swiping or tapping cards
If your customer has a card with an embedded
microchip (“chip”):
Insert the card chip rst, with the front of the card
facing the front of the PayDirect Card Reader (the
side with the keypad).
If your customer has a credit card without an
embedded chip:
Swipe the card through the magnetic reader,
with the front side of the card facing the front
of the PayDirect Card Reader (the side with the
keypad). You can swipe the card in either direction.
If your customer chooses a contactless
payment (Paypass™ or PayWave™)
Slowly tap card on the screen and wait for the light
to ash indicating payment has been approved.
Important note!
PayDirect will accept Visa or MasterCard credit, debit and EFTPOS cards. PayDirect does not support American
Express (Amex) or Diners. If your customer’s card has a chip, you must insert the card into the card slot.
You cannot swipe credit cards which have a chip.
Tabla de contenidos


