MidNite Solar MNKID-B Manual de usuario

Midnite Kid Basic Solar Charging Kit
2 | P a g e 10-404- 1 R E V -
What does my kit come with?
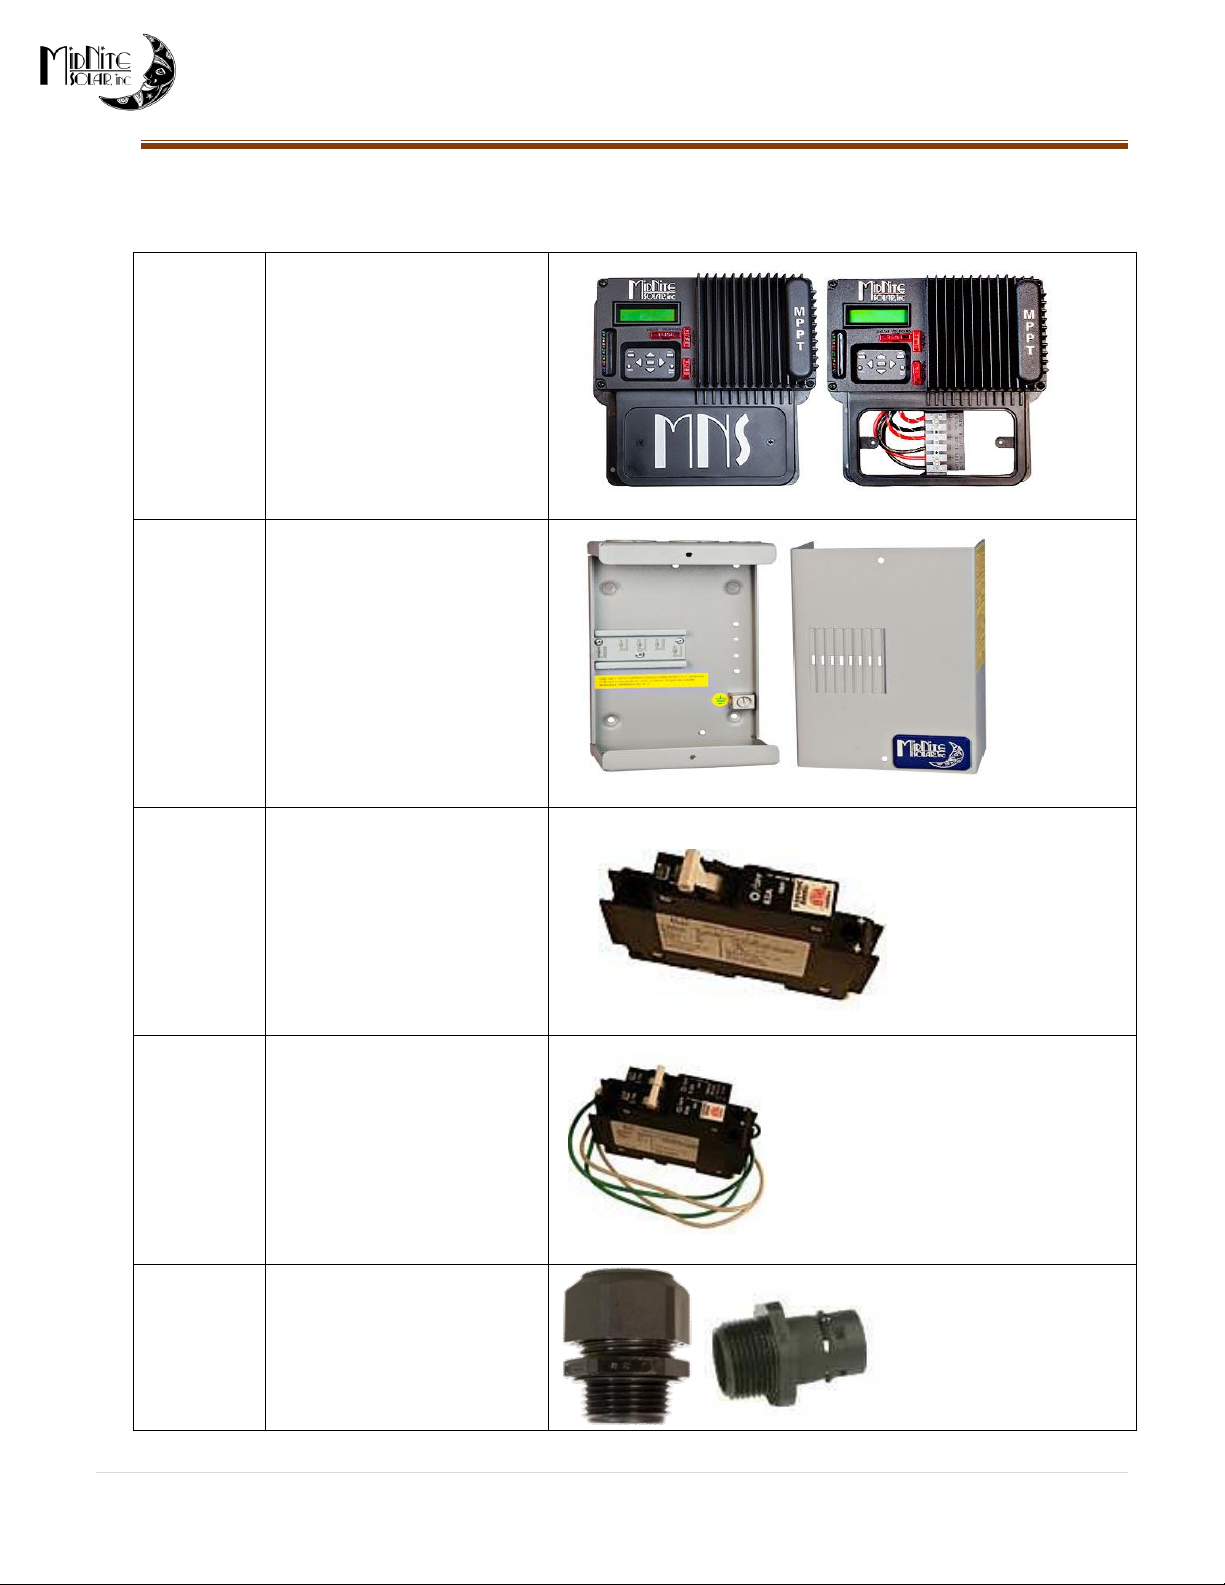
1pc
MNKID-B
30-amp MPPT Charge
Controller
1pc
MNBIGBABY- 4 position
breaker box
2 pcs
MNEPV30- PV and battery
breaker
1 pc
GFP63 Ground Fault
Protection Breaker
2pcs each
Strain Relief wire
protectors/Conduit Adapters
Midnite Kid Basic Solar Charging Kit
3 | P a g e 10-404- 1 R E V -
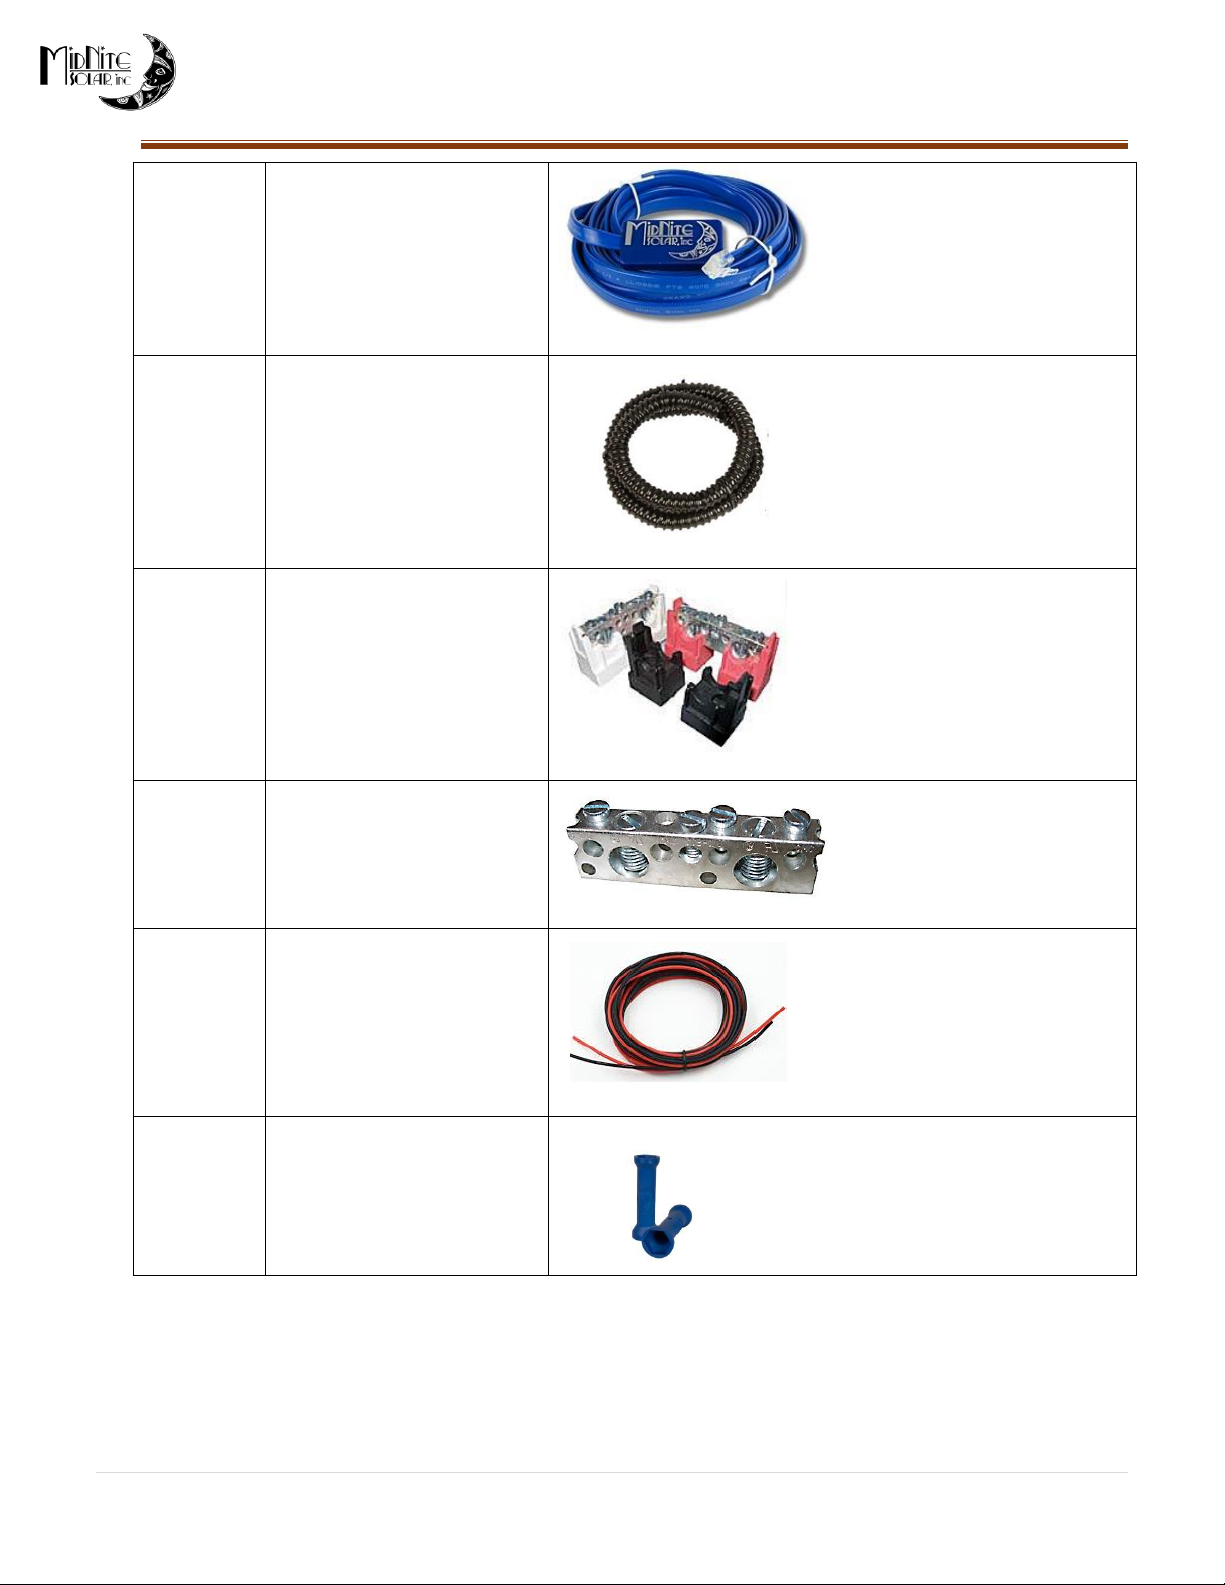
1 pc
MNBTS Battery Temperature
Sensor
1- 4 foot pc
Flexible Conduit
1 pc
MNSBB-W
Bus bar for PV negative with
white insulated standoffs
and mounting screws.
Red and black not included
with this kit
1 pc
MNSBBN
uninsulated ground bus bar
with mounting screws
2 pcs
5 feet of Red and 5 feet of
Black #10 THHN wire
1 pc
MNWRENCH
MNWRENCH for tightening strain reliefs

Midnite Kid Basic Solar Charging Kit
4 | P a g e 10-404- 1 R E V -
What will I need?
Talk to your renewable energy supplier who will help you purchase the solar modules, module mounting
hardware and batteries appropriate for your needs. Then use the Midnite Solar KID Charging Kit to tie it all
together as a safe and reliable system.
Solar modules- what to buy
The KID is an MPPT "Maximum Power Point Tracking" charge controller. This type of controller optimizes the
match between the solar array (PV panels), and the battery bank. To put it simply, they convert a higher
voltage DC output from solar panels down to the lower voltage needed to charge the batteries. Because of
this your options for solar panels open up dramatically.
Solar modules- how much wattage can the Kid handle?
The Kid has a maximum output to the battery of 30 amps. Because the solar modules rarely produce their
rated wattage, it is common to oversize the array by 20% or so. The following wattage ratings are
approximations only and it is strongly recommended that you use the Kid string sizing tool found on the
Midnite Solar website at: http://www.midnitesolar.com/sizingTool_kid/index.php
•On a 12-volt battery the Kid can handle ~ 500 watts.
•On 24-volt battery the Kid can handle ~ 1000 watts.
On a 48 volt battery the Kid can handle ~ 1500 watts.
Tools needed-
Appropriate screwdrivers for connectors and mounting screws
Multimeter
Wire Stripper
Wire cutters
Hammer with a punch or screwdriver for removing knockouts
The Kid and Big Baby installation manuals (please read these!)
**SAFETY NOTICE**
DO NOT HOOK UP THE WIRES TO YOUR PV PANELS UNTIL THE REST OF THE WIRING IS DONE THIS WILL BE
THE LAST STEP IN YOUR ASSEMBLY. KEEPING ALL BREAKERS OFF IS ALSO RECOMMENDED
Midnite Kid Basic Solar Charging Kit
5 | P a g e 10-404- 1 R E V -
Planning Ahead:
Things to consider when selecting a location for the BIG BABY and KID:
Length of wire- The longer the wire the more voltage drop (power loss) you will have. If you need to run a
long distance, it is recommended to use a larger size wire for that specific connection. The KID wall mount
terminals will hold a maximum wire size of #8, the internal terminals will accept a maximum wire size of #10.
If your wire run requires wire larger than #10, the best place to transition down to #10 is inside the Big Baby
Box. The circuit breakers can accept up to a #6 wire. There are several handy online wire sizing calculators
available. Here's one example:
http://www.calculator.net/voltage-drop-calculator.html
Environment- The BIG BABY and KID should both be mounted indoors or in a protected space. Neither of
them are intended for outdoor applications. You will be using flex conduit to protect the wires going from the
BIG BABY to the MNKID. If you plan on locating these two further away than 4 feet you will need to provide
your own conduit.
Ease of wiring- Think ahead on how each component will connect to the next. Allow ample room for routing
of wires and access to frequently accessed devices. We recommend placing the BIG BABY directly under the
MNKID.
Component Mounting- There are mounting holes in the back of the Big Baby and the KID has 4 mounting
holes located in each of the four outer corners of the plastic case. Please consult your KID manual or see
http://www.midnitesolar.com/pdfs/10-293-1_REV-E_KIDManual.pdf for additional instructions on how to
mount and set up the KID.
Installation:
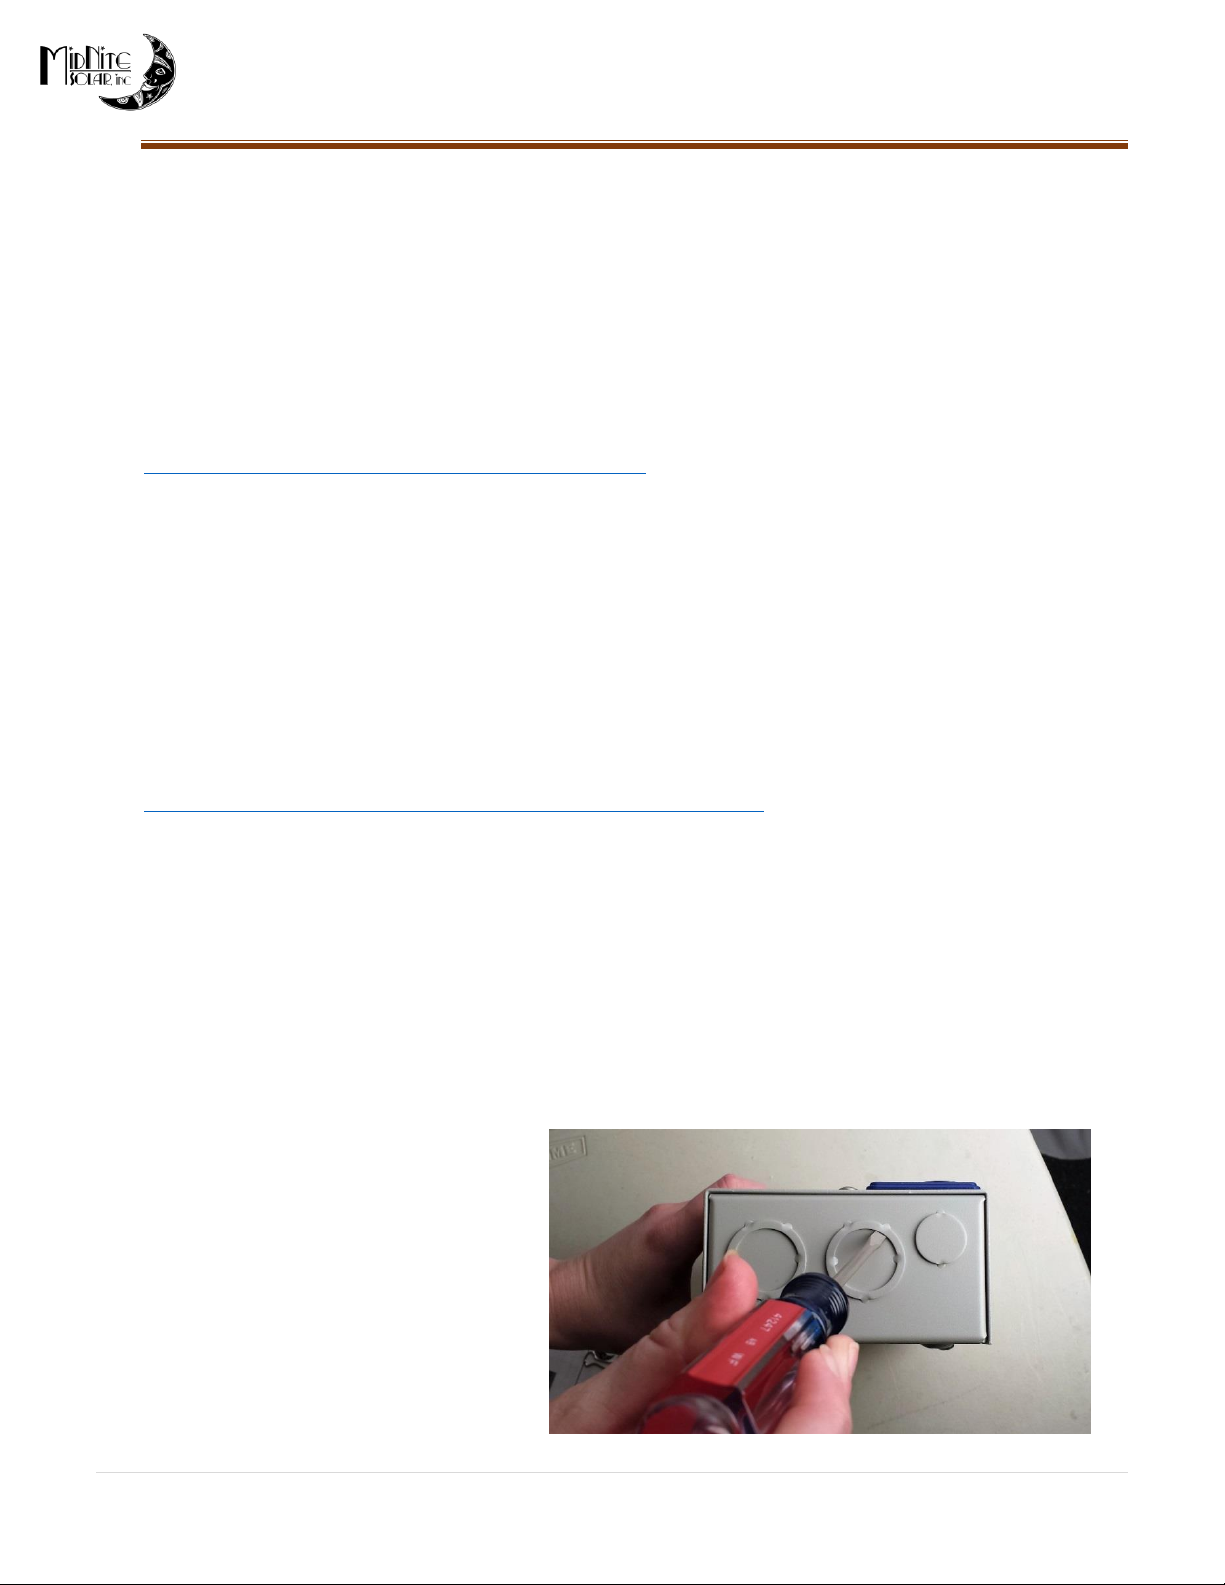
Knockouts and Strain Reliefs
The Big Baby has knockouts at the top and bottom that you will need to remove to run your wires through.
Take a screwdriver or punch and place it on the outer edge of the circle you are knocking out, taking care to
avoid the small attaching points. To reduce the risk of bending the top and bottom of the Big Baby Box during
knock out removal, it is best to have the front cover installed for providing additional support.
(HINT) When removing the knockouts, make
sure to only remove the minimum amount
needed for the threaded portion of the strain
relief.
Gently tap on the screw driver or punch with a
hammer until the circle plug starts to bend
inward. Move to the opposite side of the circle
and do the same. Work the plug back and forth
until it comes loose. Once the knock out is
removed you can install the wiring Strain
Relief.
Midnite Kid Basic Solar Charging Kit
6 | P a g e 10-404- 1 R E V -

Midnite Kid Basic Solar Charging Kit
7 | P a g e 10-404- 1 R E V -
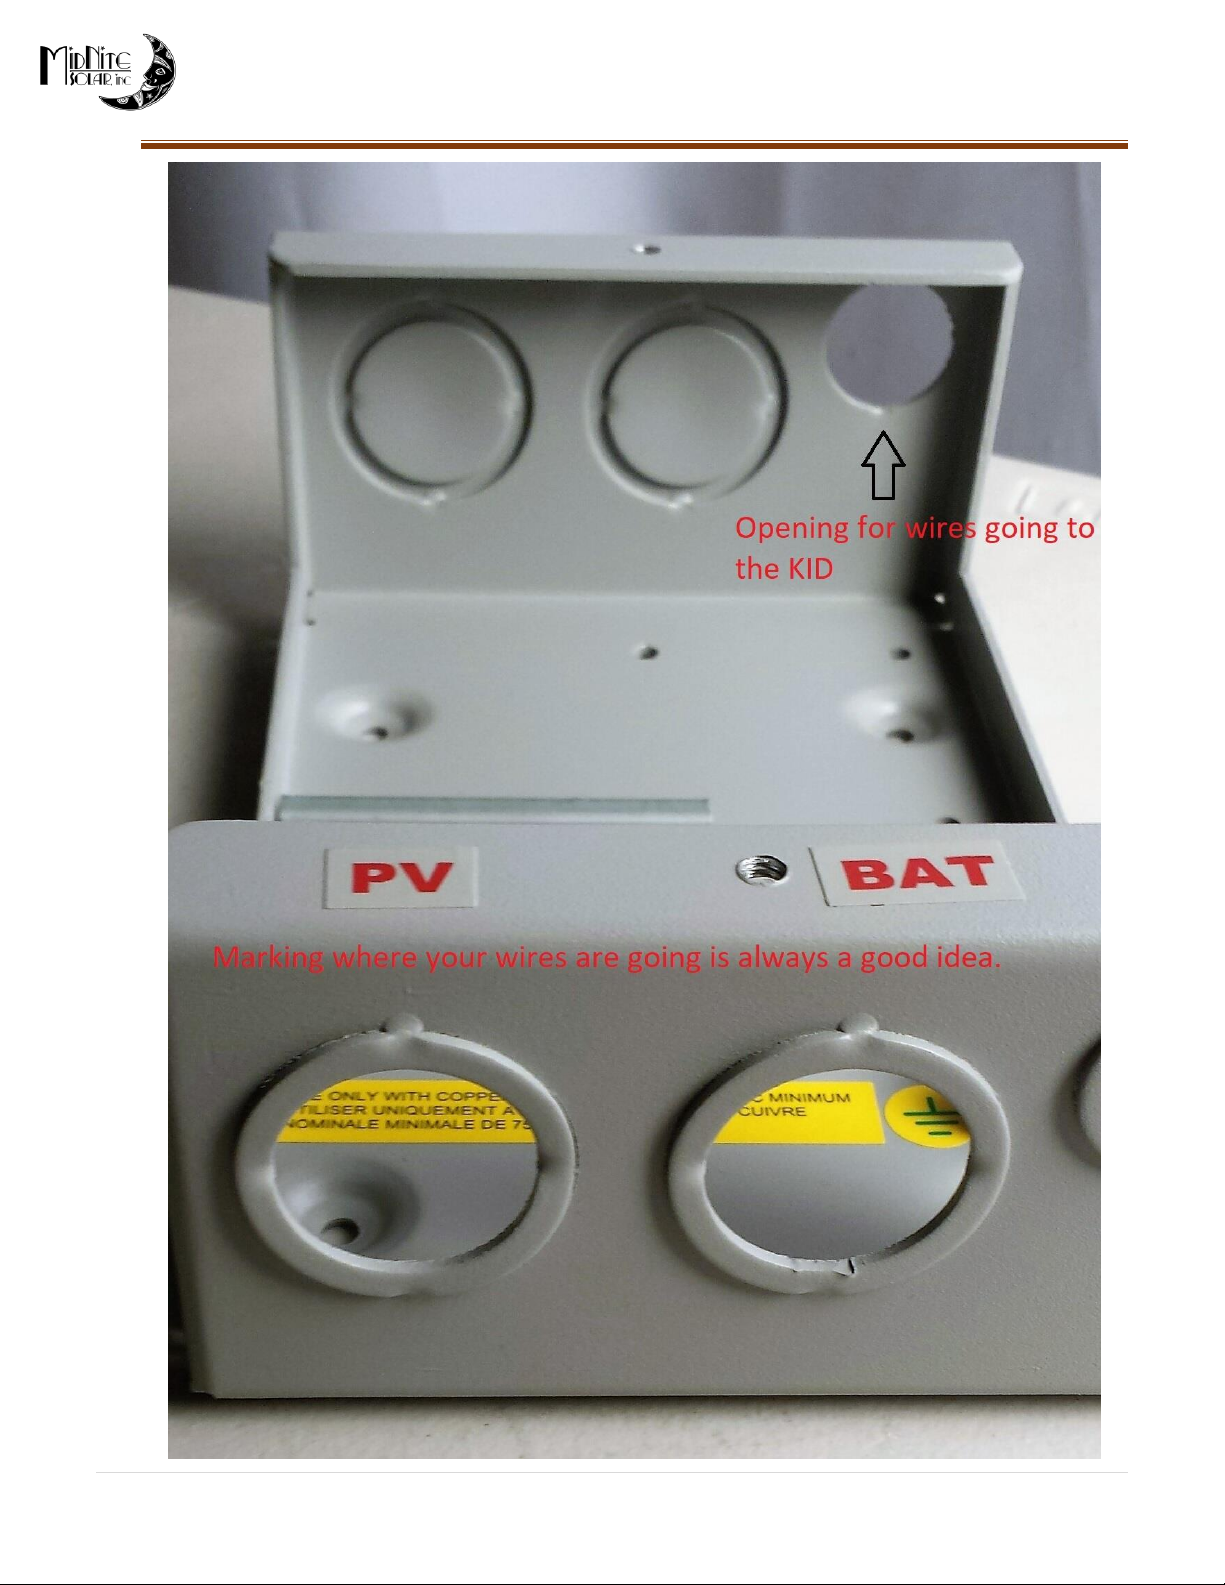
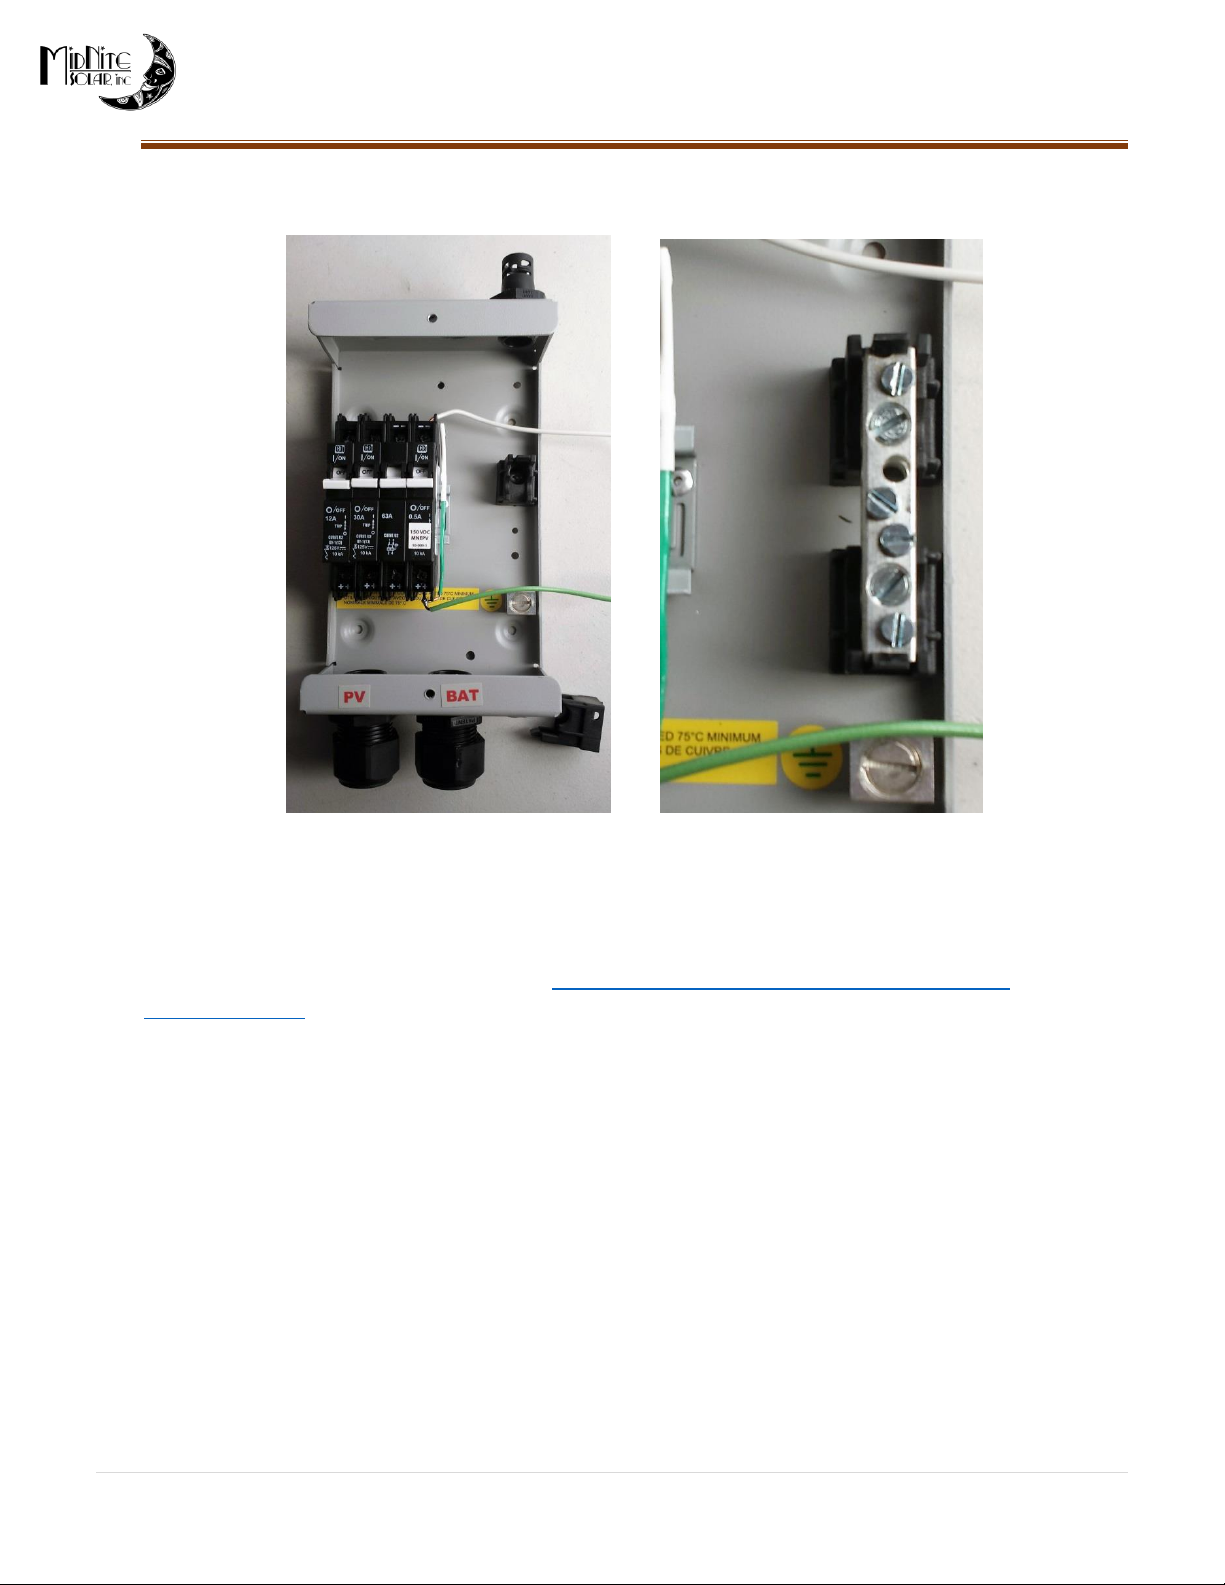
Open the Big Baby by removing the 2 screws in the front. Remove the bottom nut from each strain relief and
insert them, with threads to the inside, through the top and bottom knock out holes. Firmly hand tighten the
nuts to secure the strain reliefs to the Big Baby. The Conduit adapter will go in the top of the BigBaby.
Installing the Negative Busbar
Midnite Kid Basic Solar Charging Kit
8 | P a g e 10-404- 1 R E V -
All of your Negative wires will come to this busbar. To install it there are 2 screws in the KIT that will attach
the black mounting brackets to the BigBaby.
Big Baby Wiring
NOTE: Please consult your KID manual or see http://www.midnitesolar.com/pdfs/10-293-1_REV-
E_KIDManual.pdf for accessories that might need to be wired at this time such as ground wires, load and
load wiring, etc.
(HINT) Leave yourself some extra length of wire pulled into the Big Baby so you can make your connections
more easily. Once the wiring is complete, some of this excess can be pulled back out but be sure to leave a
small amount of slack inside the box to minimize strain on the connections.
Solar GFP and breaker wiring
Run the wires that come from your solar module through the bottom of the BigBaby. There are holes in the
Strain Relief for passing the wires through and into the box. If the fitment of the wires seems loose, you can
tighten the adjustment by twisting the top adjuster nut using an adjustable wrench or large pair of pliers.
You can run the wires to the solar modules, but do not make the final connections yet or you will be working
with live wires. Make sure all breakers are off.
Midnite Kid Basic Solar Charging Kit
9 | P a g e 10-404- 1 R E V -
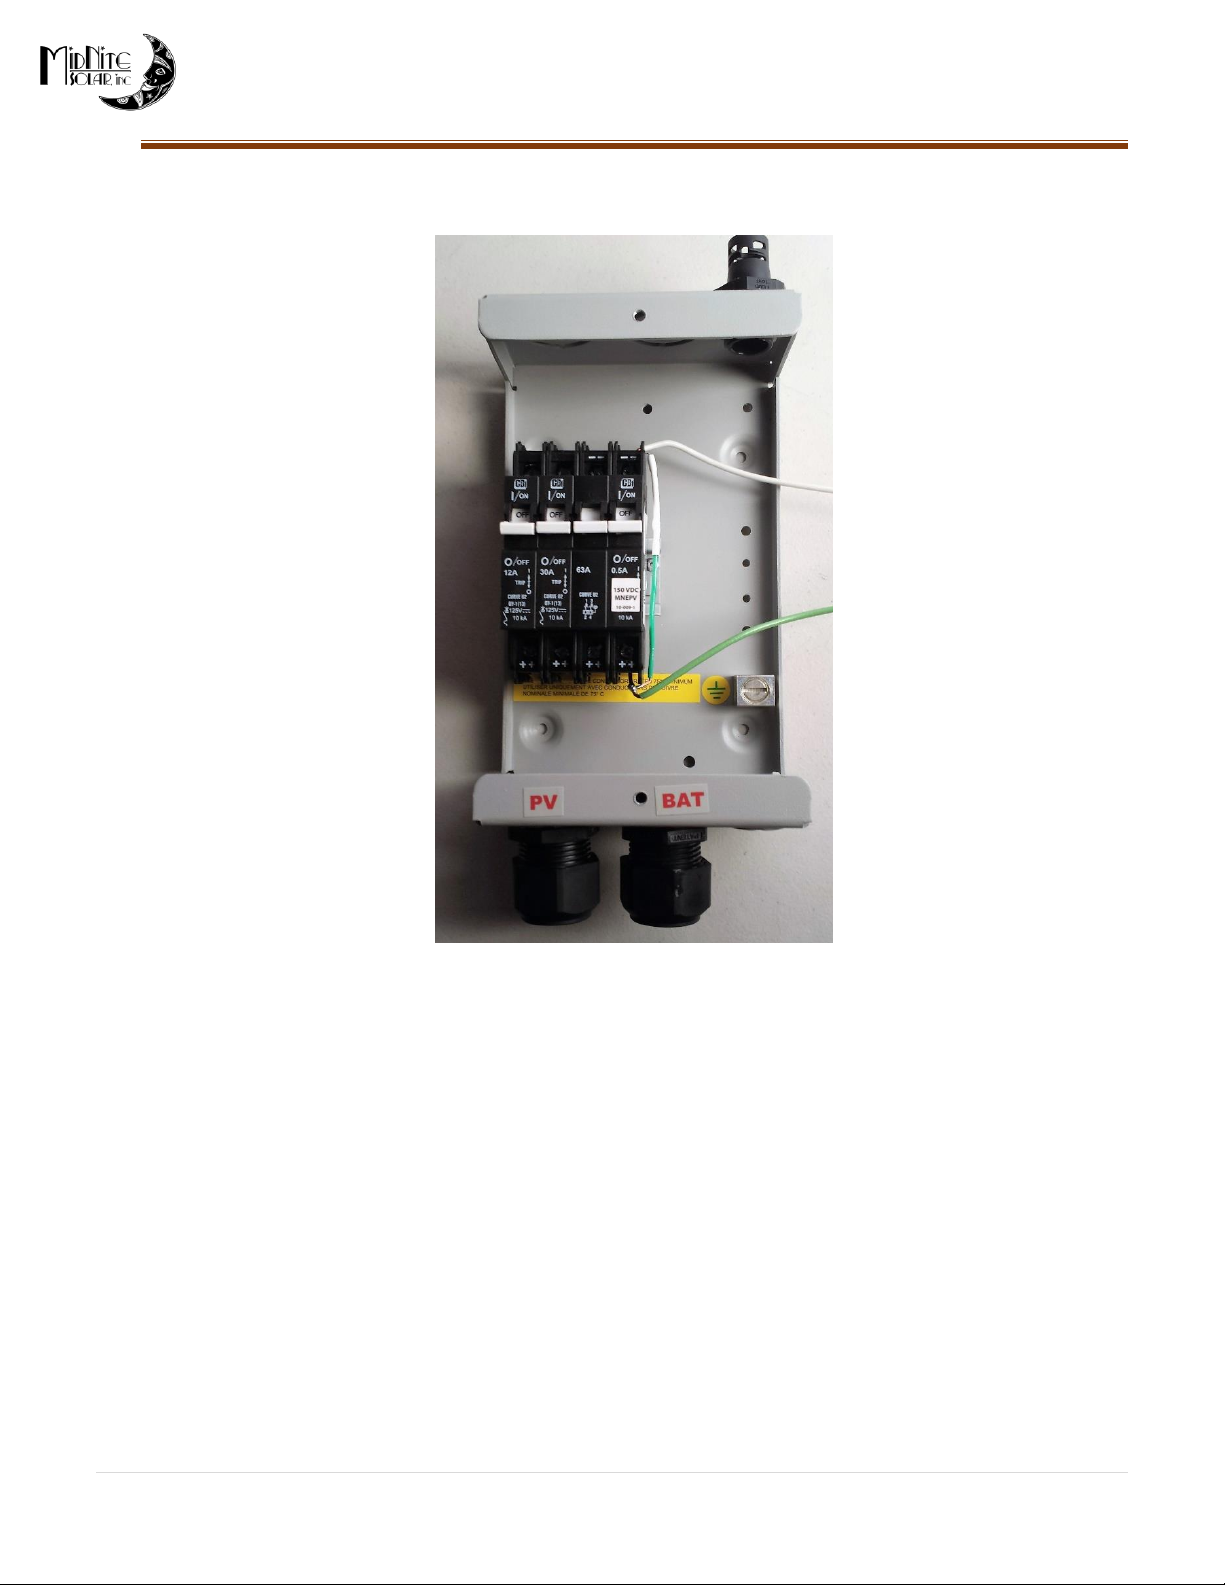
The breakers when installed should have the letters right side up and the breaker handles should be in the off
position.
(HINT) When stripping wire, it is recommended to only strip enough insulation off the wire to fit into your
connecter, approximately 3/8" for this breaker and for the negative busbar.
Why use Ground Fault Protection?
A Ground Fault Protection (GFP) will disconnect the solar array from the power system in the event of a
ground fault. This protects your equipment from the effects of a ground fault and is required by the
National Electric Code.
Midnite Kid Basic Solar Charging Kit
10 | P a g e 10- 4 0 4 - 1 R E V -
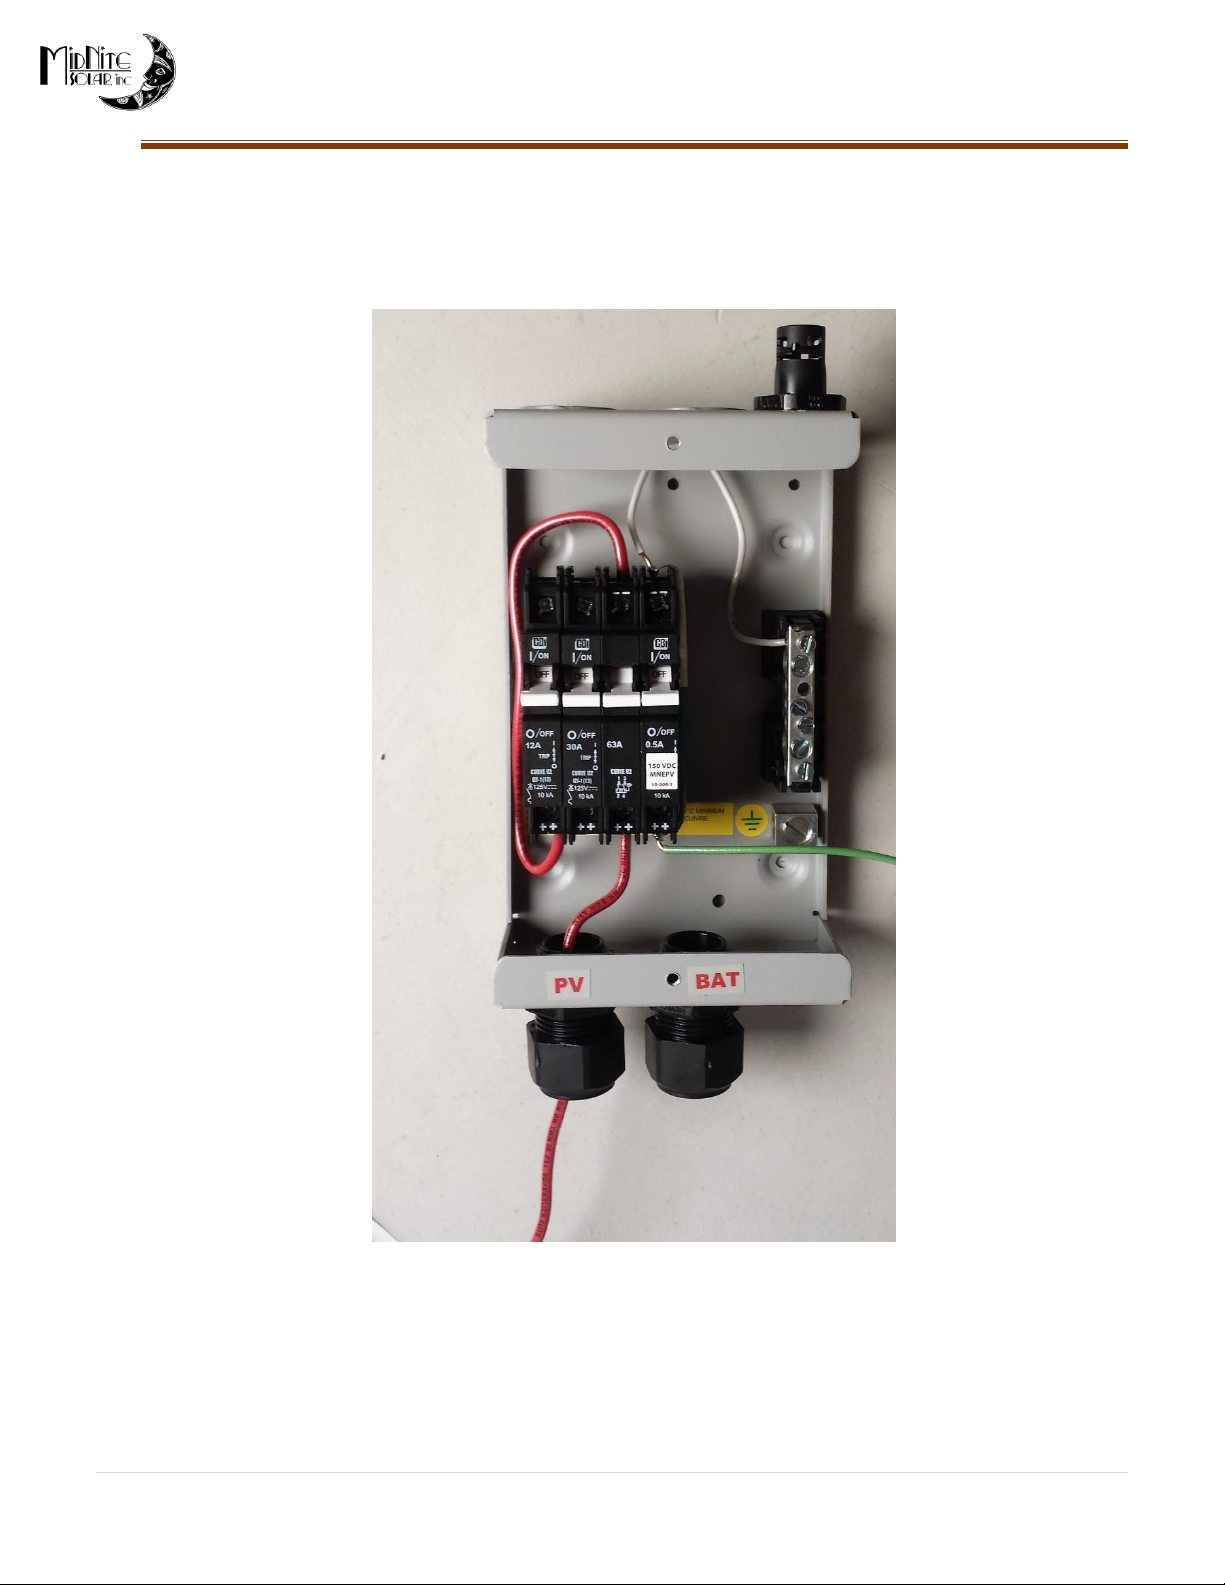
Wiring the GFP-63 breaker
The positive PV wire connects to the bottom (the ++ end) of the MNDC-GFP63 breaker on the left-hand side.
From the top of the MNDC-GFP63 breaker on the left-hand side, the wire wraps around to the bottom of the
PV Breaker. The wire from the top of the PV breaker goes up to the PV + connecter in the KID.
The negative wire connects to the negative bus bar. Followed by the white wire from the MNDC-GFP63.
Tabla de contenidos
Otros manuales de Inversor de MidNite Solar

MidNite Solar
MidNite Solar Rosie MNE300ROSIE-240P Manual de usuario

MidNite Solar
MidNite Solar MNPV8 series Manual de usuario

MidNite Solar
MidNite Solar MN5048DIY Manual de usuario

MidNite Solar
MidNite Solar Classic Lite Manual de usuario

MidNite Solar
MidNite Solar Rosie MNROSIE7048RE Manual de usuario

MidNite Solar
MidNite Solar Brat Manual de usuario


