Kasco Robust-Aire Manual de usuario

ROBUST-AIRE DIFFUSER ASSEMBLY MANUAL 1
MOVING WATER FORWARD, SINCE 1968
Document number 772100
Document version 2021.1.0
DIFFUSER
ASSEMBLY
Robust-Aire™
Assembly &
Installation
Manual

ROBUST-AIRE DIFFUSER ASSEMBLY MANUAL 1
TABLE OF CONTENTS
715.262.4488
QUESTIONS?
Safety First�������������������������������������������������������������������������������������������������������������������������������2
Suggested Tools & Supplies���������������������������������������������������������������������������������������������������2
Installation Suggestions���������������������������������������������������������������������������������������������������������2
Parts Included �������������������������������������������������������������������������������������������������������������������������3
Assembly Instructions������������������������������������������������������������������������������������������������������������4
Installation Instructions���������������������������������������������������������������������������������������������������������9
Replacement Parts ���������������������������������������������������������������������������������������������������������������10
Warranty ��������������������������������������������������������������������������������������������������������������������������������11
Other Repairs ������������������������������������������������������������������������������������������������������������������������12
Repair Contact Form ������������������������������������������������������������������������������������������������������������13

ROBUST-AIRE DIFFUSER ASSEMBLY MANUAL 2
IMPORTANT: PLEASE READ THIS MANUAL AND SAVE FOR FUTURE REFERENCE
• Use caution when dealing with any electrical equipment.
• Use caution around water.
• Running the system in conditions below freezing may create open areas of water at the diuser locations
and thin ice in the surrounding area.
• Some areas require warning signs to be posted. The system owner will assume all risks of operating the
Robust-Aire™ system during winter months. Check your local laws and ordinances.
• Do not use boats that tip easily, such as canoes, for installation. Follow all boating safety rules and
regulations, including wearing a PFD (Personal Flotation Device).
• Consult a qualied electrician for electrical installation.
SAFETY FIRST
Electrical Shock HazardElectrical Shock Hazard
SUGGESTED TOOLS & SUPPLIES
• 7/16” socket wrench with shaft extension or 7/16” nut driver
• Adjustable wrench
• Flathead screw driver or 1/4” nut driver
• Retrieval ropes longer than the desired installation depth (optional)
• Marker buoy (optional)
INSTALLATION SUGGESTIONS
Make sure to unroll any SureSink™ Tubing before installing the diuser. Unrolling the tubing will make it
less likely to kink during installation. Also make sure to unroll and connect any additional SureSink™ Tubing
before going to the installation site.
Use a retrieval rope and marker buoy to allow for easy retrieval during maintenance or relocation of the
Robust-Aire™ Diuser.
WARNINGS:
Back to Contents
ROBUST-AIRE DIFFUSER ASSEMBLY MANUAL 3
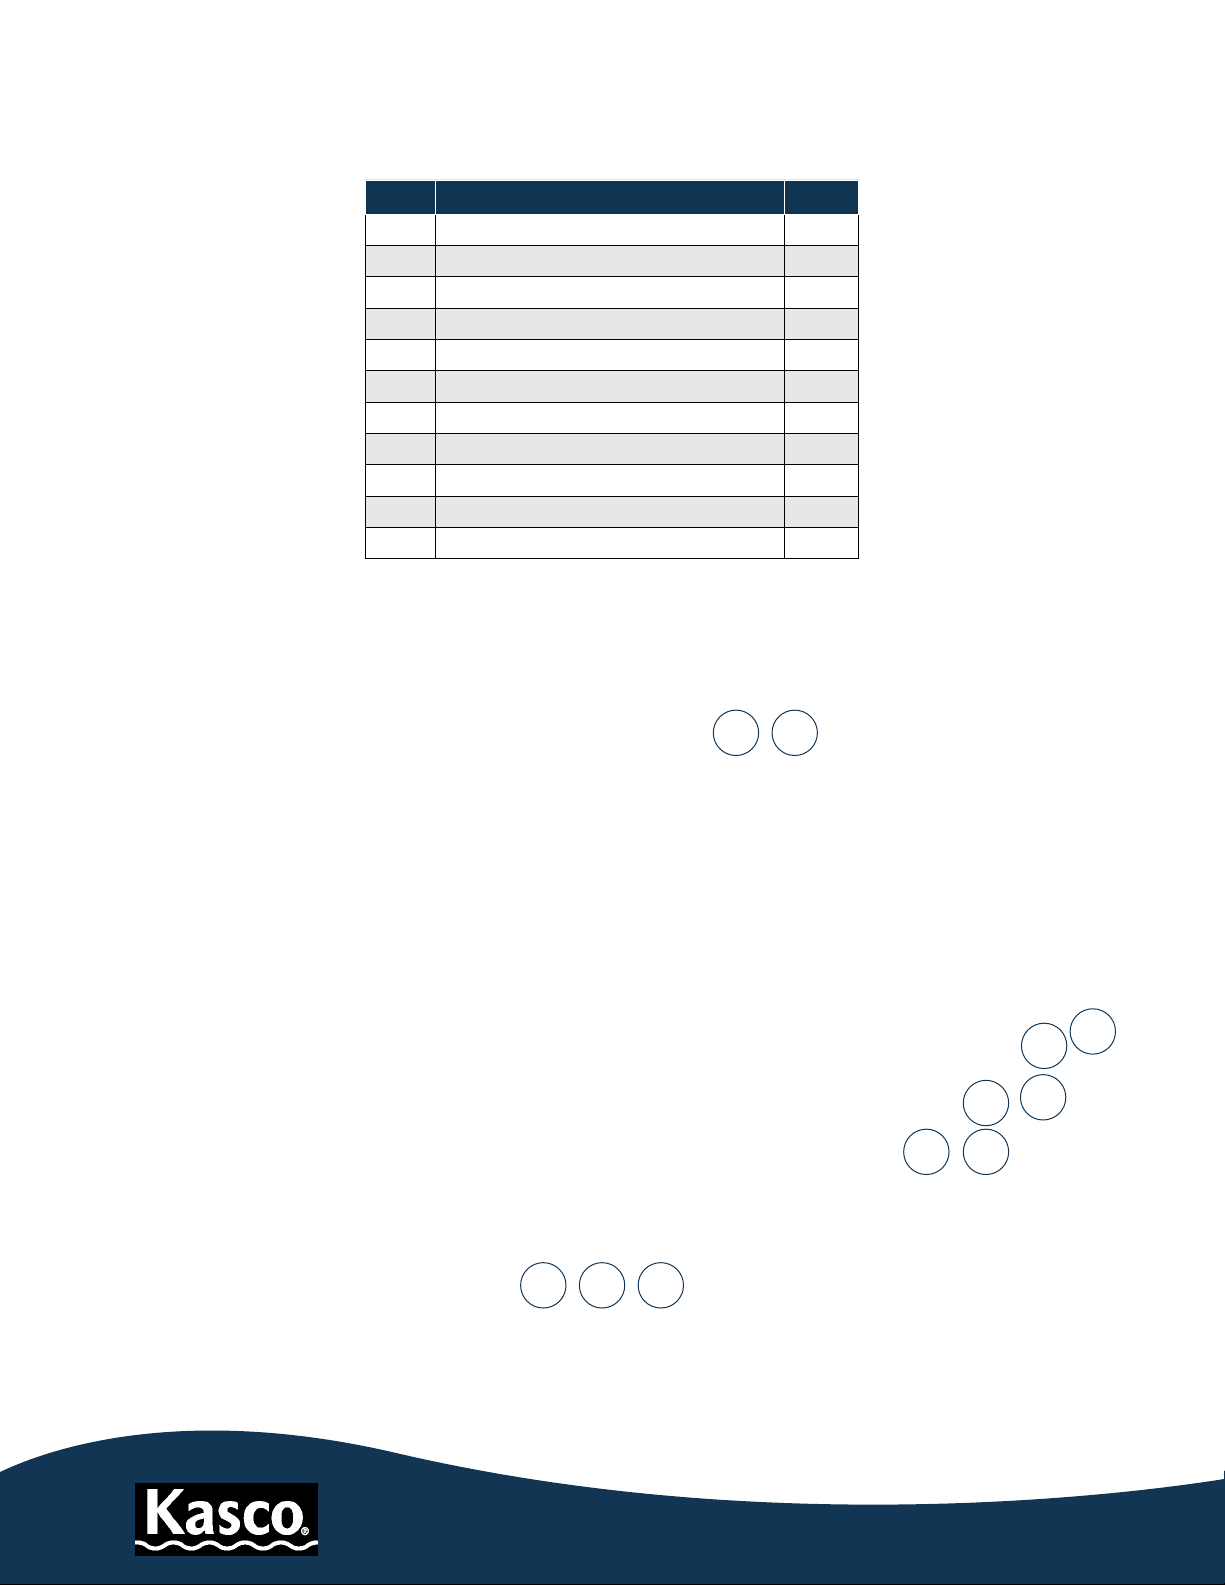
PARTS INCLUDED
Item Description Qty.
1 Locknut 6
2 Carriage bolt 6
35/8” barb tting 1
43/8” barb tting 1
5 3/8” hose clamp 1
6 5/8” hose clamp 1
7 Edge guards 2
8 Substrate connector 1
9 Substrate riser 2
10 Tubing assemblies 2
11 Inlet check valve assembly 1
11
21
3
4
789
10
56
Back to Contents

ROBUST-AIRE DIFFUSER ASSEMBLY MANUAL 4
ASSEMBLY INSTRUCTIONS
Though these parts for both 3/8” and
5/8” SureSink™ Tubing are included, you
will need only one size, depending on
your installation.
5/8" hose clamp
3/8" hose clamp
3/8" barb tting
5/8" barb tting
1. After unpacking your box, the tubing assembly tee's open end will be turned towards the center of the
loop. Twist the tee tting so the open end faces away from the center of the tubing loop.
Tighten until snug, making sure the blue lines on both aeration tubing assemblies face the same
direction and are parallel with the inlet check valve assembly.
Tighten a barb tting into the check valve assembly. The barb tting size depends on the SureSink™
Tubing size. Use an adjustable wrench to tighten the barb tting to the inlet check valve assembly.
2. Assemble both tubing assemblies to the inlet check valve assembly.
3
4
Item Description
35/8” barb tting
43/8” barb tting
Back to Contents

ROBUST-AIRE DIFFUSER ASSEMBLY MANUAL 5
ASSEMBLY INSTRUCTIONS (CONT.)
3. With the blue line on the tubing facing down, attach the substrate riser around the tee tting. Rotate up
and secure the aeration tubing into the substrate riser.
4. Repeat step 3 to attach both substrate risers to the assembly.
For best performance, keep
an equal amount of tubing on
either side of substrate risers.
5. Slide the substrate edge guards onto the connector plate as shown.
Back to Contents

ROBUST-AIRE DIFFUSER ASSEMBLY MANUAL 6
ASSEMBLY INSTRUCTIONS (CONT.)
6. Rotate the entire assembly and set the tubes on a at surface.
7. Insert the six provided carriage bolts into the holes on the substrate connector plate and loosely tighten
them down with the six provided lock nuts to temporarily hold them in place.
Back to Contents

ROBUST-AIRE DIFFUSER ASSEMBLY MANUAL 7
8. Flip the diuser assembly back over and tighten down each nut until snug with a socket wrench or a
7/16” nut driver. Kasco recommends using an extender for the socket wrench.
ASSEMBLY INSTRUCTIONS (CONT.)
9. Slide the provided hose clamp of the appropriate size onto the SureSink™ Tubing. Feed the weighted
tubing over the substrate connector, leaving plenty of slack. Make a generous loop and secure the
tubing to the barb tting with the hose clamp. Tighten down the clamp with a athead screwdriver or a
1/4" nut driver.
Back to Contents

ROBUST-AIRE DIFFUSER ASSEMBLY MANUAL 8
ASSEMBLY INSTRUCTIONS (CONT.)
10. Press the weighted tubing into the appropriately sized (3/8” or 5/8”) strain relief notch on one side of the
connector plate, making sure there is no strain on the barb tting.
5/8" strain relief
3/8" strain relief
11. On the other side of the connector plate, press the weighted tubing into the remaining strain relief
notch of the same size (diagonal from the notch on the opposite side of the plate). Ensure that the
SureSink™ Tubing snaps into place in both correctly sized notches before installing the unit.
3/8" SureSink
5/8" SureSink
3/8" SureSink 5/8" SureSink
OR
OR
Back to Contents
ROBUST-AIRE DIFFUSER ASSEMBLY MANUAL 9
INSTALLATION INSTRUCTIONS
With the SureSink™ Tubing in place, the diuser is ready to install. If you are unsure how many feet of
tubing you will need, bring the SureSink™ Tubing out with you and connect the tubing needed on the way
back.
Water Installation
Retrieval hole
Retrieval hole Retrieval hole
Retrieval hole
Installation rope
Optional Step
Once at the desired location, thread a rope through the two retrieval holes on one side of the diuser base.
Pull the rope through the holes until its midpoint is centered between the retrieval holes. Slowly lower the
diuser until it reaches the bottom of the pond and tie the installation rope to a marker buoy. Doing this will
allow for easier maintenance in the future and also will notify others of the diuser's location. Repeat the
steps for additional Robust-Aire™ Diuser locations.
Back to Contents
Otros manuales para Robust-Aire
1
Tabla de contenidos
Otros manuales de Equipos marinos de Kasco


Manuales populares de Equipos marinos de otras marcas


Clarion
Clarion GR10BT Manual de reparación

Raymarine
Raymarine Maxiview ST80 Guía del usuario

GUIDANCE MARINE
GUIDANCE MARINE 20- Series Instrucciones de montaje

Raymarine
Raymarine ST60 Tridata Guía del usuario

olympia electronics
olympia electronics ΒS-531/1/MAR Manual de usuario

Sonic
Sonic 2024 Manual de usuario