greenfeathers WiFi Bird Box Camera Manual de usuario

WiFi Bird Box Camera
Quick Start Guide

2

3
Congratulations! You are now the proud owner of a Green Feathers Bird Box
Camera. For years we have been a leading provider of wildlife cameras and
our bird box cameras have been a number one choice for those wanting to
watch wildlife in their very own garden from the comfort of the sofa.
Please take a couple of minutes to have a read through this booklet before
you get started. Not only are there some helpful hints and tips, but we also
have some guidelines to help you plan the installation of your camera.
With just a bit of time, a cup of tea and a friend you’ll be up-and-running in
no time. We hope you enjoy your camera!

4
WHERE TO PLACE YOUR BIRD BOX
Different birds have different needs when it comes to choosing where to place your bird
box. Generally you should look to place your box in a quiet spot in the garden amongst
other plants or trees, making sure to leave a clear path in for your birds to make their
landing.
Unless there is a tree or building providing shade, it is generally a good idea to face the box
between north and east to avoid direct sunlight and strong winds. Tilting the box slightly
forward will also help to prevent rain from coming straight into the nesting area.
For blackbirds, robins and wrens you should place your bird box 1.5 to 2 metres high, well
surrounded by planting.
For sparrows, starlings, tits and spotted ycatchers you should place your bird box 2 to 4
metres high and slightly covered with a clear entrance.
For woodpeckers, owls and kestrels you should place your bird box between 3 to 5 metres
high in a nice open space.
If there are cats and other bird predators in the area then you should look to place
your bird box a minimum of 2 metres above ground level.

5
WHERE TO PLACE YOUR BIRDBOX
Dierent birds have dierent needs when it comes to choosing where to place your
birdbox. Generally you should look to place your box in a quiet spot in the garden
amongst other plants or trees, making sure to leave a clear path in for your birds to
make their landing.
Unless there is a tree or building providing shade, it is generally a good idea to face
the box between north and east to avoid direct sunlight and strong winds. Tilting
the box slightly forward will also help to prevent rain from coming straight into the
nesting area.
For bluebirds, robins and wrens you should place your birdbox 1.5 to 2 metres high,
well surrounded by planting.
For sparrows, starlings, tits and spotted ycatchers you should place your birdbox
2m - 4m high and slightly covered with a clear entrance.
For woodpeckers, owls and kestrels you should place your birdbox between 3m -
5m high, in a nice open space.
If there are cats and other bird predators in the area then you should look to place
your bird box a minimum of 2m above ground level.
5
2m - Robins, Wrens
3m - Sparrows, Tits, Starlings
5m - Woodpeckers, Owls
6
HOW TO SET UP A WI-FI CAMERA
Before You Begin
• Do not mount the camera into the bird box until you know it is working correctly
• Check the Wi-Fi strength at the site of your bird box using a smartphone or tablet
• Plug in the power supply into the trailing cable of the camera and remove the lens cap
• If using a MicroSD card, insert the card into the slot before powering up
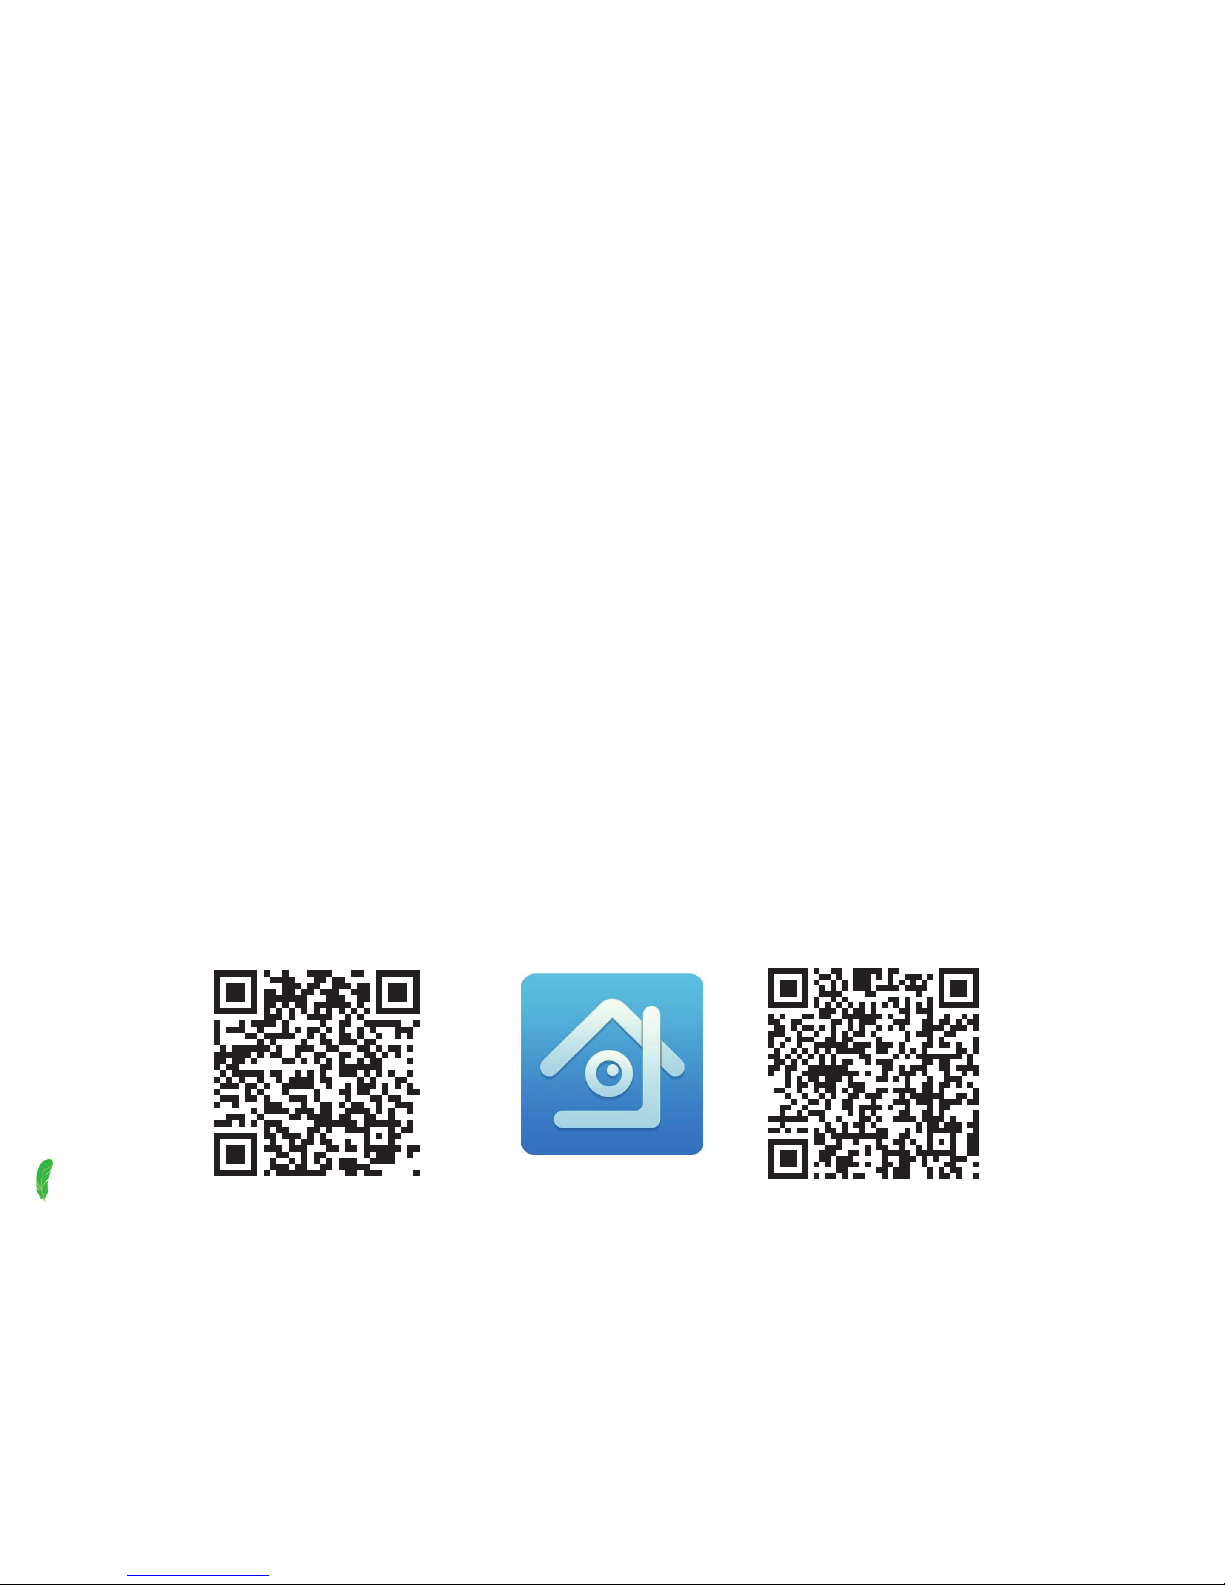
1. Download the app onto your smartphone or tablet
To view live images on your iPhone, iPad or Android device you can download the app.
Search for XMEye on Apple App Store or Google Play Store. Alternatively scan the QR codes
below.
iOS Android

7
2. Connect to the Camera Directly
First, you need to connect to the Wi-Fi camera directly to activate it.
• Power up the camera and allow a minute for the camera to boot
• Open the Wi-Fi settings on your smartphone or tablet and the network with the
following name should appear beye_***
• Select and enter the password 1234567890.
Should this Wi-Fi Network not appear it may mean that
you need to reset the camera. To do this press and hold
the reset button for 15 seconds on the camera.
• Once connected, open the app and select Direct
Login at the bottom
• Your camera will now be listed, so simply tap on it to check that you are receiving live
images.
This method of connecting is a good option if your WiFi network does not reach the camera
but the range is limited. You will not be able to view the camera remotely once you’re out of
range. Therefore, we would recommend now connecting the camera to your Wi-Fi network
(see next page).

8
3. Connect the Camera to Your Wi-Fi Network
iOS
1. Connect to the Wi-Fi network you want the camera to use. On your smartphone/tablet,
open Settings > Wi-Fi and tap on your network to connect
2. On the camera, Firmly double press the white reset button on the end of the cable
3. Open the app on your phone and tap the Local Login icon at the bottom
4. Now select the icon in the top-right and tap Quick Conguration
5. Enter your Wi-Fi network password and select the two options Ensure the indicator
and Device Operation
6. Tap Complete all of the above operation at the bottom of the screen
7. If you are prompted with a question asking whether your device is post-2015 select Yes
8. Wait for the app to scan the network and your device should show up as a green icon
9. Tap this and it will automatically ll out all the details needed to connect to the camera
10. Select OK at the bottom of the screen
11. Your device should now appear in your device list and you will be able to watch live
video over Wi-Fi from your bird box camera.

9
Android
1. Connect to the Wi-Fi network you want the camera to use. On your smartphone/tablet,
go to Wi-Fi settings and tap on your network to connect
2. On the camera, Firmly double press the white reset button on the end of the cable
3. Open the app on your phone and tap the Local Login icon at the bottom
4. Now select the icon in the top-right and tap WiFi Cong
5. Tap Login
6. Wait for the app to scan the network for your device where a green icon should appear
7. Tap the green icon, which will ll out all the necessary details
8. Give the device a name (optional) and tap Add.
9. Your device should now appear in your device list and you will be able to watch live
video over Wi-Fi from your bird box camera.
Set a Strong Password
It is important to create a strong password on your camera for security purposes.
To do this, while on the Live Video screen tap the Home icon and tap
Change Password.

10
INSTALLING THE PC SOFTWARE
Now that your camera is set up on your network, you may also want to watch and record
footage on your Windows PC. To do this, you can download the Gamut CMS5 software.
Download and install the software from this link: https://bit.ly/2wFZVI5
• Once installed, nd and run CMS5. Click Login.
• Select Add Cameras
• Find your camera from the list on the left and click the tick box
• Click Add
• If you have set a password, click on the pencil icon on the right and enter it here
• Now head back to the Main menu and open Live
• Find your device on the right and double-click
• Now the live stream should appear.
FIND MORE HELP ONLINE
Read our in-depth set-up guides.
green-feathers.co.uk/help
Tabla de contenidos
Otros manuales de Cámara de seguridad de greenfeathers


