Gamma Vacuum DIGITEL QPC Manual de usuario
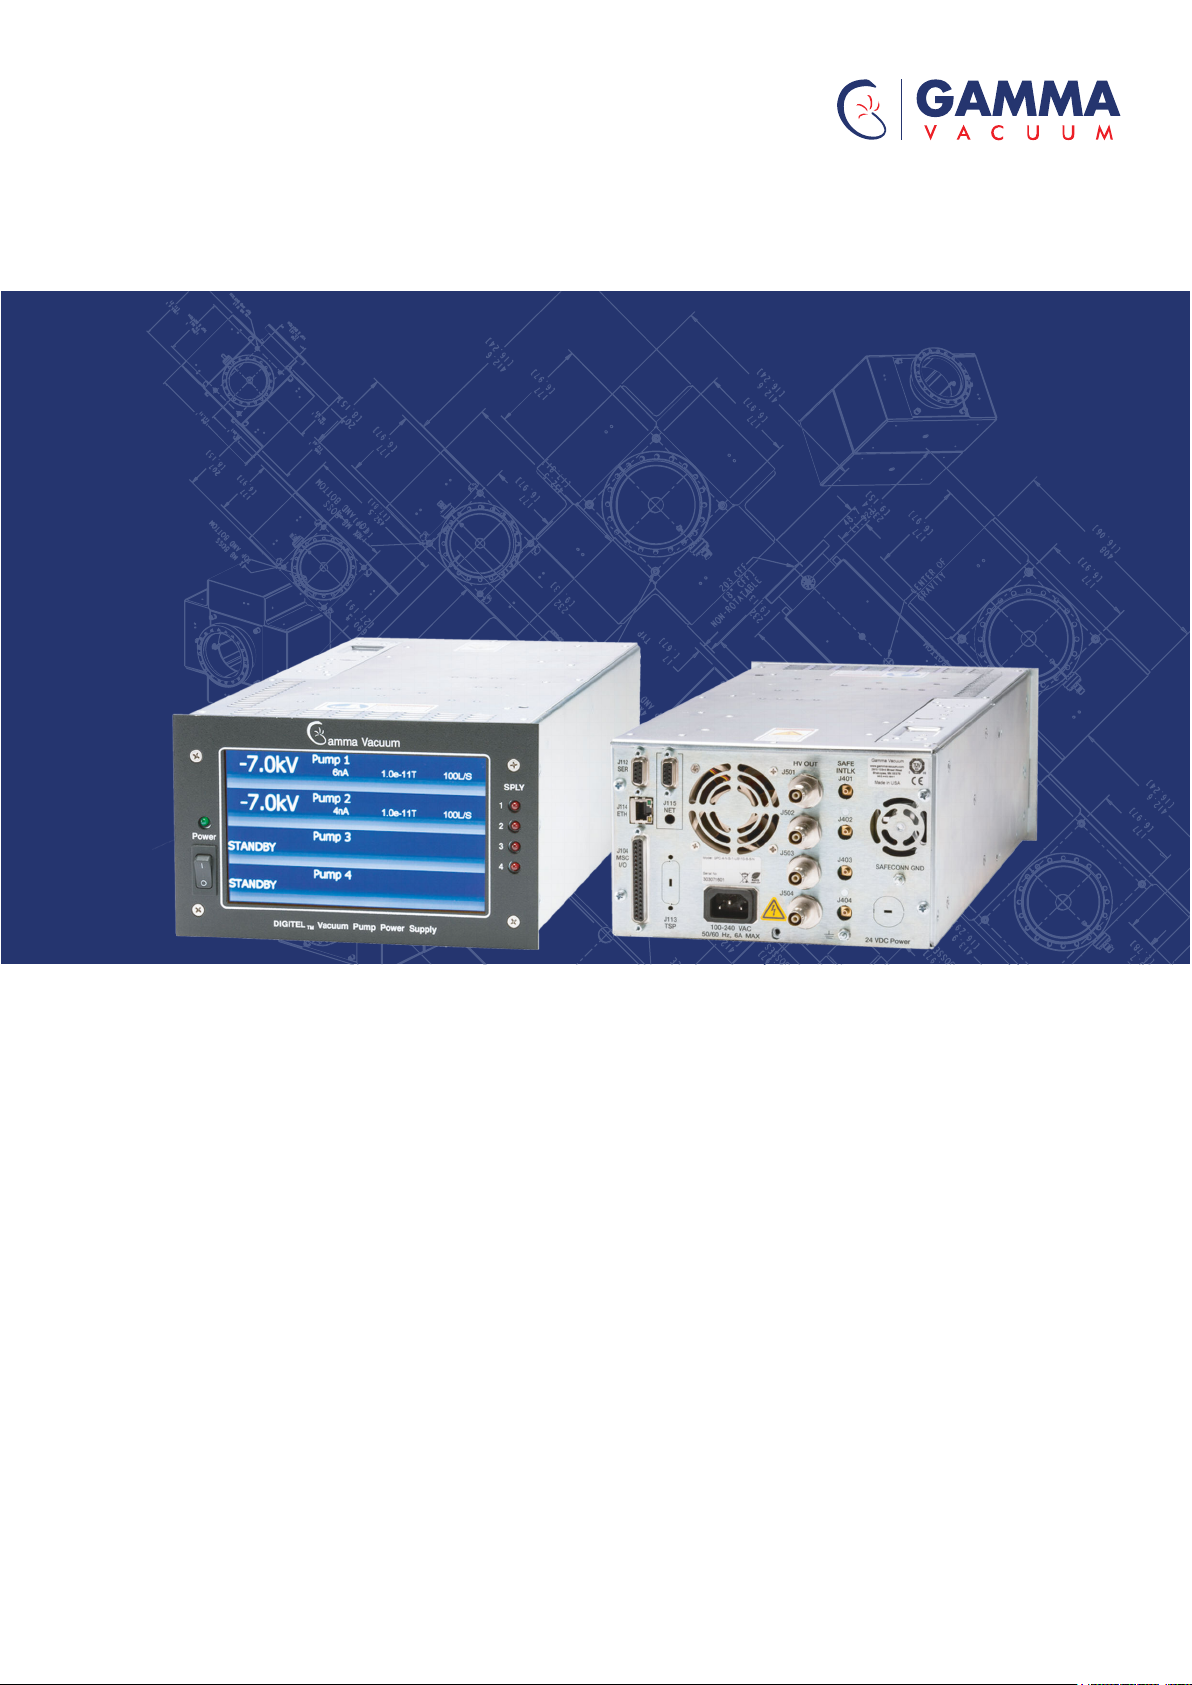
DIGITEL QPC Controller
Instruction manual
www.gammavacuum.com
900031_J Original instructions

Copyright notice
© Gamma Vacuum 2021. Part of the Atlas Copco Group
Trademark credit
Gamma Vacuum and the Gamma Vacuum logo are trademarks of 2700 4th
Avenue East, Ste 100, Shakopee, MN 55379, USA
Disclaimer
The content of this manual may change from time to time without notice.
We accept no liability for any errors that may appear in this manual nor do
we make any expressed or implied warranties regarding the content. As far
as practical we have ensured that the products have been designed and
constructed to be safe and without risks when properly installed and used
in accordance with their operating instructions.
We accept no liability for loss of prot, loss of market or any other indirect
or consequential loss whatsoever.
Product warranty and limit of liability are dealt with in our standard terms
and conditions of sale or negotiated contract under which this document is
supplied.
You must use this product as described in this manual. Read the manual
before you install, operate, or maintain the product.

Contents
1. Safety and compliance. . . . . . . . . . . . . . . . . . . . . . . . . . . . . . . . . . . . . . . . . . . . . 7
1.1. Denition of Warnings and Cautions. . . . . . . . . . . . . . . . . . . . . . . . . . . . . . . . . . 7
1.2. Safety symbols. . . . . . . . . . . . . . . . . . . . . . . . . . . . . . . . . . . . . . . . . . . . . . . . . . 8
1.3. Warnings. . . . . . . . . . . . . . . . . . . . . . . . . . . . . . . . . . . . . . . . . . . . . . . . . . . . . . . . . 8
1.4. Safety notices. . . . . . . . . . . . . . . . . . . . . . . . . . . . . . . . . . . . . . . . . . . . . . . . . . . . . 9
2. General information. . . . . . . . . . . . . . . . . . . . . . . . . . . . . . . . . . . . . . . . . . . . . . 11
2.1. Approvals. . . . . . . . . . . . . . . . . . . . . . . . . . . . . . . . . . . . . . . . . . . . . . . . . . . . . . . . 11
3. Unpacking the controller. . . . . . . . . . . . . . . . . . . . . . . . . . . . . . . . . . . . . . . . . . 12
3.1. Inspect for any obvious damage. . . . . . . . . . . . . . . . . . . . . . . . . . . . . . . . . . . . 12
3.2. Check the equipment received. . . . . . . . . . . . . . . . . . . . . . . . . . . . . . . . . . . . . . 12
4. Installation. . . . . . . . . . . . . . . . . . . . . . . . . . . . . . . . . . . . . . . . . . . . . . . . . . . . . . 13
4.1. Required items. . . . . . . . . . . . . . . . . . . . . . . . . . . . . . . . . . . . . . . . . . . . . . . . . . . 13
4.2. Installation procedure. . . . . . . . . . . . . . . . . . . . . . . . . . . . . . . . . . . . . . . . . . . . . 13
5. Controller conguration. . . . . . . . . . . . . . . . . . . . . . . . . . . . . . . . . . . . . . . . . . . 14
5.1. Number of HV channels. . . . . . . . . . . . . . . . . . . . . . . . . . . . . . . . . . . . . . . . . . . . 14
5.2. Output voltage polarity type for each HV channel. . . . . . . . . . . . . . . . . . . . . . 14
5.3. Type of the HV output connectors. . . . . . . . . . . . . . . . . . . . . . . . . . . . . . . . . . . 14
5.4. Number of output connectors per HV channel. . . . . . . . . . . . . . . . . . . . . . . . 14
5.5. Communication interface. . . . . . . . . . . . . . . . . . . . . . . . . . . . . . . . . . . . . . . . . . 14
5.6. DIGITEL QPC Setup. . . . . . . . . . . . . . . . . . . . . . . . . . . . . . . . . . . . . . . . . . . . . . . . 15
6. Pressure measurement. . . . . . . . . . . . . . . . . . . . . . . . . . . . . . . . . . . . . . . . . . . 16
7. Front panel. . . . . . . . . . . . . . . . . . . . . . . . . . . . . . . . . . . . . . . . . . . . . . . . . . . . . . 17
7.1. Description. . . . . . . . . . . . . . . . . . . . . . . . . . . . . . . . . . . . . . . . . . . . . . . . . . . . . . . 17
8. HV control or ion pump operation. . . . . . . . . . . . . . . . . . . . . . . . . . . . . . . . . . 18
8.1. Prior to using an ion pump. . . . . . . . . . . . . . . . . . . . . . . . . . . . . . . . . . . . . . . . . 18
8.2. Prior to turning on HV and starting an ion pump. . . . . . . . . . . . . . . . . . . . . . 18
8.3. Turn HV on and o. . . . . . . . . . . . . . . . . . . . . . . . . . . . . . . . . . . . . . . . . . . . . . . . 18
9. Touchscreen user interface. . . . . . . . . . . . . . . . . . . . . . . . . . . . . . . . . . . . . . . . 19
9.1. Home screen. . . . . . . . . . . . . . . . . . . . . . . . . . . . . . . . . . . . . . . . . . . . . . . . . . . . . 19
9.2. Supply setup. . . . . . . . . . . . . . . . . . . . . . . . . . . . . . . . . . . . . . . . . . . . . . . . . . . . . 19
9.3. Supply setup advanced options. . . . . . . . . . . . . . . . . . . . . . . . . . . . . . . . . . . . . 20
9.4. System setup. . . . . . . . . . . . . . . . . . . . . . . . . . . . . . . . . . . . . . . . . . . . . . . . . . . . . 21
9.5. Display setup. . . . . . . . . . . . . . . . . . . . . . . . . . . . . . . . . . . . . . . . . . . . . . . . . . . . . 21
9.6. Analog output. . . . . . . . . . . . . . . . . . . . . . . . . . . . . . . . . . . . . . . . . . . . . . . . . . . . 22
Page 3900031_J

9.7. Digital input setup. . . . . . . . . . . . . . . . . . . . . . . . . . . . . . . . . . . . . . . . . . . . . . . . 23
9.8. Digital output setup. . . . . . . . . . . . . . . . . . . . . . . . . . . . . . . . . . . . . . . . . . . . . . . 24
9.9. Relay setup. . . . . . . . . . . . . . . . . . . . . . . . . . . . . . . . . . . . . . . . . . . . . . . . . . . . . . 25
9.10. Serial port setup. . . . . . . . . . . . . . . . . . . . . . . . . . . . . . . . . . . . . . . . . . . . . . . . . 26
9.11. Probus setup. . . . . . . . . . . . . . . . . . . . . . . . . . . . . . . . . . . . . . . . . . . . . . . . . . . 26
9.12. Ethernet interface setup. . . . . . . . . . . . . . . . . . . . . . . . . . . . . . . . . . . . . . . . . . 27
9.13. TSP sublimation view. . . . . . . . . . . . . . . . . . . . . . . . . . . . . . . . . . . . . . . . . . . . . 28
9.14. TSP sublimation view with controls. . . . . . . . . . . . . . . . . . . . . . . . . . . . . . . . . 29
9.15. TSP setup. . . . . . . . . . . . . . . . . . . . . . . . . . . . . . . . . . . . . . . . . . . . . . . . . . . . . . . 29
9.16. TSP pressure window setup. . . . . . . . . . . . . . . . . . . . . . . . . . . . . . . . . . . . . . . 30
9.17. TSP advanced options. . . . . . . . . . . . . . . . . . . . . . . . . . . . . . . . . . . . . . . . . . . . 31
10. Error/status codes. . . . . . . . . . . . . . . . . . . . . . . . . . . . . . . . . . . . . . . . . . . . . . . 32
10.1. Error example ‘STANDBY, Error 02, vacuum loss, detected’. . . . . . . . . . . . . 32
11. Rear panel. . . . . . . . . . . . . . . . . . . . . . . . . . . . . . . . . . . . . . . . . . . . . . . . . . . . . . 34
11.1. Connector pair, HV output connectors and safeconn connectors. . . . . . . 34
11.2. Connector J115, NET (Probus, optional). . . . . . . . . . . . . . . . . . . . . . . . . . . . 34
11.3. Connector J113, CTRL. . . . . . . . . . . . . . . . . . . . . . . . . . . . . . . . . . . . . . . . . . . . . 34
11.4. Connector J114, ETH. . . . . . . . . . . . . . . . . . . . . . . . . . . . . . . . . . . . . . . . . . . . . . 35
11.5. Connector J104, Misc I/O. . . . . . . . . . . . . . . . . . . . . . . . . . . . . . . . . . . . . . . . . . 35
11.6. Connector J112, SER. . . . . . . . . . . . . . . . . . . . . . . . . . . . . . . . . . . . . . . . . . . . . . 36
12. Serial communication. . . . . . . . . . . . . . . . . . . . . . . . . . . . . . . . . . . . . . . . . . . . 38
12.1. Gamma protocol over serial connection. . . . . . . . . . . . . . . . . . . . . . . . . . . . . 38
12.2. Gamma protocol response packet structure over serial connection. . . . . 39
12.3. CRC checksum example. . . . . . . . . . . . . . . . . . . . . . . . . . . . . . . . . . . . . . . . . . . 41
12.4. Examples - Gamma protocol over serial connection. . . . . . . . . . . . . . . . . . . 42
12.5. Gamma protocol commands. . . . . . . . . . . . . . . . . . . . . . . . . . . . . . . . . . . . . . 43
13. Ethernet communication. . . . . . . . . . . . . . . . . . . . . . . . . . . . . . . . . . . . . . . . . 49
13.1. Gamma protocol over ethernet connection. . . . . . . . . . . . . . . . . . . . . . . . . . 49
13.2. Example - Gamma protocol over ethernet connection. . . . . . . . . . . . . . . . . 50
14. Technical specications. . . . . . . . . . . . . . . . . . . . . . . . . . . . . . . . . . . . . . . . . . 51
15. Warranty and service. . . . . . . . . . . . . . . . . . . . . . . . . . . . . . . . . . . . . . . . . . . . 52
15.1. Service. . . . . . . . . . . . . . . . . . . . . . . . . . . . . . . . . . . . . . . . . . . . . . . . . . . . . . . . . 52
15.1.1. Cleaning procedure. . . . . . . . . . . . . . . . . . . . . . . . . . . . . . . . . . . . . . . . . 52
15.1.2. Service requests. . . . . . . . . . . . . . . . . . . . . . . . . . . . . . . . . . . . . . . . . . . . 52
15.1.3. Direct support. . . . . . . . . . . . . . . . . . . . . . . . . . . . . . . . . . . . . . . . . . . . . 52
15.2. Warranty. . . . . . . . . . . . . . . . . . . . . . . . . . . . . . . . . . . . . . . . . . . . . . . . . . . . . . . 53
15.2.1. General terms. . . . . . . . . . . . . . . . . . . . . . . . . . . . . . . . . . . . . . . . . . . . . 53
15.2.2. Warranty claims. . . . . . . . . . . . . . . . . . . . . . . . . . . . . . . . . . . . . . . . . . . . 53
15.3. Returning material. . . . . . . . . . . . . . . . . . . . . . . . . . . . . . . . . . . . . . . . . . . . . . . 54
15.3.1. Return procedure. . . . . . . . . . . . . . . . . . . . . . . . . . . . . . . . . . . . . . . . . . 54
Page 4900031_J


List of Figures
Figure 1: QPC front panel. . . . . . . . . . . . . . . . . . . . . . . . . . . . . . . . . . . . . . . . . . . . . . . . . . . 17
Figure 2: Home screen. . . . . . . . . . . . . . . . . . . . . . . . . . . . . . . . . . . . . . . . . . . . . . . . . . . . . 19
Figure 3: Home screen (control buttons visible). . . . . . . . . . . . . . . . . . . . . . . . . . . . . . . . 19
Figure 4: Supply setup screen. . . . . . . . . . . . . . . . . . . . . . . . . . . . . . . . . . . . . . . . . . . . . . . 20
Figure 5: Supply setup advanced options. . . . . . . . . . . . . . . . . . . . . . . . . . . . . . . . . . . . . 20
Figure 6: System setup screen. . . . . . . . . . . . . . . . . . . . . . . . . . . . . . . . . . . . . . . . . . . . . . 21
Figure 7: Display setup screen. . . . . . . . . . . . . . . . . . . . . . . . . . . . . . . . . . . . . . . . . . . . . . 21
Figure 8: Analog output screen. . . . . . . . . . . . . . . . . . . . . . . . . . . . . . . . . . . . . . . . . . . . . . 23
Figure 9: Digital input setup screen. . . . . . . . . . . . . . . . . . . . . . . . . . . . . . . . . . . . . . . . . . 24
Figure 10: Digital output screen. . . . . . . . . . . . . . . . . . . . . . . . . . . . . . . . . . . . . . . . . . . . . 25
Figure 11: Relay setup screen. . . . . . . . . . . . . . . . . . . . . . . . . . . . . . . . . . . . . . . . . . . . . . . 25
Figure 12: Serial port setup screen. . . . . . . . . . . . . . . . . . . . . . . . . . . . . . . . . . . . . . . . . . . 26
Figure 13: Probus setup screen. . . . . . . . . . . . . . . . . . . . . . . . . . . . . . . . . . . . . . . . . . . . 27
Figure 14: Ethernet setup screen. . . . . . . . . . . . . . . . . . . . . . . . . . . . . . . . . . . . . . . . . . . . 28
Figure 15: TSP sublimation view screen (no control buttons). . . . . . . . . . . . . . . . . . . . 29
Figure 16: TSP sublimation view screen with controls. . . . . . . . . . . . . . . . . . . . . . . . . . . 29
Figure 17: TSP setup screen. . . . . . . . . . . . . . . . . . . . . . . . . . . . . . . . . . . . . . . . . . . . . . . . . 30
Figure 18: TSP pressure window screen. . . . . . . . . . . . . . . . . . . . . . . . . . . . . . . . . . . . . . 31
Figure 19: TSP advanced options screen. . . . . . . . . . . . . . . . . . . . . . . . . . . . . . . . . . . . . . 31
Figure 20: Display error/status codes screen. . . . . . . . . . . . . . . . . . . . . . . . . . . . . . . . . . 32
Figure 21: QPC rear panel. . . . . . . . . . . . . . . . . . . . . . . . . . . . . . . . . . . . . . . . . . . . . . . . . . 34
Page 6900031_J
1. Safety and compliance
1.1. Denition of Warnings and Cautions
NOTICE:
For safe operation from the start, read these instructions carefully before
you install or commission the equipment and keep them safe for future use.
Read all the safety instructions in this section and the rest of this manual
carefully and make sure that you obey these instructions. The equipment
must only be operated and maintained by trained personnel in the proper
condition and as described in this instruction manual.
Obey local and state requirements and regulations. If you have any
questions about safety, operation or maintenance of the device, please
contact our nearest subsidiary.
Important safety information is highlighted as warning and caution
instructions. Obey these instructions.
WARNING:
If you do not obey a warning, there is a risk of injury or death. Dierent
symbols are used according to the type of hazard.
CAUTION:
If you do not obey a caution, there is a risk of minor injury, damage to
equipment, related equipment or process.
NOTICE:
Information about properties or instructions for an action which, if ignored,
will cause damage to the pump or the system.
We reserve the right to change the design and the stated data. The
illustrations are not binding.
Keep the instructions for future use.
Page 7900031_J
900031_J - Safety and compliance

1.2. Safety symbols
The safety symbols on the products show the areas where care and
attention is necessary.
The safety symbols that follow are used on the product or in the product
documentation.
Warning/Caution
An appropriate safety instruction must be followed or caution
to a potential hazard exists.
Warning - Dangerous voltage
Identies possible hazards from dangerous voltages.
Warning - Heavy object
Identies a possible hazard from a heavy object.
Warning - Read the manual
1.3. Warnings
WARNING:
Shock hazard. Can
cause injury or death.
Remove power before
servicing.
AVERTISSEMENT :
Risque de choc
électrique. Peut
entraîner des blessures,
voire la mort. Coupez
l'alimentation électrique
avant l'entretien.
警告:
感電事故。怪我や死亡事
故の原因になります。保
守を行う前に、電源を切
ってください。
ADVERTENCIA:
Peligro de descarga.
Pueden producirse
lesiones o incluso la
muerte. Desconecte la
alimentación antes de
realizar cualquier tarea
de mantenimiento.
WARNUNG:
Stromschlaggefahr. Es
besteht Verletzungs-
und Todesgefahr. Vor
Wartungsarbeiten vom
Strom trennen.
警告:
触电危险。可能导致人员
伤亡。维护之前先断电。
Page 8900031_J
900031_J - Safety and compliance

WARNING:
Heavy object. To avoid
muscle strain or back
injury, use lifting aids
and proper lifting
techniques when
removing or replacing.
AVERTISSEMENT :
Objet lourd. Pour éviter
les blessures
musculaires ou
dorsales, utilisez des
engins de levage et des
techniques de levage
appropriées lors du
retrait ou du
remplacement d’un
objet lourd.
警告:
重量のある装置、部品。
筋挫傷、背中や腰の怪我
を避けるために、取り外
しや交換はリフトを使用
した適切な吊り上げ方法
で行ってください。
ADVERTENCIA:
Objeto pesado. Para
evitar distensiones
musculares o lesiones
en la espalda, utilice
ayudas para la
elevación y técnicas de
elevación adecuadas
durante la retirada o
sustitución del equipo.
WARNUNG:
Schwerer Gegenstand.
Um
Muskelverspannungen
oder
Rückenverletzungen zu
vermeiden, verwenden
Sie beim Entfernen
oder Ersetzen
Hebehilfen und
geeignete
Hebetechniken.
警告:
重物。为了避免肌肉劳损
或背部损伤,执行卸除或
更换操作时,应使用起重
工具,并采用适当的起重
技巧。
WARNING:
Read and understand
operator’s manual
before using this
machine. Failure to
follow operating
instructions could result
in injury or damage to
equipment.
AVERTISSEMENT :
Lisez et comprenez le
mode d’emploi avant
d’utiliser cette machine.
Le non-respect des
instructions d’utilisation
peut entraîner des
blessures ou
endommager
l’équipement.
警告:
本機械を使用する前に、
取扱説明書をよく読み、
十分に理解してくださ
い。操作手順に従わない
場合、怪我や機器が損傷
する原因となることがあ
ります。
ADVERTENCIA:
Lea y comprenda el
manual del operador
antes de utilizar este
equipo. Si no se siguen
las instrucciones de
funcionamiento,
podrían producirse
lesiones o daños en el
equipo.
WARNUNG:
Sie müssen diese
Bedienungsanleitung
lesen und verstehen,
bevor Sie diese
Maschine benutzen. Die
Nichtbeachtung der
Gebrauchsanleitung
kann zu Verletzungen
oder Schäden an der
Anlage führen.
警告:
使用本设备之前,请阅读
并理解操作员手册。不遵
守操作手册说明可能导致
人员受伤和设备损坏。
1.4. Safety notices
1. Gamma vacuum controllers designed for ion pump operation are capable
of delivering 7 kV under open-circuit or low-pressure operating
Page 9900031_J
900031_J - Safety and compliance

conditions. Gamma vacuum products are designed and manufactured to
provide protection against electrical and mechanical hazards for the
operator and the area surrounding the product.
2. Installation procedures are for use by qualied, authorized personnel
who have experience working with 50 V or greater. To avoid personal
injury, do not perform any installation or service unless qualied to do so.
3. There are no serviceable parts inside the controller power-supply, and
voltages as high as 7 kV may be present. Do not open the supply case
under any circumstances. In the event of the power‑supply requiring
attention, return it to Gamma Vacuum.
4. Do not disconnect the high-voltage cable with the power on. After turning
the power o, allow at least one minute before disconnecting electrical
equipment.
5. Do not operate the controller without a proper electrical ground or near
water. The controller may be damaged and its safety reduced if it is
operated outside of its specications.
Page 10900031_J
900031_J - Safety and compliance
Tabla de contenidos
Otros manuales de Controladores de Gamma Vacuum


