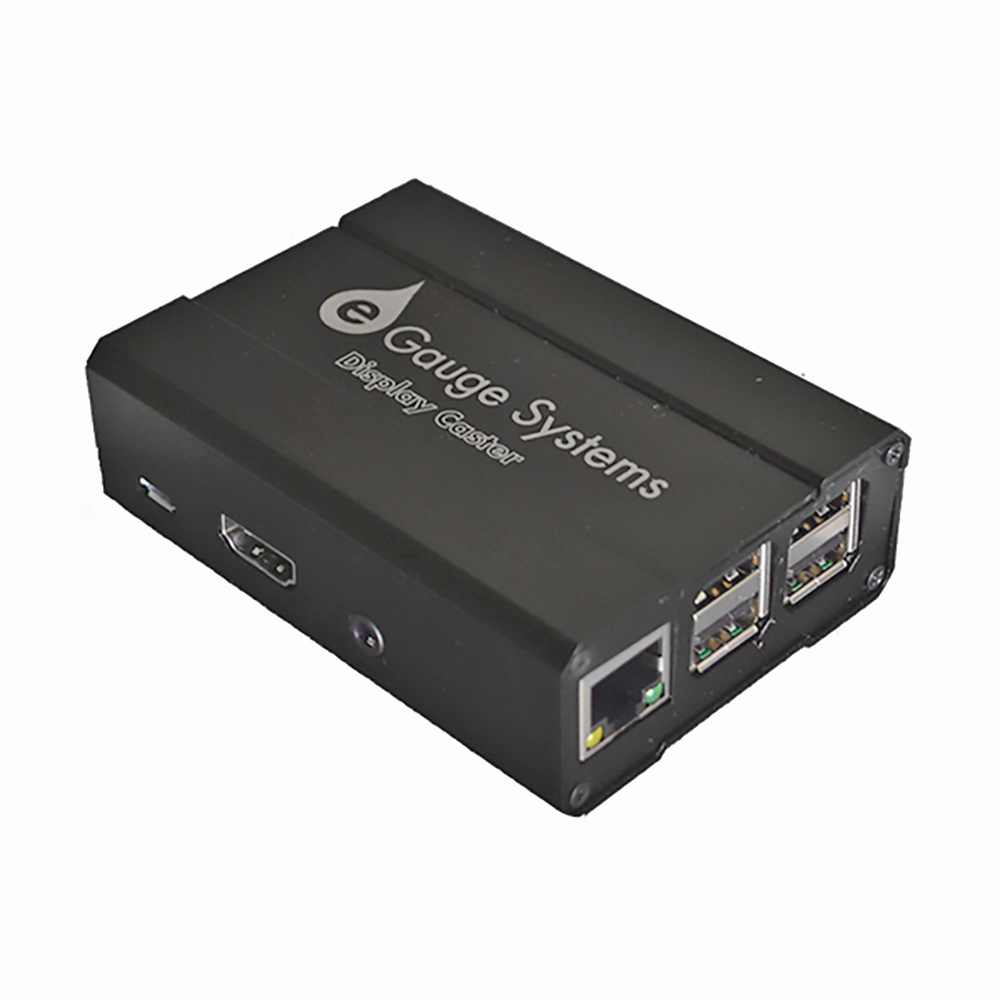
The RJ-45 jack is used to connect the hub to the eGauge. The four switches A through D on the
face of the unit must be set to the right-most position. The hub does not require power.
This connects the hub to the eGauge.
The eGauge to hub connector splits the RJ-45 cable into four sensor channels. To install, connect
the two pin CT plugs to CT ports on the eGauge. Connect the RJ-45 plug to the Extension Hub
(either directly or using the coupler).
Note that the wire colors on the two pin plugs correspond to the colors on the front of the
Extension Hub. For example, the two pin plug with orange wires would be input "A" on the hub.
Do notconnect the RJ-45 plug to an Ethernet port on the eGauge or any other hardware.
Damage may result.
This can be used to extend the distance between the eGauge and the Extension Hub.
The coupler provides a convenient means to extend the wiring between the eGauge and Extension
Hub. It does not require power. The RJ-45 plug on eGauge to hub connector (whip) is connected to
one side, and a standard CAT5 cable is connected between the coupler and the Extension Hub on
the other side.
An extension of up to 100'/33m may be used. Longer runs may work, but could also lead to a loss
of accuracy. Care should be taken to ensure the extension is wired to the T568B CAT5 standard to
avoid mixing up sensor inputs. If in doubt, compare the wiring of the extension to the color key
located above the Extension Hub RJ-45 port.
2. Hub RJ-45 to 2-pin breakout cable (whip)
3. RJ-45 Coupler


