CYP CDPS-CS4 Manual de usuario
CDPS-CS4
Control System Center
Operation Manual
Operation Manual


DISCLAIMERS
The information in this manual has been carefully checked and
is believed to be accurate. Cypress Technology assumes no
responsibility for any infringements of patents or other rights of third
parties which may result from its use.
Cypress Technology assumes no responsibility for any inaccuracies
that may be contained in this document. Cypress also makes no
commitment to update or to keep current the information contained
in this document.
Cypress Technology reserves the right to make improvements to this
document and/or product at any time and without notice.
COPYRIGHT NOTICE
No part of this document may be reproduced, transmitted,
transcribed, stored in a retrieval system, or any of its part translated
into any language or computer le, in any form or by any means—
electronic, mechanical, magnetic, optical, chemical, manual, or
otherwise—without express written permission and consent from
Cypress Technology.
© Copyright 2017 by Cypress Technology.
All Rights Reserved.
TRADEMARK ACKNOWLEDGMENTS
All products or service names mentioned in this document may be
trademarks of the companies with which they are associated.

SAFETY PRECAUTIONS
Please read all instructions before attempting to unpack, install or
operate this equipment and before connecting the power supply.
Please keep the following in mind as you unpack and install this
equipment:
• Always follow basic safety precautions to reduce the risk of re,
electrical shock and injury to persons.
• To prevent re or shock hazard, do not expose the unit to rain,
moisture or install this product near water.
• Never spill liquid of any kind on or into this product.
• Never push an object of any kind into this product through any
openings or empty slots in the unit, as you may damage parts
inside the unit.
• Do not attach the power supply cabling to building surfaces.
• Use only the supplied power supply unit (PSU). Do not use the PSU
if it is damaged.
• Do not allow anything to rest on the power cabling or allow any
weight to be placed upon it or any person walk on it.
• To protect the unit from overheating, do not block any vents or
openings in the unit housing that provide ventilation and allow for
sufcient space for air to circulate around the unit.
REVISION HISTORY
VERSION NO. DATE (DD/MM/YY) SUMMARY OF CHANGE
VR1 20/07/15 Preliminary release
VR2 17/02/16 RS-232 Command Case-
insensitive
VR3 13/04/16 Add UART Setting in WebGUI
VS4 17/02/17 Updated text/diagrams

CONTENTS
1. Introduction......................................................1
2. Applications.....................................................1
3. Package Contents ..........................................1
4. System Requirements......................................2
5. Features............................................................2
6. Operation Controls and Functions.................2
6.1 Front Panel ................................................. 2
6.2 Rear Panel.................................................. 3
6.3 Remote Control......................................... 4
6.4 IR Cable Pin Assignment........................... 5
6.5 RS-232 Protocol.......................................... 5
6.6 Telnet Commands..................................... 6
6.7 Telnet Control ............................................ 9
6.8 WebGUI Control ...................................... 11
6.8.1 Macro Settings ............................... 12
6.8.2 Extension Macro............................. 14
6.8.3 Command Settings........................ 15
6.8.4 UART Settings .................................. 16
6.8.5 Network Settings ............................ 16
6.8.6 System Settings............................... 17
7. Connection Diagram ....................................18
8. Specications ................................................19
9. Acronyms .......................................................20

1
1. INTRODUCTION
As we enter a new era of smart devices, the dream of controlling
everything with one nger is nally upon us. This Control System Center
allows those dreams to come true by not only providing direct but
also indirect control interfaces for all of your devices. Direct control
methods such as IR (with IR learning), RS-232, relay, and DC triggers
allow users to maintain traditional styles of control over devices
while indirect device control is possible using telnet allowing users to
control newer, more complicated devices. With this product you can
pre-program and recall up to 16 distinct macros (8 can be directly
activated via external triggers or IR remote) providing for complete
control over your audio and video environment.
2. APPLICATIONS
• Smart Home Control
• Control Center
• Function Room
• Product Showroom
• Ballroom
3. PACKAGE CONTENTS
• 1×Control System Center
• 1×Remote Control (CR-157)
• 1×IR Learner Cable
• 4×IR Extender Cables
• 4×IR Blaster Cables
• 4×Terminal Block Connectors
• 1×5V/2.6A Power Adaptor
• 1×Rack Mount Ears (Set of 2)
• 1×Operation Manual

2
4. SYSTEM REQUIREMENTS
• Trigger input source equipment such as motion detection cameras,
TVs, power switches, etc.
• An active internet connection from a switch or router for control of
Ethernet devices.
5. FEATURES
• Supports 1 IR Learning input, 8 IR Blaster outputs, 8 Trigger inputs, 8
Relay outputs, 2 COM ports, and 4 Ethernet ports
• Supports an IR learning function which captures the IR signal
broadcast by your remote when you press a button for
retransmission as a part of a macro
• Supports trigger inputs with a voltage range of 0~15V (triggers at 5V)
• Supports Baud rates from 4800bps to 115200bps
• Supports 10/100 Ethernet network connections
6. OPERATION CONTROLS AND FUNCTIONS
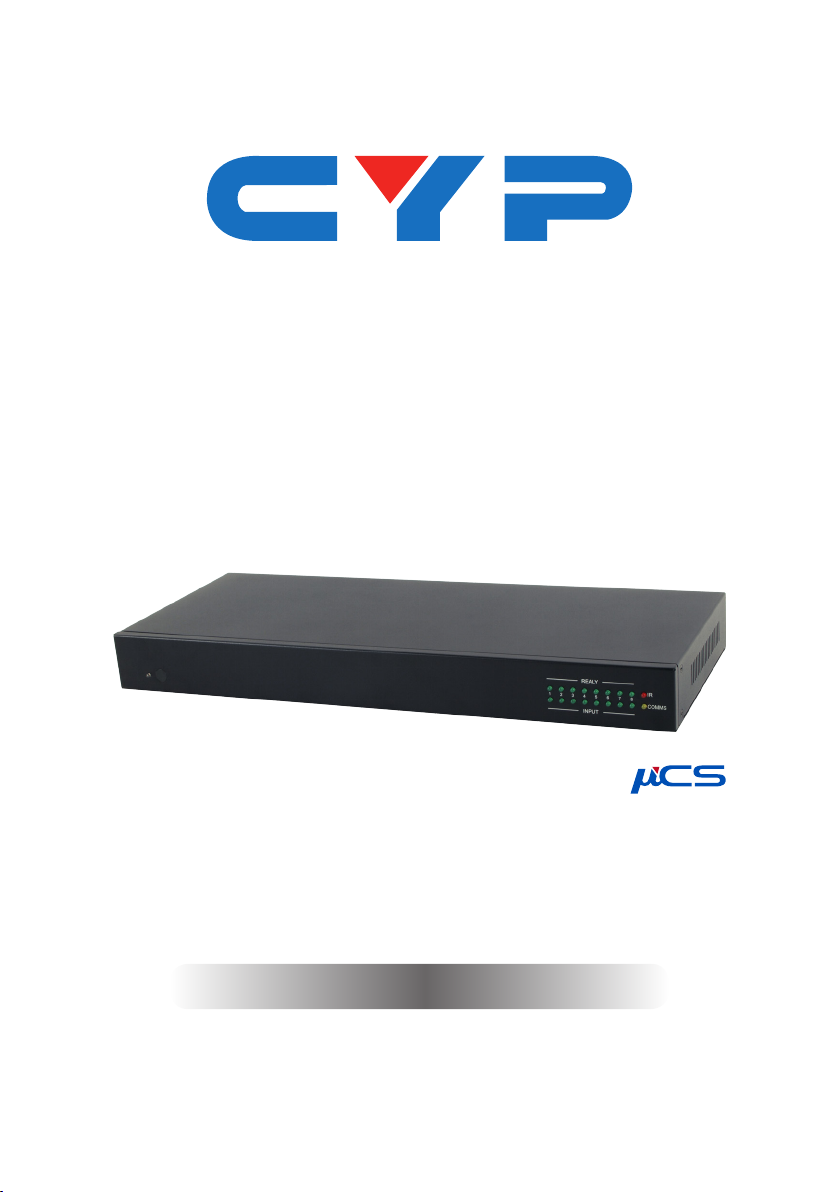
6.1 Front Panel
12345678
IR
COMMS
INPUT
REALY
12 3 6
4 5
1POWER LED: This LED will illuminate when the device is switched on.
2IR WINDOW: Receives IR signals from the remote control to activate
macros 1~8.
3INPUT LED: These LEDs will illuminate when the associated input
trigger detects a voltage high enough to trigger it (DC voltage of
5~15V).
4RELAY LED: These LEDs represent the output relay circuit status
(green=closed, off=open).
5IR LED: This LED will illuminate when the device is receiving or

3
sending an IR signal. The LED will also illuminate when learning IR
commands.
6COMMS LED: This LED will blink when the COM ports are sending/
receiving data. It will also blink when macros are executed (1 ash
for each command within the macro).
6.2 Rear Panel
IRL
RESET
DC 5V
12345678
GND
IN
12345678
RELAY OUT
USB
LAN
1234
COM 1 COM 2
INFRARED OUT
12345678
123 4 5 6 7 8 9
1IRL: Connect to the IR Learning Receiver included in the package.
This is used to capture the IR signal broadcast by your remote
when you press a button for retransmission as a part of a macro.
The IR data will be captured and stored in a text format within the
WebGUI. For IR Learning instructions please refer to section 6.8.3.
2IR OUT 1~8: Connect to the provided IR Blasters to transmit IR
signals to devices within direct line-of-sight of the IR Blaster.
3TRIGGER IN 1~8: Connect to any device with trigger or switch
functionality such as window security alarms, motion detectors,
door switches, etc. Each of the 8 trigger inputs will activate the
associated macro when triggered.
The upper row of contacts should be connected to the positive
pins of your sources and the lower row of contacts should be
connected to the negative pins. If the polarity is incorrectly aligned
then the trigger won’t activate. A minimum of 5V DC is required to
activate the trigger.
4RELAY OUT 1~8: Connect to devices that support DC 0~24V/5A
relay trigger functionality to power or activate them via macro
commands.
5COM 1~2: Connect to RS-232 controllable devices to send
commands to those devices via macros. It is also possible to send
commands directly to your RS-232 connected devices via the
Ethernet connection.
To do this, connect to the Control System using a Telnet client via
port 7501 (to send to COM 1) or port 7502 (to send to COM 2).

4
Once connected, any typed commands will be sent directly to
the appropriate COM port.
RESET: To reset the IP settings back to factory default, press and
hold the button with a pin for 10 seconds. Both IR and COMMS
LEDs will illuminate to indicate you have successfully reset it.
6LAN 1~4: Connect any one port to an active Ethernet network
to allow it to control other devices on the network and to be
accessed via Telnet/WebGUI. The remaining 3 ports can be
connected directly to other local devices you wish to control.
7USB: This slot is reserved for factory rmware update only.
8POWER: Flip this switch to power the unit on or off.
9DC 5V: Plug the 5V DC power adapter into this port and connect it
to an AC wall outlet for power.
6.3 Remote Control
11~8: Press any of these buttons to activate the
corresponding Control System macro.
CR-157
56
78
34
12
1

5
6.4 IR Cable Pin Assignment
3
2
1
IR Blaster
Power
IR Signal
NC
3
1
2
IR Signal
Power
Ground
IR Learner
6.5 RS-232 Protocol
DATA TERMINAL EQUIPMENT
Pin Assignment
1 NC
2RxD
3TxD
4 NC
5 GND
6 NC
7 NC
8 NC
9 NC
Baud Rate: 4800~115200bps
Data Bits: 7~8
Parity: None, Odd, Even
Flow Control: None
Stop Bits: 1
Tabla de contenidos
Otros manuales de Sistema de control de CYP


