Choo Choo Vision CAB-CAM 6 Manual de usuario

www.choochoovision.com 1 Released 6/23/2021
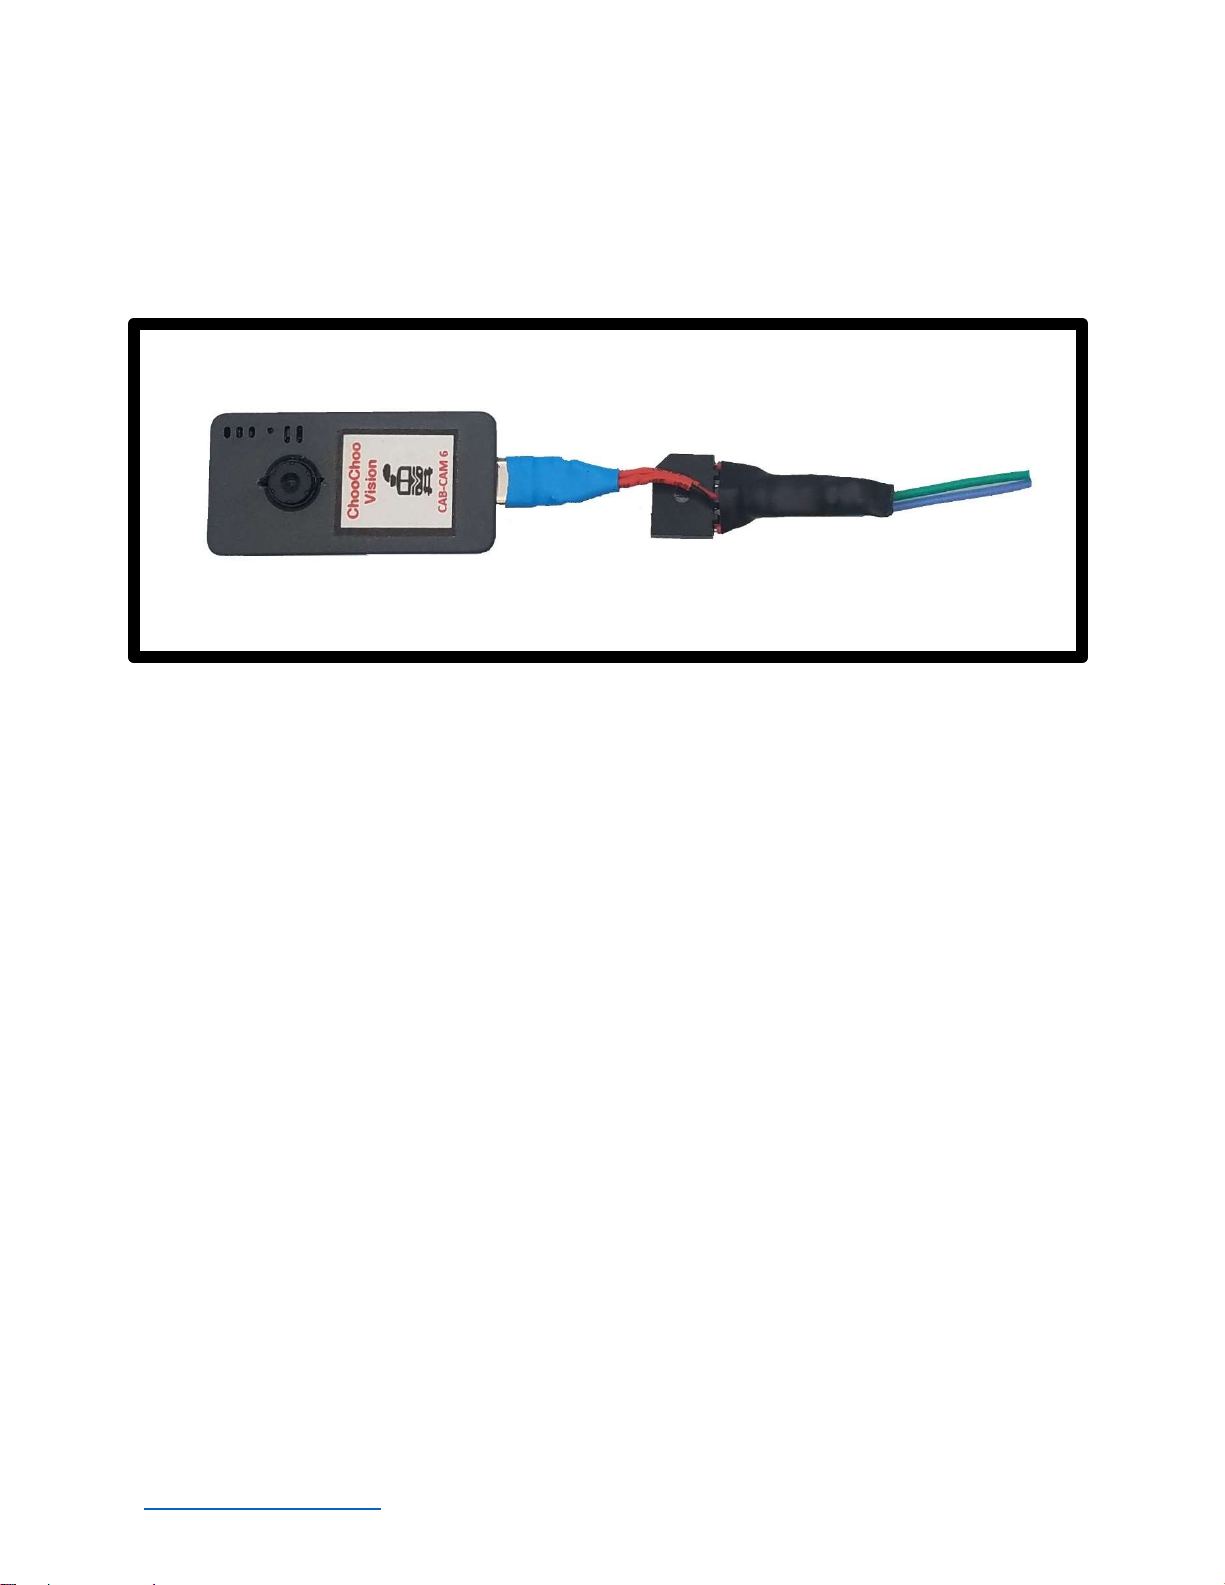
CAB-CAM 6
Installation Kit Instructions

www.choochoovision.com 2 Released 6/23/2021
Contents
Introduction .............................................................................................................................................. 2
Camera Controls ....................................................................................................................................... 3
Initial Setup .............................................................................................................................................. 4
Powering your CCV Camera ..................................................................................................................... 5
Installing the Camera Kit: ......................................................................................................................... 6
Product Support: ...................................................................................................................................... 7
Introduction
Congratulations! You have purchased a unique technological advancement for Model Railroading that
immerses you into the world of your layout. Take photos of your layout, live-stream video over the
internet, or host Remote Operations sessions.
This instruction guide is specific to the Choo Choo Vision CAB-CAM Installation Kit.
PLEASE REVIEW THE CCV USER GUIDE BEFORE INSTALLING YOUR CAMERA. The instruction guide is
located at www.ChooChooVision.com\support

www.choochoovision.com 3 Released 6/23/2021
Camera Controls
1. Power ON Button
Press the Power ON button for 2 seconds to turn the camera ON. The camera light will
blink rapidly upon power-up.
2. Power OFF: Magnetic Reed Switch
To turn the camera OFF, swipe a magnet across the area above the camera lens.
3. Status Indicator Light
Fast Blinks for 2 seconds: Camera is starting up
Off after Fast Blinks: Waiting to connect to Wi-Fi
Steady Glow: Camera is running and has connected to WiFi
Off: Camera is OFF
Blink very 3 seconds: Camera is in charging mode.
4. USB Port (external power)
Accepts 5V Power from USB Phone Charger
Accepts Choo Choo Vision DCC Power Converter
5. Aux Port
Accepts secondary auxiliary magnetic switch for powering off the camera
Accepts Pan-Cam interface cable
6. RESET
Resets / Reboots the camera.
1
2
3
4
5
6

www.choochoovision.com 4 Released 6/23/2021
Initial Setup
It is recommended that you complete the initial setup before installing the camera into an engine or
rolling stock. Note: This section is intended to provide a quick overview of the initial start-up steps.
There are additional sections in the Choo Choo Vision User Guide that provide more detailed
explanations.
The basic initial setup steps are:
Charge the Battery: Before using your Choo Choo Vision camera for the first time, ensure the battery is
charged.
Plug the supplied USB cable into the bottom of the camera.
Attach the other end of the USB cable to a standard 5V cell phone charger or USB port.
Turn the camera OFF via the magnetic swipe.
Allow the camera to charge for 2 hrs.
Connect your camera to your local WiFi Network: The Choo Choo Vision camera must be connected to
your local WiFi network. See the section titled “Connecting a Choo Choo Vision Camera to Your Wi-Fi
Network” for detailed instructions.
Open the Camera’s User Screen: After successfully connecting to your local WiFi network, open a web
browser on your computer. Enter the camera’s URL (printed on the back of the camera) into a web
browser. The proper format is http://ChooChooVisionxxxx:xxxx where xxxx is your camera ID. Notice
the colon “:” between the ID numbers.
If your camera ID is 8012, you would enter http://ChooChooVision8012:8012 into the web
browser address. Take notice of the colon “:” between the two camera id values.
Book-mark this screen for future use.
Why does the camera require a port number? Many users have multiple cameras on their layout. Using
the port numbers allows you to access multiple cameras using one external IP address.
For further information, review the Choo Choo Vision User Guide located at
www.ChooChooVision.com\support
Charge the
Battery
Connect
camera to Wi-Fi
Network
Open Web
Browser to the
camera’s URL
Start the video
stream
www.choochoovision.com 5 Released 6/23/2021
Powering your CCV Camera
Your installed CCV camera can be powered using the included DCC Power Converter. The DCC Power
Converter plugs into the USB C port on the bottom of the camera. The two wires on the converter are
to be attached to power pickup from Rail A, and Rail B. Note: The wires can be attached to either rail,
there is no specific orientation.
Battery: Your CCV Camera contains an internal battery. The battery is designed to be used as a keep-
alive in concert with a DCC Power converter. The battery is automatically recharged from track power
using the DCC Power Converter.
See the Choo Choo Vision User Guide for detailed information on Camera Power.
Power ON/OFF: (USB or DCC Power Converter connected to the camera)
Power ON: The camera will turn ON if an external power source is applied, by
o Plugging the camera into a USB power source
o Turning track power ON while using DCC power converter
o Swiping the Magnetic Reed Switch while DCC Power is ON
Power OFF: To power OFF the camera, swipe a magnet across the area above the lens or the
extended Magnetic Reed Switch. The status light will pulse 3 times and then go out, indicating
that the camera has been powered OFF

www.choochoovision.com 6 Released 6/23/2021
Installing the Camera Kit:
Charge the battery
Consult the user guide on how to connect the camera to your WiFi Network and verify operation
of the camera.
Turn the camera off using the internal magnetic switch.
Pre-fitting the components:
Determine how you would like to mount the camera lens. The camera lens can be placed
behind the engineer’s window or be placed in a hole in the front of the CAB.
Determine placement of the camera
Determine placement of the DCC converter so that the wires can attach to powered wheel
pickups.
Determine placement of the Secondary Magnetic Reed Switch
Once you are comfortable with the fit and location of the components, it is time to begin the
installation.
Installing the components:
Install the heat shield to the back of the camera lens.
o Remove the blue tape covering the heat shield
o Remove the tape covering the back of the lens
o Attach the heat shield to the back of the lens (tape-to-tape)
Plug the DCC Power Converter into the bottom of the camera
Plug the Magnetic Reed Switch into the bottom of the camera
Mount the camera into the shell using blue mounting putty

www.choochoovision.com 7 Released 6/23/2021
Mount the lens into the cab. DO NOT COVER THE HEAT SHIELD WITH BLUE PUTTY.
Attach the DCC Converter to the shell using blue mounting putty
Attach the Magnetic Reed Switch to the underside of the shell
Connect the DCC Power Converter wires to the wheel pickups.
Testing the camera installation
Turn the camera ON by pressing and holding the Power Button for 2 seconds.
Open a web browser and enter the camera’s address
Test the Lens alignment: Press the Start Video button. Check to see if the camera lens is aligned
properly to view the track at the correct horizontal and vertical angles.
Test the Magnetic Reed Switch: Move a magnet over the Magnetic Reed Switch. Ensure the
camera turns OFF.
Install the Engine Shell back onto the frame.
Place the engine on the track and turn on track power. The camera should automatically turn
on when track power is ON
Start the video in your web browser.
Have Fun!
Product Support:
The support area of the Choo Choo Vision website contains several how-to’s and tips that may answer
your questions.
If you have any question regarding the setup, use, or suggestions, please feel free to contact us.
Email: support@ChooChooVision.com
Website: Send a request via our website www.ChooChooVision.com/contact
Otros manuales para CAB-CAM 6
2
Tabla de contenidos
Otros manuales de Cámara digital de Choo Choo Vision


