Brose e-Bike System Manual de usuario
The Brose e-Bike System
Instructions for Use

2
Instructions for Use of Brose e-Bike System
Reference number: BDA_BeBS_MY2014_en_v1.0

3
Table of contents
Figures................................................................................................................. 4
Quick Start Instructions ........................................................................................ 6
Drive unit ............................................................................................................. 7
Display and control unit .......................................................................................10
Battery pack .......................................................................................................14
Battery charger ...................................................................................................18
Troubleshooting...................................................................................................21
Your notes ..........................................................................................................23

4
1 2
A001-0
LIGHT
MENU
ON/OFF
1
3
2
A002-0
3 4
4
3
5
A003-0
LIGHT
MENU
ON/OFF
LIGHT
MENU
ON/OFF
87
6
1
A004-0
5 6
LIGHT
MENU
ON/OFF
14
12
15
13
11
9
10
1
A005-0
16
17
18
19
20
A006-0
Figures

5
7 8
LIGHT
MENU
ON/OFF
1
22
21
A007-0
23
24
25
5 - 17 mm
A008-0
9 10
30
26
29
27
28
A009-0
31
26
A010-0
11 12
30
32
A011-0
36
32
33
35
34
A012-0

6
This section summarizes for you all the important
information and instructions enabling you to use
your Brose e-Bike System as quickly as possible.
− Fully charge the battery pack(26) (see „Charging the
battery pack“ on page19)
− Insert the battery pack(26) (see „[Fig. 10] Inserting/
removing the battery pack“ on page15)
− Lock the battery pack key(29) (see Fig. 9 sowie „Lo-
cking/unlocking the battery pack key“ on page15)
− Insert the display unit(1) (see „[Fig. 2] Inserting the
display unit“ on page10)
− Activate the Brose e-Bike System using the LED but-
ton(28) on the battery pack(26) (see Fig. 9 and also
„Switching on the Brose e-Bike System“ on
page11)
→The display unit(1) activates automatically
− Select the assist level using the control unit(16) (see
Fig. 6 and also „Setting the assist level“ on page12)
− The e-Bike is now ready to use.
Quick Start Instructions

7
Safety directions
− Please follow all safety directions and instructions
found in both these Instructions for Use and in all
other sets of instructions supplied with the e-Bike.
→Not following these safety directions and instruc-
tions can lead to electric shocks, fires and/or seve-
re injuries.
− Keep these Instructions for Use safe for future refe-
rence.
− The term “battery pack” used in these Instructions for
Use equally relates to downtube-mounted battery
packs, rack-mounted battery packs and frame-integ-
rated battery packs.
− Never open the drive unit. It is maintenance-free and
may only be repaired by qualified experts using only
original spare parts.
→This ensures the safety of the drive unit. All war-
ranty claims are invalidated if the drive unit has
been opened without authorization.
− All components forming part of the e-Bike System
and parts fitted to the drive unit (e.g. chain ring,
mounting of chain ring, pedals) may be replaced only
by components approved by the manufacturer of the
e-Bike.
→This protects the drive unit from damage(e.g. due
to overloading).
− Remove the battery pack(26) from the e-Bike before
working on it(e.g. when fitting, servicing or working
on the chain etc.), transporting it or placing it in sto-
rage.
→There is a risk of injury if the e-Bike System is acti-
vated by mistake.
− The push-assist may only be used when the e-Bike is
pushed.
→There is a risk of injury if the wheels of the e-Bike
are not in contact with the ground when the push-
assist is used.
− Do not make any alterations at all to your e-Bike Sys-
tem. On no account attempt to improve the perfor-
mance of your e-Bike System.
→If you do so, you will shorten the service life of its
components and run the risk of damaging both the
e-Bike System and the e-Bike itself. Furthermore,
the warranty and any warranty claims will be invali-
dated if there has been any type of manipulation of
the e-Bike System. Incorrect handling of the e-Bike
System also endangers both your own health and
that of other road users. By making your own alte-
rations to the e-Bike System, you run the risk
of high personal liability costs or even criminal
prosecution in the event of accidents due to
manipulation.
− Please follow all national regulations relating to the
licensing and use of e-Bikes.
− Please read and follow the safety directions and inst-
ructions in the Instructions for Use of the battery
pack (26) and in the Instructions for Use of your
e-Bike.
Use for the intended purpose
The drive unit is intended solely for powering your
e-Bike and may not be used for any other purposes.
Key to illustrations
All illustrations are diagrammatical and hence may differ
in some details from your e-Bike.
Fig. Explanation
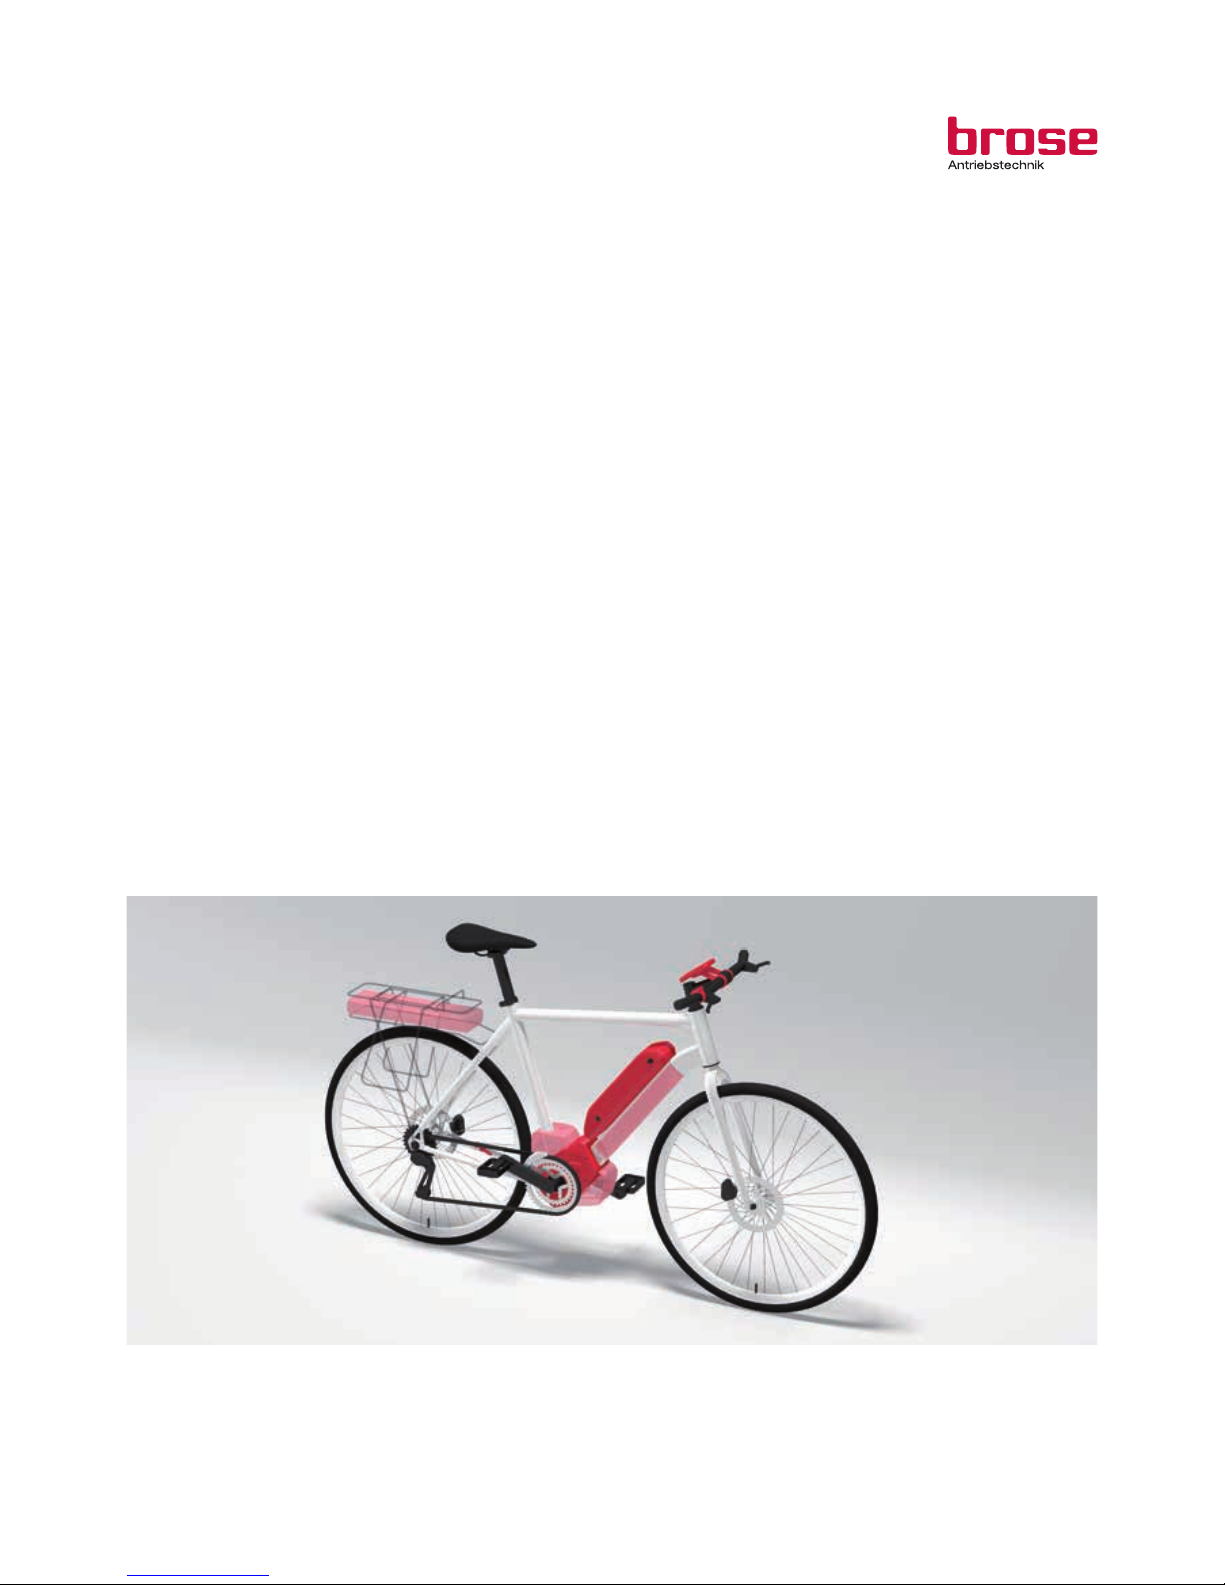
1Drive unit with design covers and fitted cranks
Operation
For information on operating the Brose e-Bike System,
please refer to the section on the display and control
unit(see „Display and control unit“ on page10).
N.B.: The Brose e-Bike System only operates when the
display unit(1) has been inserted.
Cycling instructions and tips
When does the e-Bike drive operate?
The Brose e-Bike System permits electric motor assis-
tance of the cyclist in a Pedal Electric Cycle(PEDELEC).
This assistance depends on the force applied to the
pedals by the cyclist. Assistance by the e-Bike drive is
therefore only provided when the cyclist is pedaling.
This applies regardless of the assist level.
The e-Bike drive switches off automatically at speeds of
more than 25km/h. If the speed drops below 25km/h,
the assist switches back on automatically.
An exception to this is the push-assist function, in
which the e-Bike can be pushed more comfortably at
low speed without pedaling. When the push-assist is
used, the pedals can also turn.
You can also use the e-Bike at any time like a normal
bike, without assistance, either by switching off the
e-Bike System or setting the assist level to “OFF”(see
„Setting the assist level“ on page 12). The same ap-
plies when the battery pack(26) is flat.
Drive unit

8
Familiarization
Take the time to get used to your Brose e-Bike System
before venturing into normal traffic conditions. Test the
various assist levels until you feel confident in handling
the system. Before setting off on long trips, gain experi-
ence of how different parameters and ambient condi-
tions affect the range of your e-Bike.
Motor setups
The Brose e-Bike System supports various motor se-
tups. The following tells you more about the characte-
ristics of the different settings.
Trekking:
The Trekking profile ensures balanced and continual
assistance for longer trips.
City:
The City profile ensures speedy movement in city
traffic thanks to a progressive delivery of power when
starting off.
Mountainbike
The Mountainbike profile provides direct and maximum
delivery of force for trips in difficult terrain and for
steep inclines.
Assist level in %
Motor Setup Cruise Tour Sport
Trekking 40 165 250
City 65 165 290
MTB 80 240 320
N.B.: The motor setup or assist level can differ in the
various models. Detailed information on the motor setup
of your e-Bike can be obtained from the bicycle manu-
facturer and bicycle dealer.
Effects on range
The range is affected by many factors, such as:
− Assist level
→The higher the selected assist level in otherwise
identical conditions, the shorter the range.
− Gear changing style
− Type of tire
− Tire pressure
− Age, standard of care and charge level of battery
pack(26)
− Route type(slopes) and conditions(road surface)
− Weather conditions(e.g. head wind, ambient tempe-
rature etc.)
− Weight of e-Bike
− Payload.
Careful handling of the Brose e-Bike System
Take care with the temperatures at which the e-Bike
components are operated and stored. Protect the drive
unit, the display unit(1) and the battery pack(26) from
extreme temperatures (e.g. due to intensive sunlight
without ventilation to compensate). The compo-
nents(particularly the battery pack(26)) might be dama-
ged by extreme temperatures.
Loss of power in drive unit
To protect itself from overloading or overheating (e.g.
during uphill cycling), the drive unit has an automatic
power reduction function.
The drive unit first reduces its power to 50 %. If overloa-
ding persists, it switches off completely(see error code
„44“ on page22).
Maintenance & cleaning
Keep all the components of your e-Bike clean, in parti-
cular the contacts of the battery pack(26) and its moun-
ting(31). Clean them carefully with a soft and dry cloth.
All components including the drive unit must not be
dipped in water or cleaned using a high-pressure clea-
ner.
For servicing or repairs to the e-Bike, please contact an
authorized bicycle dealer.
Inspection
For the drive unit, an inspection by a service center
certified by Brose is mandatory after a distance co-
vered of 15,000 km.
Information on the service center responsible for
you is available from your cycle dealer.
Transport
When transporting a complete e-Bike, please follow the
instructions for transporting battery packs(see „Trans-
port“ on page17).
Disposal
The drive unit, display and control unit, battery pack(26),
speed sensor(25), accessories and packaging should
be recycled in environment-friendly processes. Do not
dispose of e-Bikes and their components as normal
waste!

9
For EU countries only:
In line with the European Union directive
2012/19/EU, electrical appliances which are
no longer serviceable must be collected separately and
recycled in environment-friendly processes, and in line
with directive 2006/66/EC the same applies for defecti-
ve or used-up batteries.
Please hand in battery packs(26) and display units(1)
which are no longer serviceable to an authorized bicyc-
le dealer.
Specifications
Drive unit
Brose Material number C16162
Dimensions 213 x 150 x 128mm
Weight 3.400g
Rated voltage 36V"
Tightness IP56
Torque max. 90Nm
Continuous rated power 250W
Assistance up to 25km/h
Working temperature range -10 to 50°C

10
Safety directions
− Please follow all safety directions and instructions
found in both these Instructions for Use and in all
other sets of instructions supplied with the e-Bike.
→Not following these safety directions and instruc-
tions can lead to electric shocks, fires and/or seve-
re injuries.
− Keep these Instructions for Use safe for future refe-
rence.
− The term “battery pack” used in these Instructions for
Use equally relates to downtube-mounted battery
packs, rack-mounted battery packs and frame-integ-
rated battery packs.
− Remove the battery pack(26) from the e-Bike before
working on it(e.g. when fitting, servicing or working
on the chain etc.), transporting it or placing it in sto-
rage.
→There is a risk of injury if the e-Bike System is acti-
vated by mistake.
− The push-assist may only be used when the e-Bike is
pushed.
→There is a risk of injury if the wheels of the e-Bike
are not in contact with the ground when the push-
assist is used.
Use for the intended purpose
The display and control unit of the Brose e-Bike System
is intended solely for use in the latter. It is used to dis-
play information relevant for cycling and status, and to
control the drive unit.
Key to illustrations
The numbering of the components described relates to
the illustrations on the picture pages at the beginning of
these instructions (see page 4-5). All illustrations
are diagrammatical and hence may differ in some de-
tails from your e-Bike.
Item Fig. Explanation
12/4/5/7 Display unit
22Mounting of display unit
32/3 Unlocking button of mounting
43Fastening bolt
53Position of USB interface
64Menu button
74Light button
84On/Off button
95Display of assist level
10 5Display of push-assist
11 5Display of cycling speed
12 5Display of battery pack charge level
Item Fig. Explanation
13 5Display of light mode
14 5Display of multifunctional panel
15 6Control unit
16 6Cable routing of control unit
17 6“Raise assist level” button
18 6multifunctional panel button
19 6“Lower assist level” button
20 7Cover cap of USB interface
21 7USB interface
22 8Spoke magnet
23 8Fastening bolt of spoke magnet
24 8Speed sensor
Assembly
[Fig. 2] Inserting the display unit
− Insert the display unit(1) with the guide groove on the
rear face into the guide opening of the mounting(2).
− Slide the display unit(1) all the way down until you
hear it snap into place.
[Fig. 3] Removal preventer
The mounting(2) has an optional removal preventer.
− Where applicable, screw the fastening bolt(4) lightly
from underneath into the mounting(2) once the dis-
play unit(1) is in place.
Removing the display unit
− Deactivate the display unit(1) before removing it from
the mounting(2).
− Undo the fastening bolt(4), where applicable.
− Keep the unlocking button (3) pressed down and
push the display unit (1) upwards inside its guide
opening until it can be removed from the moun-
ting (2).
N.B.: An integrated memory ensures that your data(e.g.
clock time, kilometers per day, cycling time etc.) are
saved when the display unit(1) is removed.
Putting into service
Putting the display and control unit into service does
not require any further steps after assembly. The display
and control unit is ready to operate as soon as it has
been correctly inserted into the mounting(2).
N.B.: Full functioning is only possible when the speed
sensor (25) and the cables have been correctly fitted
and the battery pack(26) sufficiently charged.
Display and control unit
Tabla de contenidos
Otros manuales de Accesorios para bicicletas de Brose


Manuales populares de Accesorios para bicicletas de otras marcas

Sigma
Sigma BC 16.16 Manual de usuario

Playcore
Playcore Dero Setbacks Manual de usuario

VDO Cyclecomputing
VDO Cyclecomputing x3dw Manual de usuario

Cateye
Cateye RAPID X2 Manual de usuario

buratti meccanica
buratti meccanica Clorofilla Trail Manual de usuario

Shimano
Shimano SG-8R20 Instrucciones de funcionamiento


