Aquatec Simplex Manual de usuario

Water Innovation Partners
_
T 1300 088 555
> aquatecenviro.com.au
Last Reviewed: March 2016
Installation
Manual
—
Simplex
For Series: OGT Pumps
with OmniSmart
As a result of Aquatec Fluid Systems constant product
improvement program, product changes may occur.
As such Aquatec Fluid Systems reserves the right to
change product without prior written notification.
Please note
Read all instructions in this manual before operating.

Page 2
Congratulations on your purchase of an Aquatec Low Pressure Grinder Pump System.
With proper care and by following a few simple guidelines your grinder pump will give
you many years of dependable service.
User Guide
—
Power Failure
Your grinder pump cannot dispose of wastewater or provide an
alarm signal without electrical power (unless your controller
has a battery backup option). If electrical power service is
interrupted, keep wastewater usage to a minimum.
Warranty
Your grinder pump is furnished with a warranty against defects
in material or workmanship. A properly completed Start Up/
Warranty Registration form must be on file at the Aquatec
factory in order to activate your warranty. In addition your
pump must be installed in accordance with the installation
instructions.
If you have a claim under the provisions of the warranty,
contact your local Aquatec pump distributor.
When contacting your representative for service, please
include your pump model number, and pump serial number.
For future reference, record the following information:
PUMP MODEL NO:
PUMP SERIAL NO:
LOCAL CONTACT:
TELEPHONE:
Use and Care
The Low Pressure Grinder Pump Station is designed to handle
routine, domestic sewage. Solid waste materials should be
thrown in the trash. While your station is capable of accepting
and pumping a wide range of materials, regulatory agencies
advise that the following items should not be introduced into
any sewer either directly or through a kitchen waste disposal:
- Glass
- Metal
- Shells or Sand
- Nappies
- Socks, rags or cloth
- Plastic objects (e.g. toys, utensils, etc.)
- Sanitary napkins or tampons
- Kitty litter
- Baby wipes
In addition you must never introduce into any sewer:
- Explosives / flammable material
- Lubricating Oil and/or Grease
- Strong Chemicals
- Gasoline/diesel
- Paint
- Rainwater
General Information
Your home wastewater disposal service is part of a Pressure
Sewer System. The key element in this system is the Aquatec
Low Pressure Grinder Pump Station. The chamber collects
all wastewater from the house. The solids in the sewage are
then ground to a small size suitable for pumping in the slurry.
The grinder pump generates sufficient pressure to pump this
slurry from your home to the wastewater plant or point of
discharge.

Page 3
Safety First
—
Only qualified personnel should install, operate and repair the pump. Any wiring of
pumps should be performed by a qualified electrician.
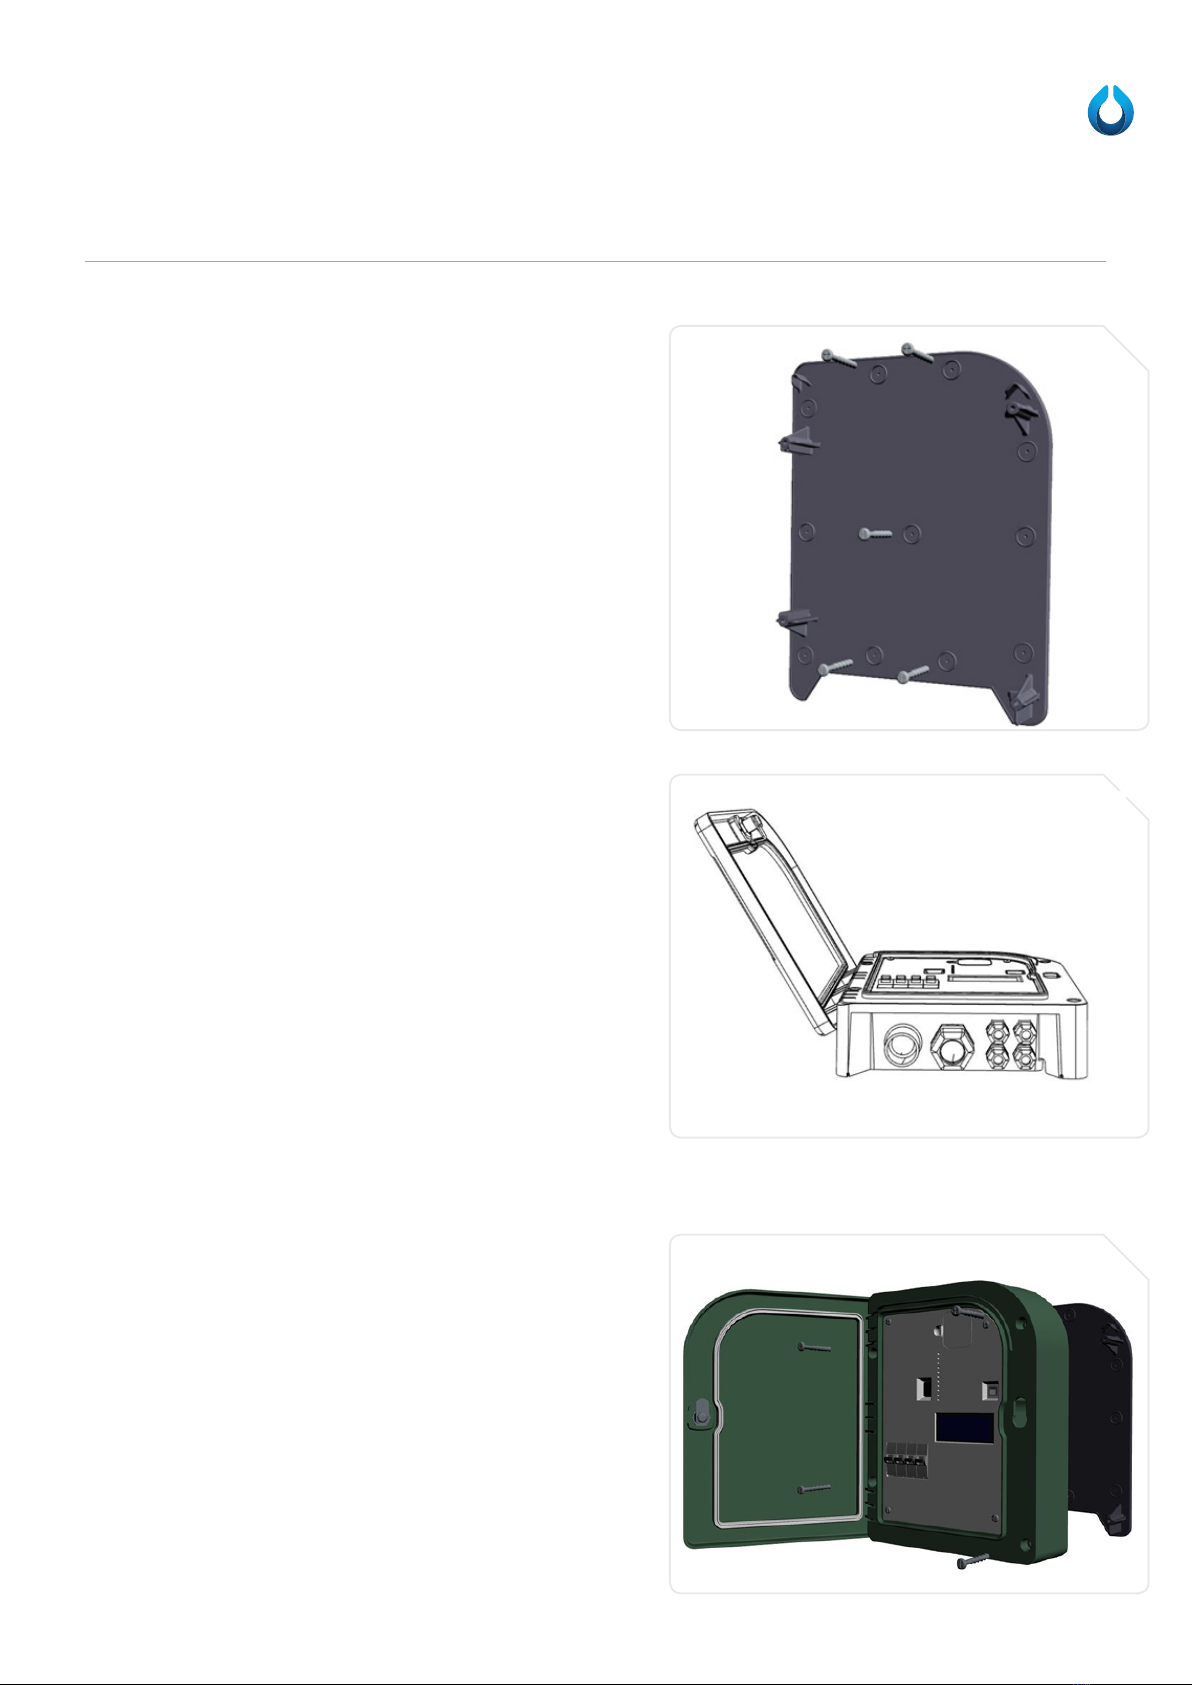
DO NOT leave pump cover off the pump chamber,
except while servicing, to prevent entrance of
foreign materials such as rocks, metal, soil, animals
or humans. Prevent infiltration or direct flow of
rain or run-off water into the pump chamber
to minimise pump cycling. This will prevent
overloading the treatment facility, and will facilitate
swi transportation of sewage.
To reduce risk of electrical shock, pumps and
control panels must be properly earthed in
accordance with the local power authority
requirements and all applicable state and local
codes and ordinances.
To reduce risk of electrical shock, always
disconnect the pump from the power source before
handling or servicing. Lock out power and tag.
During power black-outs, minimize water
consumption at the home(s) to prevent sewage
from backing up into the house. Always keep the
shut-off valve completely open when the system
is in operation (unless advised otherwise by the
proper authorities). Before removing the pump
from the chamber, be sure to close the shut-off
valve (this prevents backflow from the pressure
sewer).
Keep the control panel locked or confined to
prevent unauthorized access to it.
If the pump is idle for long periods of time, it is
advisable to start the pump occasionally by adding
water to the chamber.
Keep clear of suction and discharge openings. DO
NOT insert fingers in pump with power connected.
Always wear appropriate safety gear, such as safety
glasses, when working on the pump or piping.
Cable should be protected at all times to avoid
punctures, cuts, bruises and abrasions – inspect
frequently.
Never handle connected power cords with wet
hands.
To reduce risk of electrical shock, all wiring and
junction connections should be made per local
power authority requirements and applicable state
and local codes. Requirements may vary depending
on usage and location.
Products returned must be cleaned, sanitized and
decontaminated as necessary prior to shipment to
ensure that employees are not exposed to health
hazards in handling such material. All applicable
laws and regulations shall apply.
IMPORTANT! Aquatec Fluid Systems
is not responsible for losses, injury, or
death resulting from a failure to observe
these safety precautions, misuse of
pumps or equipment.

Page 4
Before you begin.
Installation
—
- Read this manual completely before starting your
installation.
- Consult local officials for any applicable codes and
regulations.
- Determine the best location for your basin and control
panel (see Figure. 1)
- Minimize the use of elbows on the inlet line. If required
only use 45° elbows.
- Plan your installation location carefully to insure a
minimum 1:80 drop on the inlet line while staying within
the allowable inlet zone.
- Determine where the incoming power will be supplied
from and if it can handle the rated load for your pump
station.
Minimum Supply 16 Amp Supply at the pump
Chart 2 — Electrical Cable Requirements (The following chart is based on max run
length of 25 meters)
Inlet Pipe Size Hole Saw Size Flexible Inlet Size
100 mm DWV 00114 127 mm 100 mm
150 mm DWV 00160 178 mm 150 mm
Aussie Seal Option
100 mm Not Applicable Aussie Coupler Supplied
Chart 3 — Inlet Specification Uniseal Option
Conduit Size Uniseal Size Hole Saw Size
25 mm 20 mm 31.7 mm
32 mm 25 mm 44.4 mm
40 mm 32 mm 50.8 mm
Conduit/Uniseal Size
- Mount control panel in accordance with electrical codes
and where alarm light can be easily seen.
- The control panel must be positioned within 10m of
the pumping station to allow for conection of standard
pump and level control cables supplied with the unit.
- Obtain all necessary permits. Call your local relevant
authorities before digging to locate all underground
lines and cables.
- Make sure you have the necessary equipment and
supplies before starting your installation.
- Determine the ballast requirements for your particular
basin size (see Chart 1).
- Use the electrical requirments specified in Chart 2.
Chamber I.D. Chamber Height
1000 mm 1000 mm 1600 mm 2200 mm
0.56 m³ / 620Ltr 0.90 m³ / 1100Ltr 1.23 m³ / 1500Ltr
Chart 1 — Ballast (in cubic metres)
Note that these ballast volumes are recommendations only. We suggest consultation with a qualified engineer to determine
exact requirements to suit existing ground conditions.

Page 5
Location of Pump Chamber and Control
Panel for Remote Mounted Controls
—
Figure 1: Plan View of Installation/Components
Figure 2: Front Elevation of Installation/Components
MAX 11M

Page 6
STEP 1.
—
Steps & Tips:
- Refer to the gravel size diagram for acceptable bedding
material sizes.
- Bedding material to be concrete slurry or bedding sand.
- Bedding material must be shaped to suit Domed base
of Chamber
- Set the chamber into the hole using a cloth liing strap
as shown in Figure 3.
- Once set, make sure the top rim of the basin is roughly
50mm above the finished surface to prevent ground
water infiltration.
- Fill the chamber with water to a minimum of 500mm.
- Refer to Concrete Ballast chart Page 4.
- Concrete ballast must at least cover first rib on
chamber as shown in Figure 3 below to prevent
floatation.
Figure 3: Liing the Domed Chamber into Place
Hole Excavation, Bedding & Setting of the Chamber

Page 7
STEP 2.
—
Steps & Tips:
- Make sure the required check valve is installed in
the correct direction. Flow arrow should point away
from the pump chamber and must be installed
in a horizontal position.
- A shut off valve must be installed between the
Pressure Sewer Lateral and redundant check valve.
- Concrete ballast must be installed as per ballast
requirements Page 4.
- Backfill around the pump chamber aer ballast
has been applied to local authority requirements.
- Ensure that ballast is kept away from inlet pipe
connection to allow future access.
Figure 4: Discharge Connections & Backfill
Discharge Connections & Backfill to Inlet Depth

Page 8
STEP 3.
—
Steps & Tips:
- Select a visible location that is less than 11 meters
from the pump chamber. The system comes with 15
meter cables by default. If a suitable location is not
within this radius, then longer cables can be ordered, or
the control panel can be pole mounted.
- All penetrations through the pump chamber must
be sealed watertight.
- Inlet not yet connected – shown for reference only.
- Leave approximately 2 metres of cable inside the pump
chamber to allow pump removal for maintenance.
Please note: The control panel must be mounted at least 1 metre above the ground level or the high water mark in flood prone areas.
Running Cable from Pump Chamber to Alarm or Control Panel
MAX 11M
Sealing of Control Panel Conduit
Steps & Tips:
- Conduit should be sealed to prevent water infiltration.
- Before installing the cover make certain that all cords
are tied up and clear of the pump level control.

Page 9
STEP 4.
—
- The control panel is supplied with a mounting plate
to simplify installation, and provide further protection
from water ingress. It comes with pre-countersunk
screw locators which must be used so that the screw
heads do not interfere with the mounting process.
- If pole mounting, use the centre 5 locators (as per
diagram), otherwise any of the outer ring of locators
can be used for wall mounting.
Mounting Plate
- Once the mounting plate has been correctly fixed to
wall or pole, the control panel can be temporary put in
place to choose appropriate gland locations for power,
pump, and level controls. While the control panel isn’t
permanently fixed to the mounting plate, please make
sure that it is physically held in place, so that it doesn’t
fall off and become damaged. Penetrations are NOT
to be made into the control panel other than through
the protected underneath section as per the below
example.
- Once gland locations are chosen, take off the backing
plate and drill. Once gland holes have been created,
clean out any plastic debris being careful not to
damage any internal wiring or components and firmly
install glands.
Installing Glands
- Aer the glands have been installed, the controller
can now be permanently fixed to the mounting plate.
This is done by siding the controller onto the mounting
plate, and then screwing into place via the 4 supplied
screws around the outside edge. Please refer to
picture.
Fixing Control Panel to Mounting

Page 10
Steps & Tips:
- Remove assemblies from box.
- Hang level controls from hooks inside tank.
- Connect level controls as required.
E.S.P.S ENVIROMENTALLY SEALED PRESSURE SWITCH
- Quick connect Electrical Plug
- Slide down Guide rail (guide rail option)
- Hang E.S.P.S from hook (free standing option)
Figure 11: Level Control Options
Level Controls
E.S.P.S OPTIONPRESSURE TRANSDUCER
LEVEL CONTROL
FLOAT SWITCH OPTION
STEP 5.
—
Tabla de contenidos
Otros manuales de Sistema de agua de Aquatec
Manuales populares de Sistema de agua de otras marcas

Spirotech
Spirotech SPIROVENT SUPERIOR S250 Manual de usuario

Culligan
Culligan Aqua-Cleer Aqua-Cleer Advanced Drinking Water... Manual de usuario

A.O. Smith
A.O. Smith Dura-Max AJH - 1000A - P Manual de usuario

Microline
Microline T.F.C.-4 Manual

Eureka Forbes
Eureka Forbes Aquaguard Select Manual de usuario

Cetetherm
Cetetherm AquaEfficiency Manual de usuario


