Ambient Mist Manual de usuario
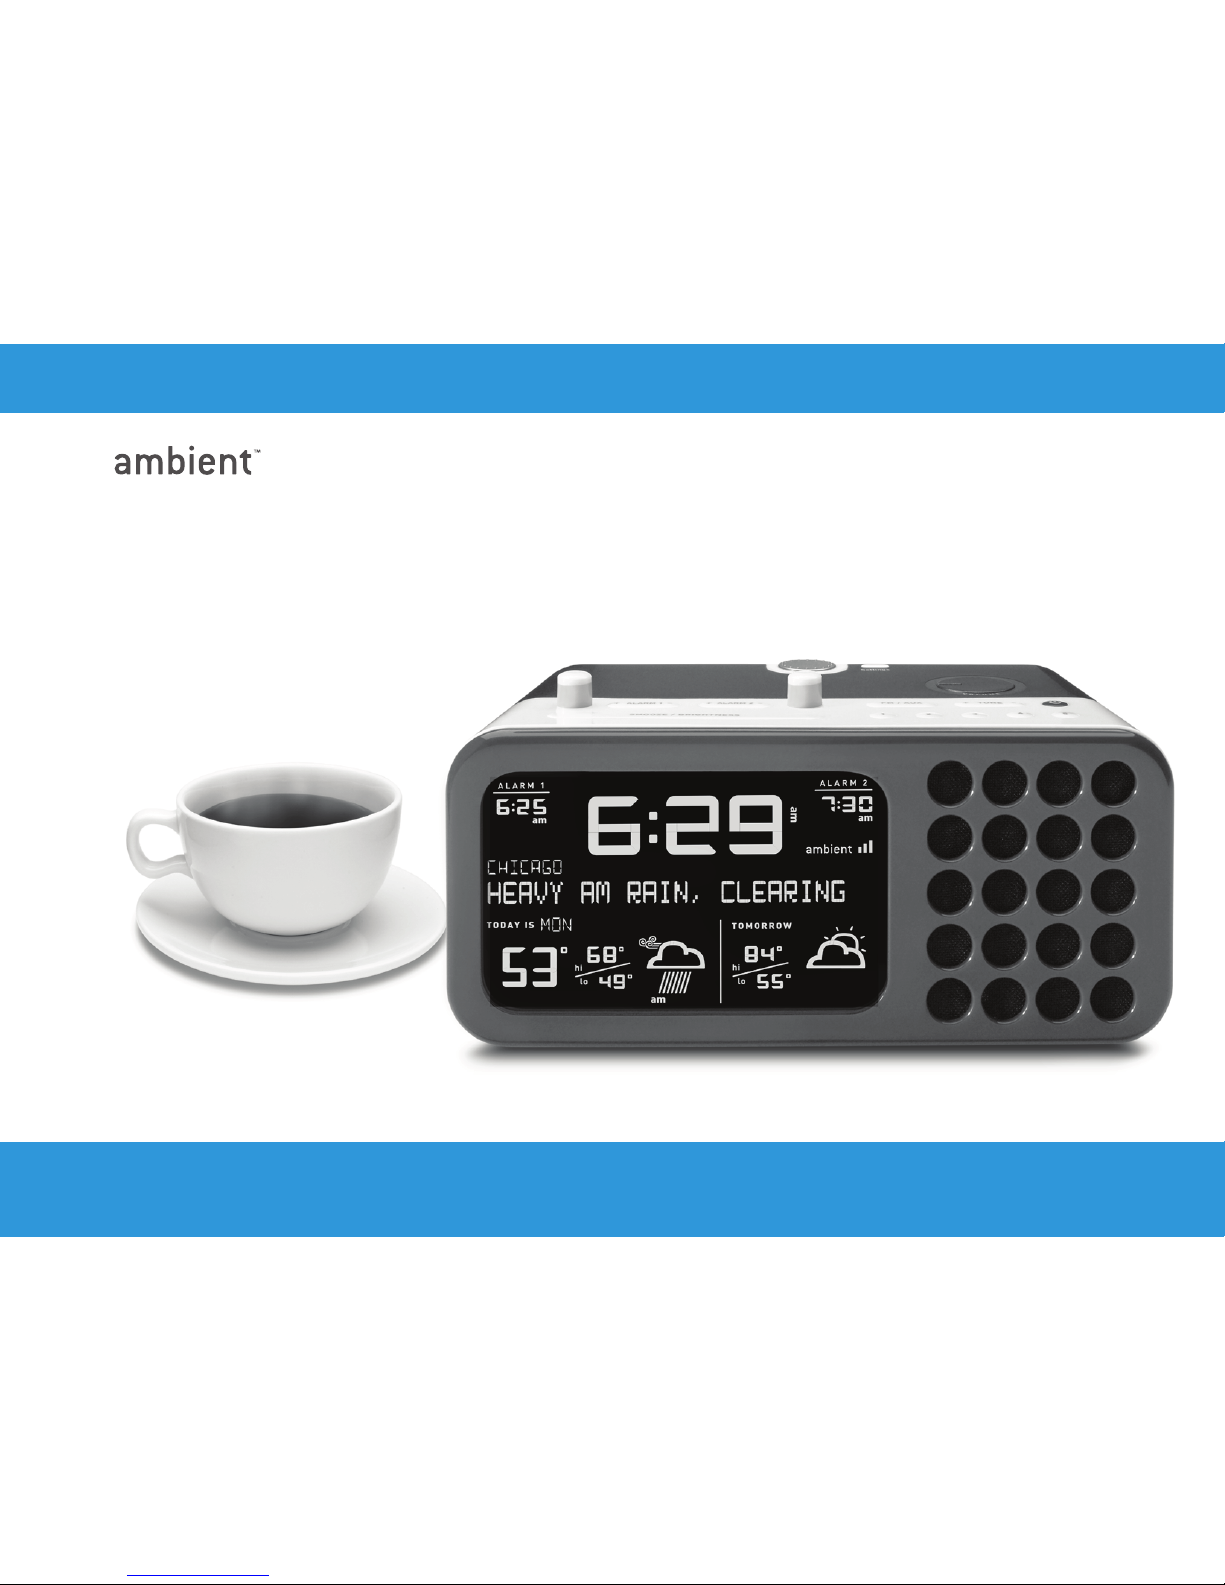
Mist
Clock Radio with Weather Forecast
Quick Start Guide and User Manual
now you know.

1
Contents
2 Welcome to Ambient Devices!
3 Quick Start Guide
5 Getting to know your Mist Clock Radio
8 Using your Mist Clock Radio
19 Troubleshooting Guide
23 Warning
24 Compliance Information
24 Limited Warranty
27 No Guarantee

Mist
2
Clock Radio with Weather Forecast
Welcome to Ambient Devices!
Our goal at Ambient Devices is to deliver the information you need,
whenever and wherever you want it. Ambient products bring you
up to date with only a glance, whether you’re looking for weather
forecasts, stock market tracking, sports updates, or personal infor-
mation.
Since our products receive updates wirelessly via the Ambient
Information Network, they are easy to set up and easy to use. Why
bother going online or opening the morning paper for the informa-
tion you need every day? Ambient products create a seamless link
between you and the information you care about
To learn about other products from Ambient Devices, visit ambient-
devices.com.

3
Quick Start Guide
The Ambient Mist Clock Radio was designed to make setup quick
and easy. Follow the steps below to start receiving weather updates,
use your alarm, and more:
Plug it in.1. Your device comes with an adapter that plugs
into the wall, and also uses one AA battery for backup
power.
Choose your time zone.2. After your device is plugged in,
the screen will ask you to select a time zone. Use the silver
wheel to scroll through a list of regions – when you’ve
found the right time zone, press the Settings button.
Check your signal strength.3. To the right of the word
‘ambient’ on your Clock Radio’s screen, you’ll see up to
three bars indicating signal strength. If you have zero or
one bars, move the device to a location where it receives a
stronger signal.
ß
ß
Settings
Í
È

Mist
4
Clock Radio with Weather Forecast
Try out your radio.4. Turn on the radio using the round
black Power button. Once the radio is on, you can scan
through stations using the Tune +/- button, or scroll
through each frequency using the silver scroll wheel.
Set your alarm.5. When the buttons for Alarm 1 or 2 are
in the ‘up’ position, the alarm is on. Set the time for either
alarm using the “Alarm +/-“ buttons.
Sit back and relax!6. When your Ambient Mist receives
its first update, its clock will set automatically, and it will
display weather information for over 150 U.S. cities. While
you wait for your first update, you can review the available
list of cities using the silver scroll wheel at the back of the
device.
* Please note that it may take up to 4 hours for the Clock Radio to receive its first update.
5
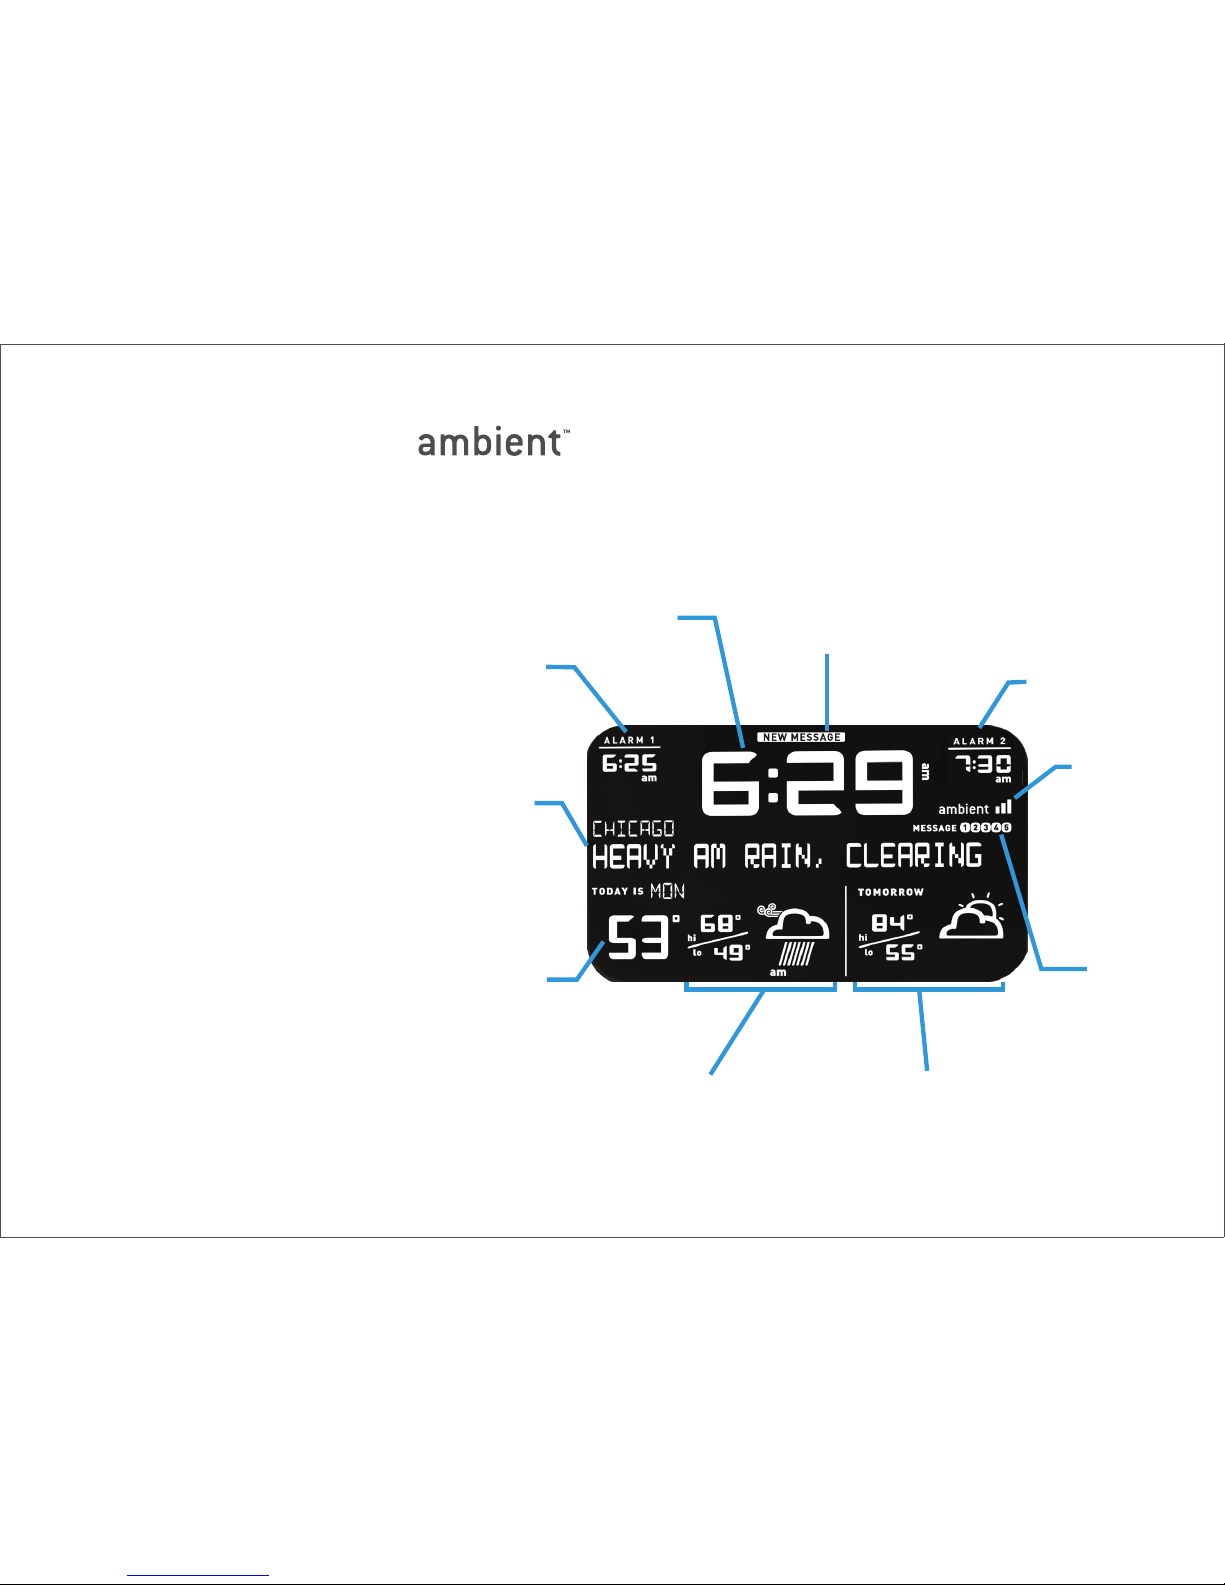
Getting to know your Mist Clock Radio
New message indicator
Self-setting
network time
Alarm 2
set time
Alarm 1
set time
Weather conditions,
radio information,
and messaging text
Current temperature
Today’s hi/lo and
weather conditions
Tomorrow’s hi/lo and
weather conditions
Message inbox
Signal strength
indicator

Mist
6
Clock Radio with Weather Forecast
Settings button
Adjust radio volume
Radio on/off
Set/Select
weather favorites
and radio presets
Scan radio channels
View message inbox
Alarm 2 pop-up button
Snooze/Adjust screen brightness
Set alarm 1/2 time
Alarm 1 pop-up button
Scroll through weather cities,
radio stations and message text
++
-
-
MESSAGES +
-

7
Weather Updates
Your Mist Clock Radio receives Accuweather.com®updates several
times per hour to give you up-to-date weather information. Your
Clock Radio will automatically begin listening for a signal when it
is plugged in - please note that it could take up to four hours for
weather data to appear. If you’ve waited more than four hours with-
out receiving weather data, please see the Troubleshooting Guide at
the end of this booklet.
Backup Battery
The Ambient Mist uses an A/C adapter as its main power source.
However, since we know you need to be able to count on your
alarm no matter what, we’ve added a backup battery slot that takes
one AA battery. If your power goes out, the Clock Radio will use
power from this battery to ring at the scheduled time. The backup
battery does not power the device’s display – in the event of a
power outage, the screen will go blank but the alarm will still ring.

Mist
8
Clock Radio with Weather Forecast
Using your Mist Clock Radio
Alarm
Your device is equipped with two alarms, which are controlled by
the dimpled white buttons located on the top face of the clock.
Alarm 1 corresponds to the white button on the left, and Alarm 2
corresponds to the white button on the right. An alarm is turned on
when its button is in the ‘up’ position. An alarm is disengaged if its
button is in the ‘down’ position. If both of the white buttons are in
the ‘up’ position, both alarms are engaged.
When either of the alarms is turned on, the time at which it is set
will be displayed on the screen. When an alarm is turned off, the
alarm’s clock display will show only dashes.
Setting Alarm Time
Set the time for your alarms using the Alarm +/- buttons. Hold
down the Alarm +/- button in the desired direction to scroll quickly

9
through the hours, or tap the button to scroll through minutes. An
alarm’s time can be set whether the alarm is on or off. Unless you
select a new alarm time, each alarm automatically uses the last set
time when it is turned on.
Snooze Function
When your alarm is ringing, use the Snooze/Brightness bar on the
top face of the Mist to give yourself a few extra minutes of sleep.
Mist’s default snooze length is 9 minutes – this length of time can
be changed using the Settings menu (see page 12). The Snooze bar
will never disengage the alarm; to stop the alarm after it has rung,
press the round white button so that it is in the ‘down’ position.
When the alarm is not ringing, the Snooze/Brightness button allows
you to change the brightness level of the device’s screen.
Tabla de contenidos


