Xiamen Sojet Electronics Elfin II Manual de usuario

Operation Manual
Apply to:
Edition: C20140721A
XiaMen Sojet Electronics Co.,Ltd.

02
Content
04
05
05
06
06
07
07
08
08
08
09
10
11
11
12
12
13
14
14
15
15
15
16
17
17
18
Introduction
Chapter 1: How to Use the Printer and the Check Work before/after Use
1.1 How to Use the Printer
1.2 Check Work before Use
1.3 Check Work after Use
Chapter 2: Printer Operation Instructions
2.1 Main Interface
2.2 Printing Management
2.2.1 Find/Preview Data
2.2.2 Start Printing / Printing Report
2.2.3 Printing Delay
2.2.4 Print Initial Values
2.2.5 Offset Adjustment
2.2.6 Stop Printing
2.3 New/Edit Data
2.3.1 New/Edit Data
2.3.2 Add Text Object
2.3.3 Add Production Date Object
2.3.4 Add Expiration Date Object
2.3.5 Add Image Logo Object
2.3.6 Add Counter Object
2.3.7 Add Shift Code Object
2.3.8 Add Barcode Object
2.3.9 Add dynamical text
2.3.10 Add dynamical LOGO
2.3.11 Delete Object or Delete/Import/copy Data

03
19
19
20
21
23
25
26
26
27
27
27
28
28
28
29
30
31
32
32
32
33
33
34
35
36
2.4 System Management
2.4.1 System Setting
2.4.2 Edit Options
2.4.3 Printheads Settings
2.4.4 Printing Options
2.4.5 User Management
2.4.6 Special Features
2.4.7 Screen Touch Correction
2.5 Tools Management
2.5.1 Image Management
2.5.2 System Upgrade
2.5.3 System Backup
2.5.4 System Record
2.5.5 About Equipment
2.5.6 System Reset
2.6 Edit Input Method Options
2.7 Status Bar
Chapter 3: Care and Maintenance
3.1 Printer Care and Maintenance
3.2 Ink Cartridge Care and Maintenance
Chapter 4: Troubleshooting
4.1 Troubleshooting for Ink Cartridge
4.2 Troubleshooting for Printer
Appendix 1: Terms and Definitions
Appendix 2:Offset Adjustment Example

04
Please read this manual carefully before you use this equipment.
Introduction
Thank you for your purchase of high resolution printer. We want you to get helpful information for
your work with this equipment; therefore we would like to explain a little bit about how to use this
machine by this user manual by the following content:
Important precautions for use of the machine
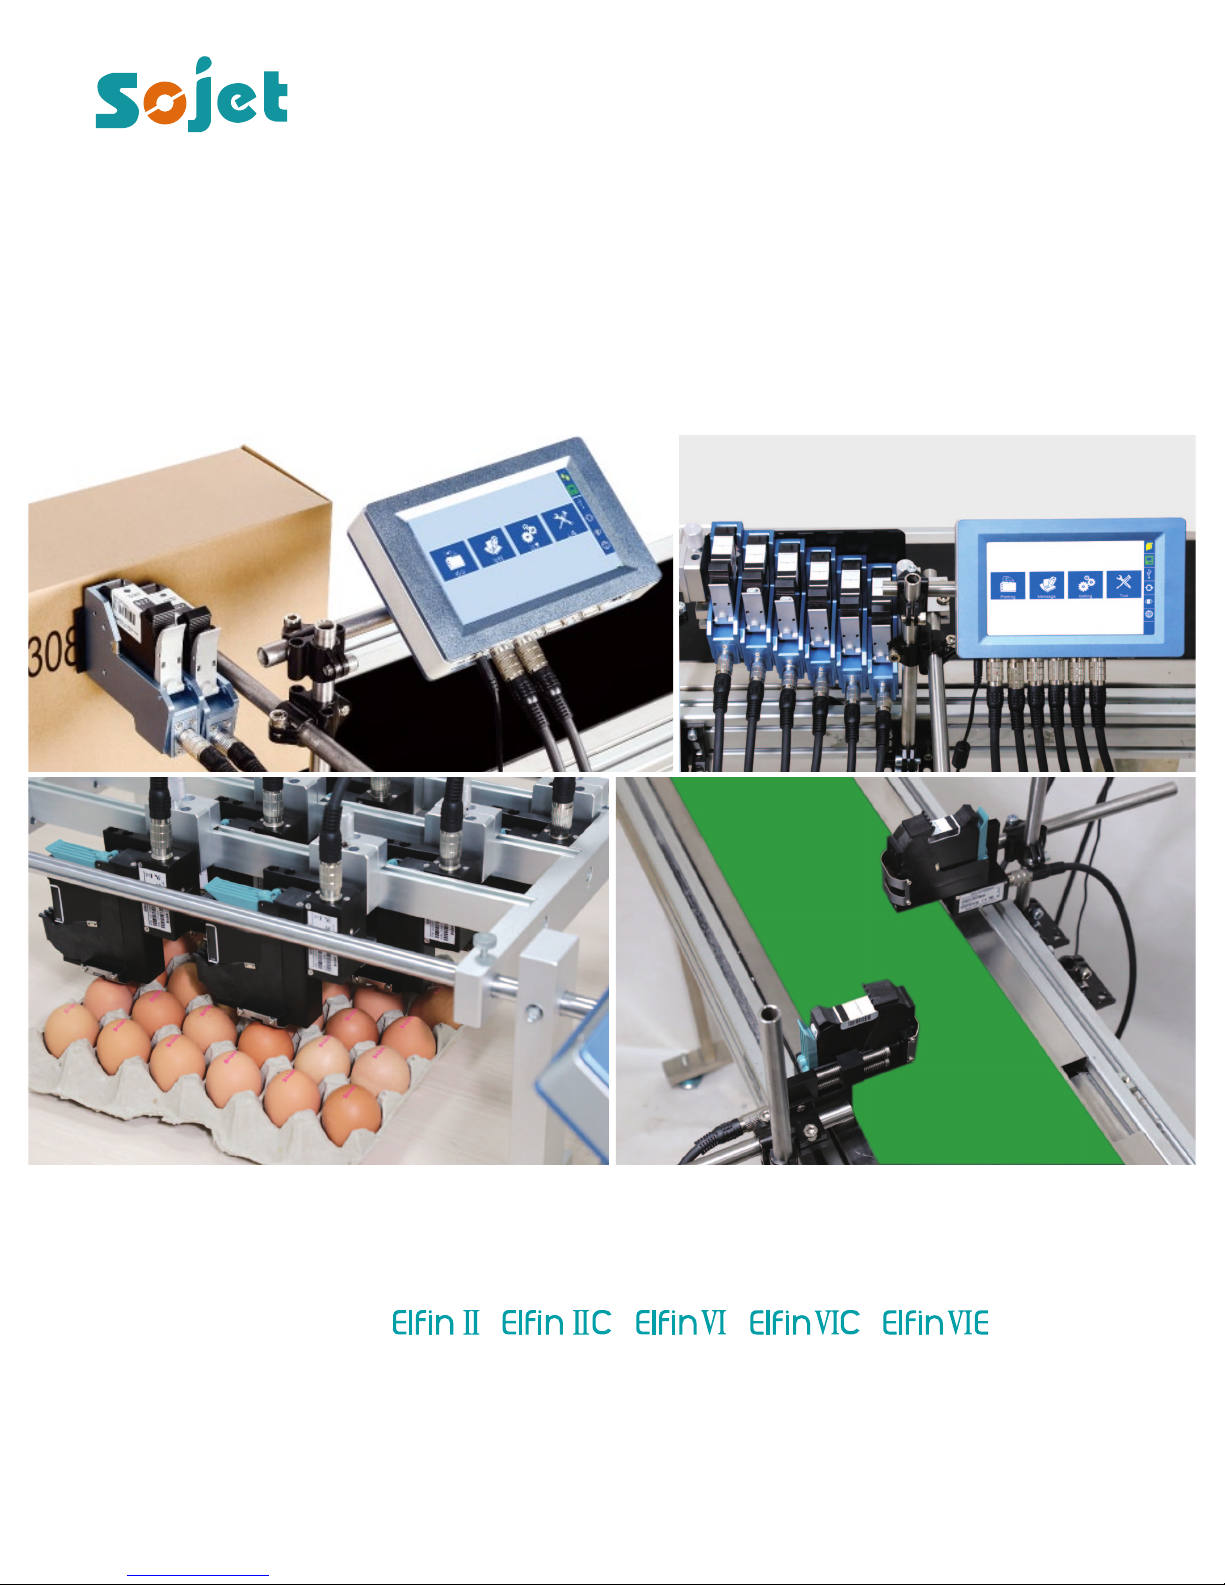
Introduction of printer: Parts and components of the machine
Setup and Installation Instructions: Instructions for Equipment Setup and Cartridge Installation.
How to use the printer and the check work before/after use of the printer: explanations of general
operation and startup/shutdown.
Operation instructions: explanations on how to new/edit data for printing, and how to adjust
printer settings.
Care and Maintenance: Care and maintenance for printer and cartridge
Troubleshooting: Common failures occurred and solutions
Appendix 1 - Terms and Definitions: Definitions for terms used in this document.
Please read this user manual carefully before first use of the printer for full understanding and atten-
tion of important information so that you will get maximum use from your new equipment. This will
also help you have a quick reference to related sections when you have any problems during use.
Note 1: If you cannot solve the problem encountered during use, please contact us for assistance.
Note 2: The information contained herein is subject to change without notice. The amended informa-
tion will be updated in user manual by new edition.
Note 3: Any machine failure or damage caused by user’s negligence in following this manual will not
be covered by the warranty.

05
1.1 How to Use the Printer
Chapter 1: How to Use the Printer and
the Check Work before/after Use
In this Chapter, you will learn how to use the printer, including check work before and after use.
Sq #
Procedure
Instructions
1
cartridge
Installation
Insert cartridge into the printer stall by an angle of 15 degree, close cartridge clip
to secure. (see 2.3 Cartridge Installation)
2 Turn on
printer
Connect power adapter to
printer power input, switch
on power, printer enters
initialization startup.
3
Main
Interface -
Printing
Management
After initialization startup,
“main interface” appears
(see Section 5.1).
Click to enter
“Printing Management” (see
Section 5.2).
4 Select data -
Start printing
Select a file on data list, click
to Start printing.
5 Printing
report
When printing starts, the
button change to the icon
for stop printing,
meanwhile a printing report
appears.
6 Stop printing
Click to stop
printing, printing report exits,
and the button returns to
“Start printing” status.
7
Switch off
Exit printing, and switch off power.
Note: After printer starts, firstly set the printheads and build-in photocell, details please refer to
Section 2.4.3

06
1.2 Check Work before Use
Sq # Item Check Work
1
Printer
support
Is the support securely mounted?
2
Printer
position
Is the printer orientation correct? Is the nozzle plate parallel to printing object? Is
the throw distance controlled within 0.5-2.5mm?
3 cartridge Is the cartridge wiped clean? Has the cartridge been installed to printer?
4
Power input
Is the printer input voltage normal?
5
Printer status
Check status bar, is the equipment status normal?
1.3 Check Work after Use
Sq #
Item
Check Work
1 Printer
Power Status
Is the printer power switched off?
2
cartridge
Is the cartridge removed from printer and wiped clean and printhead capped?

07
2.1 Main Interface
Chapter 2: Printer Operation Instructions
This chapter explains how to operate printer interface, including Printing Management, Data Man-
agement, System Management, Tools Management, and Status Bar.
Printing
Management
Message
Managemen
Setting
Management
Tools
Management
Status bar
Status bar
Printing
Management
Setting
Management
Tools
Management
Message
Management
Switch on power,
printer starts
initialization
startup. After
initialization
startup, “main
interface”
appears .
To find and preview data, start/stop printing, set printing delay value, and set
printing initial values (see Section 2.2).
To manage system setting, editing options, printing options, user authority, and
screen correction setting (see Section 2.4).
To manage image logo, system upgrade, system backup, system record, equip-
ment default restoring, system resetting (see Section 2.5).
Display information of ink, equipment, USB, encoder, external photocell, and
Ethernet status (see Section 2.7).
To Find/Preview, File-new, Edit, Delete data (see Section 2.3).

08
2.2 Printing Management
2.2.1 Find/Preview Data
Click on main interface
to enter printing management.
A. Find data Find by Pageup/Pagedown/keywords.
B. Preview data Preview data by locating or selecting a file of data to display on preview interface;
ddata located/selected will be displayed in sequence on preview interface.
Note: Drag the scroll bar horizontally to view the data when it exceeds the screen horizontally.
Preview
interface
Start
printing
Printing
delay
Search Keywords entering bar
File name
Initial
values
for printing
Page up
zoom
Page
Down
Return
2.2.2 Start Printing / Printing Report
Stop
printing
Printing
report
Click button to start
printing. When printing starts, a
printing report appears.
Printing report: It is the timely record
of printing in process, including data
file name in process, print output
quantity, counter value, shift code,
system time. The printing report
exits when printing stops.
While the message is for multi-printheads, can drop down to check the full content,
and also can zoom to preview.
Dropdown

09
2.2.3 Printing Delay
Click , printing delay
setting interface appears .
See Appendix 1: Terms
and Definitions 1 for more
information.
A. Printing delay default value: 30mm;
B. Printing delay value range: 0.0-999.9mm;
D. Printing delay value for each message are independent from one another, the delay setting for current
data file will not affect another data file.
C. It is allowed to set printing delay value during printing process: the newly set value becomes valid for
immediately next printing.
Attention: while choosing
printheads separated model, user
can set printing delay for each
printhead separetly (for example
only have P1 and P2 connected, so
only need to set printing delay for
these two.)

10
2.2.4 Print Initial Values
Click , the interface of
initial values setting and repeated
index value checking appears.
36 Base System: select the
regulation, when setting is ,
input is 0-Z (not including I & O);
Default setting is decimal from 0-9.
26进制则为:A-Z
See Appendix 1: Terms and
Definitions 2 for more information.
Counter Synchronizing: when
multi counter included in the same
file, click , then all counters’
current value will be synchronized
to counter 1’s current value.
After confirmed, a dialog box will
display the counters’ setting, user
can set the counter’s
begin/end/step/repeat number and
the binary regulation.
进制切换
Counter
synchronizing
Este manual sirve para los siguientes modelos
4
Tabla de contenidos


