Velocity Cruz T104 Manual de usuario
User Guide | Cruz Tablet
Getting Started
with

1
I. Get Acquainted
II. Capacitive Screen
III. Get Started
IV. Your Home Screen
V. Connecting to Wi-Fi
VI. Saving Battery
VII. Device Storage and ASTRO
VIII. Transferring Files
IX. File Formats
X. Preloaded Apps
XI. Buying Books
XII. Installing ePUBS
XIII. Loading/Playing Media
XIV. Installing Apps
XV. System Requirements
XVI. Open Source License
XVII. Registration and Contact Info
NOTE: If you are unable to find the topic you have a question about, please
visit www.cruztablet.com or call our Cruz Support Team at 800-296-4312
.................................................................................................... 2
.............................................................................................. 3
.....................................................................................................3-4
......................................................................................... 5-6
......................................................................................... 7-8
................................................................................................... 9
...................................................................... 10-11
...................................................................................... 12-13
.................................................................................................... 14
......................................................................................... 15-16
.......................................................................................... 17-18
............................................................................................ 19
............................................................................ 20-21
........................................................................................ 22-23
....................................................................................24
................................................................................... 25
....................................................................26
Table of Contents

I. Get Acquainted
12
SD Card reader
Headphone jack Mini USB port
Power
Volume up/down
Soft Touch
Buttons
Touch screen
Speakers
Dock Adapter Kensington
Lock
Figure 1: Device Exterior
DC-IN Power
Reset
• Home
• Menu
• Back
RETURN TO THE TABLE OF CONTENTS
II. Capacitive Screen
3
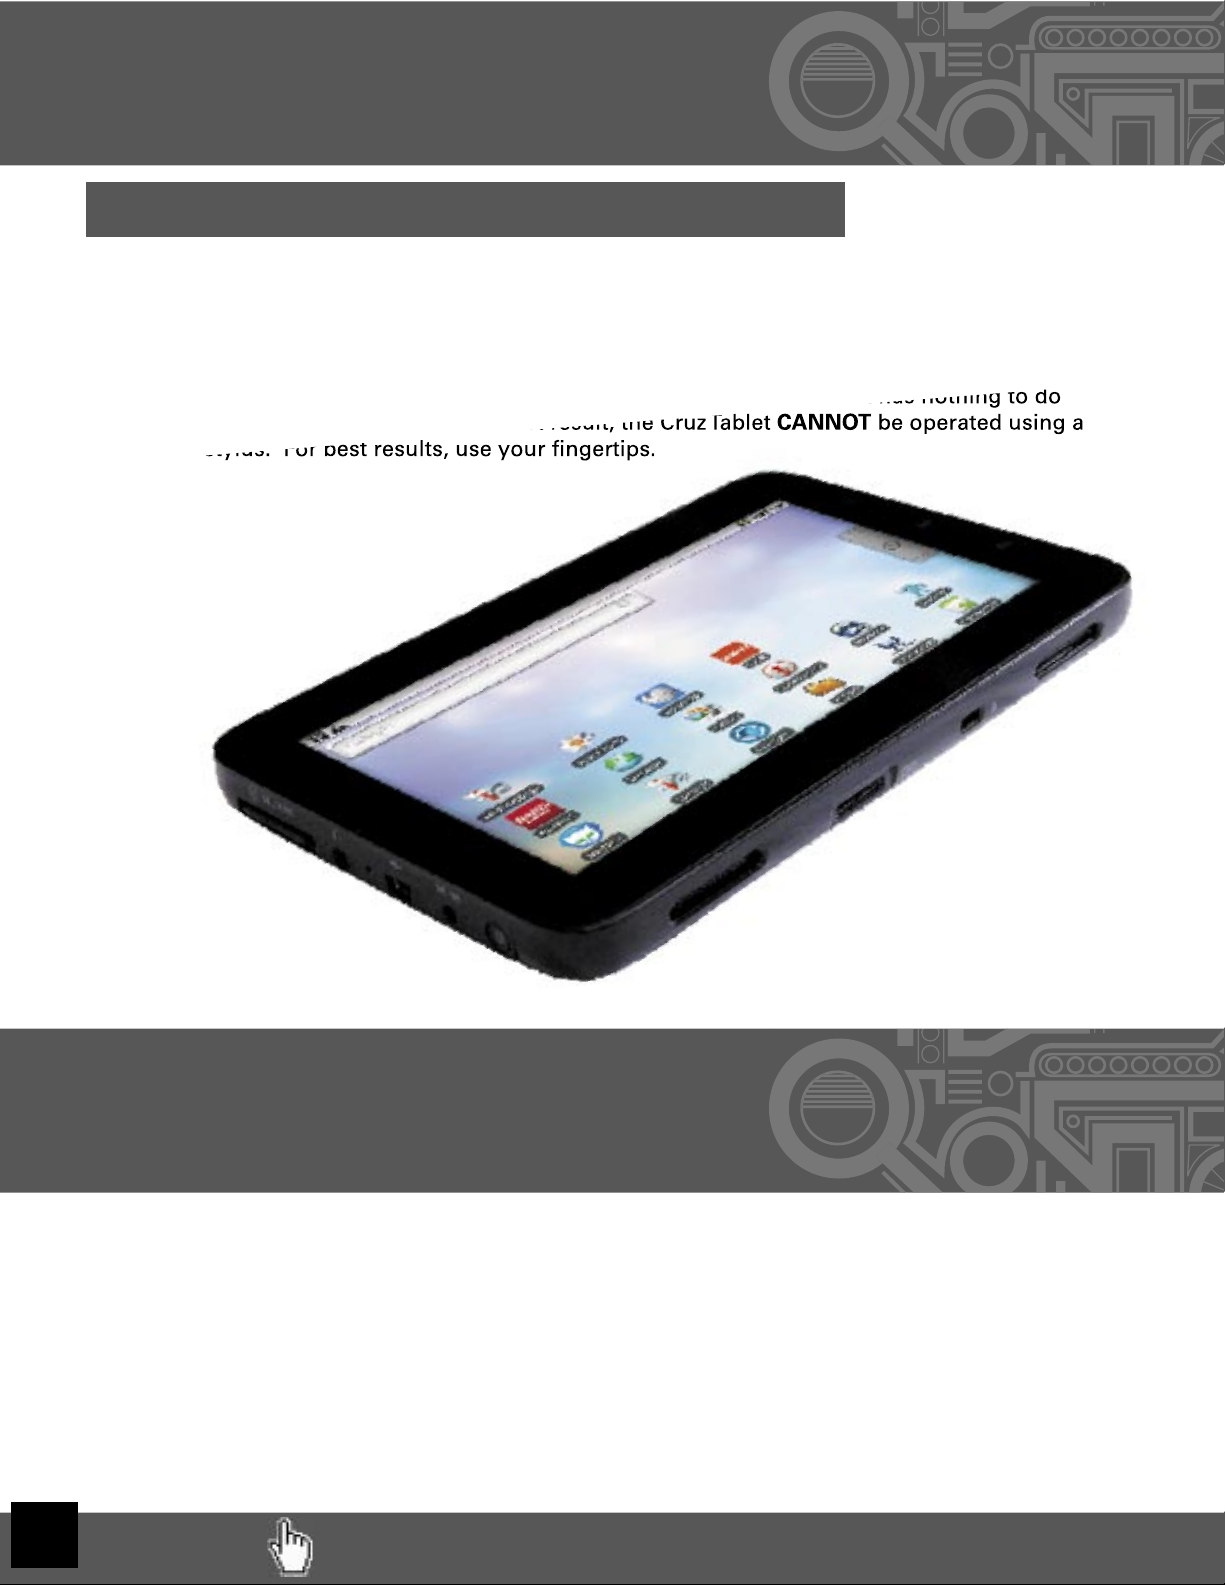
What does it mean?
The term “capacitance” literally means “the ability to hold electrical charge.” A capacitive touch
screen emits an electrical current from each of the screen’s four corners. Since the human body
holds an electrical charge, the user’s fi nger disturbs the electrical current when it touches the
screen. The Cruz’s processor translates the X and Y coordinates of the input.
The result is a highly responsive and intuitive touch screen surface, since it has nothing to do
with the pressure of your touch. As a direct result, the Cruz Tablet CANNOT be operated using a
traditional stylus. For best results, use your fi ngertips.
The result is a highly responsive and intuitive touch screen surface, since it has nothing to do
As a direct result,
the
Cruz Tablet
CANNOT
be
opera
ted using a
traditional stylu
s. For best results, use your fi nger
ti
ps.
III. Get Started
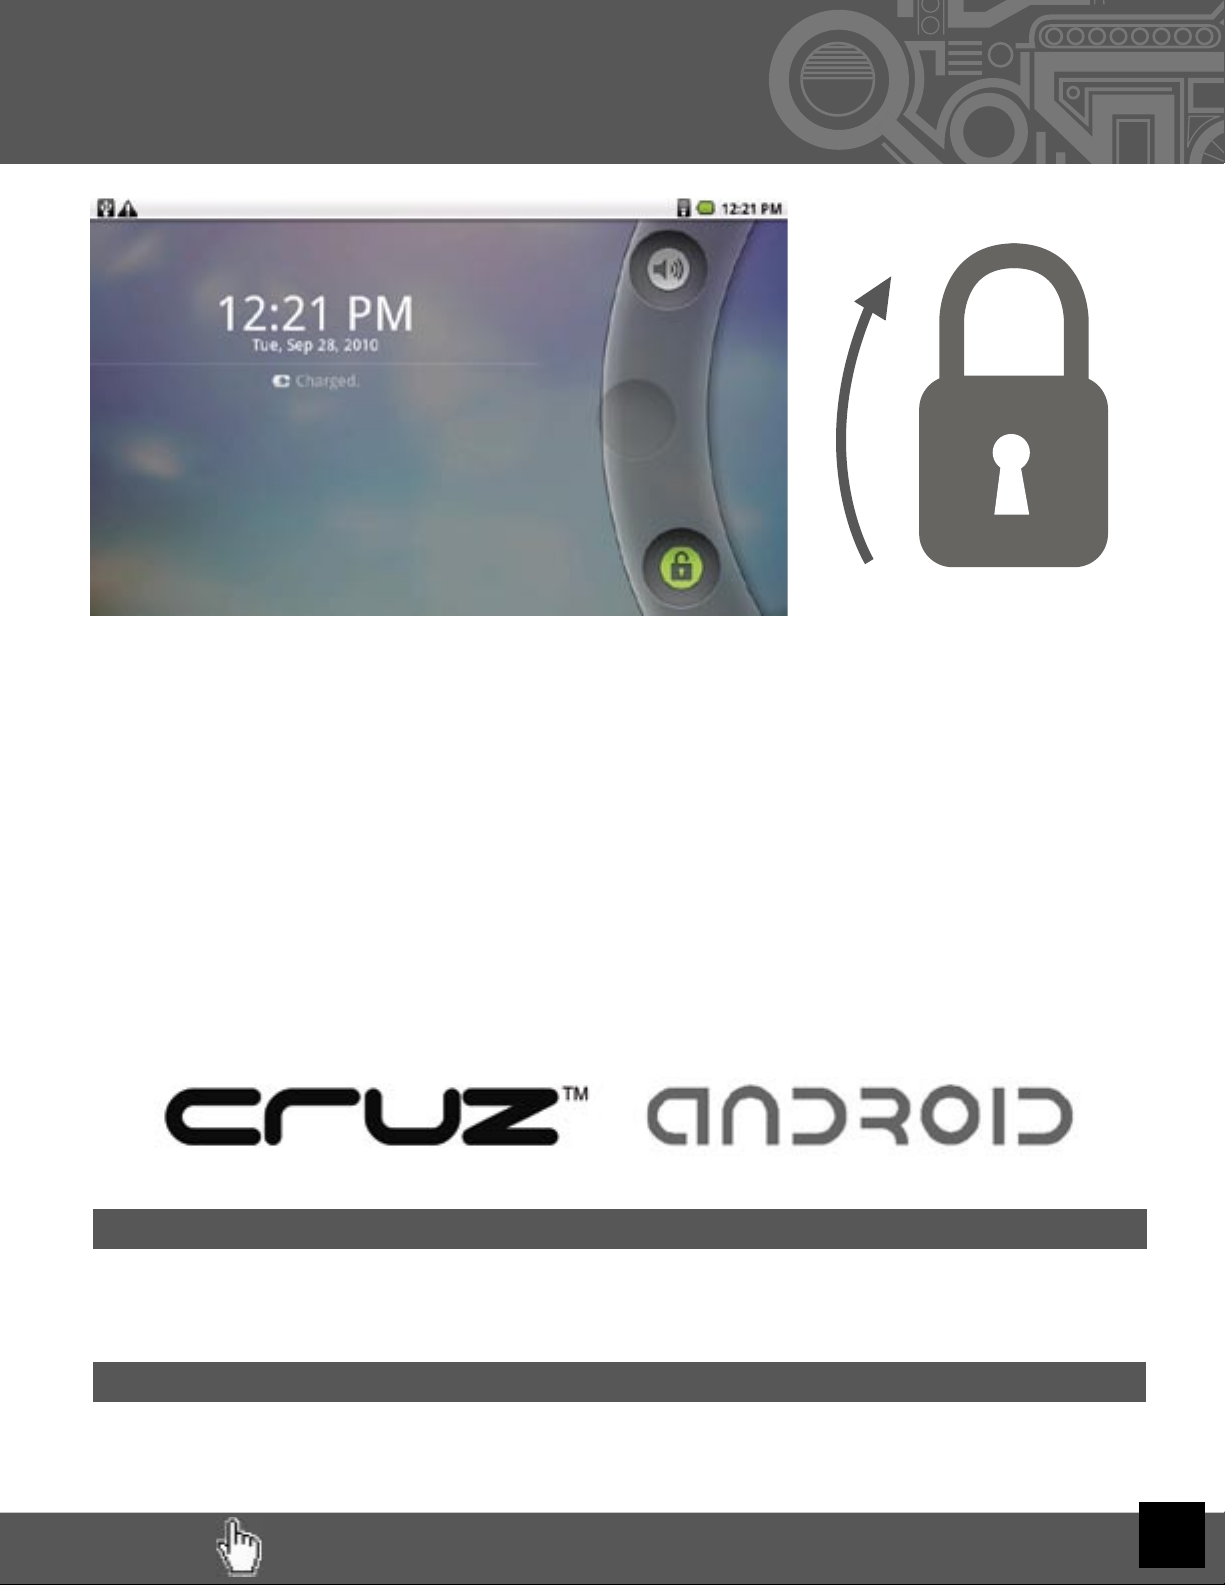
Before continuing, understand that the display has a screen timeout by default set to 15 seconds.
If the unit is left inactive for that period of time, the screen will go dark as if turned off. However,
it is simply in standby mode. Tap the power button and a screen will appear with an arc with green
padlock button.
RETURN TO THE TABLE OF CONTENTS
4
III. Get Started (Cont’d)
Putting your Cruz to sleep
To save battery, you should put your Cruz in sleep mode by turning off the LCD display. To do this,
simply tap (not hold) the power button. Tap again to bring up the lock screen.
Powering down your Cruz
To turn off your Cruz completely, press and hold the power button until the “system options” dialog
appears and tap”shut down” The “your device will shut down” dialog appears. Tap “OK”
The Battery should have a nominal charge on it out of the box and should charge fairly rapidly. Con-
nect the charger to the DC-IN jack on your Cruz for 3 hours for a full charge lasting approximately 10
hours. The unit also charges when tethered to PC via USB. Battery life will vary due to many condi-
tions, especially when using Wi-Fi and maximum screen brightness.
To start your Cruz, simply press the on/off button located at the left side of the device. When you fi rst
turn on the Cruz Tablet, you will be greeted with a CRUZ logo, then an
ANDROID logo, and then your Home screen.
It appears to secure the touch screen from accidental touches. Simply slide
one of the locks toward the center of the screen to unlock the device and
your Home Screen will reappear.
This is your Lock
Screen.
RETURN TO THE TABLE OF CONTENTS
RETURN TO THE TABLE OF CONTENTS
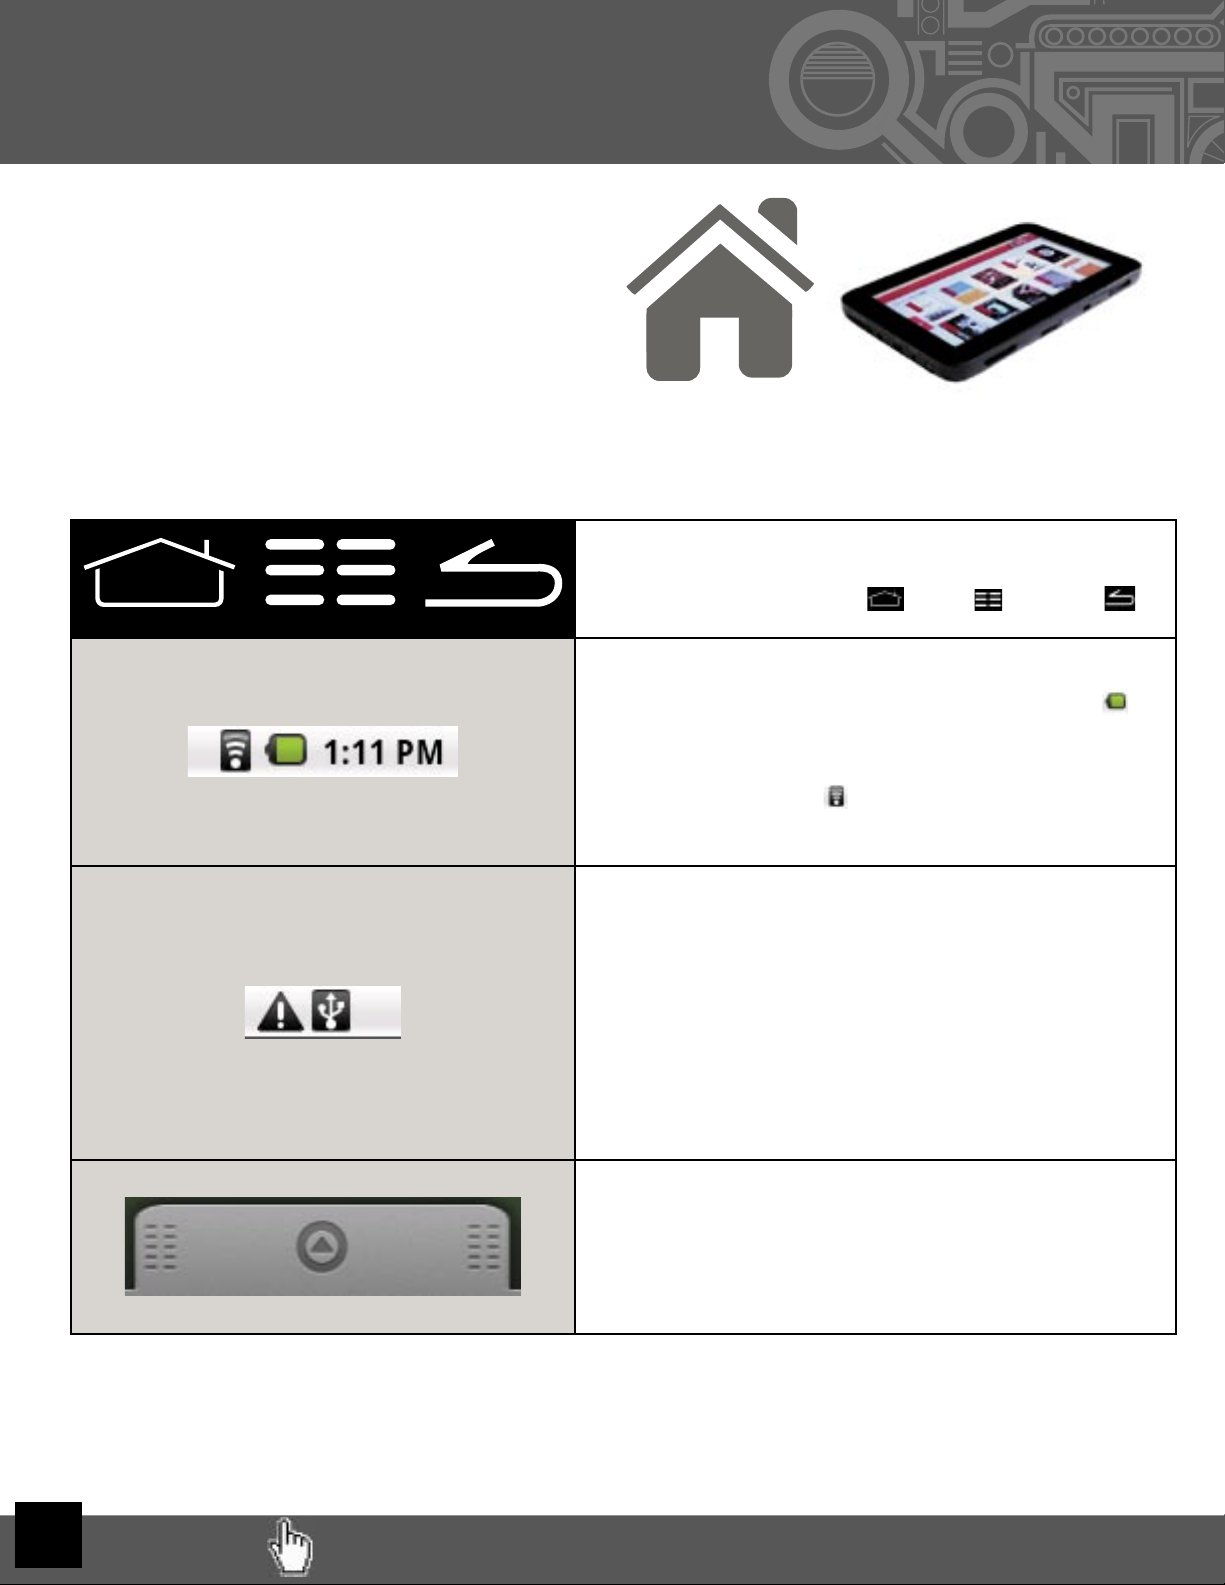
IV. Your Home Screen
Think of this as your desktop. What goes
on the home screen is up to you. You can
fi ll the space with any combination of short-
cuts, widgets, and folders you like. Some
preinstalled shortcut icons will appear at the
bottom, and a Google Search Widget
appears at the top.
When you power up your Cruz for the fi rst time, you’ll see the main home-screen panel. This panel is typically
centered; you can access additional panels on either side of the main one by swiping your fi nger left or right.
5
Along the righthand side of your device, you will see three
icons. When holding the device horizontally, from top to
bottom, the icons are Home , Menu , and Back
On the right side of the screen, you will fi nd the time.
To the left of the date, you will see a Battery Life icon
This icon changes to a Battery Charging icon when the DC
Adapter is connected and plugged into the wall socket,
regardless if there is a full charge or not. To the left of that
will appear a Wi-Fi icon , but only when connected. The
icon will show your Wi-Fi signal strength as well.
To the far left of the Status Bar is the Notifi cation Area.
Various icons will appear for different reasons, notifying
you of change of status or the completion of tasks being
performed. For instance, the image to the right indicates
that the Cruz Tablet is tethered to your computer. For more
information about these notifi cations, swipe the Status
Bar downward to open the Notifi cation Panel. When tasks
are completed, you can open these fi les or clear these no-
tifi cations. You can close the Notifi cation Panel by swiping
up again from the panel’s control handle.
The button at the bottom of the screen accesses your App
Panel. Tap or swipe the button upward to view and access
your installed apps. This is where you look to fi nd your
newly installed apps. Tap again or swipe down to close
this panel and view your Home Screen again.
RETURN TO THE TABLE OF CONTENTS
IV. Your Home Screen (Cont’d)
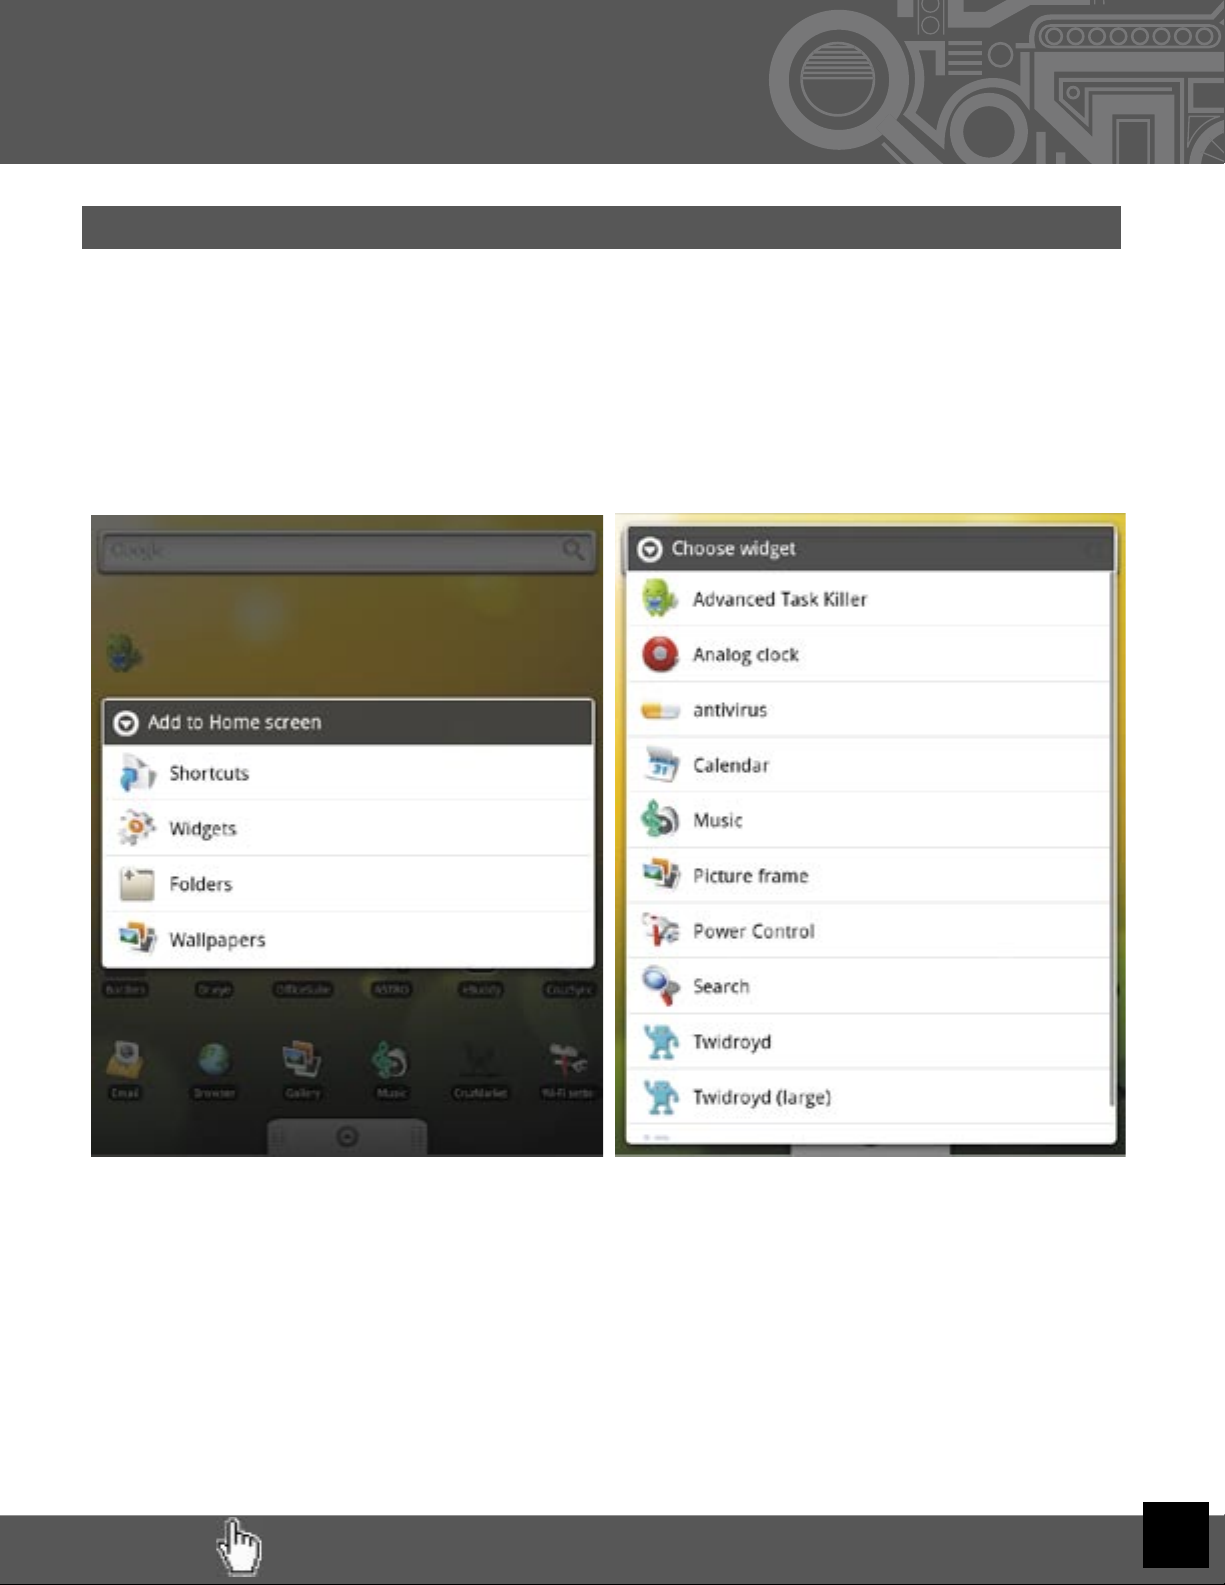
Adding Widgets to Your Home Screen:
Widgets are a feature of an application that you may install, allowing you to place a function
of that app onto your Home Screen. For instance, you may add an Analog clock to your Home
Screen.
To add a widget, simply tap and hold (long press) your fi nger on any open space on your home
screen, and select Widgets from the context menu that opens. From there, select any of the
available widgets. (The image shown here includes third party apps not included on your Tablet.
Tapping/holding on an open spot on the
homescreen opens this window, from
which you choose “Widgets.”
After tapping “Widgets,” this window expands
and gives you all the widget options that your
Cruz has installed or isn’t currently using.
If you decide you don’t want the widget on your homescreen anymore, simply tap and
hold the unwanted icon or widget. The Application Panel handle becomes a Trash Can.
Drag the item to the trash can and release it when it turns red.
6

RETURN TO THE TABLE OF CONTENTS
7
V. Connecting to Wi-Fi
Detected networks will appear with a SSID to the
left (ie, AQFQ7), a status line beneath the SSID, a
signal strength icon to the right.
Those that are secure will feature a padlock.
Secure
Unsecure
Those that are open/unsecure have no padlock
For the sake of this guide, the assumption is that you are connecting to your Cruz to your
own home Wi-Fi Access Point (AP) or a free unsecured Wi-Fi hotspot. From the Home
Screen, select the shortcut icon that reads Wi-Fi Settings and ensure that both Wi-Fi and
Network Notifi cation are enabled with green check marks. After a moment, your Wi-Fi
networks list should populate. If you need to rescan for available networks, tap Menu>
then tap Scan.
The Wifi settings icon is a
hammer and a wrench. It
should be located in the
bottom right corner of your
homescreen when fi rst
starting up your Cruz
RETURN TO THE TABLE OF CONTENTS 8
Accessibility
If a password is required, tap the password text fi eld for the popup keyboard.
Many public Wi-Fi hotspots are freely accessible, though not all are. Some are secured, oth-
ers are open. And still others appear to have no security, but require either access codes or
some other form of access agreement acknowledgment via a browser. It is possible to con-
nect to such a signal, appear to be connected, and still require
validation.
Once the Cruz has successfully connected to any SSID, it is saved. The unit will try to auto-
connect to the most recently successful connection. When that SSID is no longer available,
it is listed in the Wi-Fi networks list as “Not in range, remembered” in the status line.
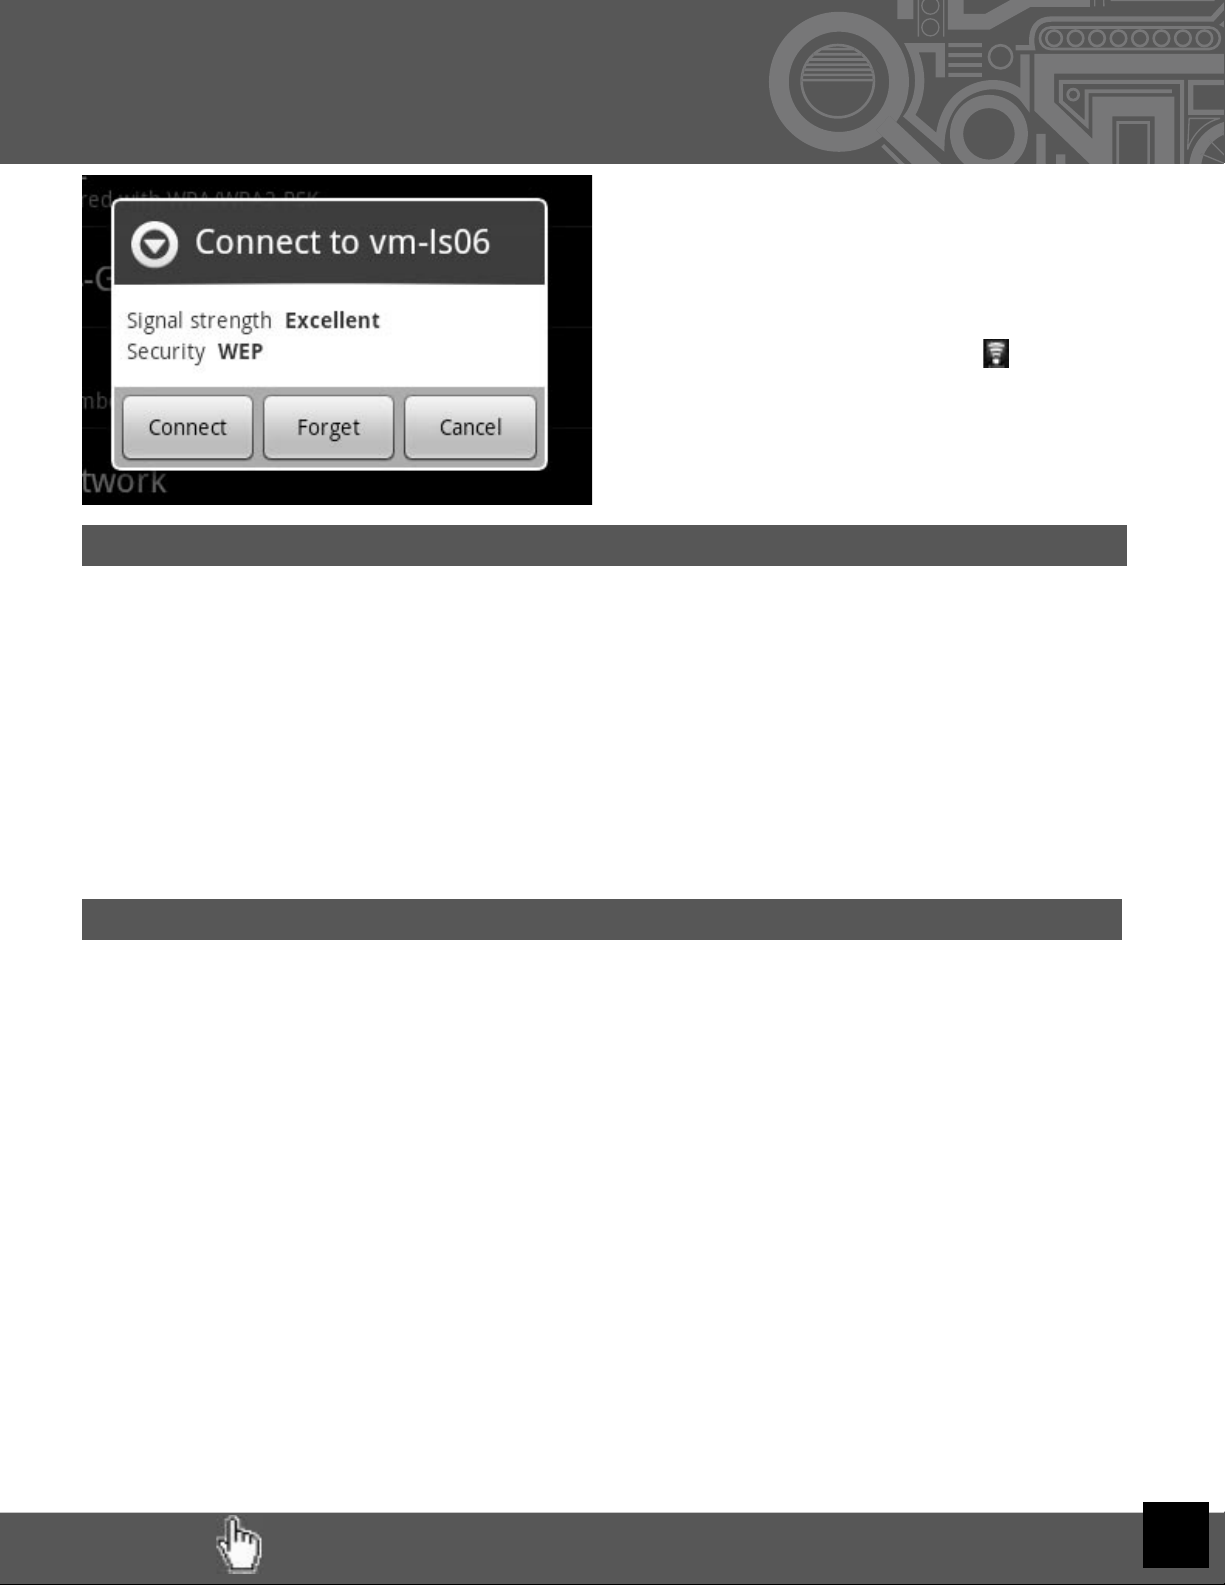
V. Connecting to Wi-Fi (Cont’d)
Tap the network you wish to connect to
and then click Connect.
For unprotected networks, this method
should suffi ce. The Wi-Fi icon ( ) should
now appear with full (or near full) strength
next to the date and time.
Troubleshooting
1) If you change the password of your wireless network, be sure to also change the
remembered password.
2) If the connection is not made automatically, you may need to scan again by tapping
Menu> then Scan.
3) If scanning appears ineffective, turn off Wi-Fi and turn it back on again, then scan
again.
4) If your Wi-Fi seems to turn off when your device sleeps, you may disable this under
Menu> Wi-Fi Sleep Policy.
5) Be sure that the signal strength is not too weak or not in range, understanding that
other radio devices like cordless phones may interfere with the signal quality.
6) Some Wi-Fi signals, though listed as unsecured, may still block connections using
MAC address fi ltering. This will need to be disabled in the Wi-Fi router, or the
device’s MAC address will need to be added to the router as an acceptable device
connection.
7) Some Wi-Fi signals appear to be unsecured, but once connected, opening the web
browser does not take you to your home page, but to a security page where you
must enter credentials or agree to terms of use before getting full web access.

RETURN TO THE TABLE OF CONTENTS
1. Understand that streaming audio or video apps will use a lot of battery life
2. Disable Wireless Network Positioning
You can turn it off from Settings > Location & Security > Use wireless networks.
3. Switch off Wi-Fi
If you’re not close to a strong Wi-Fi signal for extended periods of time, disable Wi-Fi
from a homescreen widget or from Settings > Wireless & Networks > Wi-Fi.
4. Use a Quick Screen Timeout
You can alter this option from Settings > Sound & display > Screen timeout.
5. Turn Down the Screen Brightness
Reduce brightness to a comfortable level using a widget (Section IV) or at Settings >
Sound & display > Brightness.
6. Use Web Widgets Wisely
Widgets that access the Web consume more power than widgets that do not.
7. Reduce Automatic Updates
Adjust settings within your apps that use an auto-update feature to do so rarely or
only manually.
8. You may consider a power management app that will regulate the settings
discussed above
You may learn about your power consumption in Settings > About device > Battery >
Battery or use an app designed to to analyze usage patterns.
Tips on Extending the Life of Your Battery:
ou may learn about your power consumption in Settings > About device > Battery >
ou may learn about your power consumption in Settings > About device > Battery >
VI. Saving Battery Life
9
Very Low Battery Full Battery Charging Battery
Este manual sirve para los siguientes modelos
2
Tabla de contenidos
Otros manuales de Tableta de Velocity

Velocity
Velocity Micro Cruz T508 Manual de usuario

Velocity
Velocity CRUZ T301 Manual de usuario

Velocity
Velocity cruz PS47 Manual de usuario

Velocity
Velocity CRUZ T301 Manual de usuario

Velocity
Velocity Cruz R101 Manual de usuario

Velocity
Velocity Cruz R101 Manual de usuario

Velocity
Velocity CRUZ T301 Manual de usuario

Velocity
Velocity Cruz T410 Manual de usuario

Velocity
Velocity Cruz T408 Manual de usuario

Velocity
Velocity Cruz T103 Manual de usuario


