Troy-Bilt EtherBridge Manual de usuario

EtherBridge
Ethernet to Wireless Client Adapter
Installation and User’s Guide
Part Number 40177-100
Revision A

Notice
TROY GROUP, INC. SPECIFICALLY DISCLAIMS THE IMPLIED WARRANTIES
OF MERCHANTABILITY AND FITNESS OF THIS PRODUCT FOR A
PARTICULAR PURPOSE. TROY shall not be liable for any errors contained in this
manual or for any damages resulting from loss of use, data profits, or any incidental or
consequential damages arising from the use of TROY products or services.
Warning
This equipment has been tested and found to comply with the limits for a Class B digital
device pursuant to Part 15 of FCC Rules. These limits are designed to provide reasonable
protection against such interference when operating in a commercial environment. This
equipment generates, uses, and can radiate radio frequency energy, and if not installed
and used in accordance with this guide, may cause harmful interference to radio
communications.
Operation of this equipment in a residential area is likely to cause interference in which
case the user, at his or her own expense, will be required to take whatever measures will
be required to correct the interference.
Trademarks
HP, HP/UX, LaserJet, DesignJet, DeskJet, PaintJet, JetDirect, and JetAdmin are
trademarks of Hewlett-Packard Company. DEC, DECserver, VMS, LAT, and ULTRIX
are trademarks of Digital Equipment Corporation. UNIX is a trademark of UNIX
Systems Laboratories. Ethernet is a trademark of Xerox Corporation. PostScript is a
trademark of Adobe Systems Incorporated. NetWare is a trademark of Novell, Inc.
Apple, Macintosh, LaserWriter, and AppleTalk are trademarks of Apple Computer, Inc.
IBM, LAN Server, and AIX are trademarks of International Business Machines
Corporation. LAN Manager, Windows, and MS-DOS are trademarks of Microsoft
Corporation. VINES is a trademark of Banyan Systems Inc. PrintKit is a trademark of
Northlake Software. QADD is a trademark of Network Compatibility Group. LAN
Attached and UNIX Printing for VINES is a trademark of Incognito Software Inc. XJet,
XMark, XConnect, and XAdmin are trademarks of TROY Group, Inc.
© Copyright 1992-2003 TROY Group, Inc. All rights reserved.
TROY Group, Inc.
2331 S. Pullman Street
Santa Ana, CA 92705
TEL: (949) 250-3280
FAX: (949) 250-8972
http://www.troygroup.com
© Copyright 2003 TROY Group, Inc.
Printed in the United States of America
October 1, 2003

User’s Guide
Document #40177-100 Rev. A
TABLE OF CONTENTS
Introduction...................................................................................1
Package Contents ........................................................................1
EtherBridge Adapter Components................................................2
Restoring Factory Default Settings...............................................2
LED Status Indicators...................................................................3
Installing the EtherBridge Adapter Hardware ...............................4
Configuring the EtherBridge Adapter............................................5
Installing the EtherBridge Utility....................................................5
EtherBridge Utility Menus.............................................................6
Web Browser Configuration........................................................10
Upgrading the EtherBridge Firmware.........................................11
Obtaining Technical Support ......................................................12
Returning Products.....................................................................13
Contacts......................................................................................14
Safety and Regulatory Notices...................................................15
Declaration of Conformity...........................................................17
Regulatory Information ...............................................................18

User’s Guide
Document #40177-100 Rev. A 1
TROY Installation Instructions
(FOR USE WITH TROY ETHERBRIDGE ADAPTERS)
NOTE: This User’s Guide is available in other languages that can be printed from
the TROY EtherBridge Installation CD.
Introduction
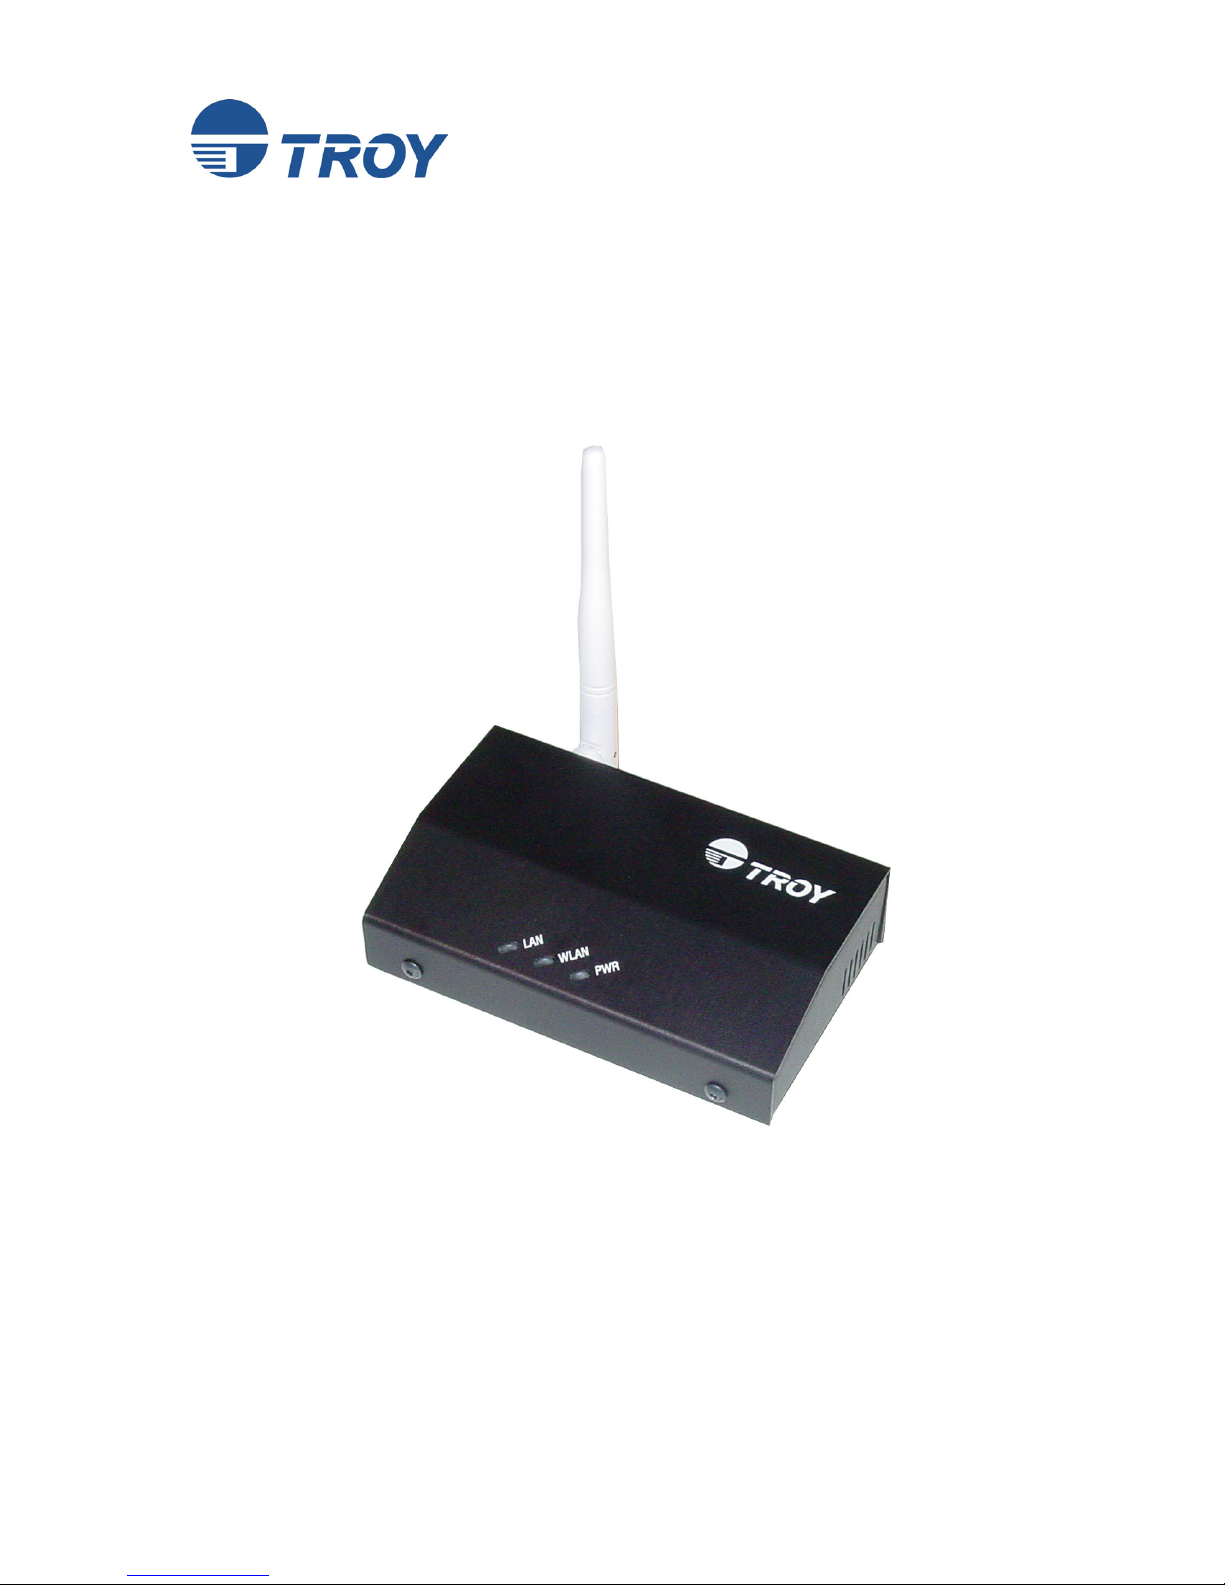
The TROY EtherBridge Adapter is an Ethernet-to-wireless adapter that
converts any 10/100 Ethernet-enabled device to an 802.11b wireless
client device.
Package Contents
TROY EtherBridge Adapter
5-Volt Power Supply
Ethernet Crossover Cable
Universal Mounting Kit (for attaching the EtherBridge adapter to
a convenient location)
Desktop Mounting kit (for placing the EtherBridge adapter on a
desktop surface)
User’s Guide (This booklet)
TROY EtherBridge Installation CD
NOTE: If any of the above items are missing or damaged, contact TROY.
READ ME FIRST

TROY Group, Inc.
2
EtherBridge Adapter Components
Power Connector – The power supply cable plugs into this
connector.
LED Status Indicators – used to indicate the operational status of
the EtherBridge adapter. Refer to the table below for detailed LED
status light descriptions.
LAN Port – used for connecting the EtherBridge adapter to any
10baseT or 100baseTX Ethernet connection (an Ethernet card,
hub, router, or other wired access point) for network access. You
must use the included Ethernet crossover cable (or any other
crossover cable) when you directly connect two devices (such as a
PC, printer, or other Ethernet-enabled device) without the use of a
hub or switch.
Reset Button – used to restore the EtherBridge adapter to factory
default settings.
Restoring Factory Default Settings
The TROY EtherBridge Adapter can be reset to factory default settings
by performing the following steps:
1. Disconnect power from the EtherBridge Adapter. Press and hold the
reset button for three seconds while reapplying power to the device.
2. Release the reset button as soon as the WLAN LED is blinking and
the LAN LED is off.
3. Press and hold the reset button again for approximately ten seconds.
4. Release the reset button as soon as the WLAN and LAN LEDs begin
flashing rapidly.

User’s Guide
Document #40177-100 Rev. A 3
LED Status Indicators
The front panel of the EtherBridge adapter provides three LED (Light
Emitting Diode) indicators for easy monitoring. The following table
defines the function of each LED.
Label Color State Description
ON The device is receiving power.
PWR GREEN
OFF The device is not receiving power.
ON The device is associated to a wireless
access point and has wireless LAN
activity.
WLAN GREEN
OFF No wireless LAN activity.
Blinking Wired LAN activity.
OFF No wired LAN activity.
LAN GREEN
ON Ethernet link established.

TROY Group, Inc.
4
Installing the EtherBridge Adapter Hardware
1. Connect the EtherBridge to any 10/100 Ethernet connection.
NOTE: Use the included Ethernet crossover cable when directly connecting two
devices together (such as a PC, printer, or other Ethernet-enabled device)
without the use of hub or switch.
2. Connect the power supply adapter to the power socket on the
EtherBridge adapter, and plug the other end of the power supply into
a suitable electrical outlet.
3. Mount the EtherBridge adapter on either the desktop or other
convenient location:
Desktop mount – attach the adhesive rubber feet (provided in
the desktop mounting kit) to the bottom of the EtherBridge
adapter as shown below.
Universal mount – peel off the protective backing from the
Velcro strips (provided in the universal mounting kit) and attach
one strip on each side of the product label as shown below.

User’s Guide
Document #40177-100 Rev. A 5
Configuring the EtherBridge Adapter
The EtherBridge adapter can be configured from either the EtherBridge
Configuration Utility (supplied on the TROY EtherBridge Installation CD
that came with the product and downloadable from www.troygroup.com),
or by using a standard Web browser (e.g., Internet Explorer or Netscape
Navigator).
Installing the EtherBridge Utility
1. Insert the EtherBridge Installation CD into the CD-ROM drive of your
Windows-based computer. The CD should start automatically on
any Windows 95 or later PC, and then display a top-level menu.
2. Click on EtherBridge Utility Setup, and follow the on-screen
instructions to install the EtherBridge Utility.
3. After the installation is complete, start the EtherBridge Utility from the
Windows Start menu (Start, Programs, TROY Group, EtherBridge,
EtherBridge Utility), and it will search for all available EtherBridge
adapters on the network.
4. Select the EtherBridge you want to configure. Enter the password
(the default password is access using all lower-case letters), and
then click on the Login button. You should now be able to configure
the EtherBridge.

TROY Group, Inc.
6
EtherBridge Utility Menus
The EtherBridge Utility provides five main menus (INFO, SECURITY,
STATUS, AP BROWSER, and ABOUT) to assist you with monitoring
and configuring the Etherbridge adapter. The following are brief
descriptions of each available menu.
Info
This menu item displays the current EtherBridge settings such as ESSID,
adapter name, rate, IP address, subnet mask, and default gateway.
ESSID
The ESSID is a unique ID used by access points and client stations
to identify a wireless LAN. Wireless clients associating to any
access point must have the same ESSID. The default ESSID is
“ANY”, which will connect the EtherBridge to the nearest access
point. The ESSID can have up to 32 characters.
NAME
Assign a unique name for the EtherBridge Adapter. The default
name is EtherBridge.
RATE
The EtherBridge provides various data rate options for you to select.
Data rates options include 1 Mbps, 2 Mbps,5.5 Mbps, 11 Mbps,
and Auto.In most networking scenarios, the factory default “Auto”
setting will usually provide the most efficient data rate.
IP ADDRESS
Assign an IP address to your EtherBridge if you wish to configure it
via the Web Browser interface. Consult your network administrator
to obtain an available IP address (the default IP address is
192.168.1.1). For further setup, please refer to the following section.
SUBNET MASK
Assign a subnet mask to your EtherBridge if you wish to configure it
via the Web Browser interface. Consult your network administrator
to obtain the correct subnet mask to use.

User’s Guide
Document #40177-100 Rev. A 7
DEFAULT GATEWAY
Assign a default gateway to your EtherBridge if you wish to configure
it via the Web Browser interface. Consult your network administrator
to obtain the correct default gateway to use.
PASSWORD
It is highly recommended that you assign a new password to your
EtherBridge for security. Enter the new administrator password you
would like to use in the New Password and Confirm Password
fields respectively. Passwords are case-sensitive and are limited to
a maximum length of 32 alphanumeric characters.
After setting the parameters, click on the Apply button to save and
activate the changes. To return to the previous page, click on the
Cancel button.
DEFAULT
Click on the Default button to restore the EtherBridge to factory
default settings.
Security
To prevent unauthorized wireless stations from accessing data
transmitted over the network, the Wireless LAN Smart Station Adapter
offers WEP (Wired Equivalent Privacy), which encrypts data transmitted
over the wireless medium.
Click on the Security tab to view the current security status of the
EtherBridge. Click on the Setup button to change the current security
configuration.
Tabla de contenidos
Otros manuales de Adaptador de Troy-Bilt