
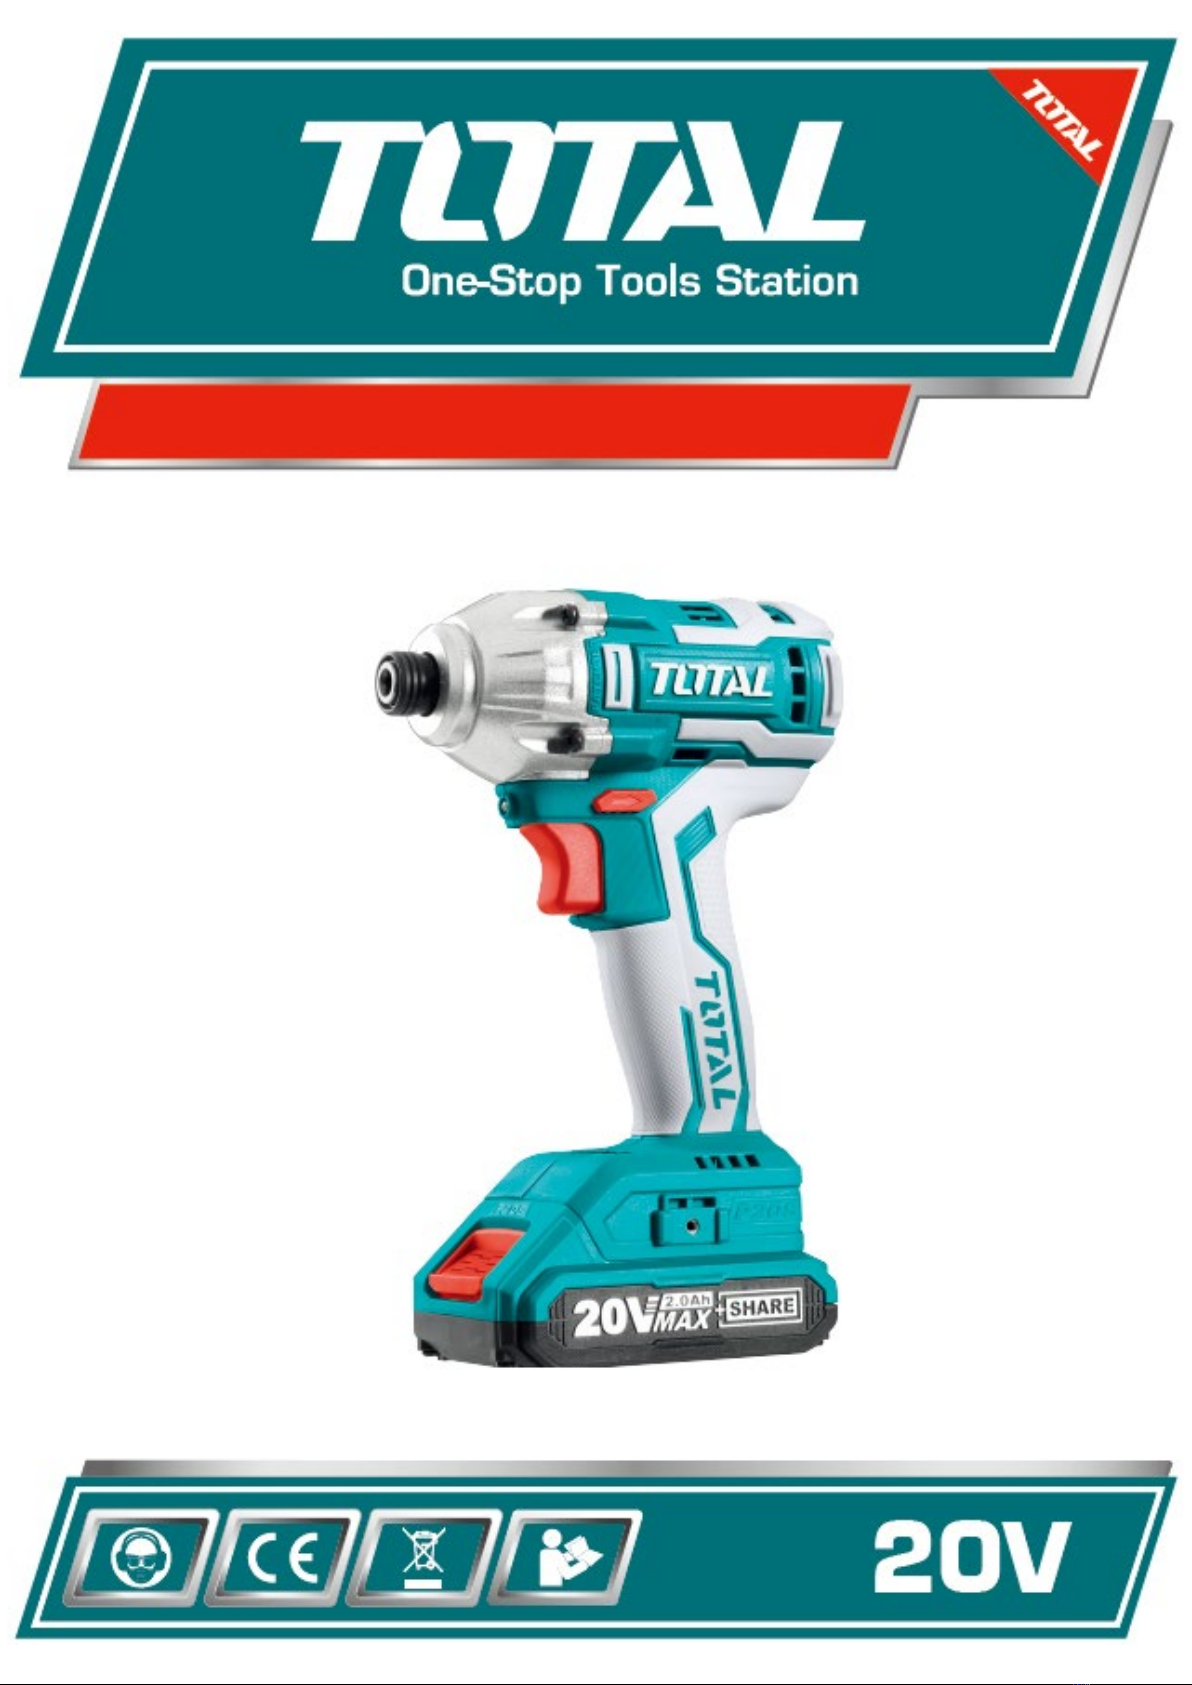
Total TIRLI2002 Manual de usuario
1
v
LITHIUM-ION IMPACT DRIVER
TIRLI2002

2
Security instructions
Caution
Read all safety warnings and all instructions. Failure to follow all warnings and
instructions may result in electrical shock, fire, and/or serious injury.
The term “power tool” in the warnings refers to your mains-operated (corded) power tool
or battery-operated (cordless) power tool.
Note: Save all warnings and instructions for future reference. Due to the continuing program of
R&D&I, this document is subject to change without notice.
1) Work area safety
a. Keep the work area clean and well lit to prevent accidents.
b. Do not use power tools in explosive atmospheres, such as in the presence
of flammable liquids, gases, or dust that can cause fires.
c. Keep children and other unauthorized persons away while using a power
tool. Distractions can cause you to lose control of the tool.
2) electrical safety
a. Power tool plugs must match the outlet. Never modify the plug in any way.
Using a suitable plug reduces the risk of electric shock.
b. Avoid bodily contact with grounded surfaces such as pipes, radiators,
ranges, and refrigerators. There is an increased risk of electric shock if
your body is grounded.
c. Do not expose power tools to rain or wet conditions. Water entering a
power tool will increase the risk of electrical shock.
d. Never use the cord to carry, pull or unplug the power tool. Keep the cable
away from heat or oil.
e. When using a power tool outdoors, use an extension cord suitable for
outdoor use.
f. If using the tool in a damp location is unavoidable, use a Residual Current
Device (RCD) protected supply to reduce the risk of electric shock.
3) Personal security
a. Always stay alert, watch what you are doing and use common sense
when using the tool.
b. Do not use a power tool if you are tired or under the influence of
medication or other substances.
c. Wear personal protective equipment. Always wear eye protection.
Protective equipment such as a dust mask, non-slip safety shoes, hard
hat, or hearing protection used in the proper conditions will reduce
personal injury. Also don't wear loose clothing or jewelry.
d. Prevent the tool from turning on unintentionally. Make sure the switch is
in the off position before connecting to power source and moving.
e. Remove any adjusting wrenches or wrenches before turning on the power
tool. An adjustable wrench or wrench placed in a rotating part of the power
tool can cause serious injury.
f. If devices are used for dust extraction and collection, make sure they are
properly connected. Properly use these devices and you will reduce dust-
related hazards.

3
4) Use and care of the battery tool
a. Recharge the battery only with the charger specified by the manufacturer.
An unsuitable charger can create a fire hazard.
b. Use power tools only with specifically designated batteries. Use of other
batteries may create a risk of injury or fire.
c. When the batteries are not in use, keep it away from other metal objects,
such as paper clips, coins, keys, nails, screws, or other small metal
objects, that can make a connection from one terminal to another.
Shorting the battery terminals can cause burns or fire.
d. Abusive conditions can cause expulsion of liquid from the battery; avoid
contact. If accidentally contacted, rinse immediately with water. If the
liquid comes into contact with the eyes, also seek medical help. Liquid
expelled from the battery can cause irritation or burns.
e. Do not use a battery or tool that is damaged or modified. They may exhibit
unpredictable behavior resulting in fire, explosion, or risk of injury.
f. Do not expose a battery or tool to fire or excessive heat. Exposure to fire
or temperature above 130°C may cause an explosion.
g. Follow all charging instructions. Do not charge the battery or tool outside
the temperature range specified in the instructions. Improper charging or
charging at temperatures outside the specified range may damage the
battery or increase the risk of fire.
5) Service
a. Have your power tool serviced by a qualified person and use replacement
parts recommended by the manufacturer. This will ensure that the safety
of the power tool is maintained.

4
Safety rules for correct use
Double insulation for additional protection.
Please read the instruction manual before use.
CE conformity.
Wear safety glasses, hearing protection and a dust mask.
Waste electrical products must not be disposed of with household waste.
Please recycle at the appropriate facilities. Check with your local authority
or retailer for recycling advice.
Security alert. Use only accessories supported by the manufacturer.
Charge the battery only below 50ºC
Always recycle batteries
Do not expose the battery to fire or high temperatures
Do not expose battery to water
Additional security warnings
Impact Driver Safety Warnings
•Hold the tool by the insulated gripping surfaces when performing an operation
where it may come in contact with hidden wiring.
Tools that come in contact with a "live" wire can make exposed metal parts of the
power tool "live" and could cause an electric shock to the operator.
•Hold the tool firmly.
•Wear ear protectors.
•Do not touch the drill bit or workpiece immediately after operation. They can be
very hot and could burn your skin.
•Keep hands away from rotating parts.

5
Other risks
Even when the power tool is used as prescribed, it is not possible to eliminate all residual
risk factors:
a. Health defects resulting from vibration emission if the power tool is used for a
longer period of time or if it is not managed and maintained properly.
b. Injuries and property damage due to broken fixtures breaking suddenly.
Caution
This power tool produces an electromagnetic field during operation.
This field can, in some circumstances, interfere with active or passive
medical implants.
To reduce the risk of serious injury, we recommend that persons with
medical implants consult their physician before using this power tool.
If the cable is damaged or cut during work, do not touch the cable, immediately unplug
the tool. Never use the machine with a damaged cable.
The machine must not be damp and must not be used in a humid
environment.
Attention
Safe operation of this machine is only possible when the operating or
safety information is fully read and the instructions contained therein
are strictly followed.
Technical data
Data sheet
Voltage
20V
Fixing capacities
machine screw
4mm – 8mm
standard bolt
5mm - 16mm
high strength bolt
5mm - 14mm
No load speed (RPM)
Strong impact mode
0 - 2100 /min
soft impact mode
0 - 1300 /min
impacts per minute
Strong impact mode
0 - 3300 /min
soft impact mode
0 - 2000 /min
Approximate charging time
1 hour approx.

6
Other warnings
Save these instructions
Attention
Do not let comfort or familiarity with the product (gained from repeated use) replace strict
adherence to safety rules for the product in question. Incorrect use or non-compliance
with the safety rules indicated in this instruction manual can cause serious personal
injury.
symbols
The symbols used for the tool are shown below.
symbols
volts
DC
no load speed
Revolutions per minute
number of strokes
Important safety instructions for the battery cartridge
1. Before using the battery, read all instructions and cautionary markings on:
a. The battery charger
b. Battery
c. Product
2. Do not disassemble the battery cartridge.
3. If the operating time has been shortened excessively, stop using it immediately.
It can result in overheating, possible burns, and even an explosion.
4. If electrolyte gets into your eyes, flush with clean water and seek immediate
medical attention. It can result in loss of sight.
5. Do not short circuit the battery cartridge:
a. Do not touch the terminals with any conductive material
b. Avoid storing the battery cartridge in a container with other metallic
objects such as nails, coins, etc.
c. Do not expose the battery cartridge to water or rain.
Note: A short circuit in the battery can cause a large current flow,
overheating, possible burns and even a breakdown.
6. Do not store the tool or battery cartridge where the temperature may reach or
exceed 50°C (122°F).
7. Do not incinerate the battery cartridge even if it is badly damaged or completely
spent. The battery cartridge may explode in case of fire.
8. Be careful not to drop or hit the battery.
9. Do not use a damaged battery.
10. Lithium-ion batteries are subject to the requirements of the dangerous goods
legislation.
11. Follow local regulations regarding battery disposal.

7
Note: Use only manufacturer-approved batteries. The use of non-original batteries or altered
batteries may cause battery explosion or serious personal injury.
Tips for maintaining maximum battery life
1. Charge the battery cartridge before it is fully discharged. Always stop tool
operation and charge the battery cartridge when you notice less power from the
tool.
2. Never recharge a fully charged battery. Overcharging shortens battery life.
3. Charge the battery cartridge at room temperature 10°C to 40°C (50°F to 104°F).
Let a hot battery cartridge cool down before charging it.
4. Charge the battery cartridge if you do not use it for a long time (approx. more
than six months).
Product description
Attention
Always make sure the tool is turned off and the battery cartridge is removed before
adjusting or checking the function on the tool.
Installing or removing the battery cartridge
Attention
Always turn off the tool before installing or removing the battery cartridge.
Hold the tool and battery cartridge firmly when installing or removing the battery
cartridge. Failure to hold the tool and battery cartridge may cause them to fly out of your
hands and result in damage to the tool, battery cartridge, or personal injury.
1. button battery two.battery cartridge
•To remove the battery cartridge, slide it out of the tool while sliding the button on
the front of the cartridge.
•To install the battery cartridge, align the tab on the battery cartridge with the slot
in the casing and slide it into place. Insert it all the way until it clicks into place
with a small click. If you can see the red indicator at the top of the button, it's not
completely locked.

8
Attention
Always install the battery cartridge completely until the red indicator cannot be seen.
Otherwise, it may accidentally fall off the tool and injure you or someone around you.
Do not install the battery cartridge forcibly. If the cartridge does not slide in easily, it is
not being inserted correctly.
Remaining battery capacity indication
1. Indicator lights two.check button
Press the check button on the battery cartridge to indicate the remaining battery capacity.
The indicator lights come on for a few seconds.
Indicators
remaining capacity
Switched on
Off
>80%
30% to 80%
<30%
Note: Depending on the conditions of use and the ambient temperature, the indication may differ
slightly from the actual capacity.
Battery and tool protection system
The tool is equipped with a tool and battery protection system.
This system automatically cuts power to the motor to extend tool and battery life. The
tool will automatically stop during operation if the tool or battery is in any of the following
conditions.
overload protection
If battery operation causes abnormally high current consumption, the tool automatically
stops without any indication. In this situation, turn off the tool and stop the application
that caused the tool to overload. Then turn on the tool to get it running again.
Overheat protection
When the tool/battery overheats, the tool automatically stops. In this situation, allow the
tool/battery to cool down before turning the tool back on.

9
Drive button
1. Switch / trigger
To start the tool, simply pull the switch trigger. Tool speed is increased by increasing
pressure on the switch trigger. Release the switch trigger to stop.
Note: The tool stops automatically if the switch trigger continues to be pressed for approx. 6
minutes.
Attention
Before inserting the battery cartridge into the tool, always check that the switch trigger
actuates properly and returns to the "OFF" position when released.
Electric brake
This tool is equipped with an electric brake. If the tool does not stop quickly after releasing
the switch trigger, have the tool repaired by an authorized Total dealer.
Front light
1. light
•Pull the switch trigger to turn on the light.
oThis light stays on while the switch trigger is pulled.
oShuts off 10-15 seconds after trigger is released.
Note: Please use a dry cloth to clean the dirt on the lens of the light. Be careful not to
scratch it, as it may decrease lighting.
Attention
Do not look at the light directly.

10
1. Button
Impact Force Modification
1. Hard 2. Soft 3. Button
Impact strength grade
displayed on the panel
max hits Purpose
Application
example
High Squeeze when strength
and speed are desired
Tighten wood
screws, tighten
bolts
Und
er
Tighten with less force
to avoid breaking the
screw thread
Tighten small
screws like M6
A mode is only available when the tool is rotating clockwise. When rotated
counterclockwise in A mode, the impact force and speed are the same as in hard mode.
When all lights on the switch panel go out, the tool shuts down to save battery power.
The degree of impact force can be checked by pulling the switch trigger until the tool
stops working.
While the switch trigger is being pulled, the degree of impact force cannot be changed.
Tabla de contenidos
Otros manuales de Atornillador de impacto de Total


