THOMSON BB8297 Manual de usuario

GPS Personal Watch
BB8297
Bigben Interactive FRANCE
Rue de la voyette CRT2 - 59814
LESQUIN Cedex
GPS PERSONAL WATCH
MONTRE GPS DE LOCALISATION

2
THOMSON Personal Watch
Thank you for purchasing this THOMSON product. In case of a malfunction please refer to the support information at
the end of this manual. We highly appreciate any feedback which helps us to improve our products. Please keep this
instruction manual for future reference.
WARRANTY
This product bearing the THOMSON trademark, is guaranteed by the manufacturer for a period of 1 year from the date of
purchase, and will, during this period, be replaced with the same or a similar model, at our option, free of charge if there
is a defect due to faulty material or workmanship. This guarantee does not cover defects arising from accidental damage,
misuse or wear and tear and is available only to the original purchaser of the product. This does not aect your statutory
rights.
CONTENTS OF THE PACKAGE
• GPS Personal Watch Unit
• USB Charging cable
• Screw driver
• Quick start manual
PERSONAL WATCH ELEMENTS
01. Speaker
02. Charging socket
03. Mic
04. SOS dialing / answer
05. Display screen
CHARGING YOUR PERSONAL WATCH
01. Your THOMSON Personal Watch features a built-in rechargeable battery. To charge it, you need to use the charging
cable which has been supplied with the device. Plug the USB connector into an AC adaptor (maximum rating 1A
output) with a USB AC adaptor (e.g. the one which came with your smartphone) or directly in to the USB socket of
your computer.
02. Open the USB connection on the right side of the watch and attach the cable. Attach the opposite end of the cable to
a power source and allow 2 hours for charging.
NOTE: Please note that the Personal Watch needs to be charged using the supplied cable as most other USB cables will
not t.
INSTALLING A SIM CARD
Your THOMSON Personal Watch relies on GPS technology and modern mobile devices. In order for these to work it
requires a Micro SIM card with a 2G data, talk and text plan included. 20MB and 200 texts per month should be sucient
for normal use. Make sure that the card is already registered with your operator and take careful note of the sim card
phone number.
Make sure the SIM card, which you intend to use, does not require a PIN code to work, since the Personal Watch will not
function correctly.

3
01. Slide the sim card holder down and fold up so you can t the sim card. Insert the sim card, fold the holder down and
slide the holder up so it locks into position.
02. Insert the battery and close the cover. Take care that the thin membrane is correctly tted otherwise the watch will
not be waterproof. Ret the 4 screws.
03. Now press the SOS button for 3 seconds to switch on the watch. The Thomson name will appear and after a few
seconds the Hours / date / day / Battery life and Network status, will be displayed.
NOTE: The rst time you use your watch the information on the screen is not correct. You may need to wait a few
minutes for the time to reset to your time zone.
You now need to set-up your watch with the application. Please follow these steps:
GPS P WATCH APP
• Installing the GPS P WATCH application
Look for the “GPS P WATCH” app in the Apple store/Google Play store and download it to your mobile device.

4
• Registering an account
For your Personal Watch to work you will need to register an account rst. This is required so you can use your mobile
device to connect to the THOMSON server that the Personal Watch is sending its data to. The rst time you open the app
or when you’ve logged out of your account, you will see the login screen which allows you to register new accounts.
01. Press `Registration’ to start
02. Add all the information requested, in all the boxes, and press `Register’.
Note: Please ensure that you also read and agree to the user agreement.
03. You can login using your phone number and password
•

5
• Registering your Personal Watch
You now need to register your Personal Watch on your account.
For the rst installation the app will ask you to add a new device.
01. Press `Add devices now’
02. Manually add the serial number of the device or scan the barcode. You can nd this on the last page / rear of the
instruction booklet. This code is also found on the inside of the watch.
You will need to add your
account password twice
to bind the watch to your
account.
03. Your Personal Watch is now synchronized with your device and added to your account.
THE MAIN SCREEN
After logging in, you will see the main screen. This screen shows your added device with some information such as your
device name / date / hours and the precise location of the Personal Watch.
To activate the GPS function you will need to go outside as GPS does not work inside buildings.
To set-up the Personal Watch press the person icon in the top right hand corner of the screen. This will take to the
`Manage’ screen.
Press on the `Account name’ and it will take you to the set-up options.
• PHOTO
The rst option allows you to add a photo. You can take a new photo with your mobile device or select an image from
your existing library.
• DEVICE NUMBER
This is the number of your Personal Watch that you scanned earlier.
• PRODUCT ID
You can rename the watch with this option.

6
• SIM CARD NUMBER
This is the number on the SIM card inside the watch.
• SET EMERGENCY NUMBER
Add numbers that your child can call in the event of an emergency. This will also allow you to call this number.
• SET FRIEND NUMBER
This allows you to enter up to 5 other permitted numbers that can call the watch.
• SET MONITOR NUMBER
These numbers allow you to call the watch and listen without the watch being answered.
• SET GEO-FENCE
This allows you to set-up a perimeter from any set area. If your child wanders outside the geo-fence you will receive a
notication on your mobile device. You can set from 200M to 500M.
• SET DAYS
You can set the days that you want `alarms’ to be set, i.e: reminders.
• SET WI-FI
If you are in a Wi-Fi zone you can pair to this Wi-Fi signal to allow in door tracking.

7
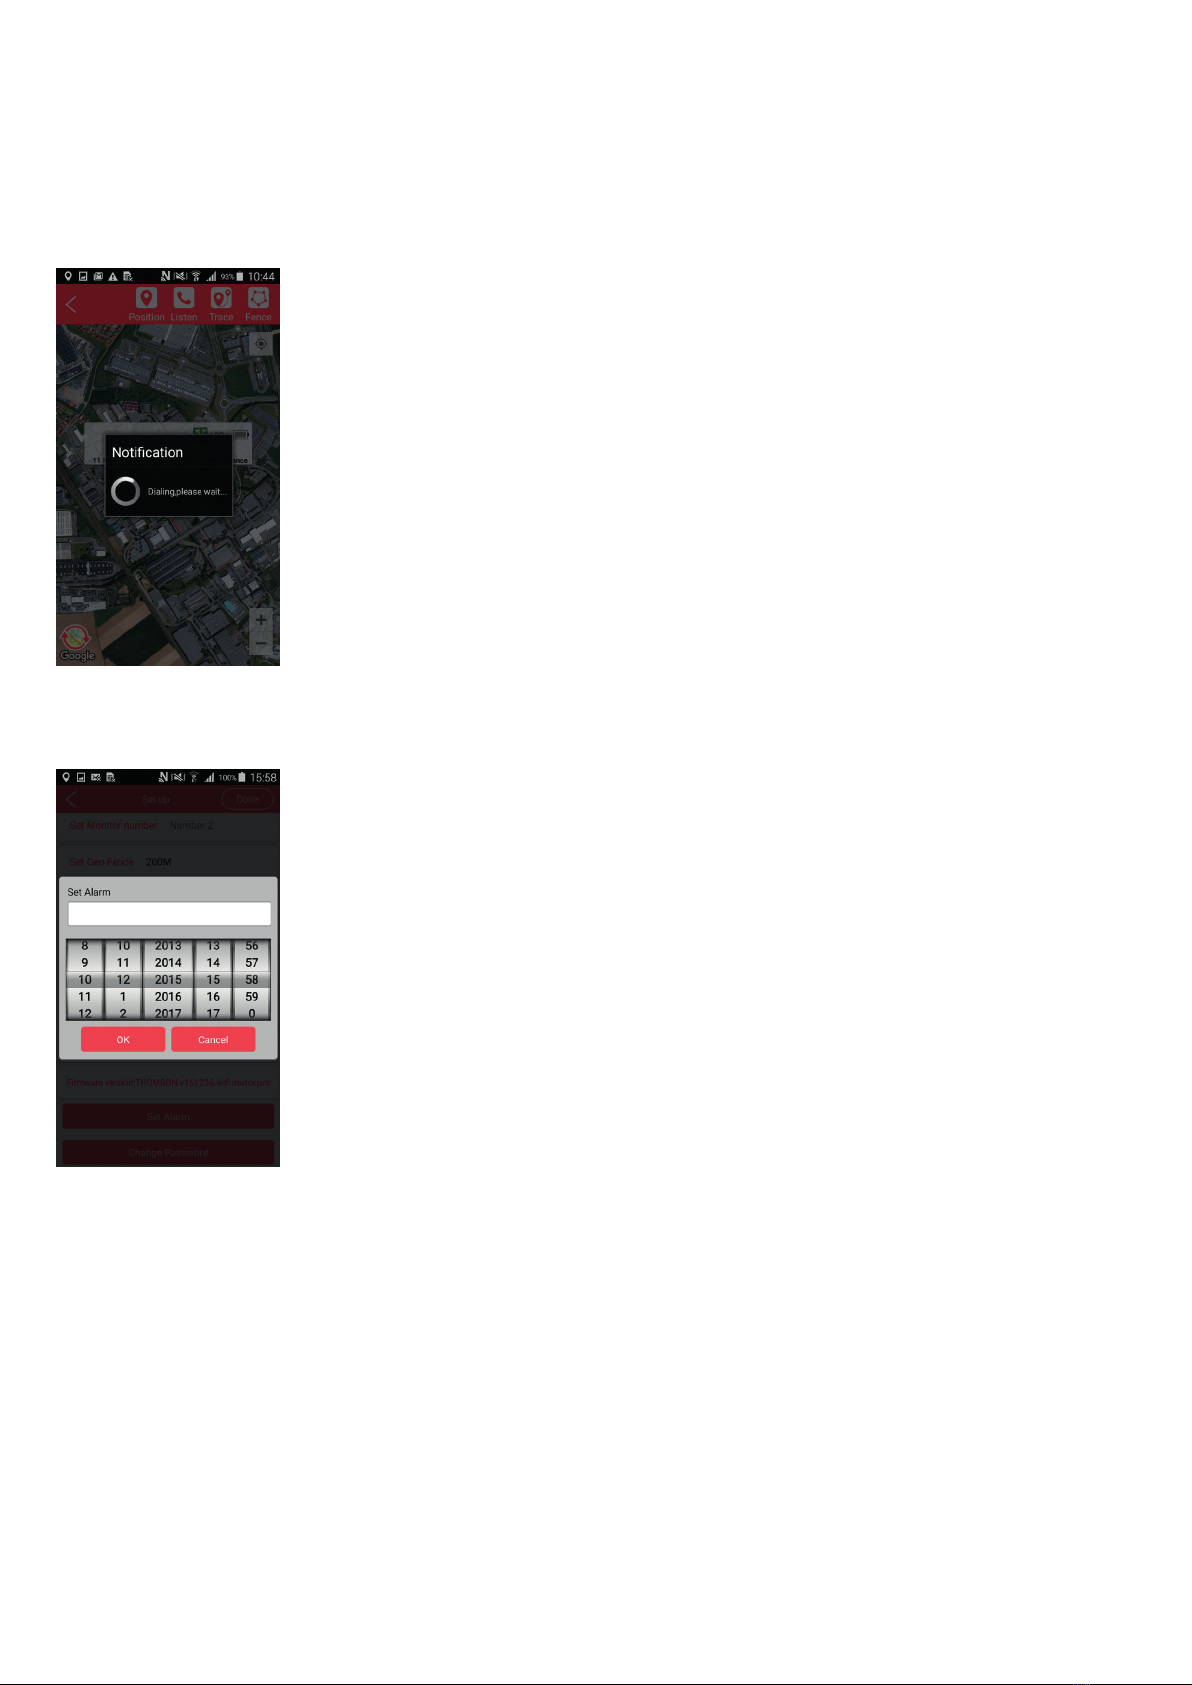
• SET ALARM
Input the time and date for an alarm on the watch. You can also name the alarm type.
• Change password
This allows you to change the login password.
Press `Done’ at the top of the screen BUT make sure your watch is switched on otherwise it will not be updated.
To activate the Map Tracking function press on the information / icon area.

8
MAP TRACKING PAGE
On this page you have some options such as:
• MAP setting: You can choose if you prefer the standard map or satellite view.
• Compass button : Which indicates North position
• Zoom buttons : Enlarge or reduce the map view. You can touch the screen to enlarge or reduce.
POSITION
Click on this option to show the current location of your Personal Watch, date and hours, battery level and signal type,
(e.g: GPS or GSM). If you press the position button, the tracker is checked every 40 seconds for the next 30 mins
9
CALL
• There are 2 x options available:
a) To make a 2-way call simply call the SIM card from your contact list, on your device. (Make sure you have
added your number as one of the emergency numbers on the set-up page).
b) Press the call button, (at the top of the page). This allows you to make a `monitor’ call to hear what is
happening but without activating the call alert on the watch. This could be useful in an emergency. Make sure
you have added your phone number in the Set Monitor number section in the Set up section.
TRACE
Input a date and check all the movement of the tracker for that day
FENCE
A “Fence” is a virtual boundary for a zone which the Personal Watch is not supposed to leave. For example if you use the
Personal Watch device on your child, you could set up a geo-fence around your house or property to get an alert if your
child leaves the area.
To set up a geo-fence, you need to press the “Fence” icon and then press “Add”
01.Enter the name of the Fence zone
02. Choose if you want to receive a notication when the watch enters or leaves the set area.
03. To add a geo-fence simply add an area on your map.

10
04. Press `Done’ to add the fence.
05. NOTE: The default radius is set at 200m.
06. Press the back arrow, (in the top left corner), twice to go back to the main page.
Note: that the geofence will only work on an outdoor GPS signal so the wearer will have to be in an outside location to
activate the geo-fence alarm.
MENU PAGE
Press the menu icon, in the top left corner, to take you to the menu page.
On this page you have access to your Device, Notication, Settings, Help section and information on the Personal Watch.
Push on this buttons and you back to the main screen.
Tabla de contenidos


