Texas Instruments DRV8811 Manual de usuario

1
SLVA344C–July 2009–Revised July 2019
Submit Documentation Feedback Copyright © 2009–2019, Texas Instruments Incorporated
Laser and Motor Drives
User's Guide
SLVA344C–July 2009–Revised July 2019
Laser and Motor Drives
This document is provided as a supplement to the DRV8811 datasheet. It details the hardware
implementation of the DRV8811 customer evaluation module (EVM).
Contents
1 Introduction ................................................................................................................... 3
1.1 Block Diagram....................................................................................................... 3
1.2 Power Connectors.................................................................................................. 3
1.3 Test Stakes.......................................................................................................... 3
1.4 Jumpers.............................................................................................................. 4
1.5 Motor Outputs ....................................................................................................... 4
2 Installing Drivers And Software ............................................................................................ 4
2.1 Installing the FTDI USB Driver.................................................................................... 4
2.2 GUI Software Installation .......................................................................................... 4
2.3 Running the Windows Application Software................................................................... 15
3 Windows Application....................................................................................................... 15
3.1 Menu................................................................................................................ 17
3.2 DRV8811 GPIO Control Signals ................................................................................ 18
3.3 Updating DAC Output for Current Control (VREF/DECAY) ................................................. 19
3.4 Updating DAC Output for Decay Control (DECAY)........................................................... 19
3.5 Operating the Stepper Motor .................................................................................... 20
List of Figures
1 VREF SELECT Jumper..................................................................................................... 4
2 DECAY SELECT Jumper................................................................................................... 4
3 Setup_DRV8811_EVM.exe................................................................................................. 5
4 Installation Initialization ..................................................................................................... 6
5 License Agreement.......................................................................................................... 6
6 NI License Agreement ...................................................................................................... 7
7 Installation Directory Screen ............................................................................................... 7
8 Component Selection ....................................................................................................... 8
9 Configure Proxy.............................................................................................................. 8
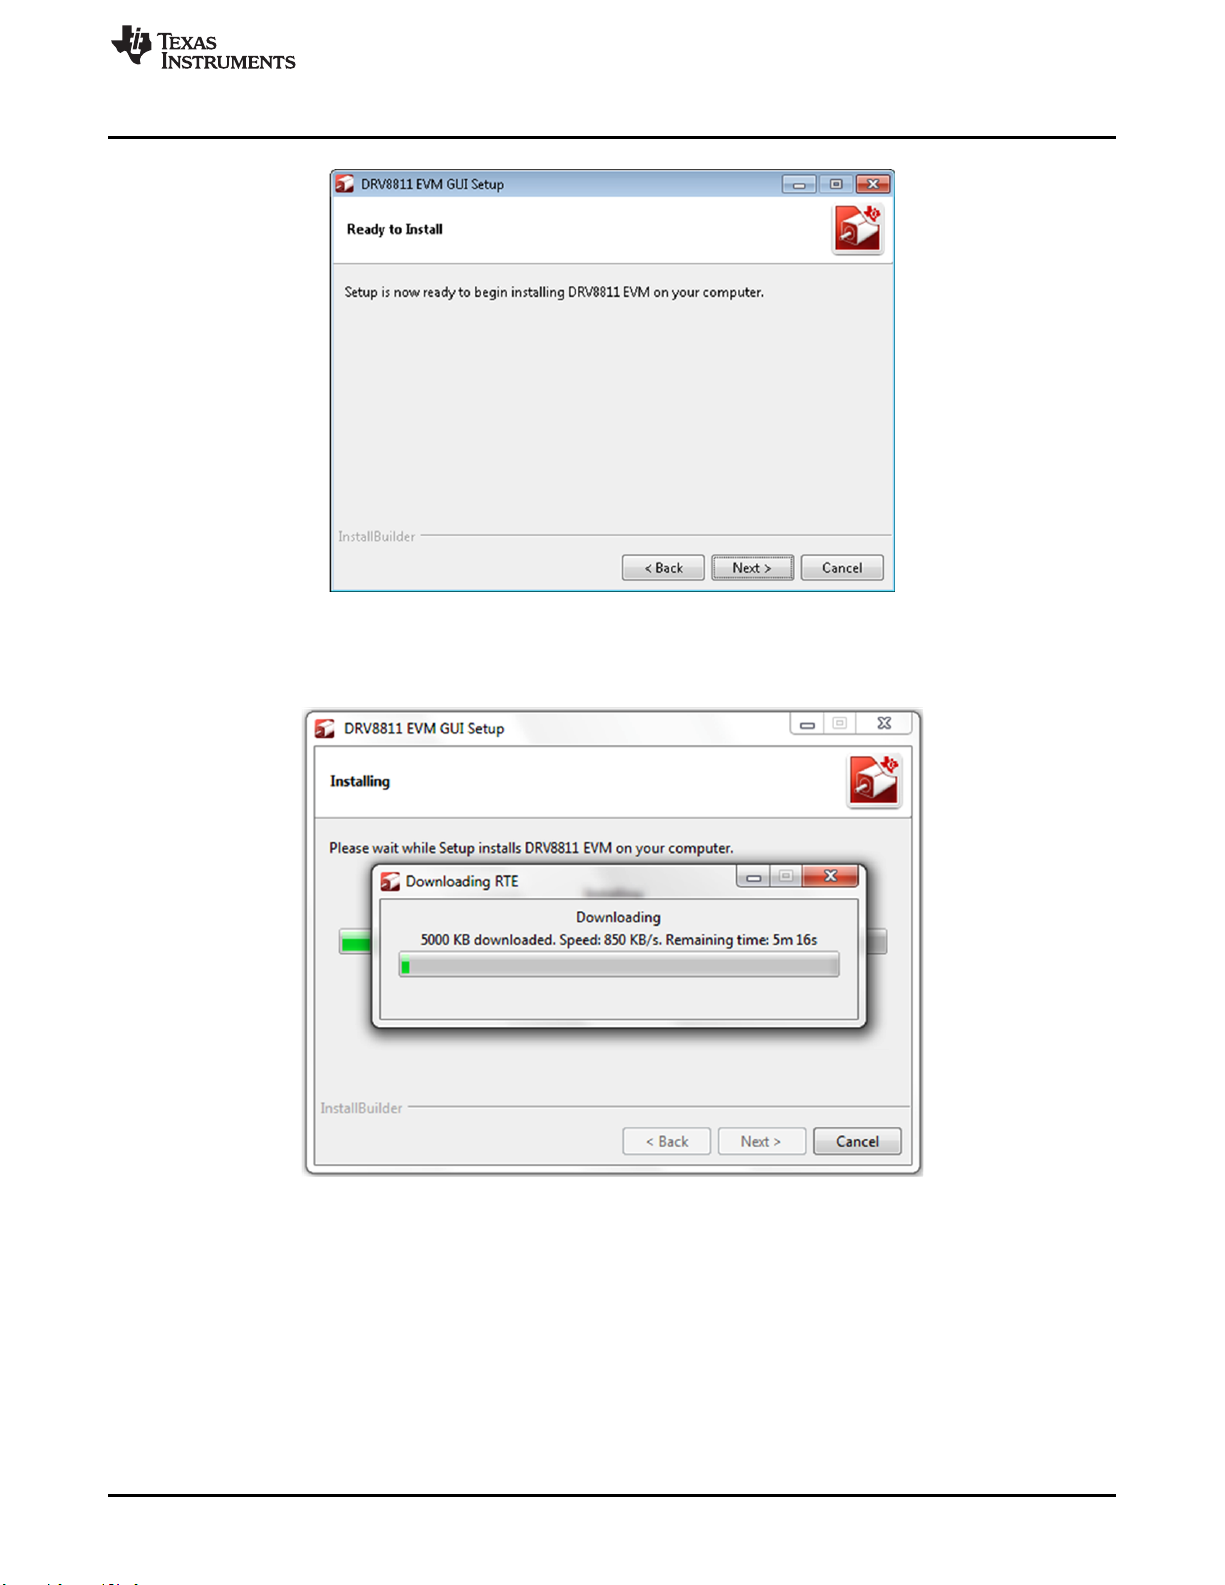
10 Ready to Install .............................................................................................................. 9
11 Downloading RTE ........................................................................................................... 9
12 LabVIEW RTE Self Extraction............................................................................................ 10
13 LabVIEW RTE Installation Initialization ................................................................................. 10
14 Installation of LabVIEW RTE in Progress............................................................................... 11
15 FTDI Installation Initialization ............................................................................................. 12
16 Driver Installation Wizard.................................................................................................. 12
17 License Agreement for FTDI Driver...................................................................................... 13
18 Driver Installation Completion ............................................................................................ 14
19 Installation Complete ...................................................................................................... 14
20 Readme Window........................................................................................................... 15
21 DRV8811EVM-001_R1p0.exe Main Screen............................................................................ 16

www.ti.com
2SLVA344C–July 2009–Revised July 2019
Submit Documentation Feedback
Copyright © 2009–2019, Texas Instruments Incorporated
Laser and Motor Drives
22 File Menu.................................................................................................................... 17
23 Debug Menu ................................................................................................................ 17
24 Schematic ................................................................................................................... 17
25 Help Menu .................................................................................................................. 18
26 About Page ................................................................................................................. 18
27 Signals Frame .............................................................................................................. 19
28 Curent Control Frame ..................................................................................................... 19
29 Current Control Frame..................................................................................................... 20
30 Step Rate ................................................................................................................... 20
31 Speed Control Frame...................................................................................................... 21
32 Step Control Frame ........................................................................................................ 21
Trademarks
All trademarks are the property of their respective owners.

VM Power
Test Stakes
DRV8811
Motor Outputs
MSP430F1612USB
www.ti.com
Introduction
3
SLVA344C–July 2009–Revised July 2019
Submit Documentation Feedback Copyright © 2009–2019, Texas Instruments Incorporated
Laser and Motor Drives
1 Introduction
The DRV8811EVM-001 customer EVM is the complete solution to evaluating the DRV8811 microstepping
bipolar stepper driver. It houses a USB link to provide easy control from a PC computer, an MSP430
microcontroller that interprets serial commands from the PC and generates control signals to the driver
device, and the DRV8811 device with access to all signals for a complete evaluation.
1.1 Block Diagram
1.2 Power Connectors
The DRV8811 customer EVM uses a combination of terminal blocks and test clips for the
application/monitoring of power. The only power rail the user must supply is VM for the device’s power
stage. VDD for logic levels is internally generated from the USB connection.
The user must apply VM according to datasheet recommended parameters.
1.3 Test Stakes
Every pin on the device has been brought out to a test stake. A label on the silkscreen identifies each
signal.

(a) (b)
POT
INT
POT
INT
(a) (b)
POT
INT
POT
INT
Introduction
www.ti.com
4SLVA344C–July 2009–Revised July 2019
Submit Documentation Feedback
Copyright © 2009–2019, Texas Instruments Incorporated
Laser and Motor Drives
1.4 Jumpers
Three pin jumpers can be configured independently from the other two or three pin jumpers. However, two
pin jumpers must either be closed or open. Two pin jumpers (JP2 to JP5) connect the diodes to the motor
outputs and are used under asynchronous rectification (SR = LO).
1.4.1 VREF SELECT (JP1) Jumper
Figure 1. VREF SELECT Jumper
To configure the VREF SELECT jumper: Figure 1 (a) selects an analog voltage derived from VDD through
a voltage divider implemented as a potentiometer R4. Figure 1 (b) selects an analog voltage derived from
the MSP430’s digital to analog converter channel 0 (DAC0).
1.4.2 DECAY SELECT (JP6) Jumper
Figure 2. DECAY SELECT Jumper
To configure the DECAY SELECT jumper: Figure 2 (a) selects an analog voltage derived from VDD
through a voltage divider implemented as a potentiometer R6. Figure 2 (b) selects an analog voltage
derived from the MSP430’s digital to analog converter channel 1 (DAC1).
1.5 Motor Outputs
There are three ways of connecting the bipolar stepper motor into the DRV8811 EVM: four pin header
(J2), four position terminal block (J3) or test clips. Each connection style offers identical connectivity to the
device’s output terminals. It is recommended, however, to use the header or terminal block, as the test
stakes traces are of low current handling capability.
2 Installing Drivers And Software
2.1 Installing the FTDI USB Driver
Instructions on how to install the FTDI USB driver on a Windows based computer are detailed in the
“USB_Drivers_Install_Readme.pdf” file supplied with the CD inside the USB_Driver folder.
2.2 GUI Software Installation
The following section explains the location of files and the procedure for installing the software correctly.

www.ti.com
Installing Drivers And Software
5
SLVA344C–July 2009–Revised July 2019
Submit Documentation Feedback Copyright © 2009–2019, Texas Instruments Incorporated
Laser and Motor Drives
NOTE: Ensure that no USB connections are made to the EVM until the installation is completed.
The installer will also install LabVIEW RTE 2014 and FTDI Driver, along with the GUI.
2.2.1 System Requirements
• Supported OS – Windows 7 (32 Bit, 64 Bit). The window text size should be Smaller-100% (Default)
• Recommended RAM - 4 GB or higher
• Recommended CPU Operating Speed – 3.3 GHz or higher
2.2.2 Installation Procedure
The following procedure helps you install the DRV8811 GUI
1. Double click on the Setup_DRV8811_EVM.exe as shown in Figure 3.
Figure 3. Setup_DRV8811_EVM.exe
2. The screen shown in Figure 4 appears, indicating installer initialization. Click the Next button.

Installing Drivers And Software
www.ti.com
6SLVA344C–July 2009–Revised July 2019
Submit Documentation Feedback
Copyright © 2009–2019, Texas Instruments Incorporated
Laser and Motor Drives
Figure 4. Installation Initialization
3. In the newly open installation pop-up window, click Next. The license agreement will be displayed.
Please, read through it carefully and enable the "I Accept the Agreement" radio button and press Next.
Figure 5. License Agreement
4. A screen as shown in Figure 6 appears, displaying the license agreement of National Instruments.
Please read through the agreement carefully and enable the “I Accept the License Agreement” radio
button and press the Next button.

www.ti.com
Installing Drivers And Software
7
SLVA344C–July 2009–Revised July 2019
Submit Documentation Feedback Copyright © 2009–2019, Texas Instruments Incorporated
Laser and Motor Drives
Figure 6. NI License Agreement
5. Set the default directory for the GUI Installation and click Next.
Figure 7. Installation Directory Screen
NOTE: It is highly recommended to keep the default values as provided in the installer.
6. A screen as shown in Figure 8 appears. This screen is to select the components to install. Select the
Components to Install and Click Next to continue installation. The LabVIEW RTE component checks
out if the LabVIEW RTE 2014 is already installed on the PC.

Installing Drivers And Software
www.ti.com
8SLVA344C–July 2009–Revised July 2019
Submit Documentation Feedback
Copyright © 2009–2019, Texas Instruments Incorporated
Laser and Motor Drives
Figure 8. Component Selection
7. If LabVIEW RTE is selected as a component to install, a screen appears as shown in Figure 9.
Configure the proxy settings as required. This screen is to download the LabVIEW RTE 2014 from
ni.com, Click Next to continue the installation.
Figure 9. Configure Proxy
8. A screen as shown in Figure 10 appears. Click Next to begin the installation.

www.ti.com
Installing Drivers And Software
9
SLVA344C–July 2009–Revised July 2019
Submit Documentation Feedback Copyright © 2009–2019, Texas Instruments Incorporated
Laser and Motor Drives
Figure 10. Ready to Install
9. If the LabVIEW RTE 2014 is selected as a component to install, LabVIEW RTE downloads and
performs a silent mode installation.
Figure 11. Downloading RTE
10. Once the download completes, LabVIEW begins with the self-extraction as shown in Figure 12.

Installing Drivers And Software
www.ti.com
10 SLVA344C–July 2009–Revised July 2019
Submit Documentation Feedback
Copyright © 2009–2019, Texas Instruments Incorporated
Laser and Motor Drives
Figure 12. LabVIEW RTE Self Extraction
11. A Screen appears as shown in Figure 13. It initializes the LabVIEW RTE Installation.
Figure 13. LabVIEW RTE Installation Initialization
12. A display as shown in Figure 14 appears which indicates the progress of LabVIEW RTE installation.
Este manual sirve para los siguientes modelos
1
Tabla de contenidos
Otros manuales de Accionamiento de CC de Texas Instruments
Manuales populares de Accionamiento de CC de otras marcas

Vincent Associates
Vincent Associates UNIBLITZ ED12DSS Manual de usuario

EKSMA OPTICS
EKSMA OPTICS DQ-100-4 Manual de lista de piezas

Chamberlain Garog
Chamberlain Garog D Series Manual de usuario

Parker
Parker PDS Series Manual de usuario

Festo
Festo DGC G Series Guía de configuración

Binks
Binks QS-5012-1-CE Manual de usuario

ABB
ABB RSYC-01 Manual de usuario

Rockwell Automation
Rockwell Automation PowerFlex 700S Manual del propietario

WEG
WEG DeviceNet CFW500 Manual de usuario

Siemens
Siemens SINAMICS G Hoja de datos

Siemens
Siemens SINAMICS SM150 6SL3815-7NP41-0AA1 Instrucciones de funcionamiento

SOMFY
SOMFY JR RU 30 Manual de usuario


