Teac HDVR845 Manual de usuario

HDVR845
Trademark of TEAC Corporation JAPAN www.teac.com.au
High Definition Digital Video Recorder


1
3
5
5
6
7
9
20
20
19
19
20
25
26
20
23
23
23
24
24
23
27
27
19
19
17
17
17
16
16
16
15
15
15
15
10
11
12
13
15
14
9
2
What’s in the box
MEPS Standard
Main unit
Remote control key actions
Connecting to TV
Connecting to S-Video
Connecting to YPbPr
Connecting to HDMI
Connecting to S/PDIF
First Time Installation
Basic Operations
Switching On and Off
Changing Channels
Volume
Mute
Information Banner
Closed Caption
TV Screen Format
Channel Lists
Switching between TV and Radio channels
EPG
Contents
Contents
Notice
Safety and Warning
Connections and preparation
PVR Operations
Recording Capacity
Record the program you are watching (Instant Recording)
Recording information bar
Stop the recording
Create a scheduled recording task
Scheduled recording start
Scheduled recording stop
Recorded file structure
Initial Startup Guide
Recording Operations
Possible USB Connections
Supported File System
Mount / Un-Mount USB Device
Partitions
Damaged Disk
How to connect your USB disk to the unit
How to recover the damaged USB disk on PC

30
30
31
31
33
34
33
33
34
38
39
39
40
40
41
42
43
36
36
36
37
37
38
37
33
32
31
Using the On-Screen Setup Menu
Favourite list
Add channels to a favourite list
Change the group name of a favourite list
Remove channels from a favourite list
Auto Scan
Manual Scan
System Info
Factory Reset
Edit the channel name
Delete the channel
Audio & Video Setting
Time Zone Setting
Installation
Channel Organiser
Configuration
Region & Language
45
46
Specification
Help and advice
Contents
Media Viewer
Pause the live program
Time-Shifting length
Understanding the Time-Shifting Information Bar
Stop the Time-Shifting and jump to Live
Schedule List
Video Player
HDD Status
Software Update
Time-Shifting Operations
28
30
30
29
Using the FF/REW/SLOW Functions (Trick Modes Playback)
Slow Motion Playback
Pause and Resume the Playback
Stop the playback
28
28
28
Playback Operations
Playback of an Existing Recording
Playback information bar
Notice
Read this manual carefully and make sure you understand the provided instructions. For your
safety, know what the reaction upon each action will be.
Warnings, Cautions and Notes
Warning
Throughout the whole manual, pay special attention to the following marks that indicate
hazardous situations.
Indicates a hazardous situation which, if not avoided, could result in (serious) injury.
Caution
Indicates a situation which, if not avoided, could damage the equipment or other apparatus.
Note
Indicates additional information to the user to make the user aware of possible problems
and information of any importance to help the user to understand, to use and to maintain
the installation.
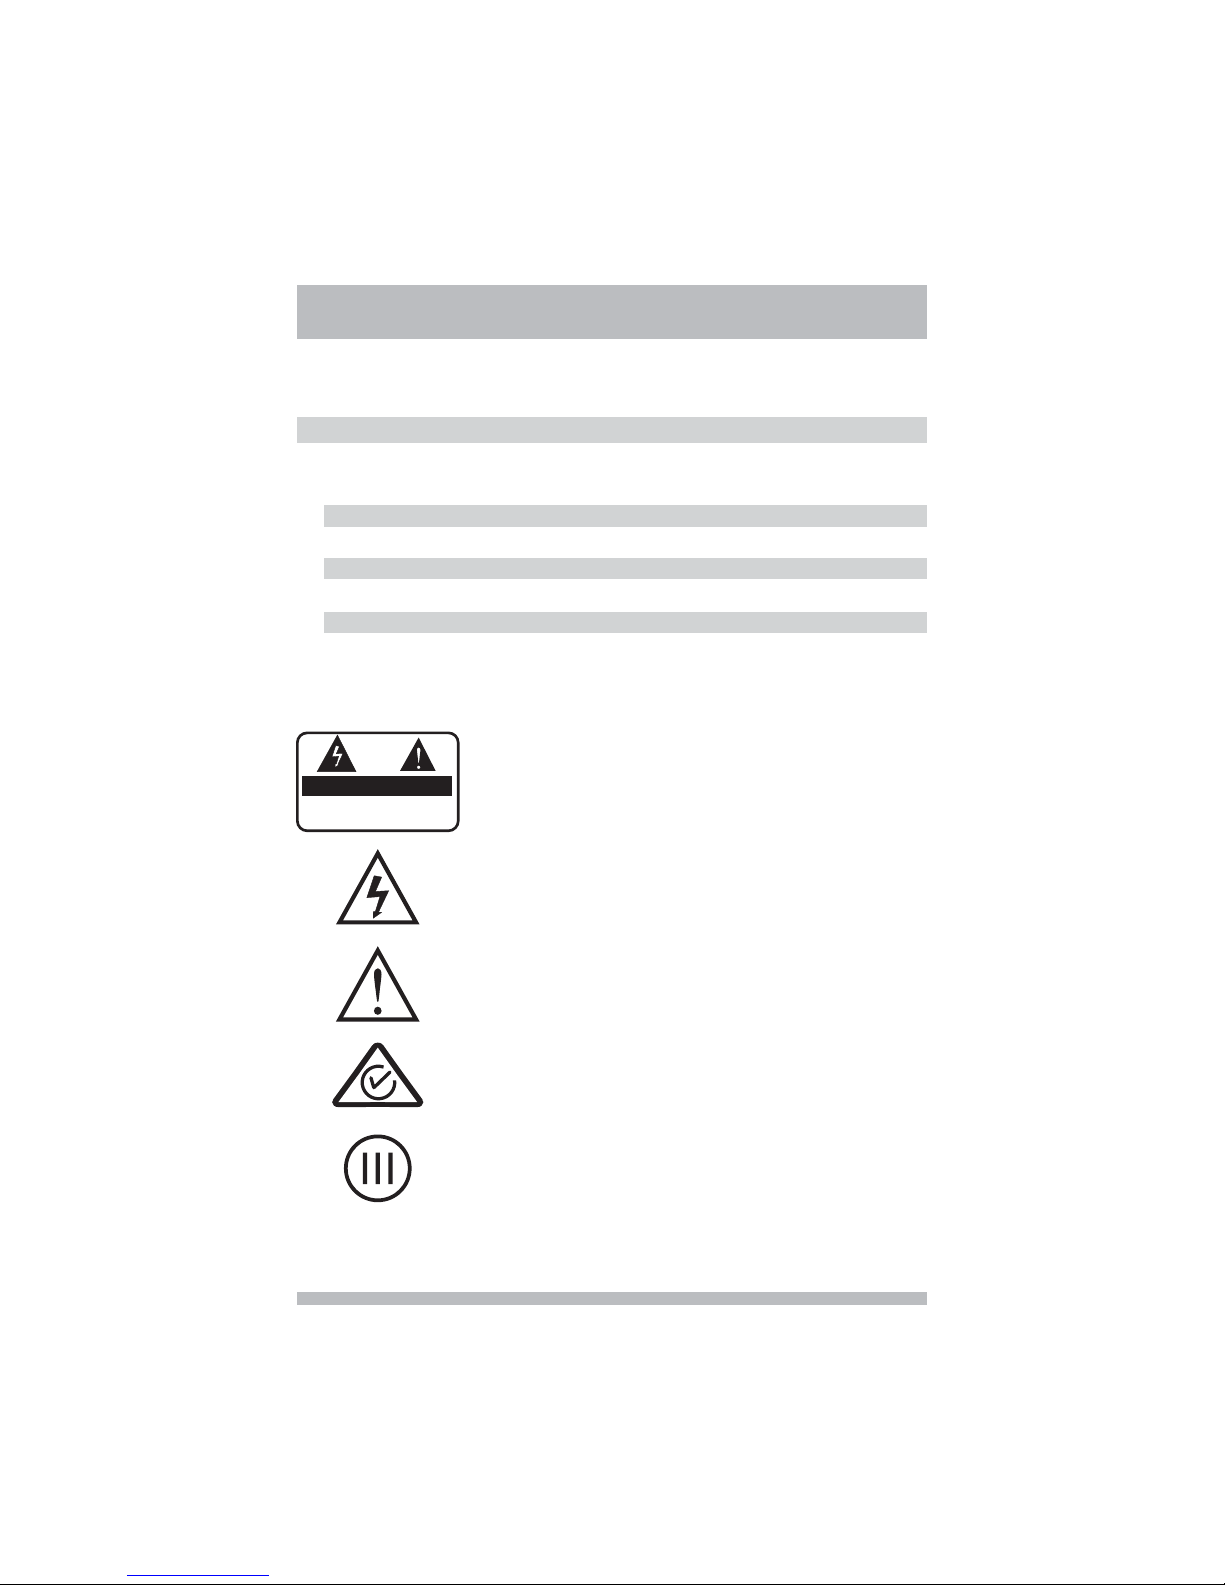
To reduce the risk of electric shock, do not remove cover (or
back). No user serviceable parts inside. Refer servicing to
qualified service personnel.
This symbol indicates dangerous voltage inside the product
that presents a risk of electric shock or personal injury.
This symbol indicates important instructions accompanying the
product.
CAUTION
RISK OF ELECTRIC SHOCK
DO NOT OPEN
2
This product complies with Australia AS/NZS 4251.1 and
AS/NZS 4252.1 electromagnetic compatibility directives.
This product complies with Australia and New Zealand MEPS
Mark III standard

3
Safety and Warning
This digital terrestrial receiver has been manufactured to satisfy international safety
standards. Please read the following safety precautions carefully.
Safety Instructions and Precautions
1. MAINS SUPPLY
AC 100 ~ 240V 50/60Hz Max 1.0A
Operate your product only from the type of power source indicated on the marking
label. If you are not sure of the type of power supplied to your home, consult local
power company. Disconnect the receiver from the mains before you start any
maintenance or installation procedure.
2. OVERLOADING
Do not overload a wall outlet, extension cord or adaptor as this may result in electric
fire or shock.
3. LIQUIDS
The receiver should not be exposed to any liquids such as dripping or splashing. In
addition, no objects filled with liquids, such as vase, shall be placed on the apparatus.
4. CLEANING
Disconnect the receiver from the wall outlet before cleaning. Use a light damp cloth
(no solvents) to dust the receiver.
5. VENTILATION
The slots on top of the receiver must be left uncovered to allow proper airflow to the
unit. Do not stand the receiver on soft furnishings or carpets. Do not stack electronic
equipment on top of the receiver.
6. ATTACHMENTS
Do not use any unsupported attachments as these may be hazardous or cause
damage the receiver.
7. CONNECTION TO THE AERIAL
Disconnect the receiver from the mains before connecting or disconnecting the cable
from the aerial. Failure to do so can damage the aerial.
8. CONNECTION TO THE TV
Disconnect the receiver from the mains before connecting or disconnecting the cable
from the aerial. Failure to do so can damage the TV.
9. EARTHING
The aerial cable must be buried in the ground. The buried cable of the system must
comply with SABS 061.

10.LOCATION
Place the receiver indoors to avoid exposing it to lightening, rain or sun. Do not place
it near a radiator or heat register.
Make sure it has more than 10 cm clearance from any appliances susceptible to
electromagnetic influences, such as TV and VCR.
Do not block these openings with any object, and do not place the product on a bed,
sofa, rug, or other similar surface.
If you place the product on a rack or bookcase, ensure that there is adequate
ventilation and that you have followed the manufacturer's instructions for mounting.
Do not place the product on an unstable cart, stand, tripod, bracket, or table where it
can fall.
A falling product can cause serious injury to a child or adult, and serious damage to
the appliance.
11.LIGHTENING, STORM, or NOT IN USE
Unplug the product from the wall outlet and disconnect the aerial during a lightening
storm or when left unattended and unused for long periods of time. This will prevent
damage to the unit due to lightening and power-line surges.
12.EXTRANEOUS OBJECTS
Do not insert anything through the openings in the unit, where they can touch
dangerous voltage points or damage parts.
13.REPLACEMENT of PARTS
When the replacement parts are required, be sure the service technician uses
replacement parts specified by the manufacturer or those that have the same
characteristics as the original part. Unauthorized substitutions may result in additional
damage to the unit.
Warning
1. Follow these directions in order not to damage the power cord or plug.
Do not modify or process the power cord or plug arbitrarily.
Do not bend or twist the power cord too much.
Make sure to disconnect the power cord with the plug held.
Keep heating appliances as far as possible from the power cord in order to prevent
the cover vinyl from melting.
2. Follow these directions. Failure to follow one of them may cause electrical shock.
Do not open the main body.
Do not insert metals or inflammable objects inside the product.
Do not touch the power plug with a wet hand.
Disconnect the power cord in case of lightening.
3. Do not use the product when it is out of order. If you continue to use the product
when defective, serious damage can be caused to it. Make sure to contact your local
product distributor if the product is out of order.
Safety and Warning
4

5
What’s in the box
MEPS Standard
You will find the following items.
The set-top box
Cable
A remote control
Two AAA batteries
A user guide
AV
This equipment is compliant with MEPS standards of Australia and
New Zealand, which power consumption is less than 10 watt in active
mode and less than 1 watt in standby mode. It is a High Efficiency
Product - accords with Performance mark III standard.
1
4
5
2
3
AAA Batteries
User Guide Remote Control
AV Cable
The set-top box
Trademarkof TEACCorporation JAPAN www.teac.com.au
HDVR845
High Definition Digital Video Recorder

6
Rear panel
Tuner in Receive the signal from antenna:
Tuner out Support a share antenna output
HDMI High-Definition Multimedia Interface
R L 2 channel audio output
CVBS Composite video output
Y Pb Pr Component video output
S Video S Video output
OPTICAL Digital audio optical output
USB USB 2.0 port for PVR
POWER SWITCH Power switch
:
:
.:
:
//:
-:-
:
:
:
1110
10
11
12
12
13
13
16
15
17
16
18 19
19
17
18
15
14
14
Front panel
Main unit
STANDBY: Switch between standby on/off
MENU Display the main menu or go back to the previous menu
OK Select a menu or confirm the selected operation
: Change to the previous channel or go up in menu
: Change to the next channel or go down in menu
: Volume down or go left in menu
: Volume up or go right in menu
LED Display the active status or PVR status
DISPLAY Display the channel number
:,
:,
:
:
1
1
4
4
5
5
6
6
7
78
8
9
9
2
2
3
3
ANT IN ANT OUT OFF
ON
YPbPr
RLCVBS
AC90 240V~
50Hz 60Hz
10W max
-
/
SVIDEO-OPTICAL USB
()For PVR
CAUTION
RISK OF ELECTRIC SHOCK
DO NOT OPEN
SHOCK HAZARD DO NOT OPEN
RISQUE CHOC NE PAS ENLEVER
:
:
HDMI
High Definition Digital Video Recorder HDVR845
Tabla de contenidos
Otros manuales de DVR de Teac

Teac
Teac HDR500S Manual de usuario

Teac
Teac HDR2700T Manual de usuario

Teac
Teac HDR2500T Manual de usuario

Teac
Teac HDR2700T Manual de usuario

Teac
Teac HDR3500T Manual de usuario

Teac
Teac AQ-VU Manual de usuario

Teac
Teac UR-4MD Manual de usuario

Teac
Teac HDR9650TS Manual de usuario

Teac
Teac UR-4MD Manual de usuario

Teac
Teac HDR2500T Manual de usuario


