TCT WebSaw Manual de usuario
TCT WebSaw

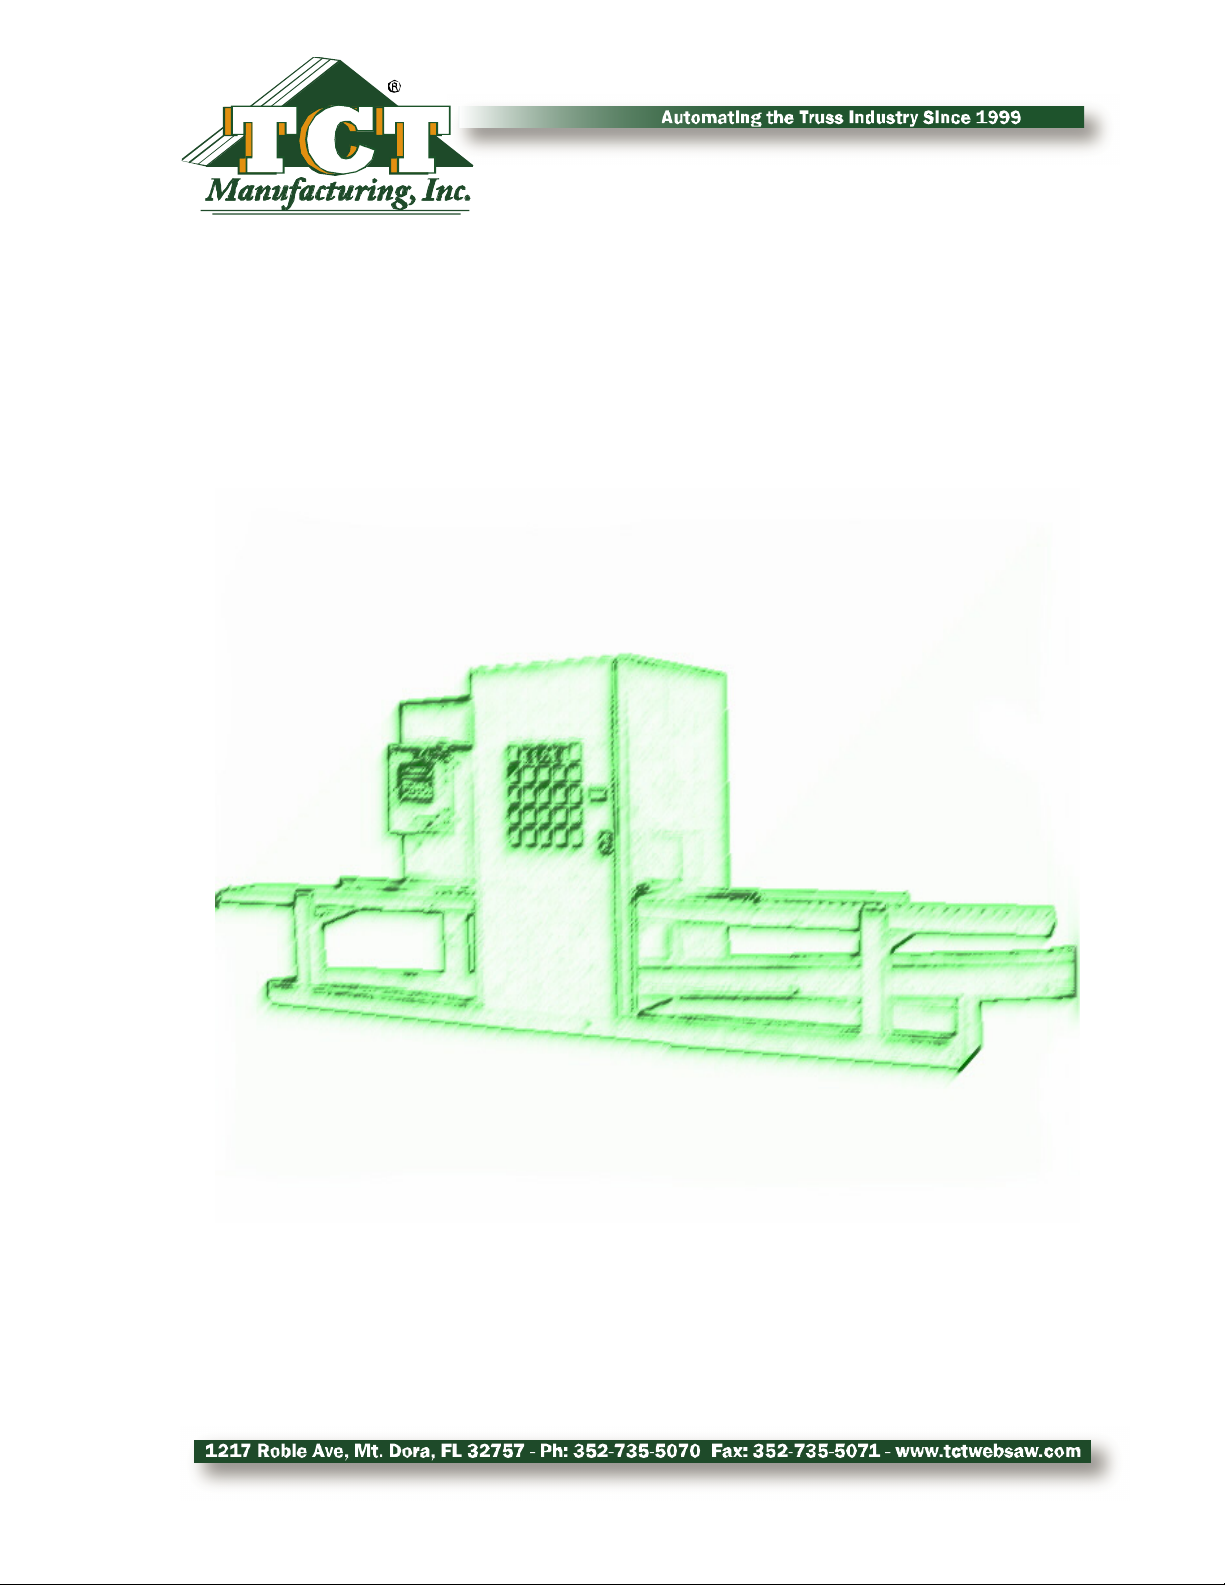
Starting the Websaw
Bleed water from the regulator and check that the oil reservoir has oil.
Check that you have operational air pressure on your regulator. The normal operational range for the
saw is 60 to 80 PSI.
Check that the air filter is clean.
Switch on the main power disconnect (make sure both switches are turned on).
Wait for computer to boot up and open the Websaw software (located on desktop called “Websaw”).
Water
Bleed
Water
Bleed
Air PressureAir Pressure Air Pressure
Adjustment
Air Pressure
Adjustment
OilOil
PC Power
Disconnect
PC Power
Disconnect Websaw DisconectWebsaw Disconect
Check FilterCheck Filter
Page 1 Starting the Websaw

Operating the Websaw
Check that the “Emergency Stop”button is not engaged.
Turn the power on by pressing the green “Power” button.
Turn the “Conveyor” switch to “On”.
Home the saw blade using the “Home Blade” button.
Place your floppy disk into the disk drive and press the “Copy To” button to load the job.
Click “Load AFile” and select the job that you want to cut (note you can only cut from a file
located on the local hard drive).
Start the blade by pressing the “Blade Start” button and wait for blade to fully spin up.
Go into cycle by pressing the “Cycle Start” button.
Once the “Ready” window appears feed wood into the machine.
Note never restart the saw motor until the motor has fully stopped.
PowerPower
Press Blade Start
and wait 20 seconds
for blade to spin up.
Press Blade Start
and wait 20 seconds
for blade to spin up.
Then press Cycle StartThen press Cycle Start
ConveyorConveyor
Emergency StopEmergency Stop Confirm that the power
light comes on in Websaw
Confirm that the power
light comes on in Websaw
Page 2 Operating the Websaw

Websaw Overview
Feed rollers
Infeed and outfeed rollers are used to move wood through the Websaw.
It is important they have firm tension on the wood and if needed tension pressure can be adjusted.
Proximity photo sensor (M120)
The proximity photo sensor (or eye) is used to detect a board entering the Websaw. Once it detects
the board the proximity sensor triggers the Websaw software to start “autocycle”. The photo sensor
sensitivity is fully adjustable with a small screwdriver.
Vertical limit sensors (Up M54 down M53)
The saw carriage has two proximity sensors for determining the location of the saw head.
If the saw carriage is up the top proximity sensor is tripped and the Websaw software will show this
on the front screen as “Saw Carriage Up”. Conversely if the saw carriage is down the proximity
switch will be trigged causing Websaw software to indicate “Saw Carriage Down”. The only other
position the Websaw software will read is “Saw Carriage Middle” when neither of the proximity
switches are triggered.
OutfeedOutfeed
InfeedInfeed
Top ProxTop Prox
Bottom
Prox
Bottom
Prox
Page 3 Websaw Overview

Pivot head angle and limit switches
Three pivot head switches control the pivot home position, and over rotation protection.
Homing proximity switch (M322)
When the saw head homes it looks for a known location by using the homing proximity switch. Note
that if this switch moves your 90 degree angles will be off according to the amount the proximity
switch moved. Make sure it stays tight!
Overtravel proximity switch (M321)
If the saw head starts to over rotate this switch will stop the software from going beyond the saws
operational range.
Mechanical overtravel switch (M12)
When all else fails this switch will stop the saw from over rotating by bypassing the software as a
last resort.
Motion Control
The TCT Websaw has two computers used for controlling the saw. One computer is a standard
PC running Microsoft Windows 98. In addition to this a second computer called a “PMAC”
controller is located inside the PC. PMAC is a 16bit computer running a real time OS for all
motion control.
Mechanical
Overtravel
Mechanical
Overtravel
Overtravel ProxOvertravel Prox
Homing ProxHoming Prox
Standard PCStandard PC
PMAC motion
control card
PMAC motion
control card
Page 4 Websaw Overview

Printer
The Websaw uses a Matthews Jet A Mark ©printer for printing on each board. The printer consists
of a three parts. The pump, control unit, and print head.
Note that the LCD readout must be set to “00”. If you press the “text” button and the LCD screen
reads anything other then “00” keep pressing the “text” button until the LCD is back on “00”.
Note the print head must be cleaned at least daily and if the printer is being shutdown for 2 or more
days the line must be bleed with cleaner fluid (see “Printer” page 13 for more details).
Air pumpAir pump
Power switchPower switch
Text ButtonText Button
Flush ButtonFlush Button
LCD ReadoutLCD Readout
Printer control unitPrinter control unit
Print HeadPrint Head
Ink supply
line
Ink supply
line
Bleed ValveBleed Valve
Page 5 Websaw Overview

Websaw Software
The Websaw software is a Windows application that provides an interface for the operator of the
Websaw. When upgrading the Websaw software both the PMAC microcode and Websaw software
must be kept up to latest versions (see software upgrade for additional details).
The above operator screen allows for quick and easy operation of the Websaw.
Within the Websaw software under “Input / Output” you can view what PMAC PLCs that are
running and check the status of various sensors. This screen is primarily used to troubleshoot
problems. For an complete explanation of each option see “Websaw Software”.
Indicates if power
has been turned on
Indicates if power
has been turned on
Pieces per hour
baseline
Pieces per hour
baseline
Front and
backside offset
Front and
backside offset blade
width
blade
width Current
saw angle
Current
saw angle
Jog wood
control
Jog wood
control
Set lumber
length
Set lumber
length
Used daily to calibrate
web length
Used daily to calibrate
web length
Select scrap to cut
one web out of board
Select scrap to cut
one web out of board
Select number
of times to cut job
Select number
of times to cut job
Indicates
pieces cut
Indicates
pieces cut
Web lengthWeb length
Home blade
button
Home blade
button
Door unlockDoor unlock
Realtime
saw status
Realtime
saw status
Indicates
current job
Indicates
current job
Current line
selected
Current line
selected
Indicates last cut
web and truss name
Indicates last cut
web and truss name Loads a
file to cut
Loads a
file to cut Printer previewPrinter preview Exit Websaw
button
Exit Websaw
button Indicates if something has
caused E-Stop condition
Indicates if something has
caused E-Stop condition
Page 6 Websaw Overview

The “Motor Data” screen allows for quickly checking that each motor is responding and has not
jammed.
From within the “Cycle Status” screen all the software settings for the Websaw are easily calibrated.
See “Calibrating the Websaw” for additional details.
For additional details on the Websaw software see “Websaw software”.
Printer optionsPrinter options
Allows logging per
user or per day
Allows logging per
user or per day Adds small factor
to any length board
Adds small factor
to any length board Master scale to
set board length
Master scale to
set board length How much the board
is cleaned up on the
first cut
How much the board
is cleaned up on the
first cut
Angle adjustment for
angles + or - 90
Angle adjustment for
angles + or - 90
Rotates blade
for cleaning
Rotates blade
for cleaning
Set blade on 90Set blade on 90
Page 7 Websaw Overview

Websaw Maintenance
Feed Rollers
The Websaw feed rollers must be at least cleaned daily to allow for reliable traction on lumber. We
recommend using a steel brush with denatured alcohol for best results.
Print head cleaning
Remove the print head and using a small brush gently wipe away any ink and saw dust build up on
the print head. Dip your brush into the supplied Matthew’s thinner solution to help remove the gum
build up. Note if the printer is shutdown for two or more days it is necessary to bleed the line of ink.
See “Printer” page 13 for more details.
Air Pressure
Adjust air pressure to 80PSI. If “banging” occurs reduce air pressure. Air pressure operational range
is from 60 to 80 PSI and must not deviate more then 10 PSI while running. Note the minium
recommended air hose is 3/4 of an inch.
Keep dirt from building up
in the bottom of the valley
Keep dirt from building up
in the bottom of the valley
Clean with soft brush dailyClean with soft brush daily
Air PressureAir Pressure
Air Pressure
Adjustment
Air Pressure
Adjustment
Page 8 Maintenance

1-1/4”1-1/4”
Pneumatics
Keep oil reservoir supplied with approved pneumatic oil. Adjust pneumatic oil flow to last
between 2-3 weeks.
Roller Conveyor
Maintain 1-1/4 inch parallel adjustment between the feed rollers and the conveyor. This is an
average figure and may need to differ depending on your wood thickness. Adjust as necessary to
maintain positive traction at all times on lumber. Typically maintain slightly more traction on the
infeed side then the outfeed side.
Saw Motor
Grease approximately every 500 hours being carful not to over grease. The saw blade nut is right
hand thread. Make sure and only used approved wrench when tightening and apply a light amount of
oil to threads before tightening.
Oil Flow
Control
Oil Flow
Control
Grease NipplesGrease Nipples
OilOil
Adjust as
necessary
Adjust as
necessary
Page 9 Maintenance
Tabla de contenidos


