Sylvania SYTAB10ST Manual de usuario

10” Magni Tablet
User Guide
Powered by
MODEL NUMBER: SYTAB10ST
Wireless Mobile Internet Tablet

MODEL NUMBER: SYTAB10ST
Getting to Know Your New Tablet:
SYTAB10ST
1
Top View
Front View
Bottom View
Side View
Back Button
Charging LED
Micro SD
Micro SD
Read Only
®
MINI

Important Notes
Note that this product has a resistive touch screen. This machine senses
pressure applied to it in specic areas and acts on this pressure. Please
use a stylus or your ngernail when tapping the screen for optimal usage.
Note that simply touching the screen with your nger will not produce
optimal results.
Please note that this product is not a computer. It is a Wireless Mobile
Internet Device with an Android Operating System.
Along with WiFi settings, make sure the WiFi manual switch is turned on.
The standard USB port is used primarily to connect USB storage
devices.
Inserting an SD Memory Card helps add additional storage capacity,
for importing les, downloading applications, taking pictures,
reading books and playing stored media.
To protect your SD card’s le and directory structure integrity, it should be
unmounted before removed.
To do this, tap Menu > Settings > SD card & device storage > and under SD
card tap Unmount SD card.
The Mini HDMI port is an “OUT” port designed to output to HDMI
devices.
The software on your tablet is updated frequently to ensure your tablet is
always optimized. Make sure to check for and run updates. Read on for
details on how to update your device.
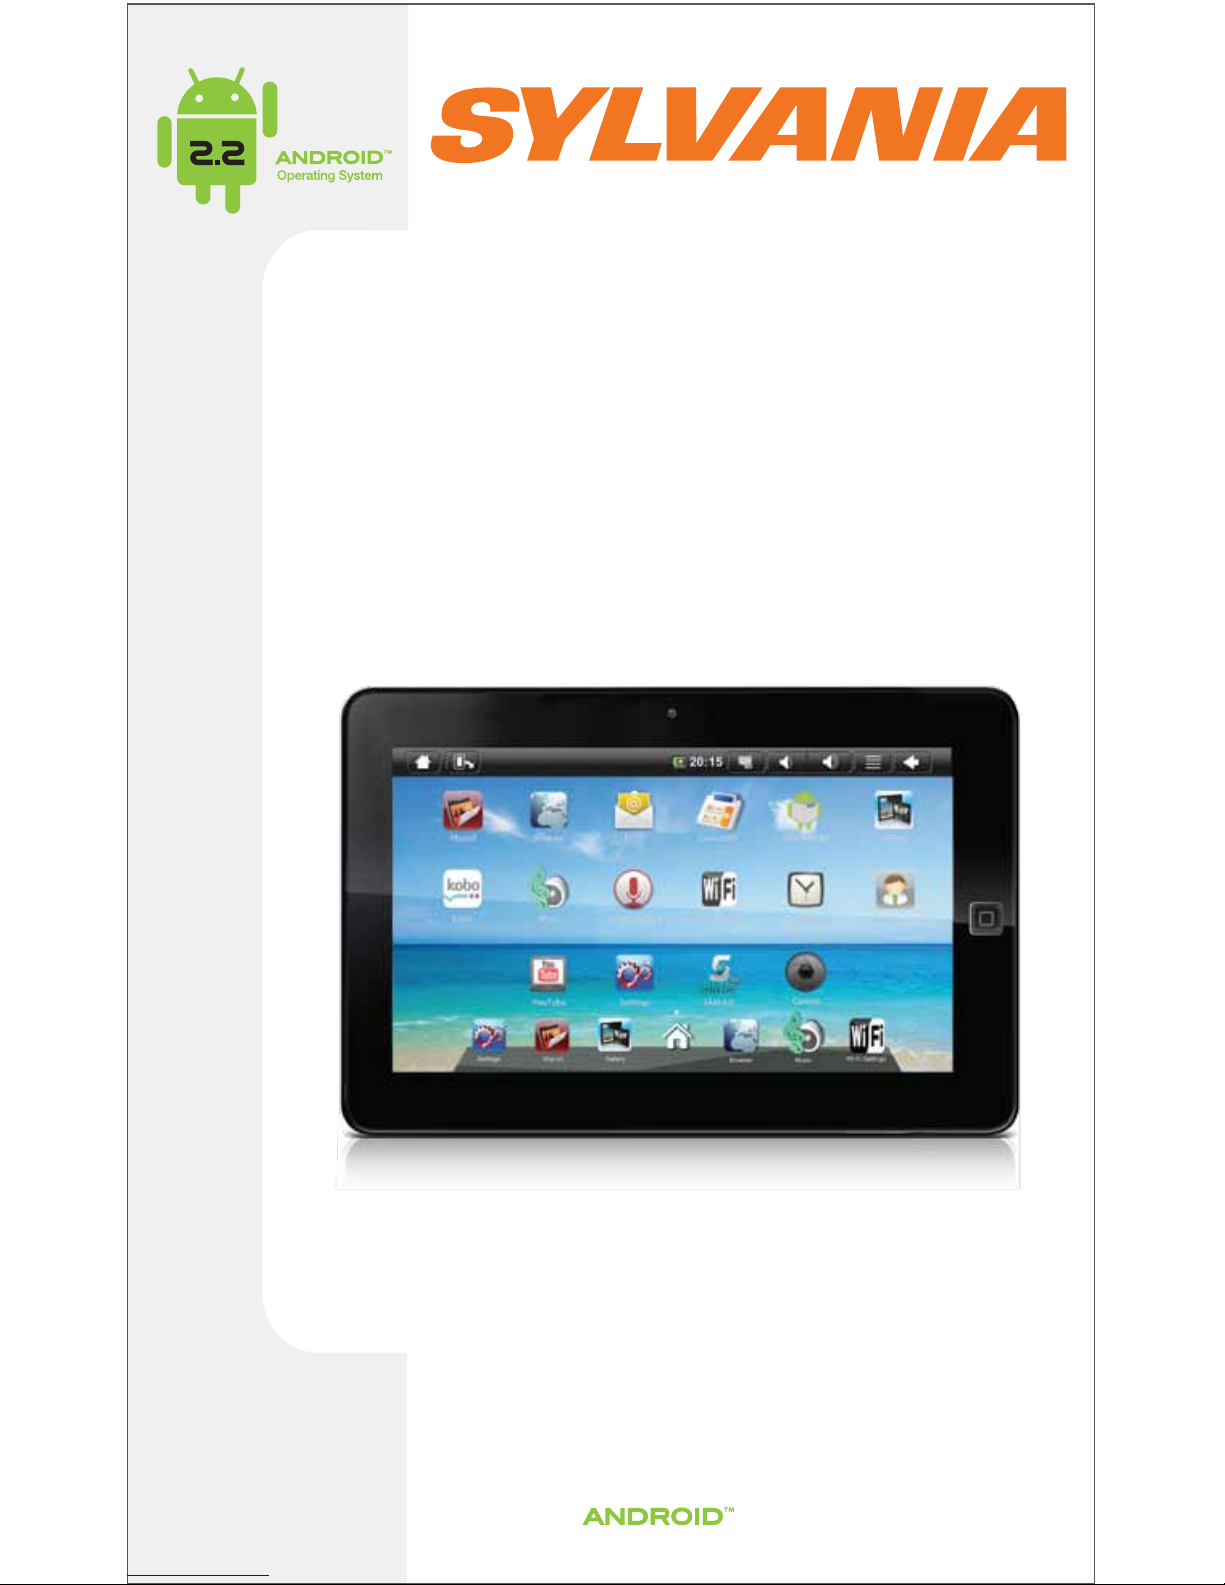
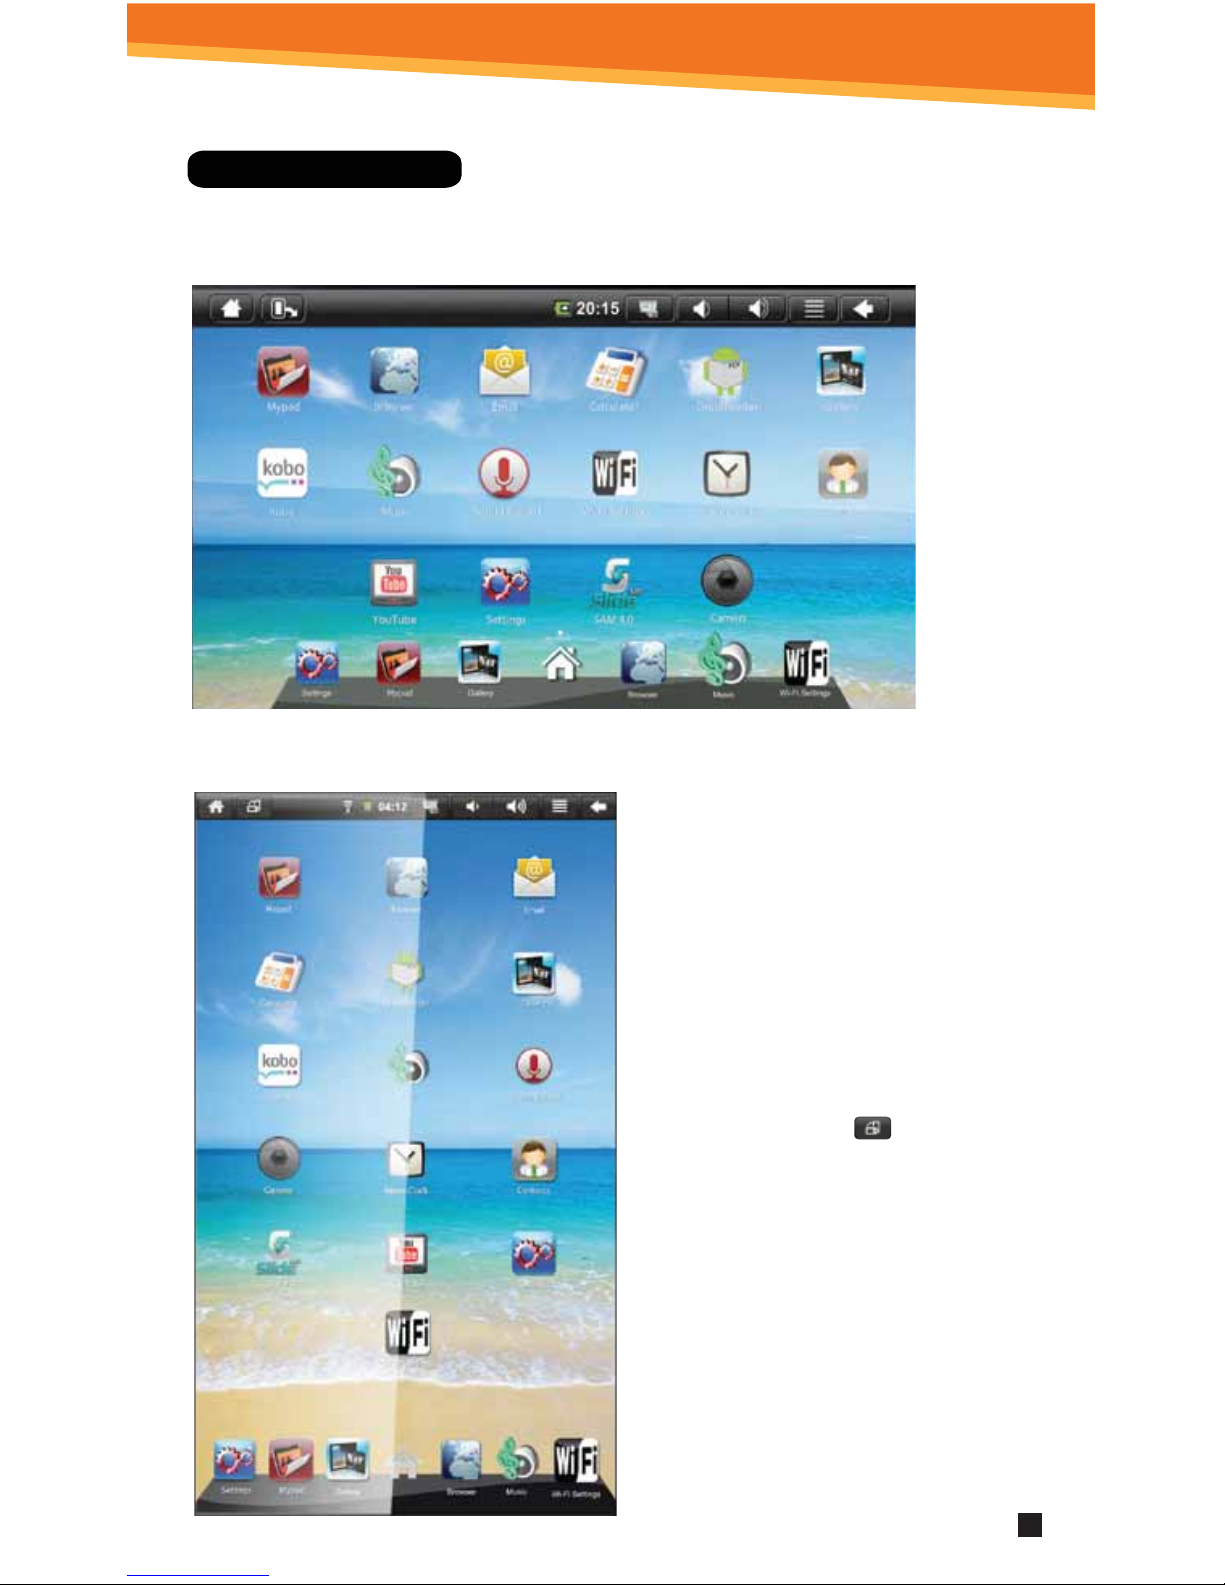
The icons shown here in this product manual may be dierent than the icons of the
actual product.
2
Tap screen with the stylus or ngernail rather than the pad of your nger.
NOTE:
USB 2.0
®
MINI
Micro SD
WiFi ON
SYTAB10ST

Getting Started
1. CHARGING YOUR DEVICE
Plug the power adapter into an electrical outlet and connect your device to
the adapter. It is recommended that you fully charge the battery before use,
for at least six hours.
2. TURNING YOUR DEVICE ON
Press the power button on the top of the device to turn it on. You can use the
device while the battery is charging. To turn the power o, hold the power
button of your device for about ve seconds. Then slide Power O when it
appears on the screen, followed by OK.
Sleep Mode: Your device will go into sleep mode after a period of inactivity
or if ON/OFF button pressed. (Go to Settings, under display to
modify the sleep time.) To get out of sleep mode, press the
power button to start using it again.
3. CONFIGURING THE TOUCH SCREEN
1. Press the MENU button on the top of the product.
2. Tap Settings on the bottom menu.
3. Scroll down and tap Touch Screen Calibrate.
4. Use the stylus to tap the middle of the displayed crosshairs
to calibrate the touch screen.
Note: After a system reset, it may be necessary to re-calibrate your screen.
4. INSERTING AN SD CARD
Using an SD Card allows you to import other les, download applications and
play stored media.
3
Top
Power Key
ON/OFF, Sleep Button
MIC
+
SYTAB10ST
6:30 PM
Friday, May 13

Insert a Micro SD Card (supports up to 32GB) into the top SD Card Slot. You will
hear a click when the card is inserted properly.
SD Card Slots
Please use the Primary SD Card Slot (top SD card slot) as the primary card slot for Android
application storage and operations.
The Media slot (secondary read only SD card slot) is intended to be used for read-only
playback of videos, music, photos etc. Your tablet will not write or save information to
the Media Slot. It is intended only for media playback.
Please make sure that the Media Slot is only used to play Media les and not used to
store les from your tablet.
1. You can go back directly
to the Home screen by
tapping on the Home
icon
2. Wi-Fi Connection Status
3. Battery Level
4. Time Display
5. Screen Shot: tap to take
a picture of your screen
6. Settings Menu
7. Using the back button
(only button on the tablet
front) or the return icon
will bring the screen page
backwards.
8. Search Bar
9. Application Quick
Launch Bar:
Frequently used
applications can be
dragged to the bar to be
displayed. Tap the icon to
access the application.
4
Home Screen Features
SYTAB10ST

Display Preferences
Landscape (default)
Portrait
The screen orientation is set to
rotate automatically between
portrait and landscape (and vice
versa) during use.
To manually switch between
Landscape and Portrait mode, tap
on the Screen Orientation icon on
the top menu bar.
(If the Orientation icon is not present,
press the menu button. Tap the
Sounds and Display icon and then
tap the Orientation icon. Then
Orientation icon should show up
on the top as shown in the screen
shot).
5
SYTAB10ST

This tablet gives you the option to connect to the internet, with either
a wi- or an Ethernet LAN Connection.
When connecting to the internet, please make sure it is a network you
can trust such as your own home network, that of a friend or a public
Wi-Fi hotspot such as library, restaurant, hotel or school campus. It is
unsafe to connect to internet or Wi-Fi sources that you do not own or
cannot be trusted. If you do not have an Internet connection in your
home you may have to contact your local ISP to purchase service.
Setting Date And Time
INTERNET
6
1. Tap Settings from the Home Screen
to access the device settings.
2. By default, your device should be set
to “Automatic” that will update your
time and date via the internet.
3. Tap Time zone and select your region
and GMT oset.
4. Change the way in which the date
and time are displayed by tapping
the Use 24-hour format and Select
date format options.
NOTE: When Automatic option to
deactivated, you can manually
set the date and time.
SYTAB10ST

Wi-Fi Setup
Make sure the Wi-Fi manual switch on the top of the tablet is turn to the ON position.
WiFi ON
1. To set up Wi-Fi, tap Wi- Fi
settings on the Application
Home Screen Panel. Tap or
make sure the “Network
notication setting” is active
and check.
2. Tap Turn on Wi-Fi. The device
will automatically scan and
list local Wi-Fi networks
that it nds. A lock image
indicates a secure network
that requires a password
for access.
You must be connecting to
your tablet to your own
home or oce Wi-Fi Access
Point (AP) or a trusted free
unsecured Wi-Fi hotspot
Secure Wi-Fi network; must have a password.
Unsecure Wi-Fi network; anyone can access.
3. Tap the network that you would like the device to connect to.
4. If a password is required, a notication screen will appear to allow you to enter the
password. Tap the Wireless password box to access the keyboard and enter the
password. Tap Done when nished.
5. A wireless icon will appear in the toolbar to indicate that you are connected to the
wireless network.
6. Tap the back arrow to exit to the Home Screen.
7
SYTAB10ST

Ethernet
Ethernet connection
Insert the end of a LAN line into the RJ-45 of this tablet Ethernet port. Notice the icon
to verify connection to the Internet.
NOTE: If the Ethernet is not working or the icon is not visible; you may need to
congure this Ethernet connection.
In the setting menu, tap the Ethernet conguration and conrm the Ethernet
ON box is checked.
* POP3, IMAP, and other common email
accounts are supported.
1. To set up Email, tap Email on the
Application Home Screen Panel.
2. Enter your email address and
password.
3. Tap Next.
This will be your default account
unless you add another email
address. After you have more
than one account set up, you
can select a dierent address
as the default account.
(optional)
To select the account type, or modify
individual account settings, tap Manual
Setup after entering your email address
and password. Tap Settings Menu then
tap Account Settings to change your
email Settings.
Email Setup
8
SYTAB10ST

Your device displays the Home Screen when there are no other applications or menus
open. The Home Screen allows you to organize all of your favorite applications, widgets
and other tools for easy access.
The Home Screen is divided into three panels: the Search Panel, the Widget Panel and
the Application Panel. Slide the stylus across the screen to the right or left to change
panels.
• The Search Panel allows you to quickly search the web.
• The Widget Panel allows you to customize a variety of tools, or “Widgets” that run right on the Home Screen,
such as a calendar, mp3 player and local weather updates.
• The Application Panel displays the Android® applications pre-installed on the device. To go from the Home
Screen to the Application Panel, tap the middle icon, which is a group of white small boxes, on the bottom
part of the screen. Tap an application icon to launch the application on your device. To return to the Home
Screen tap the icon of the house.
Navigating The Home Screen And Application Panels
9
SYTAB10ST
Search Panel Widget Panel Application Panel
Tabla de contenidos
Otros manuales de Tableta de Sylvania

Sylvania
Sylvania SLTDVD1024-B Manual de usuario

Sylvania
Sylvania SYTAB10MT Manual de usuario

Sylvania
Sylvania SLTDVD9220-C Manual de usuario

Sylvania
Sylvania SLTDV9200 Manual de usuario

Sylvania
Sylvania SYNET7LP Manual de usuario

Sylvania
Sylvania SYTABBL7 Manual de usuario

Sylvania
Sylvania SYTAB10MT Manual de usuario

Sylvania
Sylvania SLTDVD9220-B Manual de usuario

Sylvania
Sylvania SYTAB7MX Manual de usuario


