
SWF E-U901 Manual de usuario
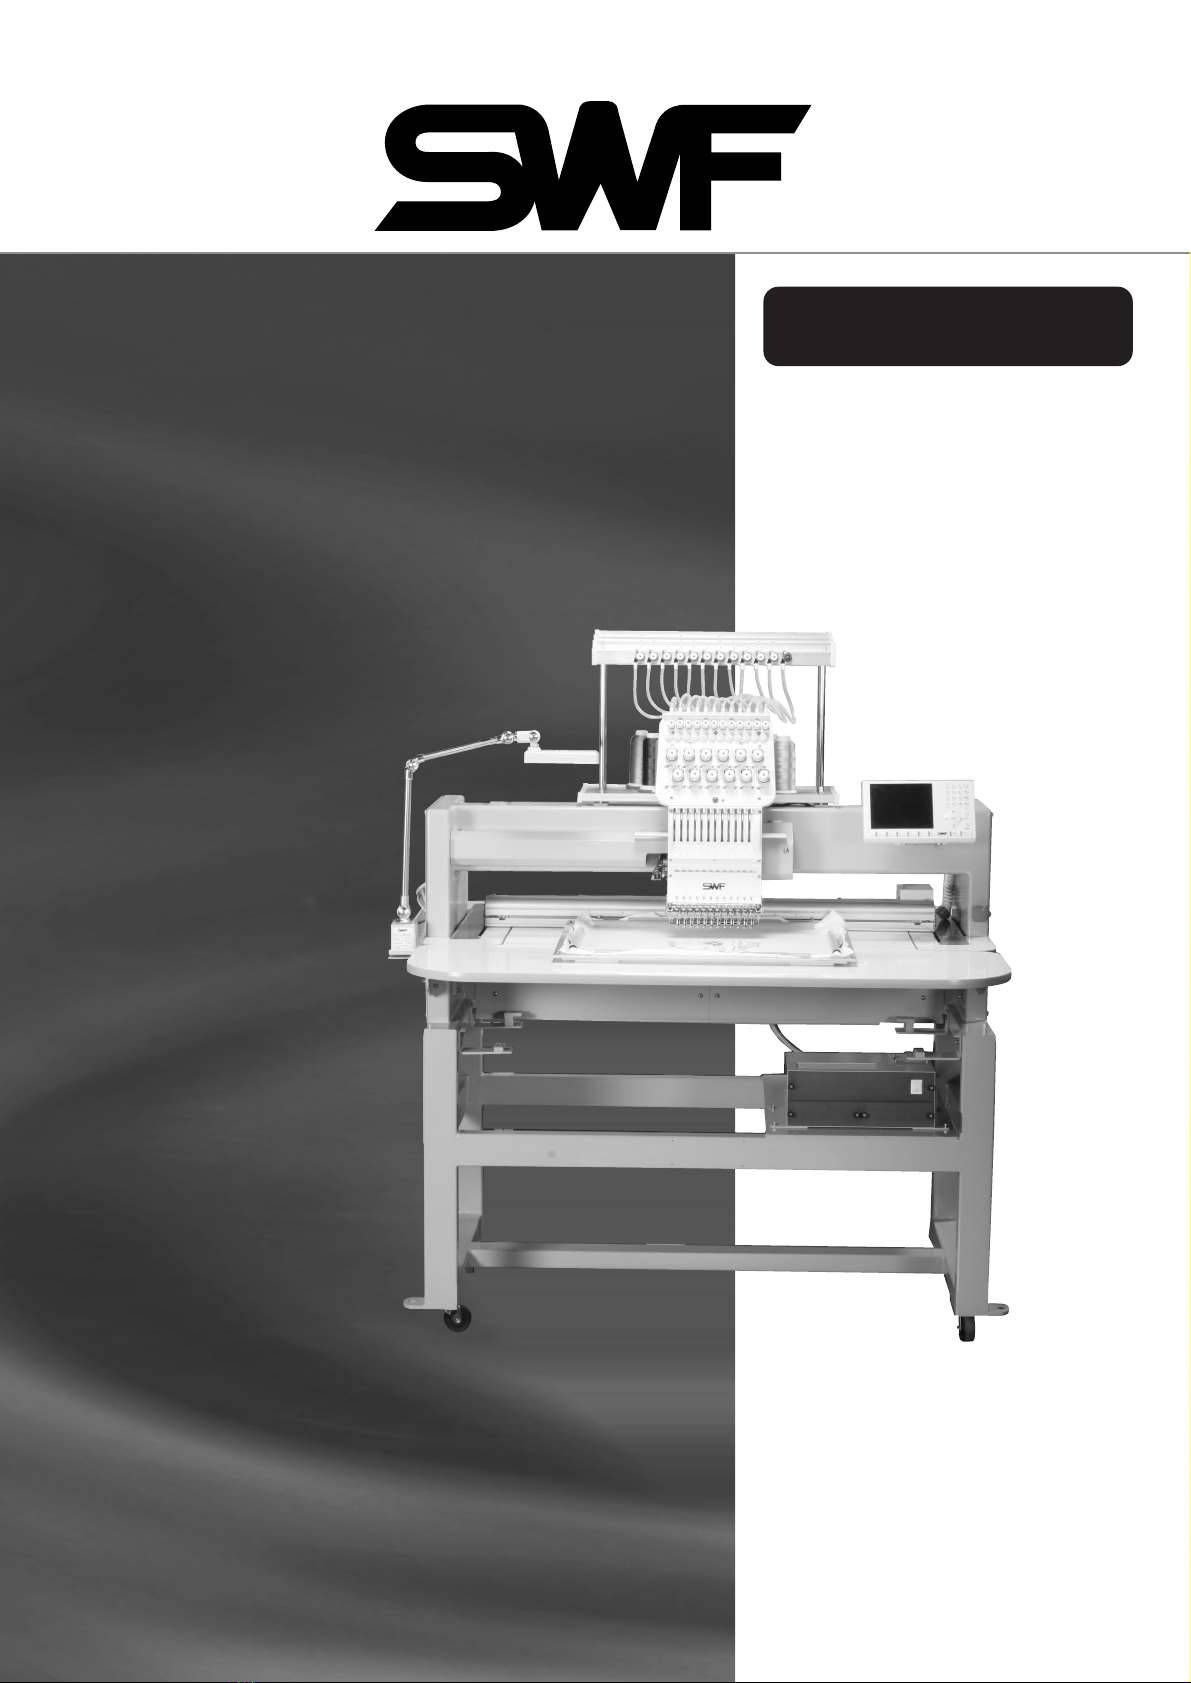
MANUAL
SSiinnggllee HHeeaadd BBrriiddggee
AAuuttoommaattiicc EEmmbbrrooiiddeerryy
MMaacchhiinnee
SSUUNNSSTTAARR PPRREECCIISSIIOONN CCOO..,, LLTTDD..
MMMMEE--006600442244

1. THIS IS AN INSTRUCTION FOR SAFE USE OF AUTOMATIC
EMBROIDERY MACHINES. READ THOROUGHLY BEFORE USE.
2. CONTENTS IN THIS INSTRUCTION MAY CHANGE, WITHOUT
PRIOR NOTICE, FOR IMPROVEMENT OF MACHINE QUALITY AND
THUS MAY NOT CORRESPOND TO THE MACHINE YOU
PURCHASED. CONTACT YOUR SALES AGENT FOR INQUIRIES.
3. THIS IS DESIGNED AND MANUFACTURED AS AN INDUSTRIAL
MACHINE. IT SHOULD NOT BE USED FOR OTHER THAN
INDUSTRIAL PURPOSE.

4
Contents
1. MACHINE TYPE AND SPECIFICATIONS ....................................................................................................................................... 6
1.1) MACHINE TYPE.......................................................................................................................................................... 6
1.2) MODEL TYPE .............................................................................................................................................................. 6
1.3) SPECIFICATIONS ....................................................................................................................................................... 6
1.4) ACCESSORIES ............................................................................................................................................................ 6
1.5) OPTIONS .......................................................................................................................................................................6
2. SAFETY RULES ................................................................................................................................................................................................... 7
2.1) SAFETY STICKERS ................................................................................................................................................... 7
2.2) MACHINE DELIVERY................................................................................................................................................ 8
2.3) MACHINE INSTALLATION ...................................................................................................................................... 9
2.4) MACHINE OPERATION ............................................................................................................................................ 9
2.5) REPAIR AND MAINTENANCE .............................................................................................................................. 10
3. DISTINCTIVE FEATURES.............................................................................................................................................................................. 11
4. MATTERS TO CONSIDER REGARDING MACHINE INSTALLATION ................................................................. 13
4.1) INSTALLATION CONDITIONS .............................................................................................................................. 13
4.2) ELECTRICITY ENVIRONMENT ............................................................................................................................ 14
4.3) BALANCE ADJUSTMENT ...................................................................................................................................... 14
5. SAFETY RULES FOR MACHINE OPERATION ...................................................................................................................... 16
5.1) TYPES OF SAFETY LABELS ................................................................................................................................. 16
5.2) LOCATION OF SAFETY LABELS .......................................................................................................................... 17
6. PARTS NAME ...................................................................................................................................................................................................... 18
7. ASSEMBLY OF ACCESSORIES ......................................................................................................................................................... 19
7.1) ASSEMBLY OF UPPER THREAD STAND ............................................................................................................ 19
7.2) ASSEMBLY OF OPERATION BOX ........................................................................................................................ 19
8. FUNCTIONS OF EACH PART AND OPERATION METHODS ................................................................................... 20
8.1) LAMP SWITCH ON THREAD TENSION ADJUSTING PLATE .......................................................................... 20
8.2) NEEDLE STOP CLUTCH ......................................................................................................................................... 21
8.3) UPPER THREAD PLACEMENT AND TENSION ADJUSTMENT ....................................................................... 22
8.4) LOWER THREAD PLACEMENT AND TENSION ADJUSTMENT ..................................................................... 26
8.5) THREAD WINDING ................................................................................................................................................. 27
8.6) ADJUSTMENT OF NEEDLE AND HOOK TIMING AND OTHER RELATED INFORMATION ...................... 29

5
Contents
8.7) ASSEMBLY OF THREAD SENSOR AND FUNCTIONS ...................................................................................... 34
9. MAINTENANCE AND CHECKPOINTS ........................................................................................................................................... 35
9.1) REGULAR CHECKUP .............................................................................................................................................. 35
9.2) CLEANING ................................................................................................................................................................ 35
9.3) OIL SUPPLY .............................................................................................................................................................. 37
9.4) GREASE SUPPLY ..................................................................................................................................................... 39
9.5) TENSION CHECK OF EACH DRIVING BELT ...................................................................................................... 41
10. ADJUSTMENT .................................................................................................................................................................................................. 42
10.1) ADJUSTMENT OF TRIMMER .............................................................................................................................. 42
10.2) ADJUSTMENT OF TRIMMER RETURN SPRING LOCATION ......................................................................... 44
10.3) ADJUSTMENT OF PICKER ................................................................................................................................... 44
10.4) ADJUSTMENT OF UPPER THREAD HOLDING DEVICE ................................................................................ 45
10.5) ADJUSTMENT OF UPPER THREAD HOLDER .................................................................................................. 46
10.6) ADJUSTMENT OF NOISE CONTROLLER FOR PRESSER FOOT .................................................................... 47
10.7) RELATIONS BETWEEN PRESSER FOOT AND NEEDLE ................................................................................ 48
10.8) ADJUSTMENT OF HALF TURN FILM FOR COLOR CHANGE ....................................................................... 49
10.9) ADJUSTMENT OF ENCODER POSITION ........................................................................................................... 50
10.10) ADJUSTMENT OF NEEDLE BAR UP/DOWN POSITION ............................................................................... 51
10.11) ADJUSTMENT OF JUMP MOTOR ..................................................................................................................... 52
10.12) ADJUSTMENT OF TENSION OF EACH DRIVING BELT ............................................................................... 53
11. CAUSES OF TROUBLE AND TROUBLESHOOTING .................................................................................................... 57

6
MACHINE TYPE AND SPECIFICATIONS
01
1.5) OPTIONS
SQ20, SQ20F, boring device, coding device, wide frame, semi-wide frame
1.1) MACHINE TYPE
1.2) MODEL TYPE
1.3) SPECIFICATIONS
SWF/E-U1201
Series No.of Head
No.of Needle
Machine Type
0.1~12.7(mm)
Max. 1200 rpm
BLDC Motor ×1 (Main Shaft Motor)
Pulse Motor ×2 (Frame Driving Motor)
1-Phase 100V, 110V, 120V, 200V, 220V, 240V(50~60Hz)
600W
Stitch Length
Speed
Motor
Power Source
Power Consumption
1.4) ACCESSORIES
Standard
Max. 2,000,000
USB Memory Stick, External Type FDD
Option : 1.7 Fold Capacity Hook
Fluorescent Lamp, Semi-Wide Cap Frame, Wide Cap Frame, Sequin Device, Boring Device
Standard
Bobbin Winder
Memory Capacity
Memory Medium
Hook
Device
Position Marker
Machine
E-U901
E-U1201
E-U1501
9
12
15
1
1
1
520×450 419×439 360×75 180×83
Color Head Tubula Tubular Wide
Cap Frame
Semi-Wide
Cap Frame
Boarder Frame
A
1270
B
1375
C
1519
D
725
E
1185
Emb. Space (mm) Machine Size (mm)

SAFETY RULES
02
7
2.1) SAFETY STICKERS
The safety stickers in this user's manual are divided into , , and . They indicate
that if the safety rules are not kept, injury or damage to machine might occur as a result.
WarningDangerCaution
No. Name Description
CAUTION
WARNING
DANGER
Caution If the machine is not properly handled, it may cause injury
to users or physical damage to the machine.
If the machine is not properly handled, it may cause death or
severe injury to users.
If the machine is not properly handled, it may cause death or
severe injury to users, and the urgency of the danger is very
high.
Warning
Danger

8
2.2) MMAACCHHIINNEE DDEELLIIVVEERRYY
DANGER
WARNING
The machine delivery shall be conducted by the persons who are knowledgeable
about the safety instructions and rules. The following safety rules must be observed:
2.2.1) Crane-based delivery
The crane in use shall be big enough to lift the machine, and a nylon rope with
sufficient intensity shall be used. When using the rope, insert a square wood brick
between the rope and the each side of the machine which is touched by the rope. The
hanging angle should be 40 degrees at the maximum. Make sure that the nylon rope
does not directly contact the table.
2.2.2) Forklift-based delivery
1) A forklift shall be big enough to endure the weight of the embroidery machine and
carry the machine.
2) When lifting the machine, align the fork arm of the forklift with the gravity center
of the machine as in the figure below, and lift the machine from behind. Then,
make sure to prevent the machine from leaning toward one side.
Make sure to maintain the balance of the machine when unloading the
machine by using a forklift or crane to prevent the deformation of the
machine or to prevent people from being exposed to danger.
WARNING
※Ban people
from standing
under the
machine and
remove
obstacles near
the machine.
※If possible, use a
crane to deliver
the machine.
Only when it is
impossible to
use a crane, use
a forklift (Make
sure that a crane
and a forklift in
use are durable
enough to ensure
the weight of the
machine).
Sticker Description
Nylon Rope
Square wood brick

9
2.3) MACHINE INSTALLATION
DANGER
Depending on the installation environment, function errors, breakdown, or other
physical damage might result. Make sure to meet the following conditions for machine
installation:
1) The place where the machine is installed shall have the structure to endure the weight
of the machine (some 500 kg).
2) Dust and humidity are the cause of machine pollution and erosion. Please install an air
conditioner and conduct regular maintenance of the machine.
3) Install the machine at the place where it is not exposed to direct sunlight (if the machine
is exposed to direct sunlight for a long time, it may cause discoloration or deformation).
4) Secure the space around the machine. Place the machine at least 50cm away from the
left, right, and rear walls to secure sufficient space for maintenance activities.
[Note] For more details on machine installation, see "2. Machine Installation and
Assembly."
2.4) MACHINE OPERATION
The SWF automatic embroidery machine is designed to conduct embroidery on
textiles and similar materials for industrial purposes.
The machine body is attached with " " and " " stickers at
dangerous parts to emphasize safety instructions. With the full understanding of the
safety instructions, make sure to observe the following during machine operation:
1) Before using the machine, read this manual thoroughly and have a full understanding of
machine operation.
2) Get properly dressed. Long hair, necklace, bracelet, or wide sleeves might be fed into
the machine during operation. Wear slip-free shoes to prevent slipping on the floor.
3) Make sure that no one is working within the operating scope of the machine before
starting the machine.
4) Keep hands and head away from the machine parts where accidents might occur
(needle, hook, thread take-up, pulley, etc.) during operation.
5) Do not remove the safety cover which protects pulley and shaft during machine
operation for user's safety.
6) Cut the power supply before disassembling the electric box such as the control box, and
double-check that the power switch is "Off."
7) Make sure that the power switch is "Off" when the upper shaft is manually rotated.
8) Stop the machine when threading the needle or examining embroidery work after
embroidery is done.
9) Do not lean against the workbench and keep your hands away from the guide home of
the panto-graph. You may hurt your finger while the machine is in operation.
10) When the machine operates at the full speed, the noise level might go over 85db.
However, since this is only the standard value, to protect users and prevent disturbance
of other work by the noises, it is better to use ear plugs or install the soundproof device.
WARNINGCAUTION
WARNING

10
2.5) REPAIR AND MAINTENANCE
DANGER
When machine repair is needed, it shall be conducted by SunStar A/S engineers only
who have finished the due training course.
1) For cleaning and repair, cut the main power supply. Wait for 4 minutes before starting
maintenance to make the machine completely discharged.
2) Do not modify the machine specifications or parts without substantial consultations
with SunStar. Otherwise, it may threaten safety during machine operation.
3) Use the parts manufactured by SunStar to repair or replace the machine parts during
A/S service.
4) When repairing is completed, re-install all the removed safety covers.
For main shaft motor and X,Y drive box, it takes 10 minutes
before they are completely discharged after the main power is
cut.
CAUTION

DISTINCTIVE FEATURES
03
11
(1) Expanded Memory Capacity
Up to 100 design patterns can be stored, and the maximum memory capacity per design pattern is 2 million
stitches.
(2) Mirror Change and Design Direction Setting
A design can be rotated at the range from 0° to 359° by the unit of 1°, and the mirror change (X-direction
reversing) can be conducted.
(3) Zoom-in/Zoom-out
Within the range from 50% to 200%, an embroidery design can be magnified or reduced in the X or Y
direction by the unit of 1%.
(4) Automatic Selection of Needle Bar
The needle bar order can be chosen and set up to 99.
(5) Regular Repetitive Work
A same design can be set to be embroidered in the X or Y direction up to 99 times.
(6) Special Repetitive Work
The embroidery of various designs can be conducted with the variation of mirrors and angles as desired, and
up to 63 designs can be set.
(7) Automatic Offset
To ensure easy replacement of an embroidery frame, the frame can be set to automatically return to the offset
point when embroidery work is completed. Go to the parameter setting mode and turn on the automatic offset
function. Then, the frame will automatically move to the pre-set position, making the application work and the
frame replacement easy.
(8) Manual Offset
In the middle of embroidery work, to make the application work and the frame replacement easy, the frame
can be set to manually return to the pre-set position. After the manual offset is conducted, with a simple key
pressing, the frame can go back to the original position before the manual offset is conducted
(9) Return to Origin
In the middle of embroidery work, the frame can be returned to the design starting position.
(10) Operating Without Stitching
Without stitching, it is possible to move forward or backward the frame by the desired number of stitches such
as 1 stitch, 100 stitches, 1000 stitches, and 10,000 stitches and based on the color code.
(11) Backward Motion of Frame
When the thread escapes or breaks, the frame can move backward to the design starting position by the unit of
1 to 10 stitches.
(12) Automatic Trimmer
Automatic trimmer can be automatically operated depending on design code and settings. Therefore, the
Este manual sirve para los siguientes modelos
2
Tabla de contenidos
Otros manuales de Máquina de coser de SWF

SWF
SWF SB Flat Manual de usuario

SWF
SWF Compact Series Manual de usuario

SWF
SWF MA-6 Manual de usuario

SWF
SWF E-Series Manual de usuario

SWF
SWF SB Series Manual de usuario

SWF
SWF MAN-12 Manual de usuario

SWF
SWF MAS-12 Manual de usuario

SWF
SWF Dual Function E Series Manual de usuario

SWF
SWF T1201 Guía de referencia

SWF
SWF MAS-12 Manual de usuario


