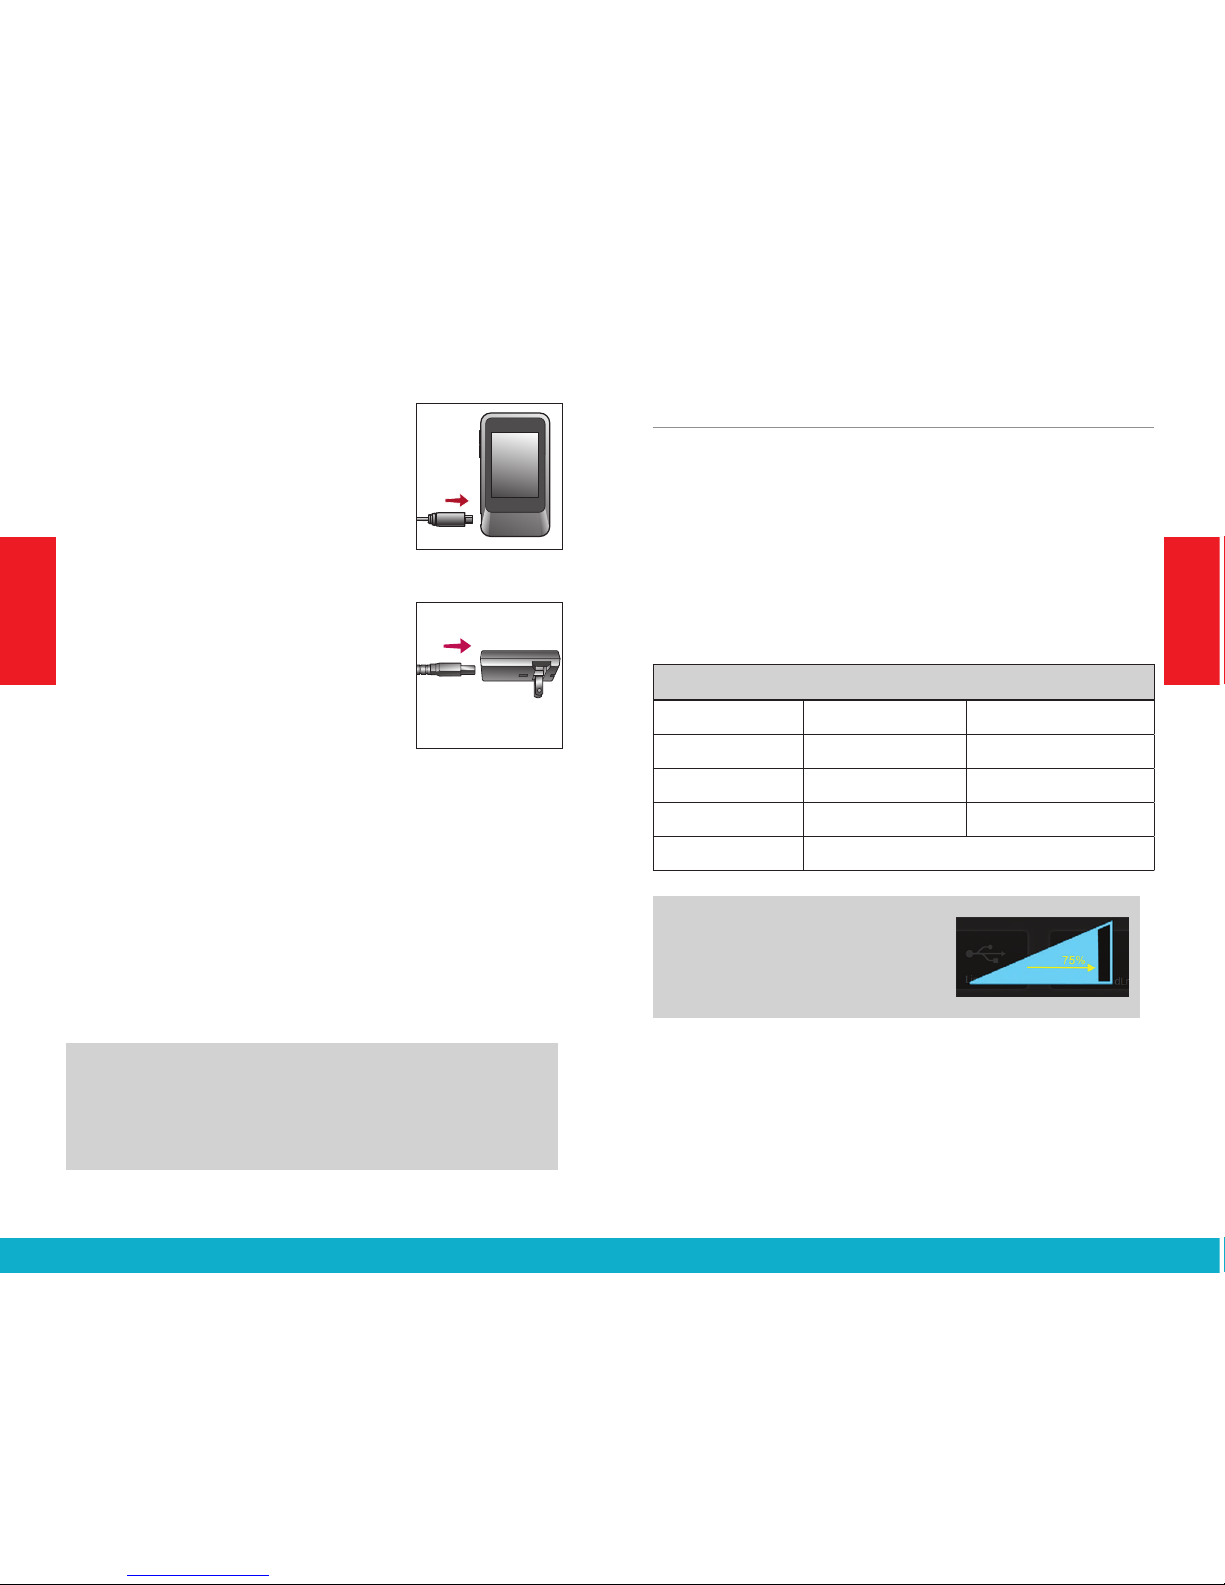
To recharge the battery, connect
the Battery-Charging cable to the
micro-USB jack on SurfLink Mobile 2
(Figure 2). Attach the USB connector
of the Battery-Charging cable to the
power adaptor (Figure 3) and plug
into a wall outlet. To ensure proper
charging, verify that the lightning
bolt charging indicator appears on
the taskbar.
The SurfLink Mobile 2 battery can
also be charged via a computer
USB jack or an optional car charger
adaptor, although it may take longer than recharging
via a wall outlet. Charging time may also take longer
if the SurfLink Mobile 2 is streaming audio while it is
being recharged.
Plugging SurfLink Mobile 2 into active power source
will briefly light up the display (when the SurfLink
Mobile 2 is powered on, but the display is off).
TIP – If SurfLink Mobile 2 is powered off, then
plugging it into an active power source will begin
the recharge process even though the display does
not illuminate.
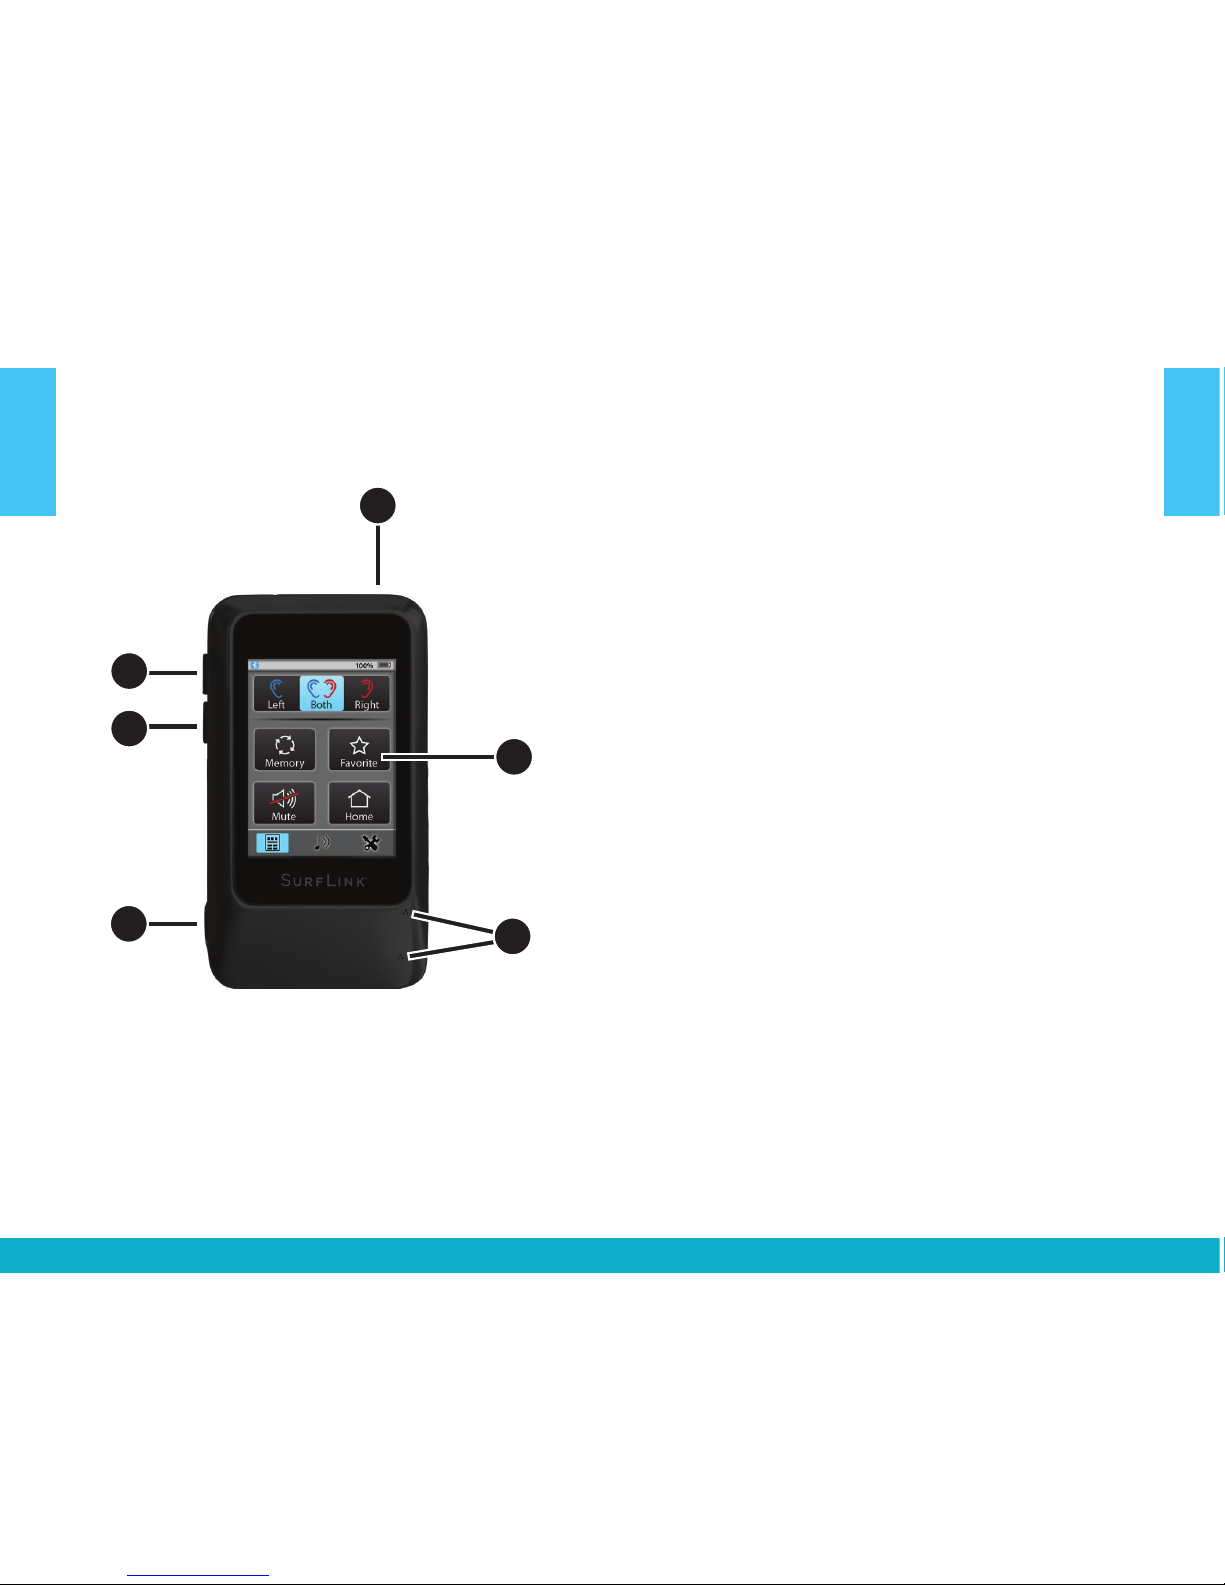
Built-In Microphones
SurfLink Mobile 2 includes built-in microphones
for gathering sound. The Directional Microphone
(“Focus”) receives sound from a particular direction.
The Omni Microphone (“Surround”) receives
sound from all directions. Turning on or off a specific
microphone is done from the Streaming screen – see
page 23 for more details.
Performance Overview
Style* Original Higher Capacity
Recharge Time Up to 3 hours Up to 6 hours
Streaming Time Up to 4 hours Up to 8 hours
Standby Time Up to 60 hours Up to 120 hours
Battery Type Rechargeable lithium-ion
TIP – For best streaming sound
quality, use the side buttons to
adjust the stream level (audio
resolution) to 75% or higher.
S
URF
L
INK
Fig. 2
Fig. 3
* To determine the Style, examine the small bar code label on back housing.
If “480” appears above the serial number, then it is “Higher Capacity” style.
Otherwise, your SurfLink Mobile 2 is the “Original” style.
14 15
Getting Started
Getting Started