4 Or Less Controlled Devices
You only require one remote.
Leave it set on the factory default
Low Channel range.
5 to 8 Controlled Devices
You will require two remotes with
one set on Low Channel and the
other on High Channel.
A) Remove the battery lid and
remove both batteries.
B) Remove 2 screws from
enclosure back. Rotate
enclosure front up as shown.
Take care not to damage or
pull on the touch pad wire
tail.
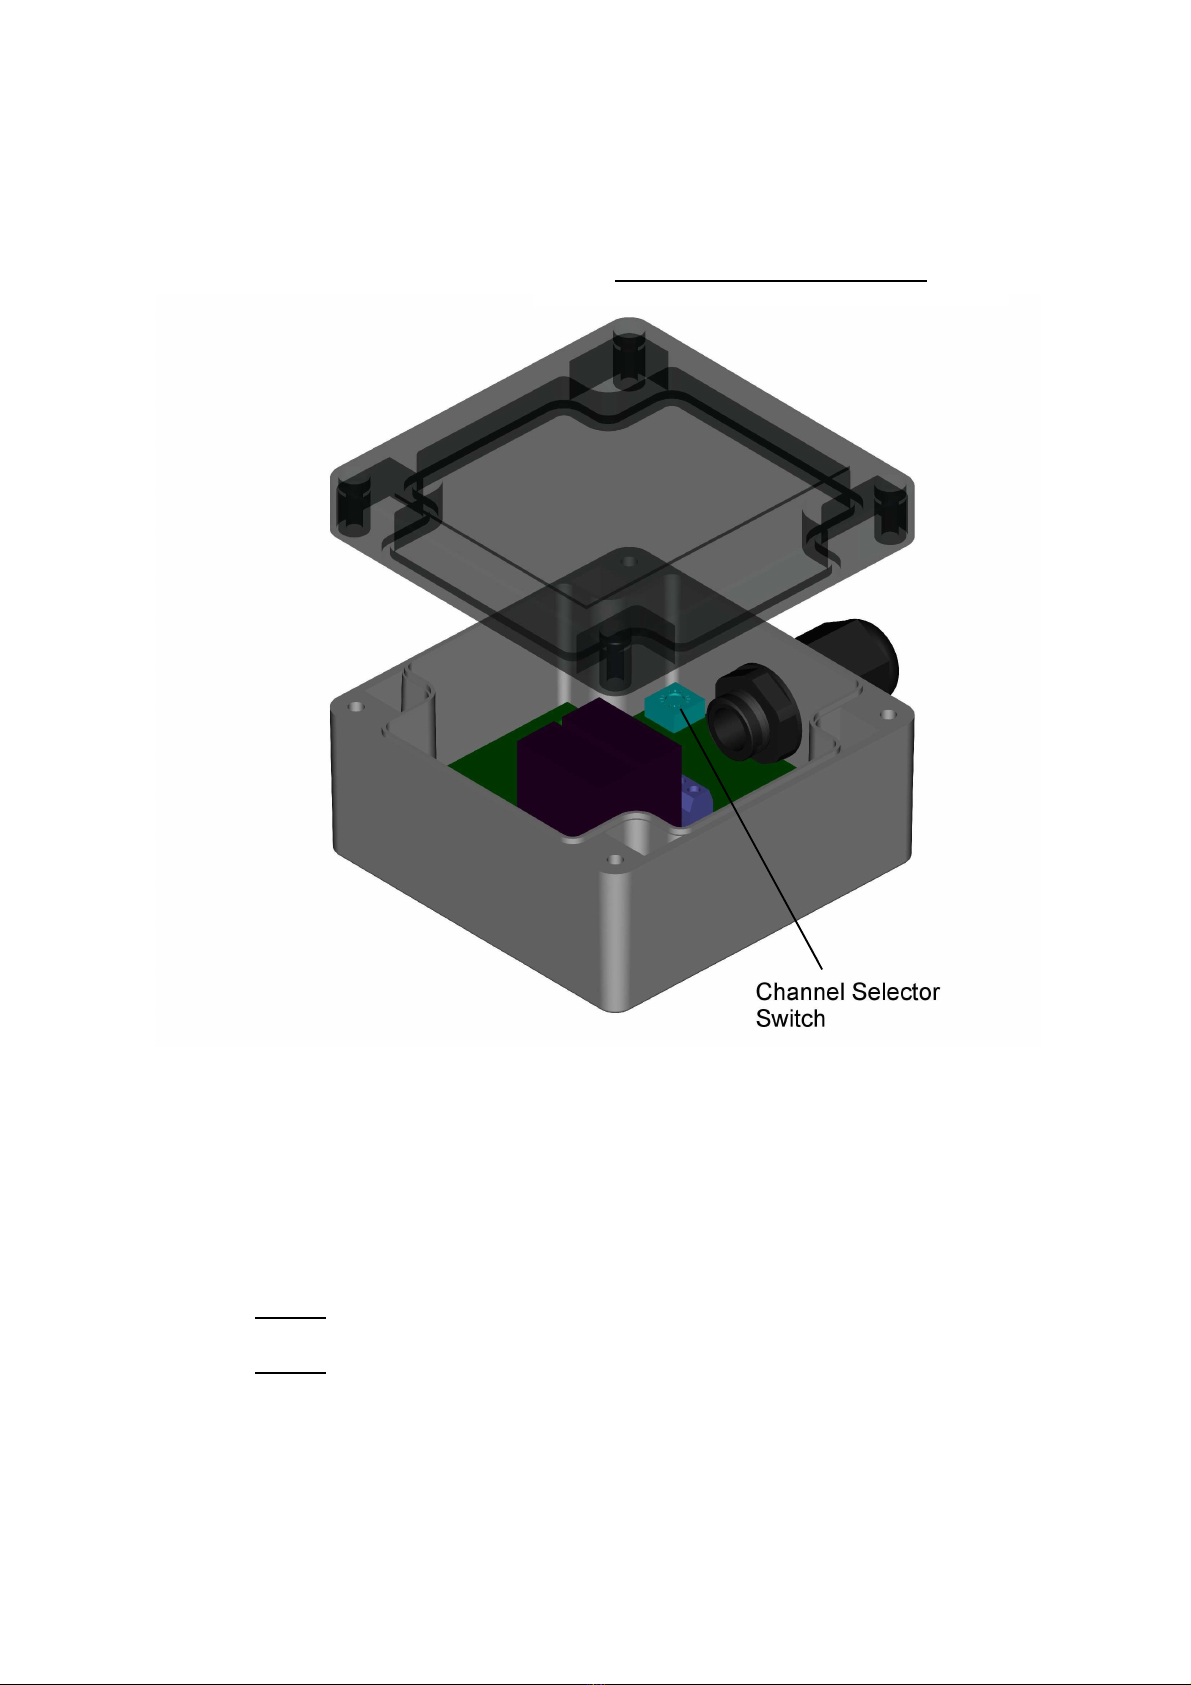
C) Set jumper shunt to the two
pins on the channel select
jumper closest to the ‘High
Ch’ label on the circuit board.
D) Re-assemble the unit in
reverse order to disassembly
1.
1) Select a channel you wish to associate
with a controlled device. Note a
channel is a horizontal pair of keys,
one for open and the other for close.
2) The high channel number is on the
upper left corner of the key, and the
low channel number is on the lower
right corner of the key. (See above for
selecting high or low channel). This
channel number is required in the
receiver set-up.
Remote Set-up
Note: the SEND light should illuminate
when the Remote is transmitting.
Remember: after you have selected a pair
of keys for a function, place supplied
stickers on the keys to indicate their
function.
2
Changing to High Channel Mode
If two remotes are being used and they are more than 50 meters apart it should be
possible to operate them both in low channel mode. Only change one to high chan-
nel if they interfere with each other—that is intermittent or unpredictable response
when both remotes are operated.
Selecting a Channel