Singer SFR40-5 BL Manual de usuario
SFR40-5 BL
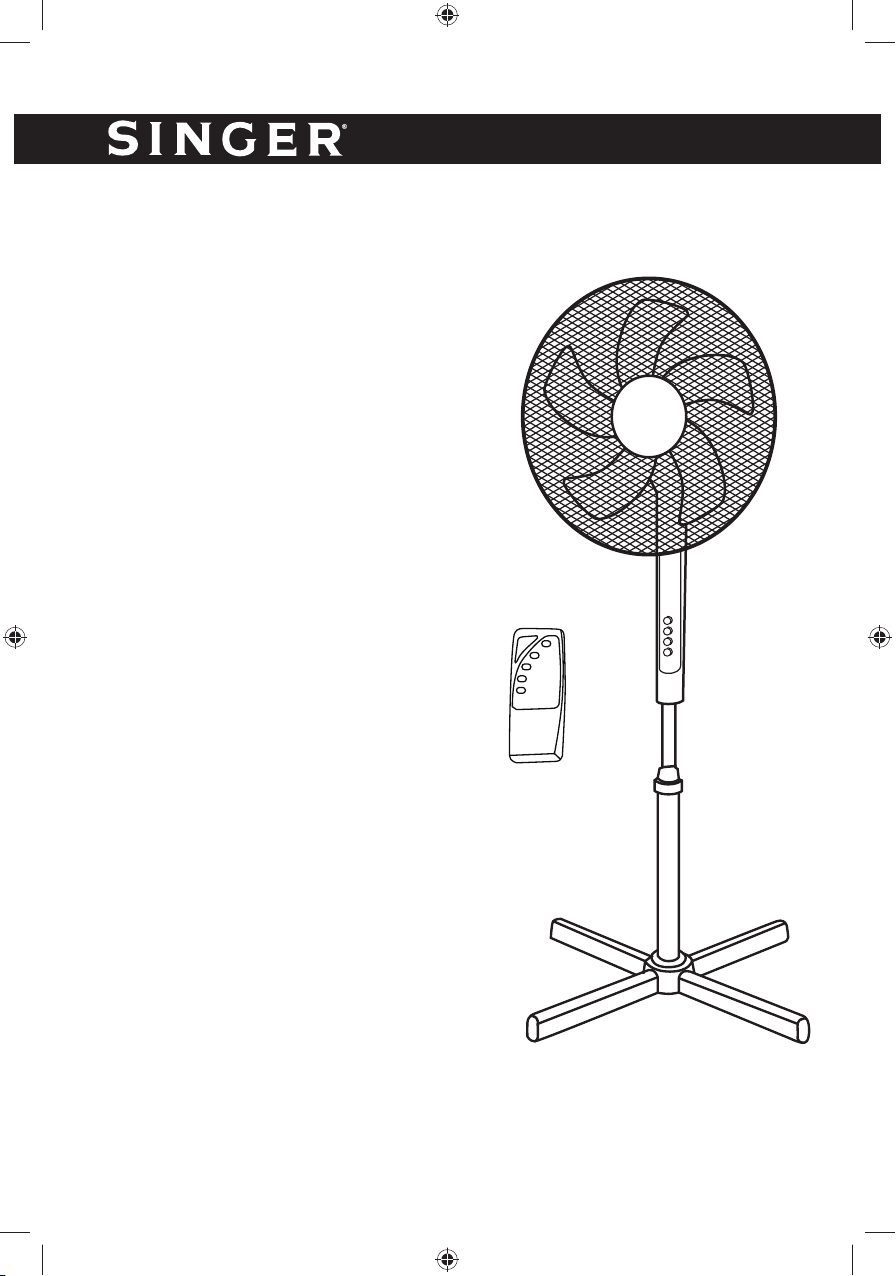
Stand Fan with remote control
Επιδαπέδιος Ανεμιστήρας με
τηλεχειριστήριο
Вентилатор на Стойка
сдистанционно
GB
INSTRUCTION MANUAL
GR
ΒΙΒΛΙΟ ΟΔΗΓΙΩΝ
BG
ИНСТРУКЦИИ ЗА ЕКСПЛОАТАЦИЯ

2
ENGLISH
PLEASE READ THESE INSTRUCTIONS CAREFULLY
BEFORE USE AND KEEP THEM FOR FUTURE
REFERENCE.
Thank you for purchasing the fan of Singer. Each unit has been
manufactured to ensure safety and reliability. Before first use,
please read these instructions carefully and retain them for future
reference.
IMPORTANT SAFETY INSTRUCTIONS
1. Use the appliance only for its designated purpose.
2. Do not immerse the appliance or the base in water or any
other liquid.
3. Always disconnect the fan from the main supply when not
in use and before cleaning.
4. Never pull off the cable to disconnect it from the socket.
Instead, unplug by pulling the plug from the socket.
5. Turn off the power and pull out the plug when you go out
for long time.
6. Never attempt to put your finger and other objects into the
louver or the rear grill when the fan works.
7. Keep the cord, the base and the appliance away from hot
surfaces.
8. Check if the voltage indicated on the base of the appliance
corresponds to the local mains voltage before you connect
the appliance.
9. Keep the appliance and packaging materials away from
persons (including children) with reduced physical or
sensory capabilities, or lack of experience and knowledge.
10. Close supervision is necessary when the appliance is
used by or near children.
11. Do not attempt to dismantle any part of the desk fan. This
should only be done at a SINGER Service Center.

3
ENGLISH
12. Do not use the appliance if the cord, the plug, the base or
the appliance itself is damaged.
13. If the cord or any other part is damaged, you must contact
any SINGER Service Center or SINGER Client Service.
14. The appliance is intended for household use only.
15. This appliance is not intended for use by persons
(including children) with reduced physical, sensory or
mental capabilities, or lack of experience and knowledge,
unless they have been given supervision or instruction
concerning use of the appliance by a person responsible
for their safety.
16. Children should be supervised to ensure that they do not
play with the appliance.
SERVICE & REPAIR
1. For service or repair under warranty, please contact the authorized service
company that is mentioned on the guarantee card and accompanies the
product.
2. Do not operate any product with a damaged cord or plug. If the supply
cord is damaged, return the appliance to a SINGER service center for
examination, repair or adjustment. Do not attempt to dismantle any part of
the appliance. This should only be done at an authorized SINGER service
center.
3. The partial or total non-respect of the safety instructions in the present
instruction manual will automatically release Singer of any type of
responsibility in case of malfunction of the machine or injuries to persons
or animals.
4. In case of manipulation, repairing or any modification of the machine
made by unqualified persons or in case of improper use, the guarantee
will be automatically cancelled.
Note: Above specifications are subject to change without notice.

4
ENGLISH
PARTS DESCRIPTION
ASSEMBLY
1. Loosen the blade cap by turning clockwise and rear guard mounting nut by
turning counter clockwise. (Fig1)
2. Put rear grille on motor shaft and secure with rear mounting nut. (Fig2)
3. Slide blade on motor shaft and secure with blade cap by turning
counterclockwise. (Fig3 and Fig 4)
4. Put front grille on rear grille and close clips, and then fix together with screw
and nut provided. (Fig5)
Front grill
Cap
Blade
Nut
Rear grill
Oscillation knob
Motor
Control box
Shaft
Supply cord Switch
Lock nut
Screw B
inner pipe
Base pipe
Base
Base cap
Base screw

5
ENGLISH
5. Loosen the base screw by turning counterclockwise from the base pipe, and
insert the base pipe down the base, the base screw through the base pole
by turning clockwise then tighten the base pipe and the base.
6. Put the base cap on the base, pull the inner pipe out then tighten the lock
nut again.
7. Loosen the control box screw (screw B) by turning counterclockwise, insert
the control box firmly down the inner pipe, and screw the control box screw
by turning clockwise.
Blade cap
Blade
Guard nut
Unscrew the blade cap by turning
clockwise & rear guard mounting
nut by turninng counnter clockwise
Slide blade on motor shaft
Put rear grille on motpr shaft and
secure with guard nut
Screw blade cap on shaft by
turning counnter clockwise
B
l
a
Gu
Fig. 1
Fig. 3
Fig. 2
Fig. 4
Rear grille
Shaft
Blade cap

6
ENGLISH
Put front grille on rear grille and
close clips or scre grille ring to
secure grilles together
Fig. 5
Front grille
REMOTE CONTROL
Assembly
The remote control requires 2 AAA batteries (not supplied) for operation.
To install the batteries, simply depress the back of the remote control, with
your thumb in the indentations, and remove the cover. Insert the batteries
according to the diagram shown inside. Replace the cover.
Operating
Set the fan base on a dry, level surface.
Plug the cord into any standard 220V~ AC outlet.
Turn the fan on by pressing the “ON/SPEED” button on the remote control
or on the control panel. Turn the fan off by pressing the “OFF” button on the

7
ENGLISH
remote control or the “OFF” button on the control panel.
The speed is adjusted by repeatedly pressing the “ON/SPEED” button on the
remote control or on the control panel.
Ⅰ=Low speed Ⅱ=Medium speed Ⅲ=High speed
The appropriate LED light on the front of the fan will illuminate.
Oscillation control
To start and stop oscillation of the fan head, push the “SWING” button on the
remote control or on the control panel.
Timer control
To start and stop the timer, press the “TIME” button on the remote control or
on the control panel to cycle through the timer settings 0.5h ,1h, 2h, 4h up to
7.5h. The appropriate LED light on the front of the fan will illuminate.
Natural and Sleep breeze setting
Setting 1: Press the “MODE” button once on the remote control. The fan
speed will automatically vary from faster to slower, the appropriate LED light
(SLP) on the front of the fan will light up.
Setting 2: Press the “MODE” button again to activate Natural breeze setting.
This function varies the fan speed from fast to slow. The appropriate LED light
(ΝΑΤ) on the front of the fan will light up.
Setting 3: Natural breeze and sleep breeze off
Press the “MODE” button a third time to switch off the Natural breeze and
sleep breeze function.
CLEANING AND MAINTENANCE
Follow these instructions to care for your fan correctly and safely. Please
remember:
• Always unplug the fan before cleaning or assembly.
• Do not allow water to drip on or into the fan motor housing.
• Be sure to use a soft cloth, moistened with a mild soap solution.
• Do not use any of the following as cleaner, petrol, thinners, or benzene.

8
ENGLISH
FAN STORAGE
Your fan can be stored other partially disassembled or assembled. It is
important to keep it in a safe, dry location.
If stored disassembled, we recommend using the original (or appropriately
sized) box.
TECHNICAL FEATURES
Voltage Frequency Power
230V 50Hz 55W
Maximum fan flow rate (F): 50.03m3/min
Fan power input (P): 36.02W
Service value (SV): 1.39 (m3/min)/W
Measurement standard for service value:
(EU) No 206/2012 + (EU) 2016/2282
IEC 60879:1986/COR1:1992
EN 50564:2011
EN 60704-2-7:1998
EN 60704-1:2010+A11:2012
Standby power consumption (PSB): 0.42W
Fan sound power level (LWA): 56.8dB(A)
Maximum air velocity (c): 3.00 meters/sec
Seasonal electricity consumption (Q): 12.00
kWh/a

9
ENGLISH
Disposal of old Electrical & Electronic Equipment (Applicable in
the European Union and other European countries with separate
collection systems).
This symbol on the product or on its packaging indicates that this
product shall not be treated as household waste. Instead it shall
be handed over to the applicable collection point for the recycling
of electrical and electronic equipment. By ensuring this product is disposed
of correctly, you will help prevent potential negative consequences for
the environment and human health, which could otherwise be caused by
inappropriate waste handling of this product. The recycling of materials will
help to conserve natural resources. For more detailed information about
recycling of this product, please contact your local city office, your household
waste disposal service or the shop where you purchased the product.
DECLARATION OF CONFORMITY
Herewith, G. E. DIMITRIOU S.A. states that this product, complies with the
requirements of below European directives:
EMC Directive: 2014 / 30 / EU
LVD - Low Voltage Directive: 2014/ 35 / EU
ROHS Directive: 2011 / 65 / EU

10
ΕΛΛΗΝΙΚΑ
ΠΑΡΑΚΑΛΟΥΜΕ ΔΙΑΒΑΣΤΕ ΤΙΣ ΟΔΗΓΙΕΣ ΧΡΗΣΕΩΣ
ΠΡΟΣΕΚΤΙΚΑ ΠΡΙΝ ΤΗΝ ΧΡΗΣΗ ΚΑΙ ΚΡΑΤΗΣΤΕ ΤΕΣ
ΓΙΑ ΜΕΛΛΟΝΤΙΚΗ ΑΝΑΦΟΡΑ
Ευχαριστούμε για την αγορά του ανεμιστήρα της Singer.
Κάθε προϊόν έχει κατασκευαστεί για να διασφαλίσει ασφά-
λεια και αξιοπιστία. Πριν την πρώτη χρήση, παρακαλούμε να
διαβάσετε αυτές τις οδηγίες προσεκτικά και να τις κρατήσε-
τε για μελλοντική χρήση.
ΣΗΜΑΝΤΙΚΕΣ ΟΔΗΓΙΕΣ ΑΣΦΑΛΕΙΑΣ
1. Χρησιμοποιήστε τη συσκευή μόνο για τη χρήση που προο-
ρίζεται.
2. Μη βυθίζετε τη συσκευή ήτη βάση της σε νερό ήοποιοδή-
ποτε άλλο υγρό.
3. Πάντοτε να αποσυνδέετε τον ανεμιστήρα από το ρεύμα
όταν δεν είναι σε λειτουργία ήπριν τον καθαρισμό.
4. Ποτέ μην τραβάτε το καλώδιο για να αποσυνδέσετε από
την πρίζα. Αντίθετα, πιάστε το φις και τραβήξτε το για να
αποσυνδέσετε.
5. Κλείστε τη συσκευή και βγάλτε την από την πρίζα εάν πρό-
κειται να λείψετε για μεγάλο χρονικό διάστημα.
6. Ποτέ μην επιχειρήσετε να βάλετε το δάχτυλό σας ήκά-
ποιο άλλο αντικείμενο μέσα στο κάλυμμα της φτερωτής ή
να ακουμπήσετε τη φτερωτή όταν οανεμιστήρας είναι σε
λειτουργία.
7. Κρατήστε το καλώδιο, τη βάση και τη συσκευή μακριά από
ζεστές επιφάνειες.
8. Ελέγξτε αν ητάση που αναφέρεται στη βάση της συσκευ-
ής ανταποκρίνεται στην τοπική τάση πριν τη συνδέσετε.
9. Κρατήστε τη συσκευή και μέρη της συσκευασίας μακριά
από παιδιά, ηλικιωμένους ήάτομα μειωμένης νοημοσύνης.
10. Χρειάζεται στενή παρακολούθηση όταν ησυσκευή χρησι-
Tabla de contenidos
Idiomas:
Otros manuales de Admirador de Singer

Singer
Singer BX-30T Manual de usuario

Singer
Singer DF40 Manual de usuario

Singer
Singer DF30-5 WH Manual de usuario

Singer
Singer DF15 USB Manual de usuario

Singer
Singer SF40-55 WH Manual de usuario

Singer
Singer SF40TIMER Manual de usuario

Singer
Singer PF 250R 3 IN 1 Manual de usuario

Singer
Singer SF40-5 WH Manual de usuario


