From the warranty are excluded:
1. Defects which are caused by improper use, an incident or lack of maintenance.
2. Defects or damages which are caused by improper maintenance or manipulating the hardware, applying the wrong
operating voltage, water damage etc., or wrongly executed repairs and repairs with non-genuine spare parts.
3. Products from which the serial number is removed or unreadable.
4. Normal wear and tear, including cosmetic damage.
5. Batteries
5. First use
1. Remove the cover of the battery compartment (on the top of the Test Lamp).
2. Warning: mount the cover only if the battery is in the correct position! Otherwise the
cover may be damaged.
3. Take and place the battery back into the battery compartment in such a way that the
terminals of the 12 V battery are making contact with the terminals of the lamp. Press
the battery sufficiently to enable easy mounting of the cover.
4. Mount the cover of the battery compartment in the original position. Charge the battery (see chapter 6) until the
status LED is continuous green.
5. The battery is charged when leaving the factory. However, the battery should be charged directly after purchase.
6. Operation
Before a test is carried out make sure the Flame Detector is switched on and the alarm outputs are in override.
Please avoid unwanted alarm signals as a result of your test. Use in safe areas only. The Test Lamp will turn on/off
by pressing/releasing the trigger. When pressing the trigger the status LED is continuous green, provided the Test
Lamp battery is fully charged.
1. Point at the Flame Detector within the test distance and on the central axis
of the cone of vision of the detector.
2. Press the trigger and wait until the Flame Detector is activated. The Test
Lamp will deactivate automatically after 30 seconds.
3. Verify that the switch on the left of the Test Lamp is in the continuous
mode (see figure on the RHS of this page). For IR or UV/IR detectors
the switch on the left of the Test Lamp should be in the pulse mode. In this mode the Test Lamp emits energy
with a pulse frequency of approx. 2 Hz.
4. Operate the Test Lamp for at least the selected delay time of the detector. Virtually all Flame Detectors will
respond within 30 seconds when the test criteria have been met.
5. Wait at least 30 seconds after each test before performing the next test.
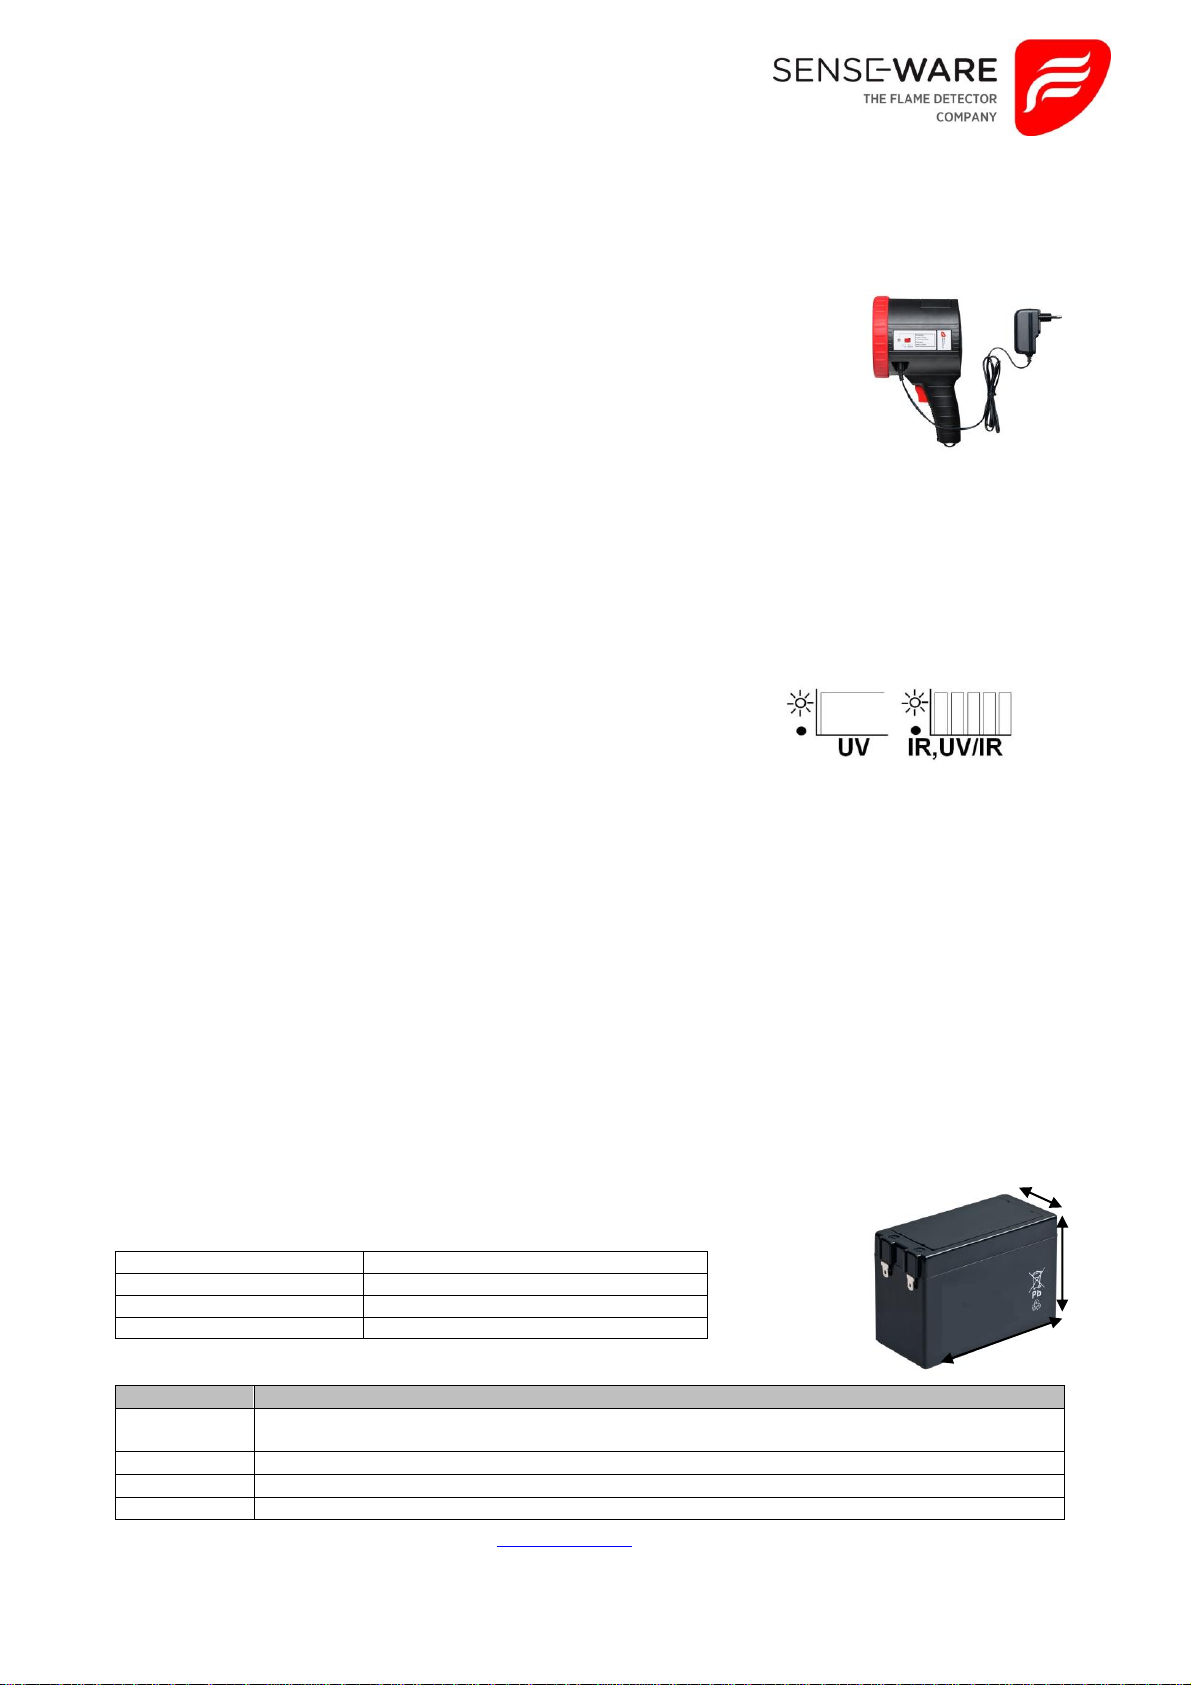
7. Charging
1. Plug in the charger and apply the charger cable to the Test Lamp. During charging the status LED is either
steady Yellow or blinking Green.
2. Charge till status LED is steady green. If the green LED is steady in about 4 hours the battery is fully charged.
3. The Test Lamp must be fully charged when stored. Every 3 months the unit should be recharged.
4. When the charger is removed after the charging, the status LED is switched off.
8. Battery replacement
1. Remove the cover from the battery compartment.
2. Warning: mount the cover only if the battery is in the correct position! Otherwise the cover may be damaged.
3. Slide the new battery in the battery compartment. Make sure that the poles are heading in the direction of the
terminals of the test lamp.
4. Place the cover of the battery compartment in the original position.
5. Charge the new battery (see chapter 6) until the green LED is continuous green.
Battery specifications:
9. Ordering Information