Page 6
A unit bearing the ACSS mark is your guarantee that you are purchasing a
machine built to far exceed the Australian standards. The unit has been
designed to be safer, particularly from an electrical aspect, and last longer
than similar units on the market today.
INSTALLATION
Remove all the packaging materials and tape, as well as any protective
plastic from the machine. Clean off any glue residue left over from the
protective plastic.
Place the fryer on a firm, level surface in the required position. The feet can
be adjusted for an uneven surface. Take a moment to familiarise yourself
with the general arrangement of the fryer before going any further. Notice
the activating switch located beneath the control box. The round activating
boss attached to the body of the fryer will activate this switch. Never
remove the activator boss.
National Standards exist outlining the positioning, spacing and ventilation
requirements when installing new appliances. These Standards should be
consulted and new equipment should be installed accordingly. In any
situation where specifications allow a distance of less than 100mm we
would still recommend that a well-ventilated air gap of not less than 100mm
be maintained. If the machine is near particularly heat-sensitive materials
common sense should be employed in determining sufficient distancing.
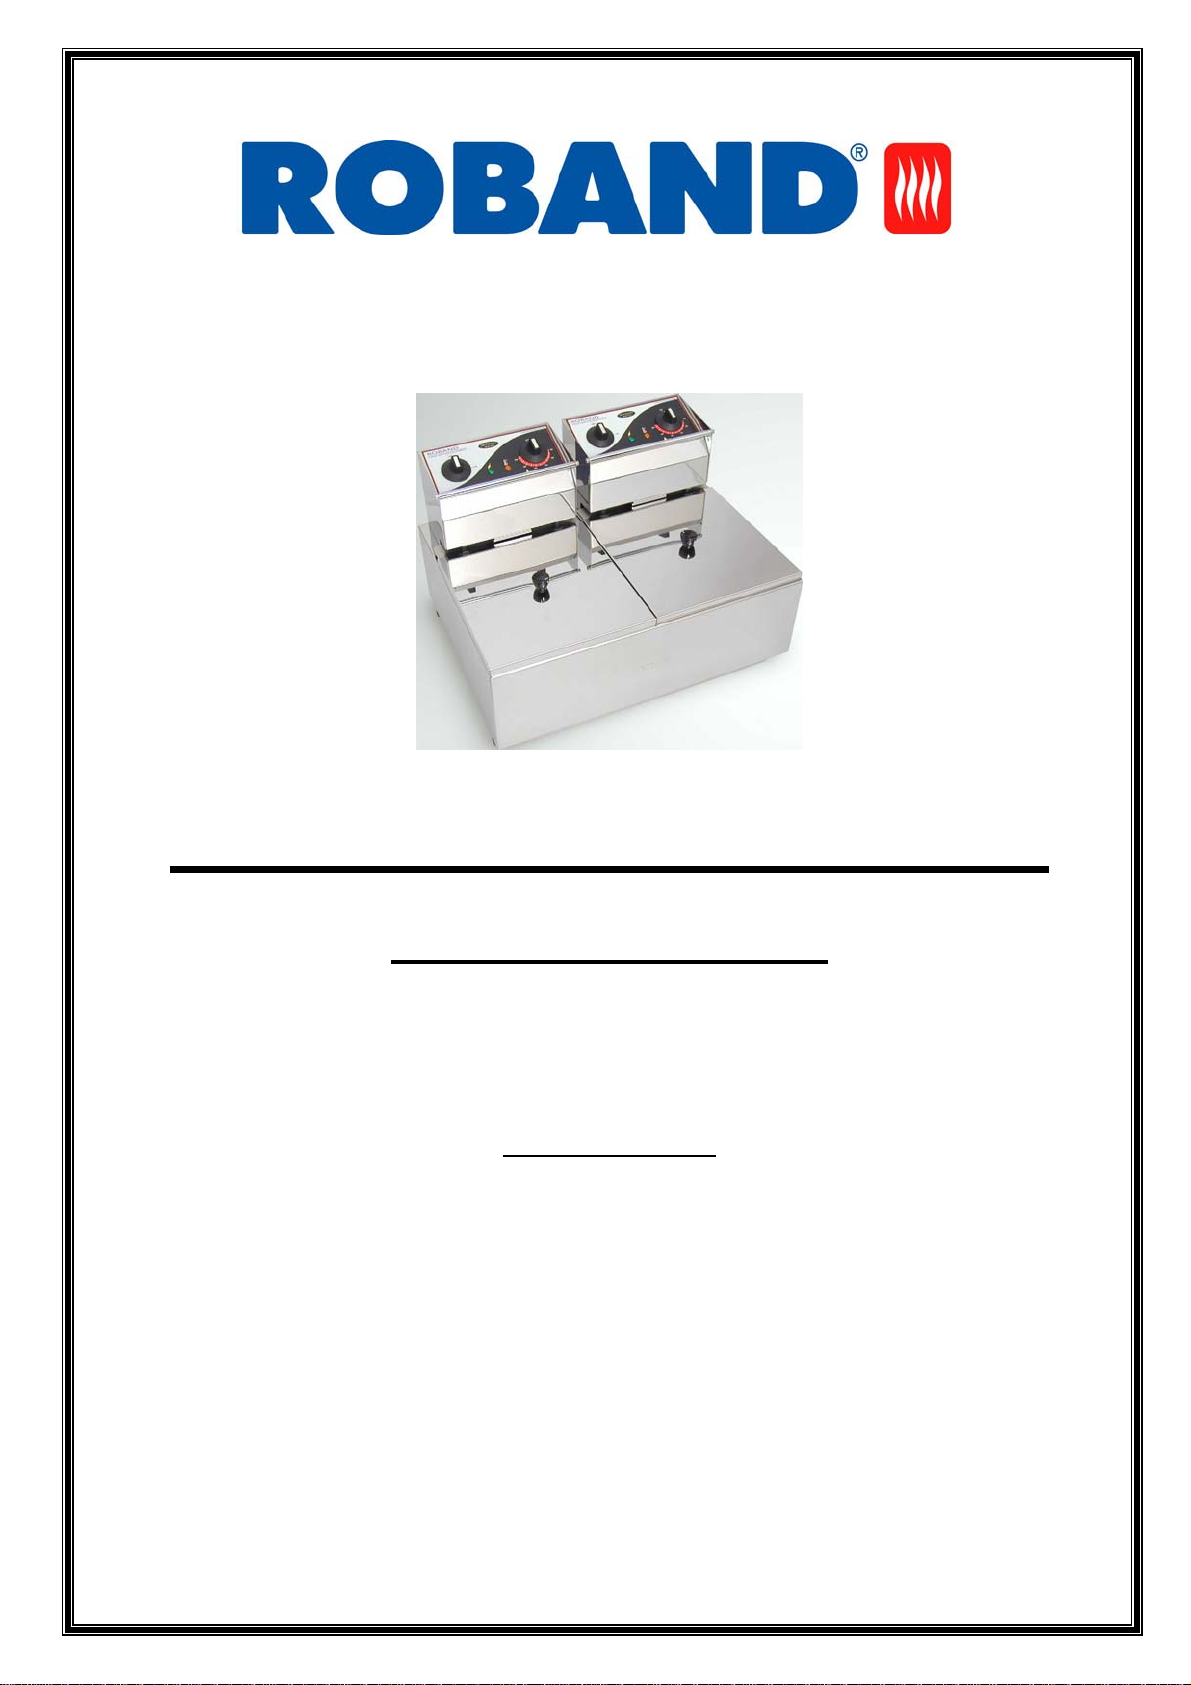
The elements and controls are designed as separate components to the
body and pans. These are referred to as the control boxes. The main
switches, thermostats and pilot lights are located on the face of each control
box. There are two control boxes on each fryer.
The control boxes can be tilted back and rested in the upright position or
removed altogether from the fryer body. Once removed, the pans may then
be removed by sliding your fingers beneath the lip and lifting them out.
Caution: Ensure pans are cooled before attempting to remove them.
Before connecting the fryer to the power supply ensure that all the controls
are in the “OFF” position.
For models, F25 and F25T plug each control box of the fryer into a standard,
single phase, 10Amp power point.
For models, F25E, F25ET, F28E and F28ET plug each control box of the
fryer into a standard, single phase, 13Amp power point.
For models, F28 and F28T plug each control box of the fryer into a standard,
single phase, 15Amp power point.