Quadro DECT-4200 Manual de usuario

DECT-4200
DECT TELEPHONE
DECT TELEFON
DECT ÒÅËÅÔÎÍ
Upute za uporabu / Jamstveni list (HR)
Uputstva za upotrebu / Garantni list (SRB/MNE)
Óïàòñòâî çà óïîòðåáà /Ãàðàíöèñêè ëèñò (MK)
User Manual
SRPSKI
HRVATSKI
ENGLISH
ÌÀÊÅÄÎÍÑÊÈ

1. Safety Information
Please read this operating instruction manual thoroughly.
Intended use
The telephone is suitable for telephoning within a public telephone network
system. Any other use is considered unintended use. Unauthorised
modification or reconstruction is not permitted. Under no circumstances open
the device or complete any repair work yourself.
Installation location
Prevent excessive exposure to smoke, dust, vibration, chemicals, moisture,
heat and direct sunlight. Do not use the handset in potentially explosive areas.
Power adapter plug
Attention: Only use the power adapter plug supplied because other power
supplies could damage the telephone. Ensure access to the power adapter
plug is not obstructed by furniture or such.
Rechargeable batteries
Attention: Never throw batteries into a fire. Only use batteries of the same
type. Pay attention to the correct polarity. Incorrect polarity of the batteries
represents a risk of explosion during charging.
Power failure
The telephone cannot be used to make calls in the event of a power failure.
Always keep a cord connected telephone which operates without an external
power supply available in case of emergency situations.
Low-radiation operation (ECO mode)
Both in call mode as well as in stand-by mode, the radiation is reduced
considerably as compared to standard, cordless DECT telephones.
Medical equipment
Attention: Never use the telephone in the vicinity of medical equipment.
Effects on such equipment cannot be fully ruled out.
DECT telephones can cause an unpleasant humming sound in hearing aids.
DECT: Digital Enhanced Cordless Telecommunication = Standard for cordless
telephones.
1
ENGLISH

Environmentally-friendly treatment
According to the EU Directive No 2002/96/EC concerning the products labeled with a
symbol of a crossed trash can, the manufacturer warns that this product cannot be
considered a standard domestic waste. By proper treatment, management and recycling
of such waste the owner of the product prevents users from the potential negative
consequences to health, which may be caused by inadequate management or disposal of
such waste. For more information concerning recycling and management of
the product, please contact your local government office for dangerous waste
management, or the vendor from which you purchased the product. Waste
electrical products must not be disposedwith household waste. This
equipment should be taken to your local recycling center for safe treatment.
. Preparing the Telephone
Safety information
Attention: It is essential to read the Safety Information in Chapter 1
before starting up.
Connecting the base station
Attention: Position the base station at least 1 m away from other
electronic devices, otherwise there is a risk of mutual disturbance.
Connect the base station as illustrated in the diagram. For reasons of safety,
only use the power adapter and telephone connection line supplied.
Attention: Use only the power adapter 5E-AD060050-E/6V. 500 mA DC
supplied with the base station!
2
Telephone line socket
Mains power outlet
ENGLISH

Connecting the charging station
Connect the charging station to the mains. Ensure access to the power
adapter plug is not obstructed by furniture or such. (Only applies to
telephone sets with at least two handsets)
Inserting the batteries
Open the battery compartment cover. Put in the batteries. Close the
battery compartment cover.
Attention: Use only type AAA NiMH 1.2 V / 450 mAh rechargeable
batteries. Never use normal batteries / primary cell batteries. Observe the
correct polarity!
Charging the batteries
Before the handset is used for the first time, insert it in the base station
/ charging station for at least 16 hours.
The handset warms up during the charging process. This is normal and
does not represent a risk. The battery status is shown on the display.
When the battery capacity is nearly exhausted, the battery symbol will
flash in the display.
End your call and place the handset into the base or charging station for
charging.
After a short time, the battery symbol will appear to be fully charged but
this is actually not the case. The battery capacity will decrease rapidly. We
advise you to put the handset on the base unit for 12 hours so that it can
be recharged completely.
Setting the Language*
☞In delivery state the language is set to “English“.
… press, select HANDSET using and press
/ Select LANGUAGE and press
Select a language and press
* Option, not available in all models
☞
/
/
3
OK OK
OK
OK
ENGLISH

4
1
2
3
4
6
11
7
9
12
13
3. Operating elements -
1. Talk
2. Right / CID / Hand free
3. Left / Recall / Tone Pulse
4. Phone book
5. Menu / OK
6. Intercom / ESC
7. Delete / Mute
8. Numeric keys
9. * / Ringer On Off
10. # / keypad lock
11. Melody ring / Melody Volume / Receiver Volume
12. LNR / Pause / Flash long short
Handset
Base station
13. Charging contacts for handset
8
10
5
ENGLISH

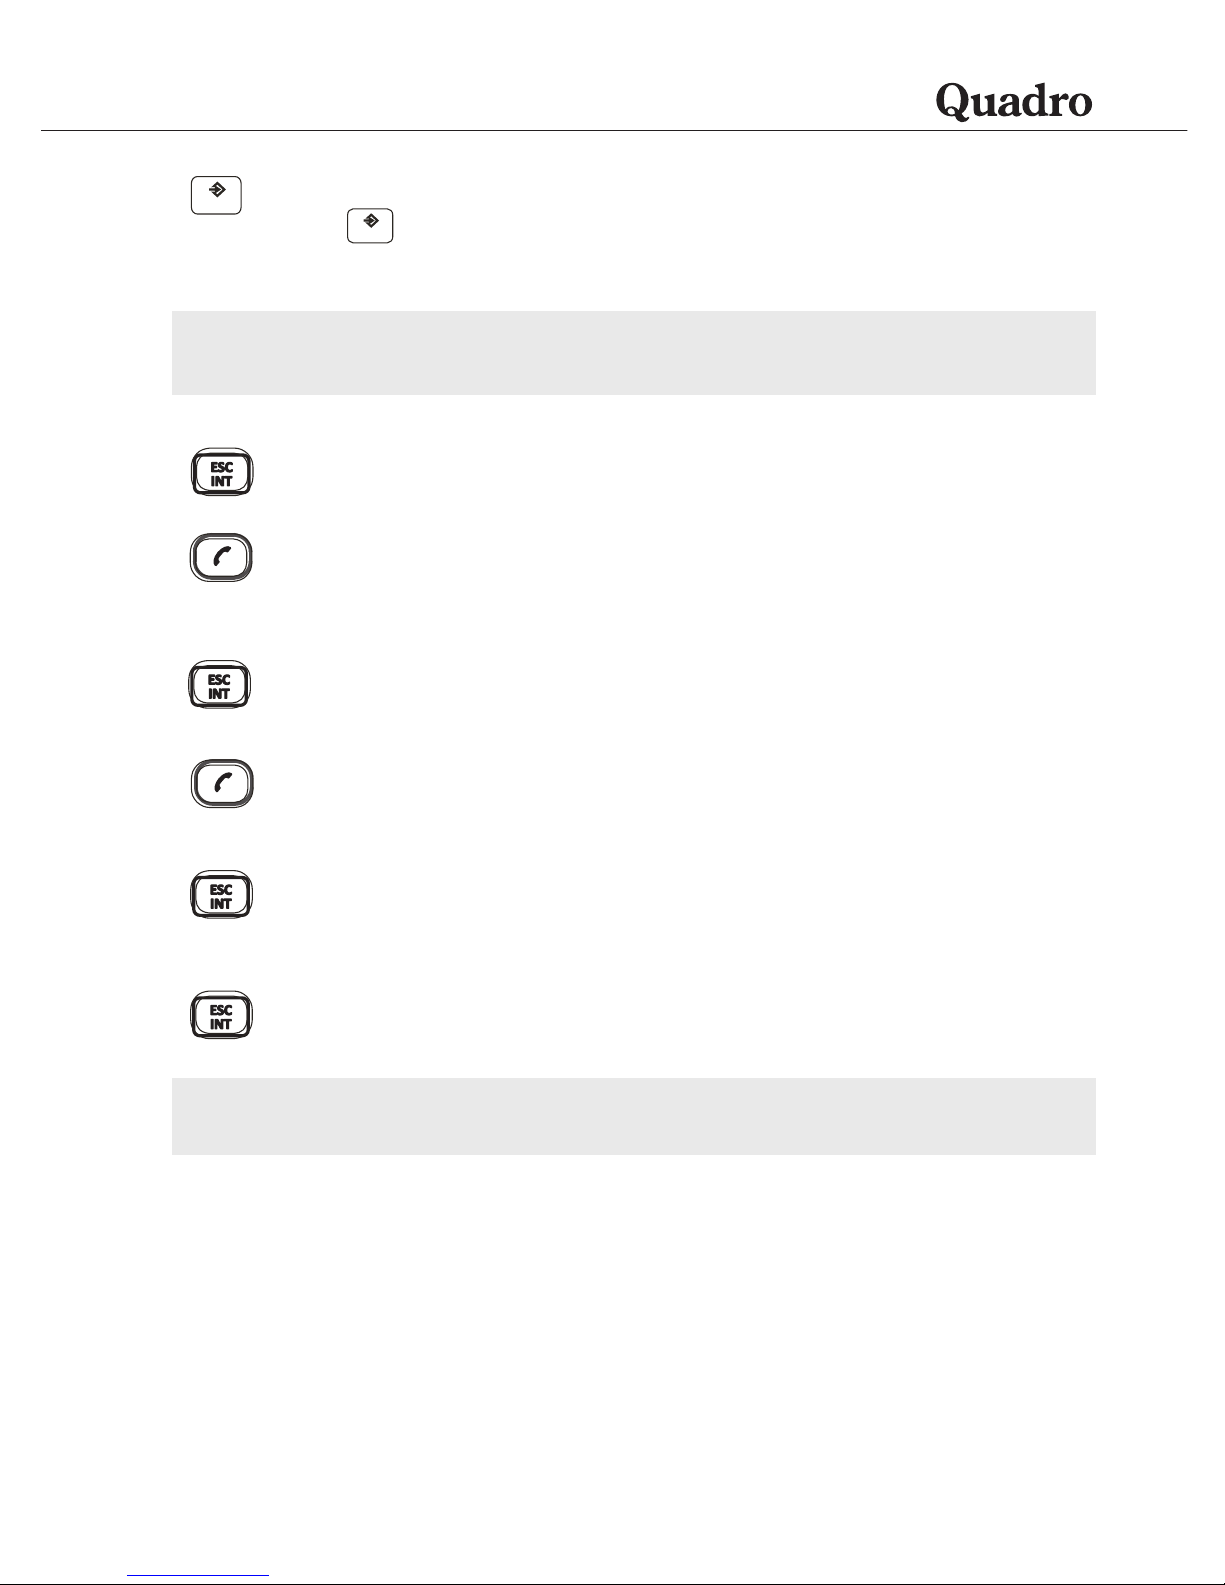
4. Telephoning
Taking a call
Your phone is ringing. Press the call key.
Making a call
Enter the phone number. Delete wrong characters by pressing .
The phone number is being dialled.
☞You can also press the call key and you will hear the dialling tone.
The entered number will be dialled immediately. It is not possible to
correct wrong digits individually using this dialling procedure.
Ending a call
Press the call key or replace the handset in the base station.
Activating Hands-free
When you are in a call you can switch on/off the loudspeaker
appears in the display when the loudspeaker is on.
Call timer
Your handset automatically times the duration of every call.
Setting the earpiece/loudspeaker volume
During a call you can adjust the volume in 5 levels (if telephoning
“normally“ -> earpiece volume, with hands-free -> loudspeaker volume).
Muting the microphone
During a call you can switch your handset’s microphone off. The display
shows
To unmute press again.
Redial ☞Your handset saves the last 3 dialled telephone numbers.
Viewing/dialling telephone numbers
The handset is in idle state.
… press repeated (if necessary) until the desired telephone number is
displayed.
… the phone number is being dialled.
☞Once you already pressed the call key and can hear the dialling tone, the very
last dialled telephone number is dialled by pressing the redial key.
ENGLISH
5

Storing telephone numbers
… the desired telephone number is displayed (see above).
… press. Select SAVE TO PB and press . Enter the name and
press . Edit the telephone number if necessary. Press briefly for
deleting the last character or press and hold for deleting the whole
number. You can enter a dialling pause (approx. 3 s) by pressing
… press. Select a melody for the entry using
… press to store the entry.
Deleting telephone numbers
… the desired telephone number is displayed (see above).
… press. Select DELETE or DELETE ALL if necessary and press .
The entry or all entries will be deleted.
Call list
☞Your handset saves the numbers of the last 20 incoming calls in the call list.
Saving can only take place if the function “Phone number transmission (CLIP)” is
available at your connection and caller ID is not suppressed by the caller or was
not transmitted for any other reason. If the list is empty, EMPTY is shown on the
display. New calls are signalled with the flashing icon .
Viewing/dialling telephone numbers
The handset is in idle state.
Open the call list. The name (if entry in the phonebook) or the telephone
number of the very last call is displayed. For numbers longer than 12
digits press to display the hidden digits.
Press to view date and time of the call (only if available at your
connection).
… press repeated, to get to other entries.
… the displayed telephone number is being dialled.
Deleting telephone numbers
… the desired telephone number is displayed (see above).
… press. Select DELETE or DELETE ALL if necessary and press
The entry or all entries will be deleted.
Storing telephone numbers
… the desired telephone number is displayed (see above).
… press. Select SAVE TO PB and press . Enter the name and
press . Edit the telephone number if necessary.
/
6
OK
OK
OK
OK
OK
OK OK
OK OK
OK
OK
OK
ENGLISH

Press briefly for deleting the last character or press and hold for
deleting the whole number. You can enter a dialling pause (approx. 3 s)
by pressing
…
… press to store the entry.
Phonebook☞You can store up to 50 entries in the phonebook.
Storing an entry
The handset is in idle state.
… press. The first entry is shown in the display. If the phonebook is
empty, EMPTY will be displayed.
… press. Select NEW ENTRY if necessary and press
Enter the name and press . Enter special characters and spaces by
pressing the 1 button. Enter the telephone number. Press briefly
to delete the last character or press and hold to delete the whole entry.
You can enter a dialling pause (approx. 3 s) by pressing .
…
… press to store the entry.
Dialling from the phonebook / viewing entries
The handset is in idle state.
… press briefly.
Select an entry. Press repeated, to show the telephone number
and the melody.
… the displayed telephone number is being dialled.
Editing an entry
The handset is in idle state.
… press briefly.
… press. Select EDIT ENTRY and press
Edit name if necessary and press . Edit telephone number if
necessary and press . Change melody if necessary and press .
Deleting entries
… the desired entry is displayed (see above).
press. Select a melody for the entry using /
press. Select a melody for the entry using /
7
OK
OK
OK
OK
OK
OK
OK
OK
OK
OK OK
OK
ENGLISH
… press. Select DELETE ENTRY or DELETE ALL if necessary and
press . The entry or all entries will be deleted.
Internal calls
☞Internal calls, transfers and conference calls are only possible if multiple
handsets are registered.
Making an internal call
… press INT and enter the internal telephone number (1…5) of the
desired handset.
For taking the call on the other handset press the call key.
End the call as usual.
Transferring an external call
During an external call . . .
… press INT and enter the internal telephone number (1…5) of the
desired handset. The external call is put on hold.
When the called handset answers you can announce the call transfer.
Press the call key. The call will be transferred.
3-Party conference
During an external call . . .
… press INT and enter the internal telephone number (1…5) of the
desired handset. The external call is put on hold.
When the called handset answers you can announce the call transfer.
Press and hold INT for approx. 3 seconds. The conference is
established.
☞Any subscriber hangs up during a conference call will leave the other
subscribers still in connection.
8
OK
OK
ENGLISH
Tabla de contenidos


