Onyx CTY2 Manual de usuario

BEEP!
BEEP!

3
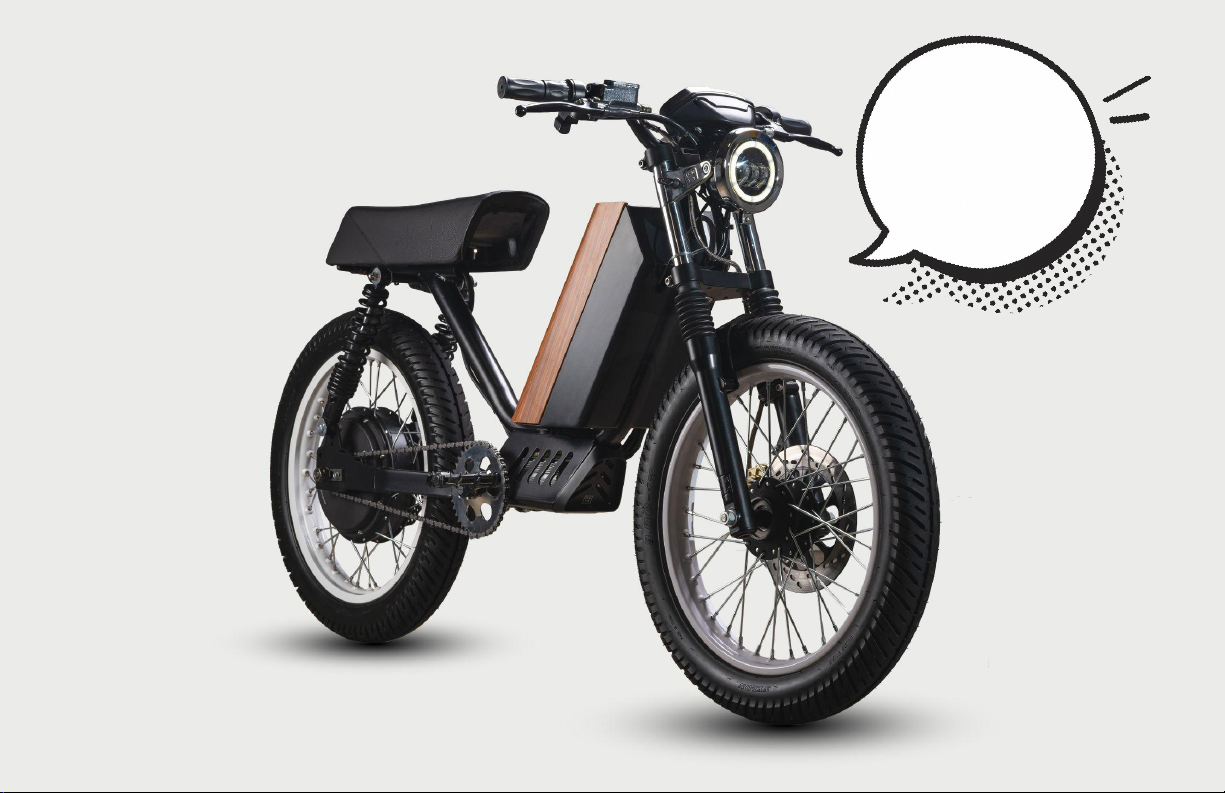
YOU ARE NOW THE PROUD OWNER OF AN ONYX CTY2.
In this document we will cover the basic landscape and maintenance of the
CTY2.
We want to thank you for choosing ONYX as your new form of transportation
and recreational use. We welcome you to the ONYX riding community. We
hope you use this manual to provide for reference in the operation, inspection
and basic maintenance of your ONYX. We are constantly updating and refining
our product. Please to use this document to keep yourself up to speed for
many enjoyable miles to come.
Sincerely,
ONYX Motorbikes
WELCOME
onyxmotorbikes.com
310.800.2531
@onyxmotorbikes
@onyxmotorbikes
@onyxmotorbikes
ONYX Motorbikes Group
facebook.com/groups/
onyxmotorbikes
GET IN TOUCH

WARNING
Riding an electric bike is extremely dangerous. Use of this product can result in serious damage, injury,
or death. ONYX products function differently from conventional bicycles and are dangerous. To minimize
risk of serious injury, protective equipment should be worn at all times including a helmet. You are
responsible for your own safety. Use this product with extreme caution and at your own risk.

CONTENTS
8QUICK START GUIDE
LET’S GET READY TO RIDE!
CHECKING AND PREPARING THE BIKE FOR THE FIRST RIDE
BASIC BATTERY CHARGING PROCEDURE
USEFUL RIDING INFORMATION
14
SAFETY INFORMATION
GENERAL SAFETY INFORMATION
OPERATING SAFETY INFORMATION
IMPORTANT LABELS & WARNINGS
16
GENERAL INFORMATION
STANDARD CTY2 MODEL TECH SPECS
OPTIONAL EQUIPMENT SPECS
ACCESSORIES SPECS
TYPICAL CTY2 MODEL DISTANCE RANGE
28OPERATING CONTROLS
MODEL CTY2 FEATURES OVERVIEW
HEADLIGHT BRAKE LIGHT
PEDALS BATTERY COVER
BATTERY LOCATION REAR HUB
MOTOR
ELECTRONICS COMPARTMENT
HANDLEBAR CONTROL FEATURES OVERVIEW
LCD DASH DISPLAY OVERVIEW
SET CLOCK
RIGHT SIDE CONTROLS LEFT SIDE
CONTROLS
KEY-FOB BUTTON LAYOUT AND OPERATION OPTIONAL
ACCESSORY OVERVIEW
36OPERATING INSTRUCTIONS
GENERAL OPERATION
THROTTLE, BRAKING, PARKING
BATTERY OPERATION, CHARGING AND STORAGE
BATTERY OVERVIEW BATTERY COVER
REMOVAL
BATTERY REMOVAL + INSTALLATION BATTERY
CHARGING AND CHARGERS BATTERY
BALANCING
BATTERY STORAGE
BATTERY MAINTENANCE AND SAFETY TIPS
53MAINTENANCE
OWNER RESPONSIBILITIES
RECOMMENDED MAINTENANCE AND SERVICE SCHEDULE BASIC
CTY2 MODEL MAINTENANCE
CLEANING
BODY PARTS & SKINS SERVICE CHECK
YOUR NUTS & BOLTS CHECK YOUR
ELECTRICAL STUFF BRAKE SERVICE
WHEEL & TIRE SERVICE CHAIN &
FREEWHEEL LONG TERM
STORAGE
FASTENER LOCATION
TORQUE SPECS
57
TROUBLESHOOTING
CTY2 MODEL ELECTRIC MOTORBIKE PRECAUTIONS
COMMON TROUBLESHOOTING
ADDITIONAL TROUBLESHOOTING RESOURCES


7
CALIFORNIA PROPOSITION 65
WARNING: Operating, servicing, or maintaining a passenger vehicle or off-highway motor
vehicle can expose you to chemicals including engine exhaust, carbon monoxide, phthalates,
and lead, which are known to the State of California to cause cancer and birth defects or
other reproductive harm. To minimize exposure, avoid breathing exhaust, do not idle the
engine except as necessary, service your vehicle in a well-ventilated area and wear gloves or
wash your hands frequently when servicing your vehicle. For more information go to
www.P65Warnings.ca.gov/passenger-vehicle.
CALIFORNIA PERCHLORATE ADVISORY
WARNING: Certain components of this motorbike such as lithium batteries may contain perchlorate
material. Special handling may apply for service or end of life disposal. See www.dtsc.ca.gov.

QUICK START GUIDE
QUICK START GUIDE
CTY2 MODEL
8
LET’S GET READY TO RIDE
Okay you are super tempted to ride the bike, but
let’s get the bike fully charged and ready to ride
before you go ride off into the sunset. Your bike
should come nominally charged when shipped. If
you ride the bike uncharged you could cause
problems with operating the bike. So let’s get
started!
PRE-RIDE SAFETY CHECK
Before every ride, it is the owner responsibility to check
and maintain your vehicle according to the schedule
below unless service is needed otherwise:
Check the Headlight, Tail Light, & Any Other Installed
Lighting for Proper Operation
Check Tire Rotation – Should Spin Smooth & Straight
Check Tire Pressure (32 psi F&R)
Check Front & Rear Brake Operation
Check Battery Charge Level
Check & Torque Fork, Axle, Handlebar, and Suspension
Nuts and bolts (see General Information > CTY2
Torque Specifications, page 27)
Whether you are a seasoned cyclist or new to the
electric motorbike scene, riding an ONYX CTY2 is
an awesome experience every time and
everywhere you get to ride one. Pedaling your heart
out is great exercise and gets the blood flowing for
sure, but being able to twist the throttle to give you
power whenever you need it gives you a rush and
a thrill like nothing else! However, there are some
general riding considerations to understand and
keep in mind your CTY2 that will keep you and
others around you safe and happy.
+
+
+
+
+
+

QUICK START GUIDE
9
PREPARING FOR THE FIRST RIDE
Wear properly fitting protective gear including at minimum:
full-face helmet, gloves, long pants, long sleeve bright
colored shirt, full-toed shoes, and a reflective vest. Do not
wear loose fitting pants or shoes that can get caught in the
chain, pedals, or wheels. Additional items that can make
your riding experience safer, better, and more comfortable
can include sunglasses (that will fit and work with your
helmet) and a jacket. Be careful wearing anything that can
limit your flexibility, mobility, or vision.
If your locale does not require you to obtain and maintain a
valid motorcycle/moped driver’s license, ONYX strongly
recommends that you do so anyway. In addition to learning
more about and being tested on knowing the rules of the
road for safety reasons, having a moped/motorcycle
driver/rider license will help put any law enforcement agent
at ease in case they question your ride or ability to ride…
Additionally, even if your locale does not require you to
complete any formal training, ONYX strongly recommends
that you take a moped or motorcycle riding course for
proper training, especially if you are new to motorbikes in
general. Contact your State or local Department of Motor
Vehicles or law enforcement agency for any
recommendations or suggestions on training programs or
courses. These courses will often count as partial or full
credit for obtaining your motorcycle/moped driver’s license!
Be sure to attend to the following before your first ride:
Be sure to switch on headlight at low visibility. When
your bike is on there will always be a running light
halo on.
Obey all traffic regulations.
Use hand signals when turning or changing lanes.
Please respect property of others and ride carefully.
Keep your feet on the pedals at all times. Keep the
pedals level, especially on turns.
After reaching maximum speed, reduce the throttle
opening to 3/4. While the reduction in speed will hardly
be noticeable, energy consumption nonetheless will be
considerably reduced.
Remember that regenerative (regen) braking is very
strong and can sometimes slow the bike to a stop alone
but it can be unreliable especially at a full battery
charge. So always use the regen brake feature with
caution.
+
+
+
+
+

QUICK START GUIDE
10 BASIC BATTERY + CHARGING GUIDE
Getting the maximum performance out of the Onyx CTY2 requires taking great care of its battery.
For detailed battery and charging information see OPERATING INSTRUCTIONS, BATTERY OPERATION, page 44.
CHARGING THE BATTERY
Your Onyx CTY2 will include a 5 amp charger
and a 23ah 60v battery.
1. Remove the seal cover from the charging
port located at the bottom right of the
battery carriage
2. Align the plug to the charging port. Note:
Charging port will only go in one way.
3. Once charging plug has been inserted, turn
the connector counter clockwise.
4. To ensure proper charging, the yellow tab
must fall into place. You will hear a click
once it’s in place. CONSTANT VOLTAGE CHARGING
When the Standard 5 Amp Onyx CTY2
charger light turns green that means 97%
(69.2 volts) of the charge is complete. The
remaining 3% to charge to 100% (71.4 volts)
takes 95 more minutes after the charger light
turns green. This last 3% is called “constant
voltage” and is done through trickle charging.
It is okay to charge the Onyx CTY2 to
97% (69.2 volts) (charger light turns
green) and go for a ride. Charging to
100% is not necessary every time.
CTY2 MODEL
Tabla de contenidos
Otros manuales de Motocicleta de Onyx

Manuales populares de Motocicleta de otras marcas


MOTO GUZZI
MOTO GUZZI QUOTA 1100 ES Manual de usuario

APRILIA
APRILIA ETV MILLE CAPONORD - PART1 02-2001 Manual de usuario

Yamaha
Yamaha 2006 YZF-R1V Manual de usuario

KTM
KTM Freeride E-XC 2021 Manual de usuario

Fantic
Fantic Enduro 125 Manual de usuario

Ducati
Ducati Supersport 750 desmodue Manual de usuario


 Manual")


