12 13
- When the pram is not in motion, always use the brakes.
- The bag is designed for loads of up to 2 kg.
- The handbag is designed for loads of up to 1 kg.
- Do not hang heavy items on the handle of the pram, as it could cause it to over-
balance.
- Only original parts should be used on the pram.
- When going up a kerb or stairs, the front wheels should be lifted.
- Store the pram out of the reach of children.
- Air pressure in the tyres should be not exceed 1 bar.
PREPARATION FOR USE
1. FOLDING AND UNFOLDING:
1.1. Take the chassis of the pram out of
the box and lay it on the oor horizontally
(gure 1);
1.2. Grab the handle and pull it upwards
until the mechanism locks (you will hear a
click)(gure 2,3);
1.3. Raise the protective ring to fold the
chassis whilst pulling the ttings towards
you (gure 4,5);
1.4. Lightly push the chassis down into
its original position, as it was when you
unpacked it and took the chassis out of
the box (gure 1).
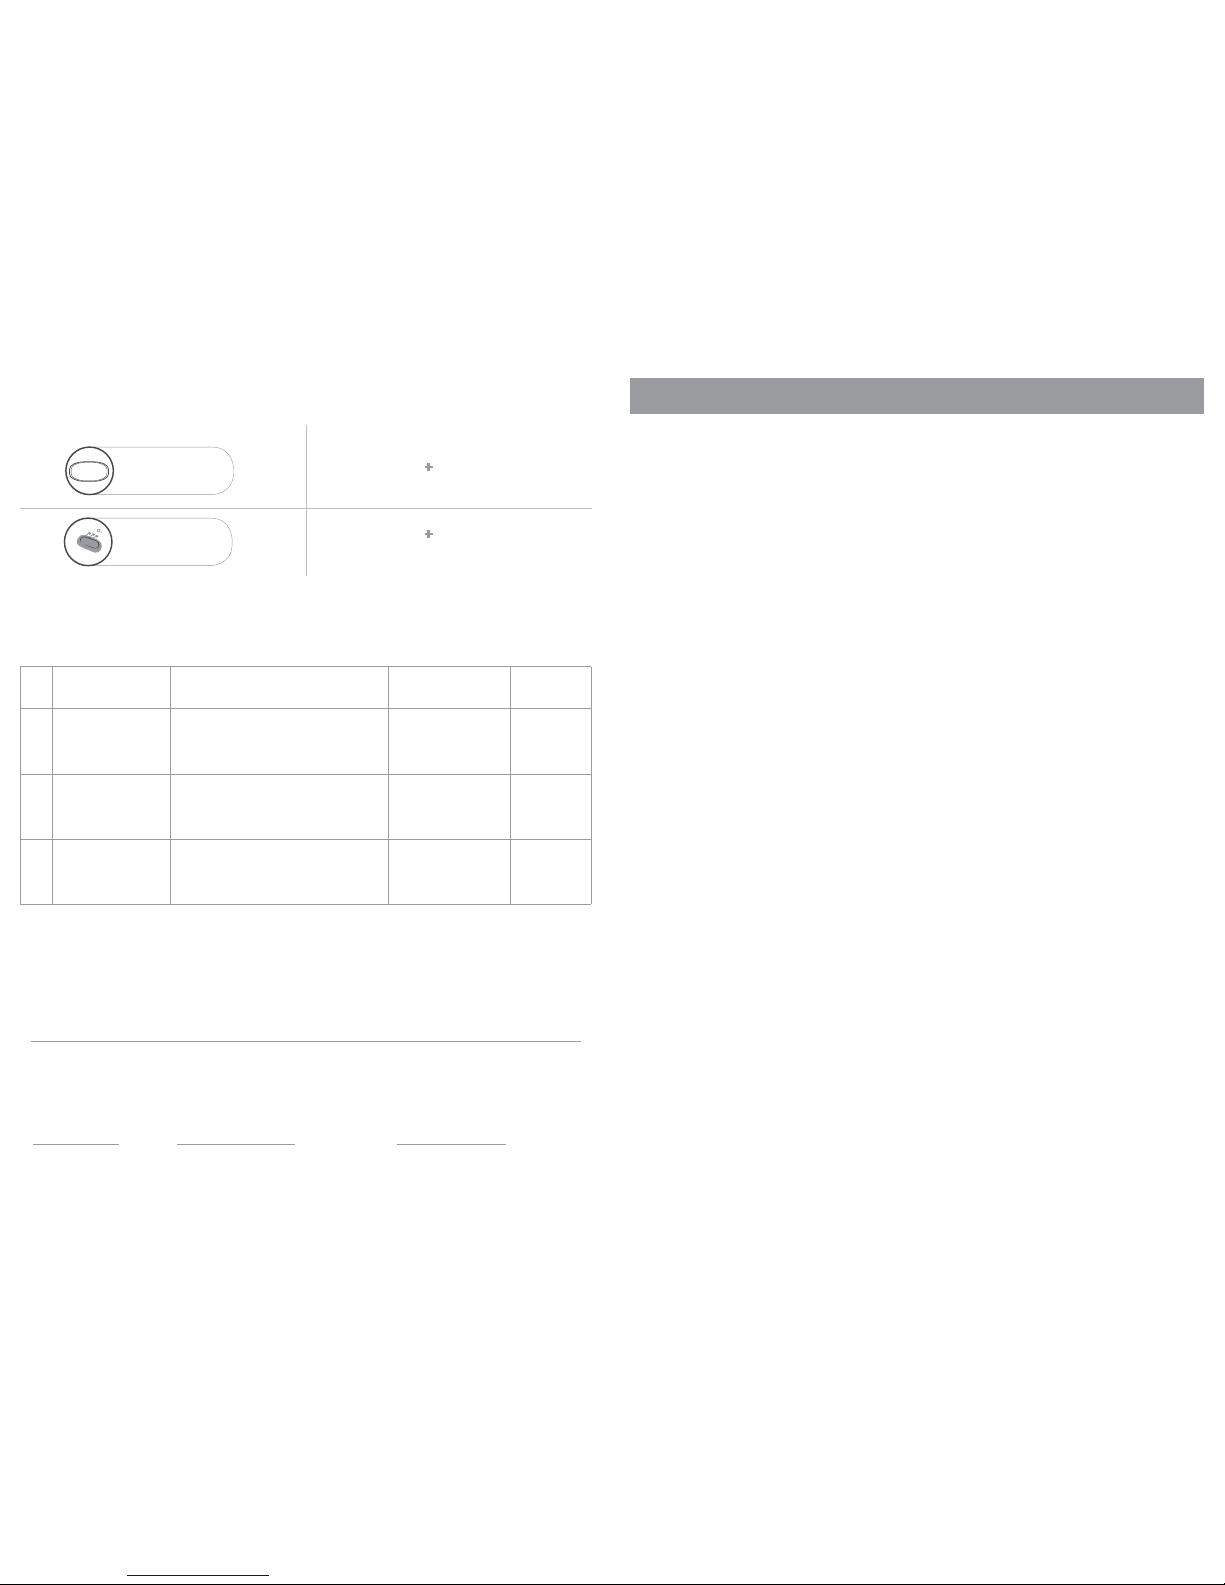
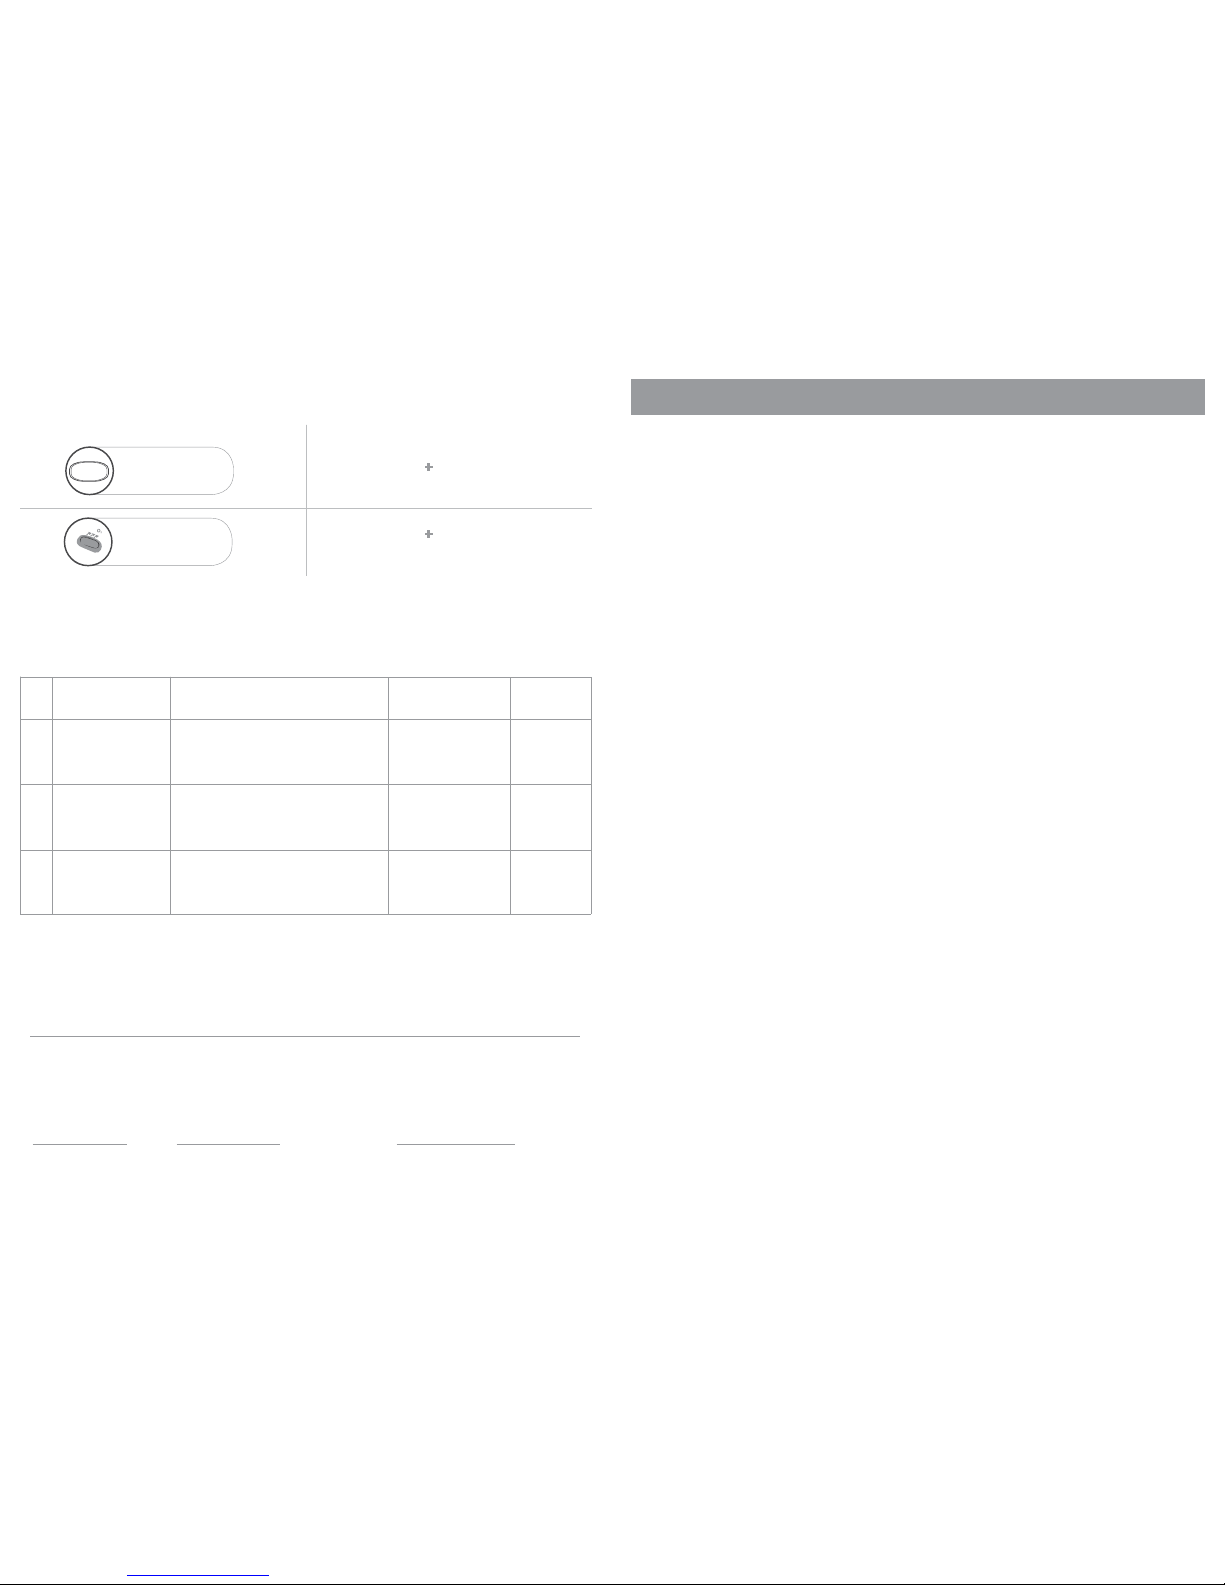
2. ADJUSTING THE HANDLE HEIGHT:
2.1. Push both round buttons at the same
time. They are positioned on either side
of the handle, and parallel to each other
(gure 6);
2.2. Adjust the height of the handle until it
suits you (gure 6).
3. REMOVING/ATTACHING WHEELS
3.1. In order to remove a wheel, press
the centre of the wheel and pull it at right
angles to the mounting (gure 7);
3.2. In order to attach a wheel, press the
button on the wheel bearing and slide
the wheel onto the axle as far as it will go.
Then release the button and move the
wheel back slightly until it locks into place
(gure 7).
4. BRAKES:
4.1. The pram has a parking brake, which
locks the rear wheels. When the pram is
not in motion, push the brake pedal down
(gure 8);
4.2. When you wish to move the pram, lift
the brake pedal up (gure 8).
5. SUSPENSION:
5.1. The pram chassis has a 4-point sus-
pension system ensuring your child has a
comfortable ride (gure 9).
6. ATTACHING/REMOVING THE CARRY-
COT:
6.1. Slide the carrycot’s mounting brackets
into the holders on the chassis - they are
located on the inside of the chassis (gure
10);
6.2. The carrycot’s attachment brackets
automatically lock into place;
6.3. To remove the carrycot, press the but-
tons on the carrycot mounting (gure 14).
7. THE PROTECTIVE HOOD AND COVER:
7.1. The carrycot has a hood to protect
your baby from wind, sun, rain, snow, etc.;
7.2. The position of the hood may be ad-
justed by pushing the button at the base
of the handle (gure 11);
7.3. The carrycot is also designed to pro-
tect your baby from mosquitoes. The mos-
quitos net is in the carrycot back pocket.
(gure 12);
7.4. The carrycot can be aired by unzip-
ping the hood and bending the lower part
of it down (gure 13);
7.5. The carrycot also has a cover which
ts over the front part of the carry-cot and
is xed into place by press studs on either
side of the hood (gure 10).
8. ATTACHING/REMOVING THE PROTEC-
TIVE HOOD:
8.1. To transfer the hood from the carrycot
to the stroller seat, rst unzip the inner
hood from the carrycot and then attach
the hood to the stroller seat by zipping it
to the metal hoop (gure 15, 16);
8.2. The narrow part at the bottom of the
hood can be removed and the stroller
seat attached (gure 17).
9. ATTACHING/REMOVING THE STROLL-
ER SEAT
9.1. Slide the mounting brackets on the
stroller seat into the holders on the chas-
sis - they are located on the inside of the
chassis (gure 18);
9.2. The stroller seat mounting brackets
automatically lock into place;
9.3. To remove the stroller seat, press the
buttons on the chassis mounting (gure
27);
9.4. The stroller seat has a leg cover which
ts over the front of the pram and is held
in place by press buttons on the inner
sides of the stroller seat (gure 26).
10. ADJUSTING THE LEG/FOOTREST
10.1. The angle of the footrest can be
adjusted by pressing the buttons on
either side of the footrest at the same time
(gure 25).
11. FITTING THE RETAINING BAR TO THE
STROLLER SEAT:
11.1. The stroller seat has a retaining bar
to stop children falling forward and out of
the seat;
11.2. To remove the retaining bar, press
the buttons on the inside of the clips and
lightly pull the handle upwards (gure 22).
11.3. To attach the retaining bar, slide its
clips into the sockets on either side of the
stroller seat and pull down;
12. SAFETY BELTS:
12.1. The stroller seat has a 5 point safety
belt system;
12.2. When a child is sitting in the stroller
seat, the safety belts should be fastened.
Put the tabs into the lock and tighten the
belts (gure 23);
12.3. To unfasten the belts, press the tabs
and pull them out of the lock (gure 24).
13. PROTECTION FROM RAIN:
13.1. The pram has unied rain protection
system, which is used with both the carry-
cot and stroller seat (gures 28, 29).
14. ATTACHING A CAR SEAT:
14.1. It is possible to attach a car seat to
the chassis of the pram;
14.2. To attach a car seat, slide the mount-
ing brackets into the holders on the inside
of the chassis (gure 30);
14.3. The brackets automatically lock into
place;
14.4. Attach the bolts on the car seat to
the special adapters (gure 31);
14.5. The car seat has its own hood and
leg cover, which attach with clips to the
frame of the seat. It also has a cotton
cushion.
English