newell DYMO LetraTag 100H Manual de usuario
User Guide
LetraTag® 100H

Copyright
© 2023 Sanford, L.P. All rights reserved.
No part of this document or the software may be reproduced or transmitted in any form or by any
means or translated into another language without the prior written consent of Sanford, L.P.
Trademarks
DYMO and LetraTag are registered marks in the US and other countries. All other trademarks are the
property of their respective holders.

iii LetraTag®
User Guide
Contents
1 About Your New Labelmaker
1 Warranty Registration
1 Getting to Know the Label Maker
2 Getting Started
2 Connecting the Power
2 Inserting the Batteries
2 Inserting the Label Cassette
3 Selecting a Language
3 Setting the Date and Time
3 Printing Your First Label
4 Getting to Know the Labelmaker
4 Power
4 LCD Display
4 CAPS Mode
4 Num Lock
4 Backspace
5 Clear
5 Navigation Keys
5 Cancel
5 Format
5 Insert
5 Settings
5 Formatting Your Label
5 Changing the Font Size
6 Adding Font Styles
6 Creating Two-Line Labels
6 Adding the Date
7 Adding Box and Underline Styles
8 Using Symbols and Special Characters
8 Adding Symbols
8 Adding International Characters
9 Printing Options
9 Previewing Your Label
9 Adjusting the Print Contrast
9 Using Labelmaker Memory
9 Storing Label Text
9 Recalling Stored Labels
10 Caring for Your Labelmaker
11 Troubleshooting
12 General Safety Precautions
12 Environmental Information
12 Electrical Ratings

1LetraTag®
User Guide
About Your New Labelmaker
With your new DYMO LetraTag™ labelmaker, you can create a wide variety of
high-quality, self-adhesive labels. You can choose to print your labels in many
different sizes and styles. The labelmaker uses DYMO LetraTag (LT)
12 mm
label
cassettes. LT cassettes are available in multiple colors of plastic tape and in white
iron-on tape.
Visit www.dymo.com for information on obtaining labels and accessories for your
labelmaker.
Warranty Registration
Visit www.dymo.com/register to register your label maker online. During the
registration process, you will need the serial number, which is located inside the
back cover of the label maker.
Getting to Know the Label Maker
Become familiar with the features shown in the following figure.
Figure 1
Space Bar Backspace
Settings
Cancel
Memory Save
OK
Memory Recall
CAPs
Clear
Insert
Label Exit
Print
LCD Display
Cutter Button
Format
Navigation
Num Lock
Power
2LetraTag®
User Guide
Getting Started
Follow the instructions in this section to print your first label.
Connecting the Power
The labelmaker is powered by standard batteries. To save power, the labelmaker
will automatically turn off after two minutes of inactivity.
Inserting the Batteries
The labelmaker uses four high-capacity AA alkaline batteries.
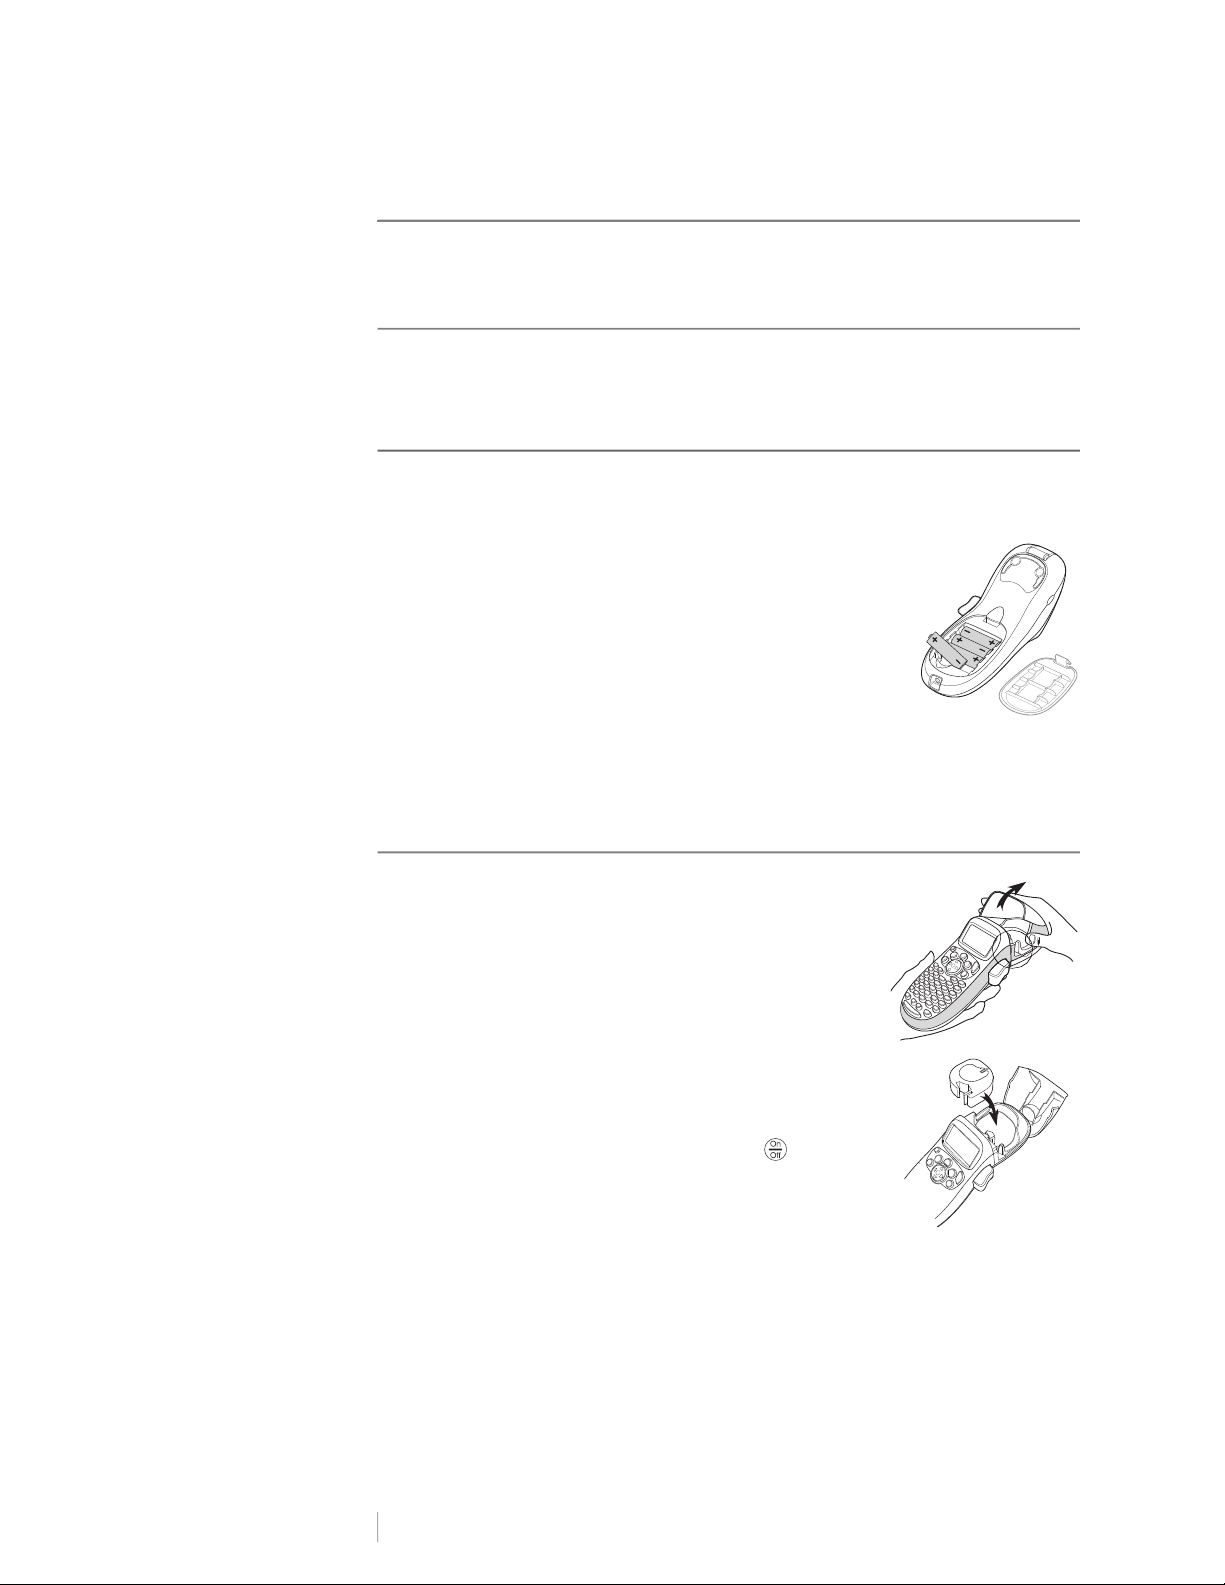
To insert the batteries
1Remove the battery compartment cover. See Figure 2.
2Insert the batteries following the polarity markings
(+ and –).
3Replace the cover.
Safety Precautions
Do not mix old and new batteries.
Do not mix alkaline, standard (carbon-zinc), or
rechargeable (ni-cad, ni-mh, etc.) batteries.
Remove the batteries if the printer will not be used for a long period of time.
Inserting the Label Cassette
Your labelmaker comes with one label cassette. Visit
www.dymo.com for information about purchasing
additional label cassettes.
To insert the label cassette
1Press and release the label cassette cover to open the
label compartment. See Figure 3.
2Insert the cassette with the label positioned between
the print head and pinch roller. See Figure 4.
3Press firmly until cassette clicks into place.
4Close the label cassette cover and press to turn on
the power.
Figure 2
Figure 3
Figure 4
3LetraTag®
User Guide
Selecting a Language
The first time you turn on the power, you are asked to select your desired
language. By default, the language is set to English. The language option you
choose determines the character set and date format that are available.
To select a language
1Press .
2Use the up or down arrow keys to select Language and press .
3Use the up or down arrow keys to select a language and press .
Setting the Date and Time
You need to set the current date and time so that the date is correct if you choose
to automatically insert a date on your label.
The default date and time format depends upon the language you select for the
labelmaker. US English uses the date format MMM DD, YY and the 12-hour time
format; all other languages use the date format DD MMM YY and the 24-hour time
format.
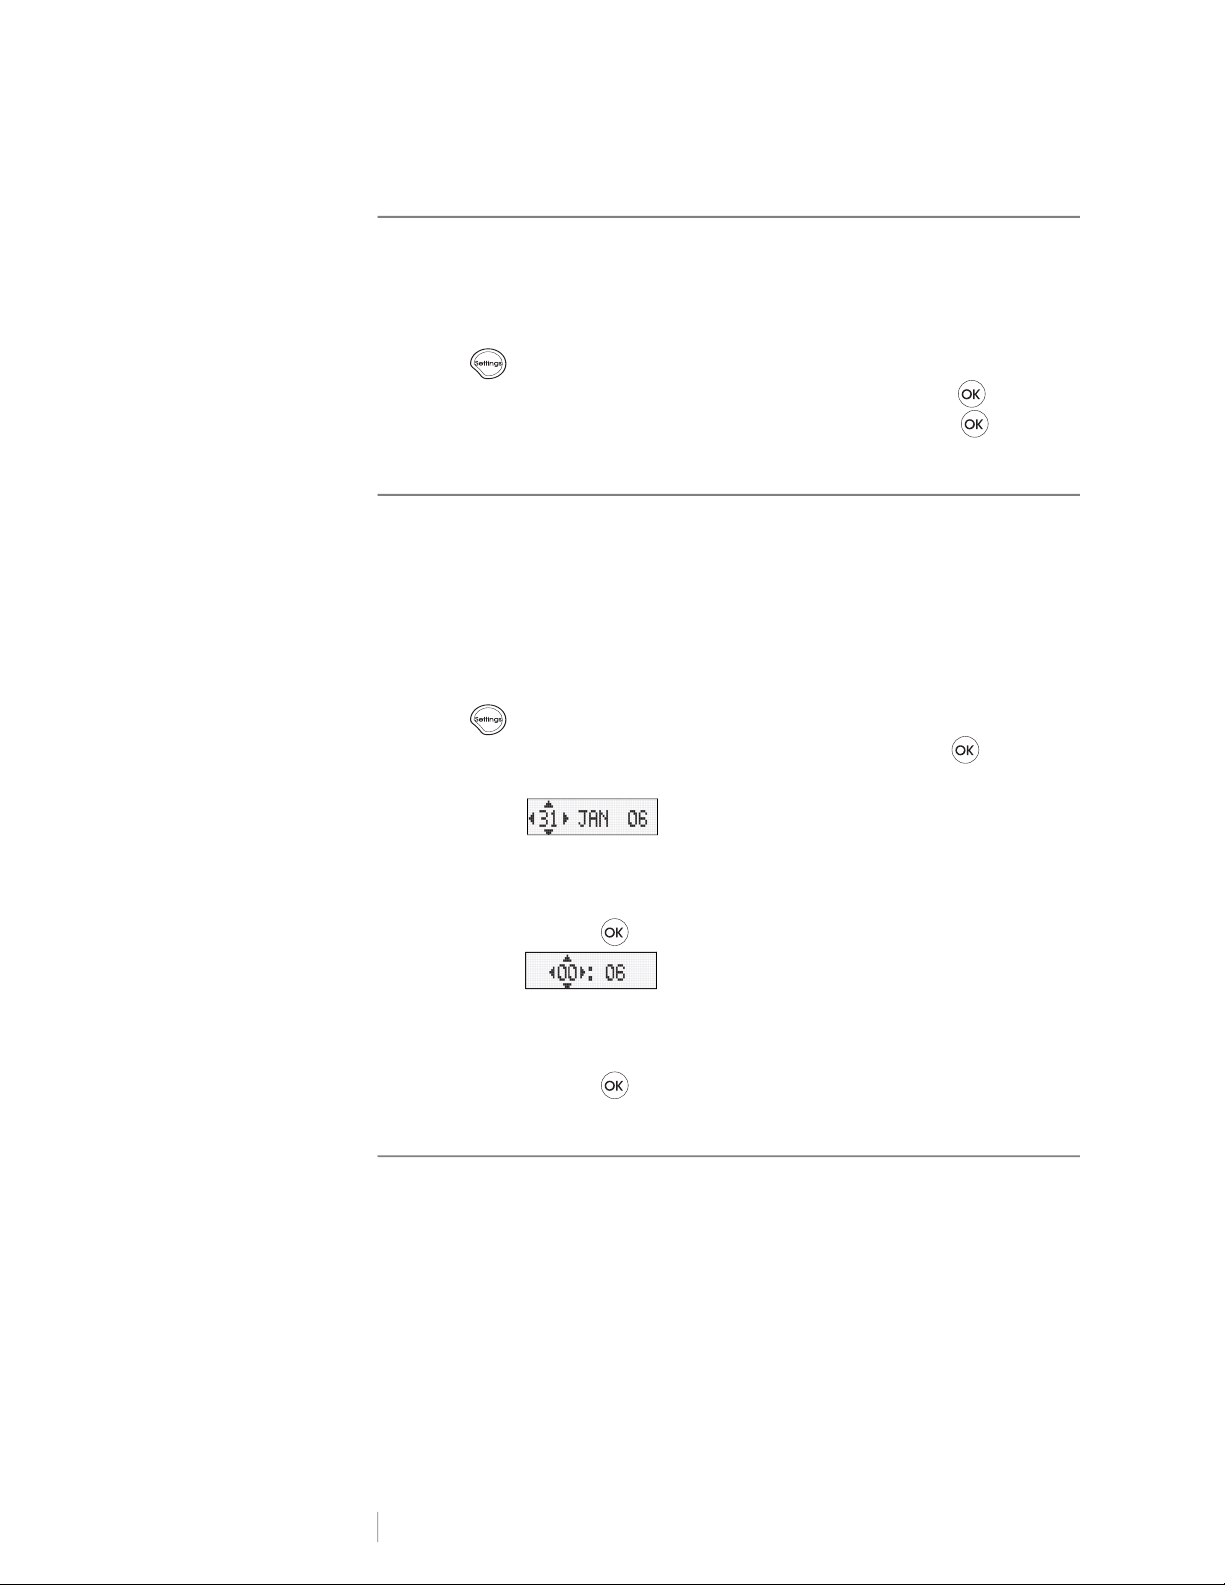
To set the date and time
1Press .
2Use the up or down arrow keys to select Set Date, and press .
The default date is displayed.
3Use the left or right arrow key to move the cursor over each setting (month,
day, and year) and use the up or down arrow keys to increase or decrease the
value.
4When finished, press .The default time is displayed.
5Use the left or right arrow key to move the cursor over each setting (hours and
minutes) and use the up or down arrow keys to increase or decrease the
value.
6When finished, press .
Printing Your First Label
You are now ready to print your first label.
To print a label
1Enter text to create a simple label.
2Press PRINT.
3Press the cutter button to cut the label.
Congratulations! You have printed your first label. Continue reading to learn more
about the options available for creating labels.

4LetraTag®
User Guide
Getting to Know the Labelmaker
Become familiar with the location of the feature and function keys on your
labelmaker. Refer to Figure 1. The following sections describe each feature in
detail.
Power
The button turns the power on and off. After two minutes of no activity, the
power is switched off automatically. The last label created is remembered and
displayed when the power is turned back on. The previously selected style
settings are also restored.
You can also press to cancel printing and return to edit mode.
LCD Display
You can enter up to 100 characters and spaces on a label; however, the display
will only show a small portion of the characters.
And, with DYMO’s exclusive graphical display, any formatting you add is visible
instantly. For example, the italics and rounded border added to the text in Figure 5
are clearly displayed.
Feature indicators appear along the top of the display to let you know when a
feature is selected.
CAPS Mode
The key toggles capitalization on or off. When CAPS mode is turned on, the
CAPS mode indicator is shown on the display and all letters that you enter will be
capitalized. The default setting is CAPS mode on. When CAPS mode is off, all
letters appear in lower case.
Num Lock
The key provides access to the numbers located on the A through J keys.
When Num Lock mode is turned on, the Num Lock indicator is shown on the
display and the numbers 1 through 0 appear when you press the letters A through
J. Num Lock is turned off by default.
Backspace
The key removes the character to the left of the cursor.
Font size # lines CAPs Num Lock
Figure 5
5LetraTag®
User Guide
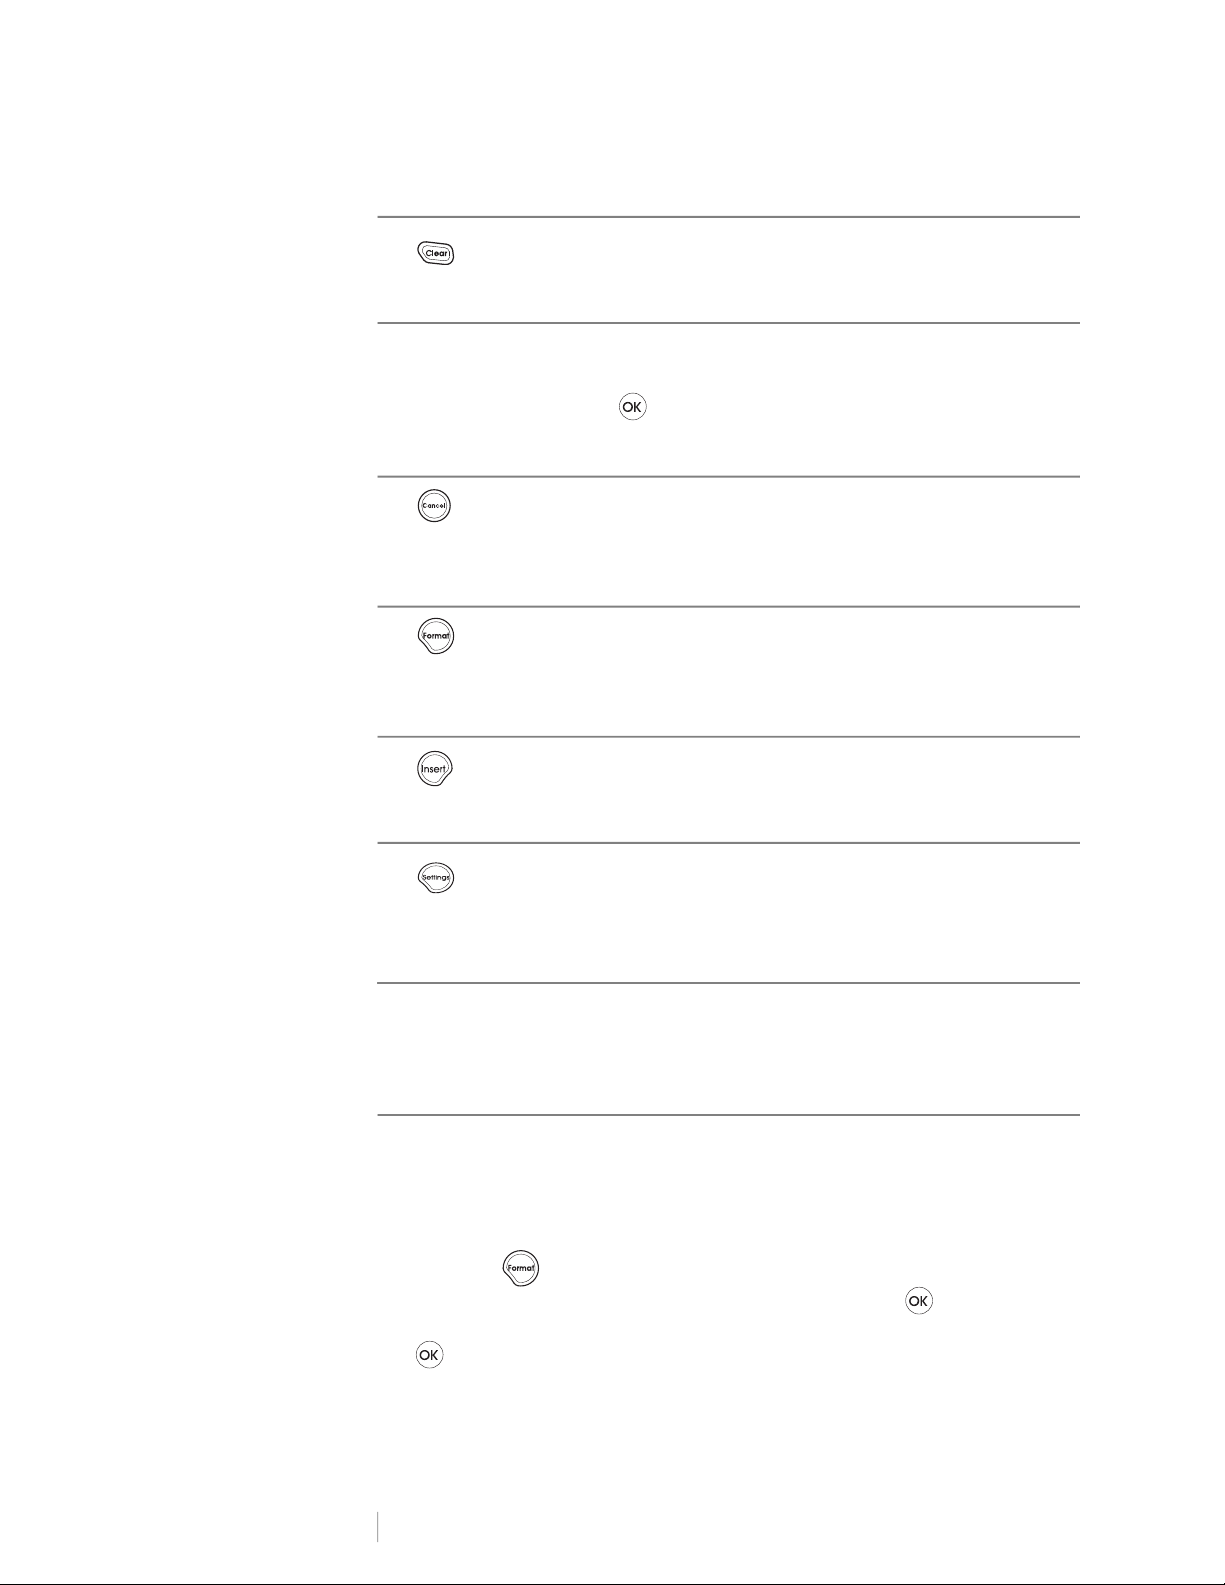
Clear
The key clears all label text and formatting.
Navigation Keys
You can review and edit your label using the left and right arrow keys on the
Navigation key.You can navigate through menu selections using the up and down
arrow keys, and then press to make a selection.
Cancel
The key allows you to exit from a menu without making a selection or to
cancel an action.
Format
The key displays the font size, style, and borders submenus. These
formatting features are described later in this User Guide.
Insert
The key allows you to insert symbols, a second line, or the date on your label.
Settings
The key displays the Preview, Set Date, Language, and Set Print Contrast
submenus. These features are described later in this User Guide.
Formatting Your Label
You can choose from a number of formatting options to enhance the appearance
of your labels.
Changing the Font Size
Five font sizes are available for your labels: Extra Small, Small, Medium, Large, and
Extra Large.
When you select a size, that size applies to all characters on a label.
To set the font size
1Press the key.
2Use the up or down arrow keys to select Size and press .
3Use the up or down arrow keys to select the desired font size and then press
.
6LetraTag®
User Guide
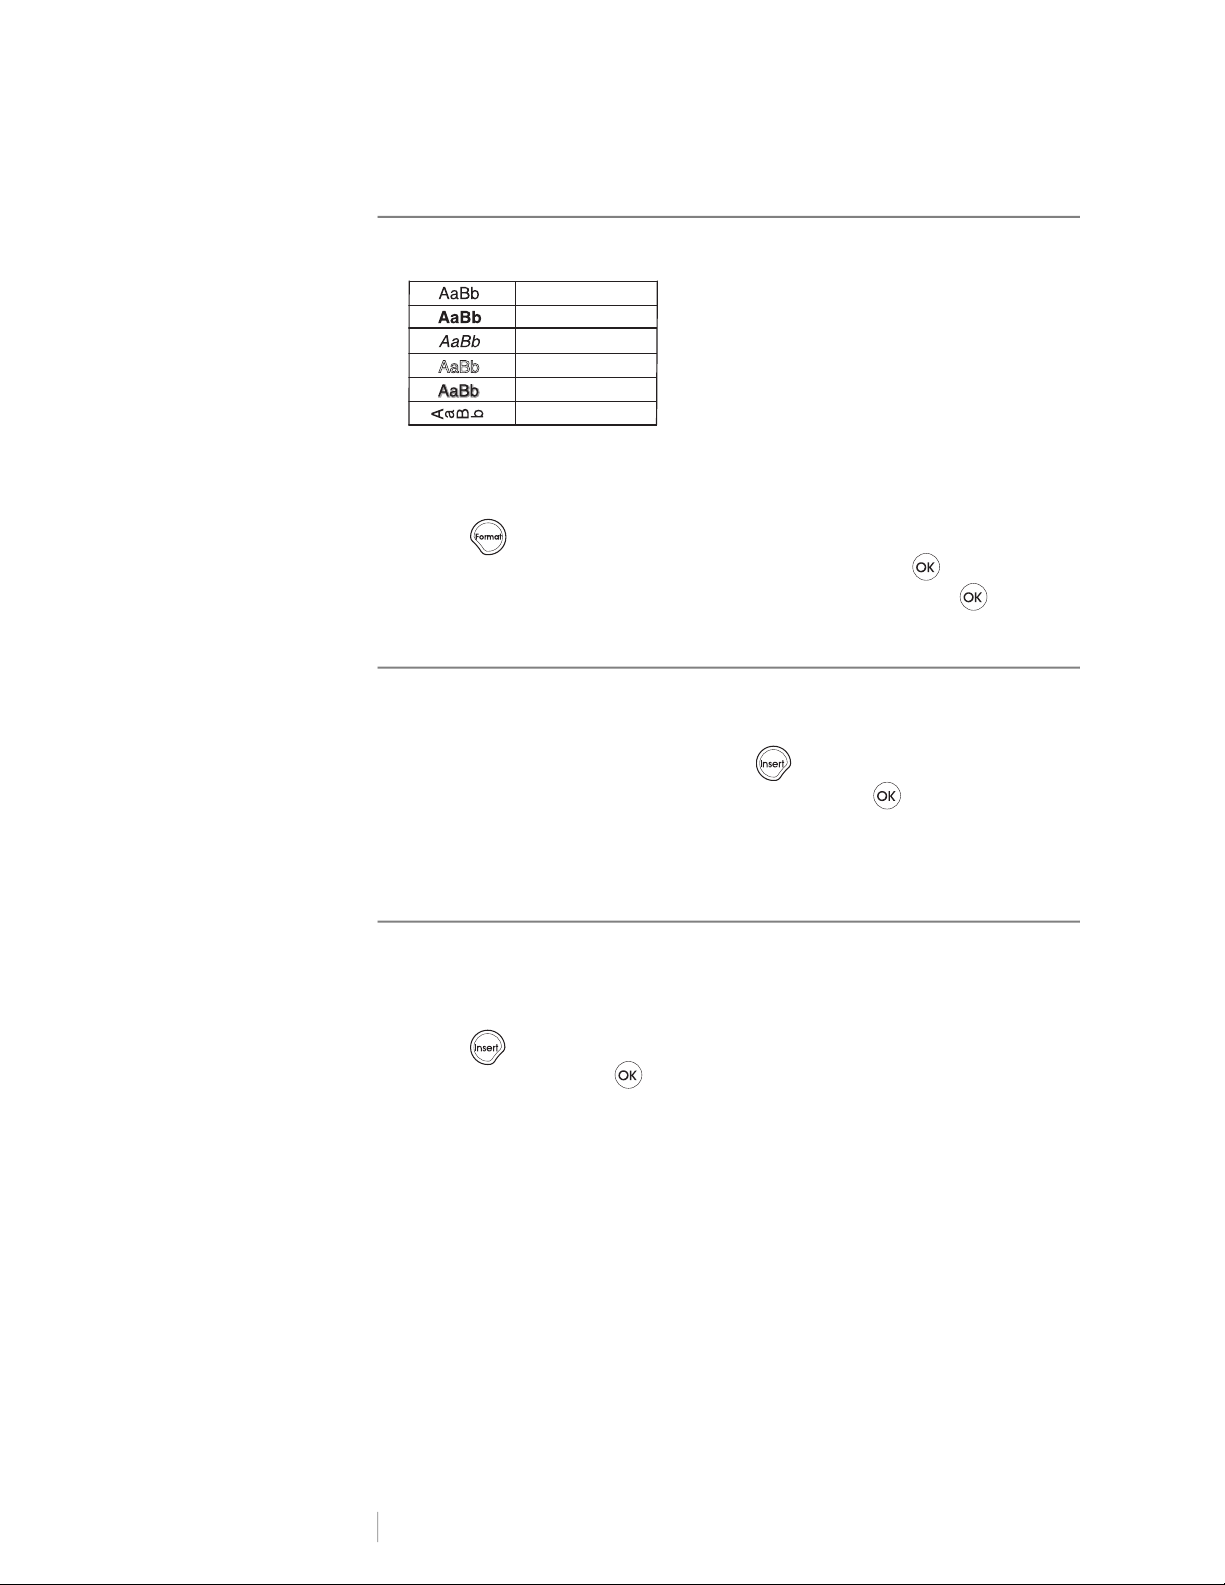
Adding Font Styles
You can choose from six different font styles:
When you select a style, that style applies to all characters. Styles can be used
with alphanumeric characters and some symbols.
To set the font style
1Press .
2Use the up or down arrow keys to select Style and press .
3Use the up or down arrow keys to select a font style and press .
Creating Two-Line Labels
You can print a maximum of two lines on labels.
To create a two-line label
1Type the text for the first line and press .
2Use the arrow keys to select Second Line and press . A multi-line symbol
is inserted at the end of the first line, but will not print on the label.
3Type the text for the second line.
Adding the Date
You can insert the date on your label. The date format is MMM DD, YY (US) or DD
MMM YY (Europe) depending upon the version of your labelmaker.
To insert the date
1Press .
2Select Date and press .
Normal
Bold
Italic
Outline
Shadow
Vertical
7LetraTag®
User Guide
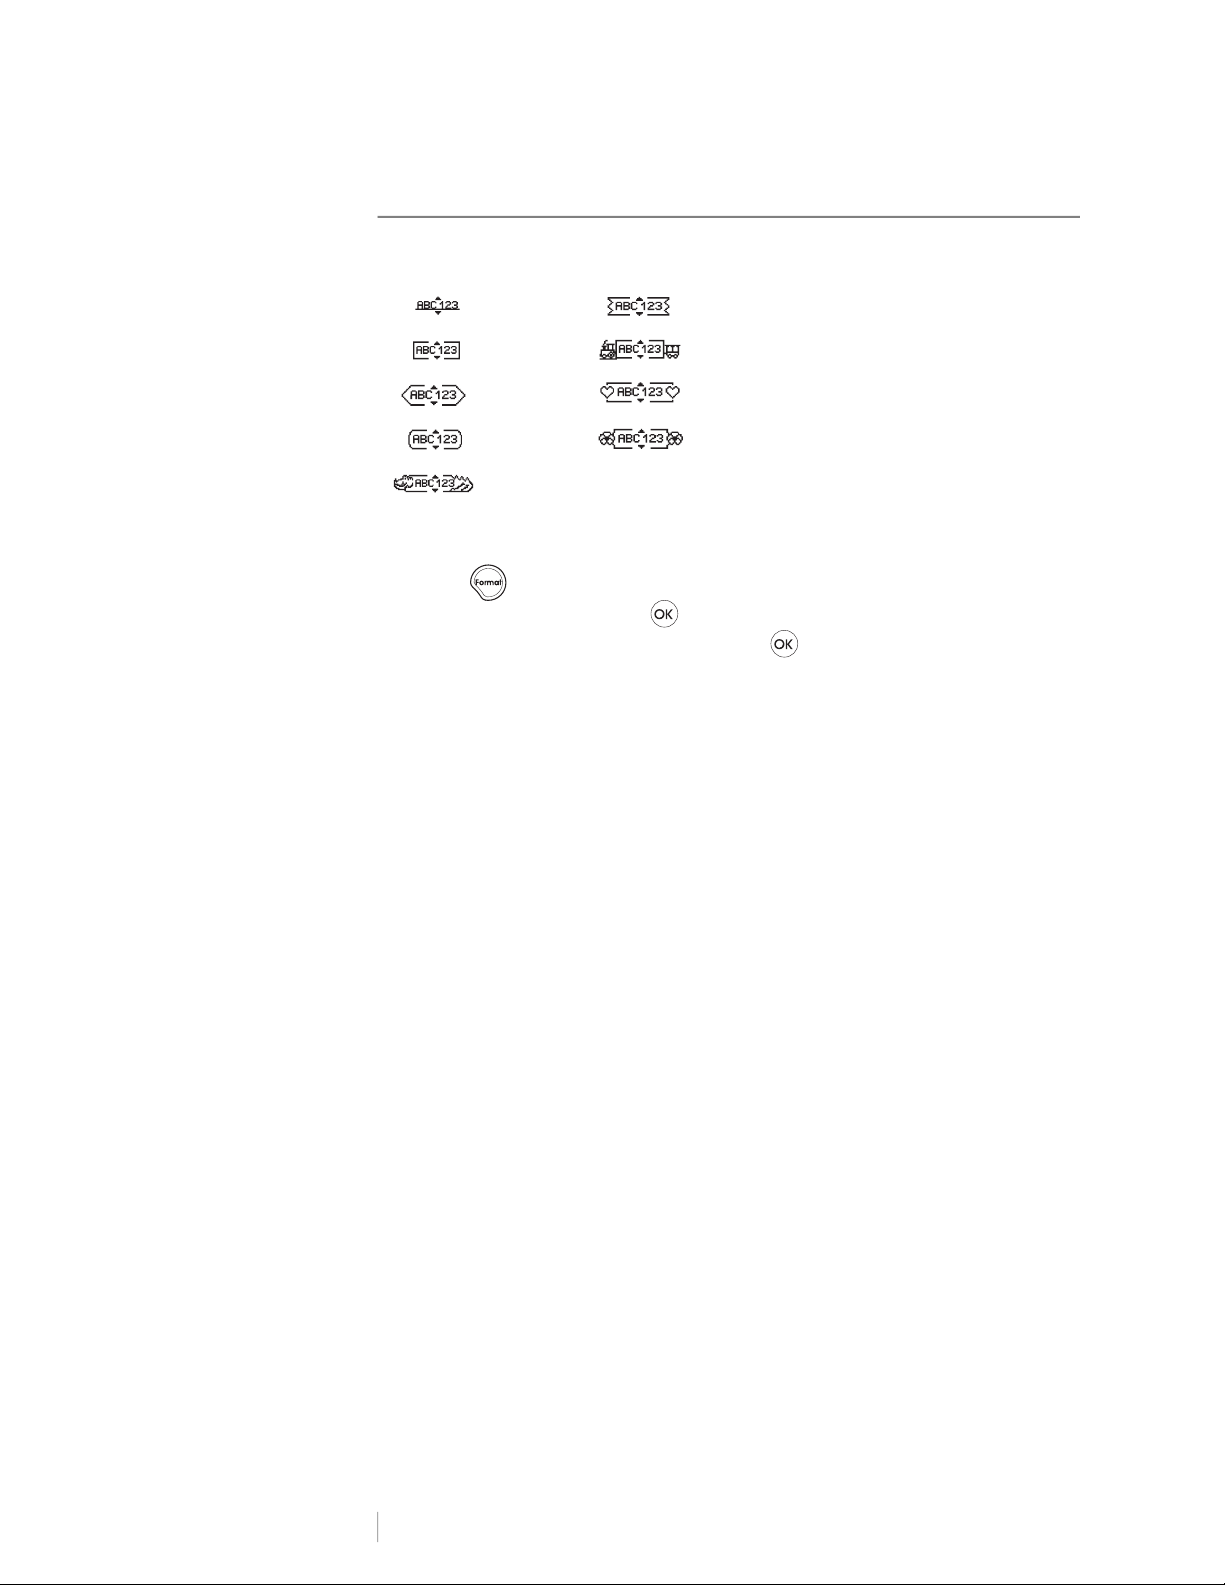
Adding Box and Underline Styles
You can highlight your text by choosing a box or underline style.
A label can be underlined or enclosed in a box, but not both together.
To add an underline or box style
1Press .
2Select Borders, and press .
3Select underline or a box style and press .
On two-line labels, both lines are underlined. In box style mode, all the lines are
enclosed in one box style.
Underline Edged
Square Train
Pointed Sweet Hearts
Rounded Flowers
Crocodile
Tabla de contenidos


