Monkey Vision MOMETER PRO Manual de usuario

MOMETER
PRO
Mokey
FACIAL RECOGNITIONACCESS CONTROL
QUICK START GUIDE

INTRODUCTION
The Monkey MOMETER PRO has been specifically developed
to help Australians take the necessary steps to only allow the right people onto your site.
With accurate, contactless facial scanning and
the option of activating personal registration and access control,
it’s the perfect solution for offices, hotels, buildings,
schools, shops, cafés and restaurants.
monkeyvision.com.au

NOTES:
1. Do not splash liquid or metal on the outer screen to avoid scratches or damage.
2. Clean with appropriate glass-cleaning solution to avoid watermark.
3. Take care when installing. Please handle the unit gently and don’t drop it. Surprisingly, it doesn’t handle that too
well.
4. Please ensure that the equipment is well grounded to avoid interference and damage to the video and audio signals.
5. Please don’t plug audio equipment, alarms and other external interfaces or terminals directly to the unit.
6. The Monkey Mometer Pro works best in room temperature between -10C and +55C and relative humidity
between 10% 90%. But if you’re working somewhere the room temperature is below 0C or above 30C
you should seriously consider looking for another job.
7. This product is for indoor use only. Not weather/waterproof.
monkeyvision.com.au

TO BUILD YOUR STAND:
The upright posts have four holes
in each end. One of those ends
has hexagonal nuts on the inside.
That’s the bottom.
Attach the baseplate to one of the
posts using four of the supplied bolts.
Screw them in by hand then tighten
with a 10mm spanner or drill.
THE STAND HAS THREE MAIN PARTS: A BASEPLATE AND TWO UPRIGHT POSTS.
(YOU SHOULD ALSO HAVE A POWER CABLE, TWO BACK PLATES, A LARGE SPACER RING AND 20 BOLTS)
Carefully place the other post
on top and attach the bolts.
STEP 1 STEP 2 STEP 3
monkeyvision.com.au

TO ATTACH YOUR Mokey MOMETER PRO:
Loosen the large nut at
the bottom of the
Mokey MOMETER PRO
and remove it.
Feed the cords through
the hole at the top of
your stand one at a time
until all are through.
Tighten the nut as much as
you can by hand. If you like,
you can tighten further with
a large adjustable wrench. Feed the power cable
through the bottom mail slot on
one of the back plates.
Then feed the cable up
though hole between the posts
and connect it to the
Mokey MOMETER PRO’S
power cable.
Feed the chords through
the spacer ring and large nut.
STEP 1 STEP 2 STEP 3 STEP 4
Affix the two back plates
using your remaining bolts.
STEP 5 STEP 6
monkeyvision.com.au

TO START USING:
Place the stand….
Plug the plug into
a standard wall socket.
If you use an
extension lead, ensure
it is taped down so
no one trips over it.
Place the floor decal
50cm away from
the front of the stand.
The Mokey
MOMETER PRO will
power up within 10 seconds
of being plugged in.
For best results wait a few
minutes before using.
STEP 1 STEP 2 STEP 3 STEP 4 STEP 5
You’re good to go!
The Mokey MOMETER PRO will tell you if something is wrong – like if you need to stand closer to or further
away from the unit, or if you need to clear things away from your face for a more accurate recognition.
STEP 6
monkeyvision.com.au

CONNECTOR INTERFACE INTRODUCTION
monkeyvision.com.au
12
3
45
6
7
A+
B-
C
D
12
3
45
6
7
A+
B-
C
D
1. USB 5V DM DP GND
2. Access Control (output)
Aand BNormal open, default normal open,
identification passed-connection, (alarm output 2)
Cand DNormal close, default normal close,
identification passed-disconnection, (alarm output 2)
3. Reset Key Hard reset
4. Power Connector DC 12V
5. Alarm Output GND+ALMO alarm output 1, without action output
3.3V, with action output 0V
6. Wiegand Connector -WGI0 +WGI1 (input)
7. RJ45 100M

Connect your Monkey MOMETER PRO to a Windows based PC/laptop via ethernet cable.
The computer's ethernet adapter needs to be on the same subnet as the IP address of the Monkey
Mometer. To find the IP address of your Monkey Mometer, look at the bottom left of the
Monkey Mometer's screen. If you have purchased a Monkey Vision 4G Ranger, you will connect
to your Monkey Mometer via WiFi and the IP address is 192.168.100.8
STEP 1
CONT.
HOW TO ADD TEAM MEMBERS AND
SET UP ACCESS CONTROL
monkeyvision.com.au
Once connected, open Internet Explorer
and download the relevant ActiveX controller
as prompted. In the search bar, type in your
Monkey MOMETER PRO'S IP address to
see the User Login screen, check that the lower
drop-down box is set to “Australian”, There is
no password, leave blank and click on “Login”.
Congratulations, you’re in!
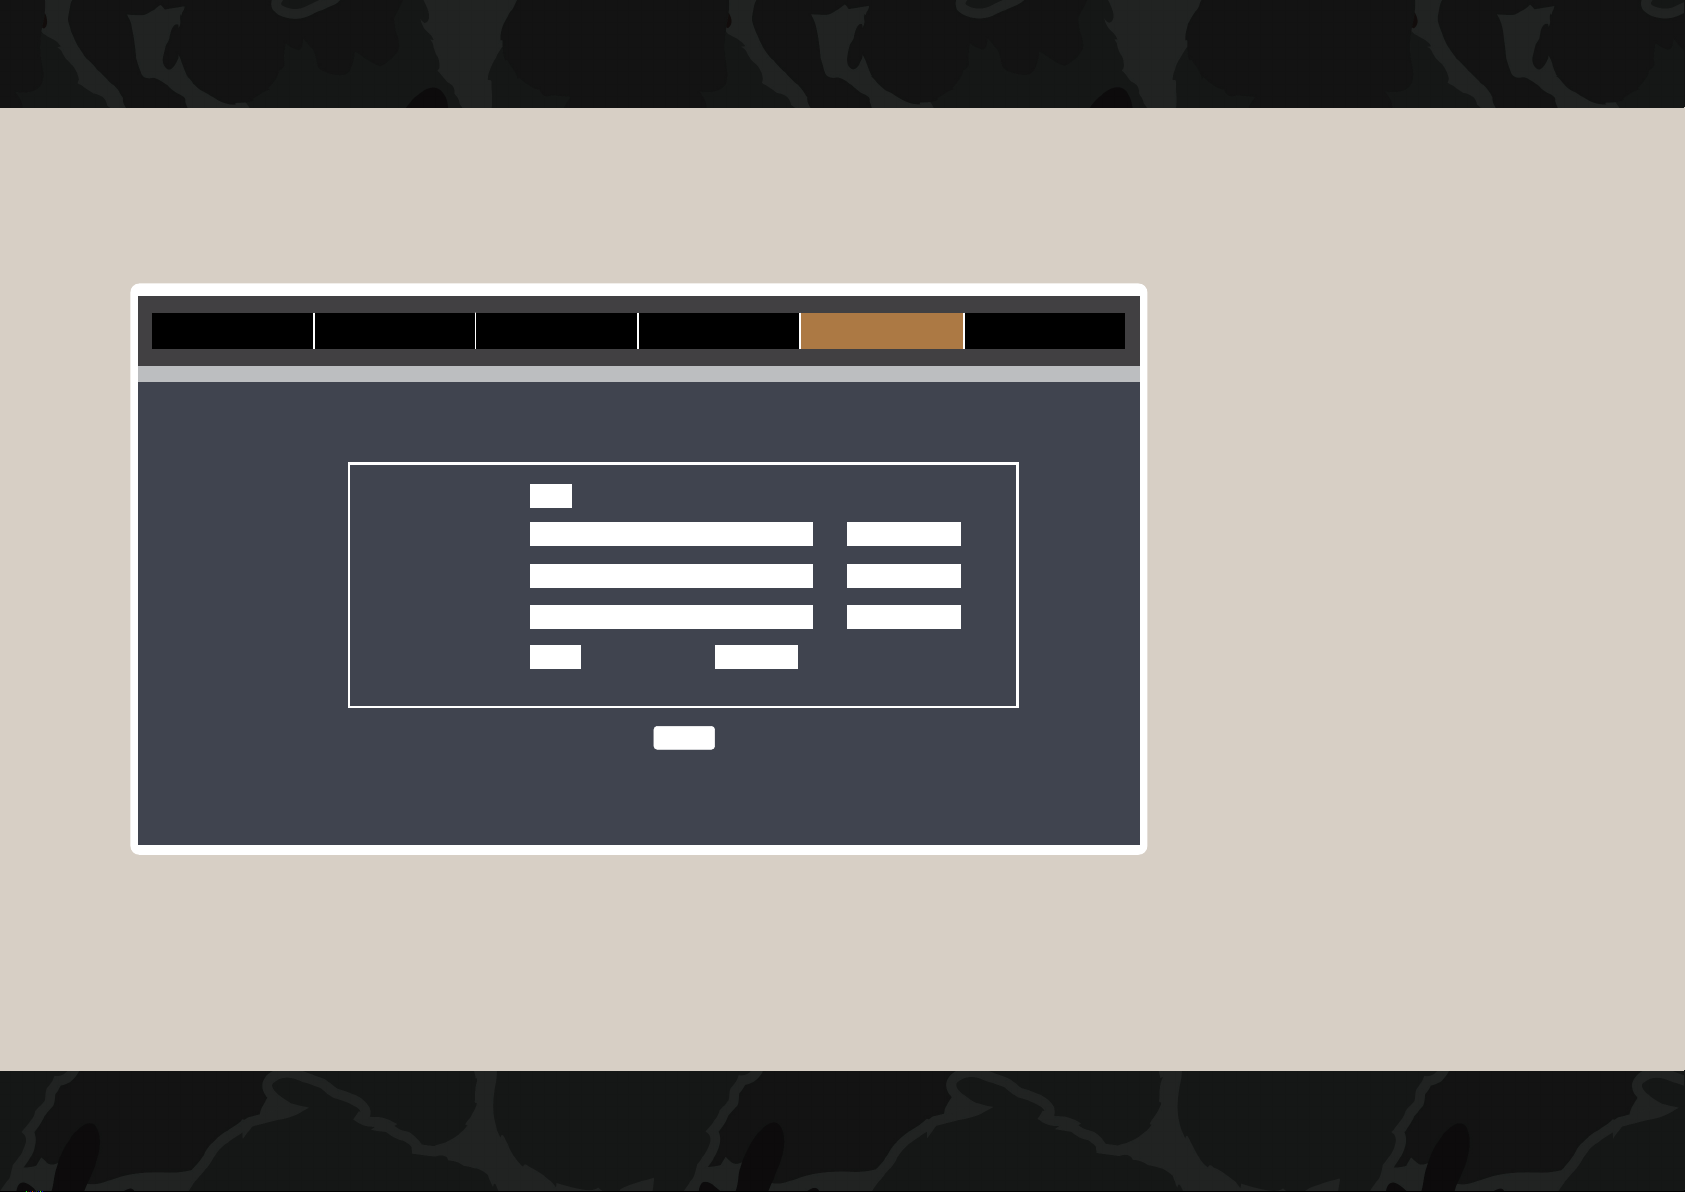
User Login
User Name
Main Stream
admin
Australian
Password
Preview Stream
Language
Login Cancel

If everything has gone to plan you should see the main screen as below.
Click on “Access Control” along the top of the screen.
CONT.
STEP 2
monkeyvision.com.au
Access Control Camera Settings Directory LogoutLive View Play Back
Face Recognition Region
No

monkeyvision.com.au
To capture the faces of people visiting
your site, we recommend you set up
folders on your connected PC to store
these images.
Click on Directory across the top
of the screen and create the folder
pathways exactly as they are shown in
this example on your PC.
Click on Open Directory to confirm
the device recognises the path.
Click on Save.
CONT.
Access Control Camera Settings Directory LogoutLive View Play Back
Directory
Local Disk
Record Path
Snapshot Path
Face capture path
File Type Interval
prv
C
1min
Open directory
Open directory
Open directory
C:\webclient2\videos
C:\webclient2\images
C:\webclient2\faces
Save
ˇ
ˇ ˇ
Otros manuales para MOMETER PRO
1
Tabla de contenidos


