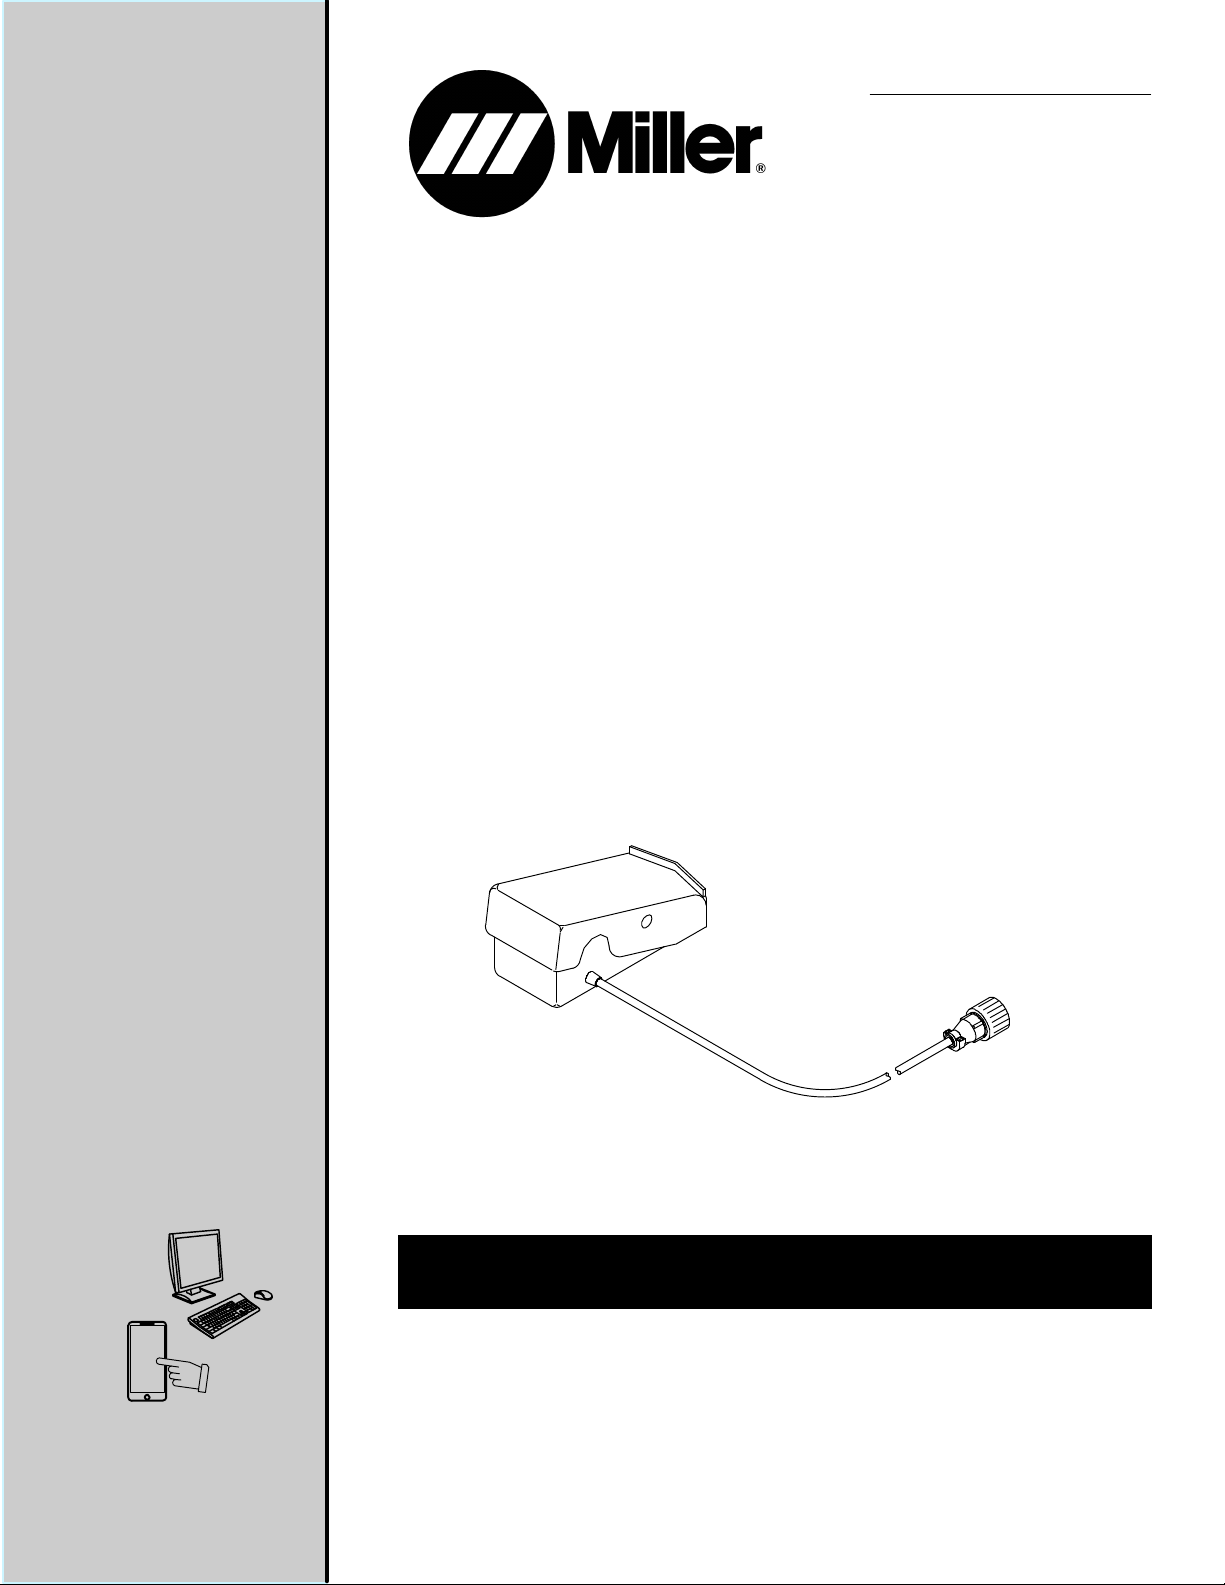
Miller RFCS-5 Manual de usuario

Foot Controls
RFCS-5, RFCS-5HD, RFCS-6M,
RFCS-14, And RFCS-14HD
OM-844 183973N
2017-04
OWNER’S MANUAL
For product information,
Owner’s Manual translations,
and more, visit
www.MillerWelds.com

Miller Electric manufactures a full line
of welders and welding related equipment.
For information on other quality Miller
products, contact your local Miller distributor to receive the latest full
line catalog or individual specification sheets. To locate your nearest
distributor or service agency call 1-800-4-A-Miller, or visit us at
www.MillerWelds.com on the web.
Thank you and congratulations on choosing Miller. Now you can get
the job done and get it done right. We know you don’t have time to do
it any other way.
That’s why when Niels Miller first started building arc welders in 1929,
he made sure his products offered long-lasting value and superior
quality. Like you, his customers couldn’t afford anything less. Miller
products had to be more than the best they could be. They had to be the
best you could buy.
Today, the people that build and sell Miller products continue the
tradition. They’re just as committed to providing equipment and service
that meets the high standards of quality and value established in 1929.
This Owner’s Manual is designed to help you get the most out of your
Miller products. Please take time to read the Safety precautions. They
will help you protect yourself against potential hazards on the worksite.
We’ve made installation and operation quick
and easy. With Miller you can count on years
of reliable service with proper maintenance.
And if for some reason the unit needs repair,
there’s a Troubleshooting section that will
help you figure out what the problem is. The
parts list will then help you to decide the
exact part you may need to fix the problem.
Warranty and service information for your
particular model are also provided.
Miller is the first welding
equipment manufacturer in
the U.S.A. to be registered to
the ISO 9001 Quality System
Standard.
Working as hard as you do
−every power source from
Miller is backed by the most
hassle-free warranty in the
business.
From Miller to You
Mil_Thank 2009−09

TABLE OF CONTENTS
SECTION 1 −INSTALLATION AND OPERATION 1...............................................
1-1. Safety Symbol Definitions 1.............................................................
1-2. Typical Connection 2...................................................................
1-3. Remote Amperage Control For Welding Power Source Without
Remote Control Switch 2...............................................................
1-4. Remote Amperage Control For Welding Power Source With Remote Control Switch
But Without Output (Contactor) Control 3..................................................
1-5. Remote Amperage Control For Welding Power Source With Remote Control Switch
And Output (Contactor) Control 4.........................................................
1-6. Adjusting Potentiometer Timing 5.........................................................
1-7. Changing Cord Location On RFCS-5HD, And RFCS-14HD Models 5..........................
SECTION 2 −ELECTRICAL DIAGRAMS 6......................................................
SECTION 3 −PARTS LIST 7...................................................................
WARRANTY


OM-844 Page 1
SECTION 1 −INSTALLATION AND OPERATION
1-1. Safety Symbol Definitions
DANGER! −Indicates a hazardous situation which, if not
avoided, will result in death or serious injury. The possible
hazards are shown in the adjoining symbols or explained
in the text.
DANGER ! - Indique une situation dangereuse qui, si elle
n’est pas évitée, entraînera la mort ou des blessures
graves. Les éventuels risques sont représentés par les
symboles joints ou expliqués dans le texte.
Fsafe1 2013-10
Arc rays can burn eyes and skin −wear a welding helmet
with correct filter, and cover exposed skin with nonflam-
mable clothing.
Le rayonnement de l’arc peut provoquer des brûlures au
niveau des yeux ou de la peau – porter un casque protec-
teur muni d’un écran de filtre approprié et porter des vête-
ments non inflammables pour protéger toutes parties
exposées.
Fsafe11 2013-10
Indicates a hazardous situation which, if not avoided,
could result in death or serious injury. The possible ha-
zards are shown in the adjoining symbols or explained in
the text.
Indique une situation dangereuse qui, si elle n’est pas
évitée, entraînera la mort ou des blessures graves. Les
éventuels risques sont représentés par les symboles
joints ou expliqués dans le texte.
Fsafe2 2013-10
Wear safety glasses with side shields.
Porter des lunettes de sécurité avec écrans latéraux.
Fsafe8 2013-10
NOTICE Indicates statements not related to personal injury.
Signale des consignes non associées aux dommages
corporels.
Indicates special instructions.
Fournit des instructions spéciales.
Fsafe3 2013-10
Welding sparks can cause fire or explosion. Move flam-
mables away. Do not weld on closed tanks or barrels, or
on containers that have held combustibles −they can
explode. Clean tanks or barrels properly.
Les étincelles de soudure peuvent provoquer un incendie
ou une explosion. Ne pas souder de cuves ou de ton-
neaux, au risque qu’ils explosent. Nettoyer soigneuse-
ment les cuves ou tonneaux.
Fsafe9 2013-10
Beware of electric shock from wiring. Disconnect input
power before installing this kit. Reinstall all panels and
covers.
Attention aux décharges électriques au contact des
câbles. Couper l’alimentation électrique avant d’installer
ce kit. Réinstaller tous les panneaux et couvercles.
Fsafe7 2013-10
CALIFORNIA PROPOSITION 65 WARNINGS
PROPOSITION CALIFORIENNE 65 AVERTISSEMENTS
Welding or cutting equipment produces fumes or gases which contain chemicals known to the State of California to cause birth defects
and, in some cases, cancer. (California Health & Safety Code Section 25249.5 et seq.)
This product contains chemicals, including lead, known to the state of California to cause cancer, birth defects, or other reproductive
harm. Wash hands after use.
Les équipements de soudage et de coupage produisent des fumées et des gaz qui contiennent des produits chimiques dont l’État de
Californie reconnaît qu’ils provoquent des malformations congénitales et, dans certains cas, des cancers. (Code de santé et de sécurité
de Californie, chapitre 25249.5 et suivants)
Ce produit contient des produits chimiques, notamment du plomb, dont l’État de Californie reconnaît qu’ils provoquent des cancers, des
malformations congénitales ou d’autres problèmes de procréation. Se laver les mains après utilisation.
Fsafe4 2013-10

OM-844 Page 2
1-2. Typical Connection
Ref. 801736
!Turn Off welding power
source before connecting
foot control.
1 Foot Control
2 Remote 14, Remote 5, Or
Remote 6 Receptacle
Insert plug into matching 14-sock-
et, 5-socket, or 6-socket recep-
tacle, as applicable, on welding
power source. Tighten collar.
12
1-3. Remote Amperage Control For Welding Power Source Without
Remote Control Switch
Ref. 155790-H
On
0 A DC
Off
Select Maximum
Amperage Percentage.
Select Weld Process Select Range And Polarity
33 A DC
Combination Front Panel
And
Remote Control
Approximately
50% = Approx. 33 A DC
Press pedal lightly to turn
weld output and gas flow
on. Press pedal further to
increase weld output.
Release pedal to turn off
weld output and gas flow.

OM-844 Page 3
1-4. Remote Amperage Control For Welding Power Source With Remote Control Switch
But Without Output (Contactor) Control
.See welding power source
Owner’s Manual to determine
if Remote Foot Control works
as a combination or as full Am-
perage control.
Ref. 122023-B / 801736
OR
Example Of Full Remote Amperage Control
Set Switch
In Example:
Min = 30 A In Range A or 40 A In
Range B (Unit Minimum)
Max = 95 A In Range A or 200 A In
Range B (Control Setting)
Control Setting
Does Not Matter
Unit Maximum
In Example:
Min = 30 A In Range A or 40 A
In Range B (Unit Minimum)
Max = 225 A In Range A or 375 A In
Range B (Unit Maximum)
Unit Minimum
Unit Minimum
Control Setting
Set Desired Maximum
Amperage For Application
Set Switch
Press pedal to increase weld
output. Release pedal to
decrease weld output.
Press pedal to increase weld
output. Release pedal to
decrease weld output.
Example Of Combination Front Panel
And Remote Amperage Control
.See welding power source
Owner’s Manual to determine
if Remote Foot Control works
as a combination or as full Am-
perage control.

OM-844 Page 4
1-5. Remote Amperage Control For Welding Power Source With Remote Control Switch
And Output (Contactor) Control
.See welding power source
Owner’s Manual to determine
if Remote Foot Control works
as a combination or as full Am-
perage control.
Ref. 217264-G / Ref. 801736
0On
Off
0On
Off
Example Of Full Remote Amperage Control
Control Setting
Does Not Matter
Set Switch Set Switch
Set Control
Set Switch Set Switch
Combination Front Panel
And
Remote Control
Control
Setting
(150 A)
Unit
Maximum
Press pedal lightly to turn weld
output and gas flow on. Press
pedal further to increase weld
output. Release pedal to turn
off weld output and gas flow.
Press pedal lightly to turn weld
output and gas flow on. Press
pedal further to increase weld
output. Release pedal to turn
off weld output and gas flow.
Example Of Combination Front Panel
And Remote Amperage Control
.See welding power source
Owner’s Manual to determine
if Remote Foot Control works
as a combination or as full Am-
perage control.

OM-844 Page 5
1-6. Adjusting Potentiometer Timing
NOTICE −Disconnect foot control
from welding power source/gener-
ator before adjusting potentiome-
ter.
Turn unit upside down, and remove
bottom plate.
1 Label
2 Gear
Turn gear on potentiometer shaft
counterclockwise as far as
possible.
Pull drive belt tight and mesh belt
teeth with gear teeth.
Connect free end of small spring
into end of drive belt.
Reinstall bottom plate
BEFORERE-INSTALLINGBELT,TURNGEARALL
THEWAYTOTHESTOP.
ANTESDEVOLVERAINSTALARLACORREADÉ
VUELTAALENGRANAJETODOLONECESARIO
HASTAQUESEDETENGA.
AVANTDEREPOSERLACOURROIE,FAIRE
PIVOTERL'AXEJUSQU'ÀLABUTÉE.
218006-A
1
2
1-7. Changing Cord Location On RFCS-5HD, RFCS−6MHD, And RFCS-14HD Models
NOTICE −Disconnect foot control
from welding power source/gener-
ator before adjusting potentiome-
ter.
1 Bottom Plate
Turn unit upside down, and remove
bottom plate.
Remove screw that holds cord in its
factory installed location.
2 Cord Slots
Position cord in desired slot.
Slide strain relief down cord and
into slot to protect cord. Secure
cord with screw in the same man-
ner in which it came from the
factory.
Reinstall bottom plate
1
2

OM-844 Page 6
SECTION 2 −ELECTRICAL DIAGRAMS
183957-B
Circuit Diagram For RFCS-5, RFCS-5HD, RFCS-14, And RFCS-14HD Models
Circuit Diagram For RFCS-6M Models
208615-B
Otros manuales para RFCS-5
2
Este manual sirve para los siguientes modelos
4
Tabla de contenidos
Otros manuales de Accesorios de Miller


