Mag One BPR 40d Manual de usuario

Mag One BPR 40d User
Guide
DIGITAL TWO-WAY RADIO
*MN007942A01*
MN007942A01-AA
MAY 2021
© 2021 Motorola Solutions, Inc. All rights reserved

Contents
Chapter 1: Read Me First..........................................................................................4
Chapter 2: Radio Overview...................................................................................... 5
2.1 Programmable Buttons............................................................................................................6
2.1.1 Assignable Radio Functions...................................................................................... 6
2.2 LED Indications........................................................................................................................6
Chapter 3: Getting Started........................................................................................8
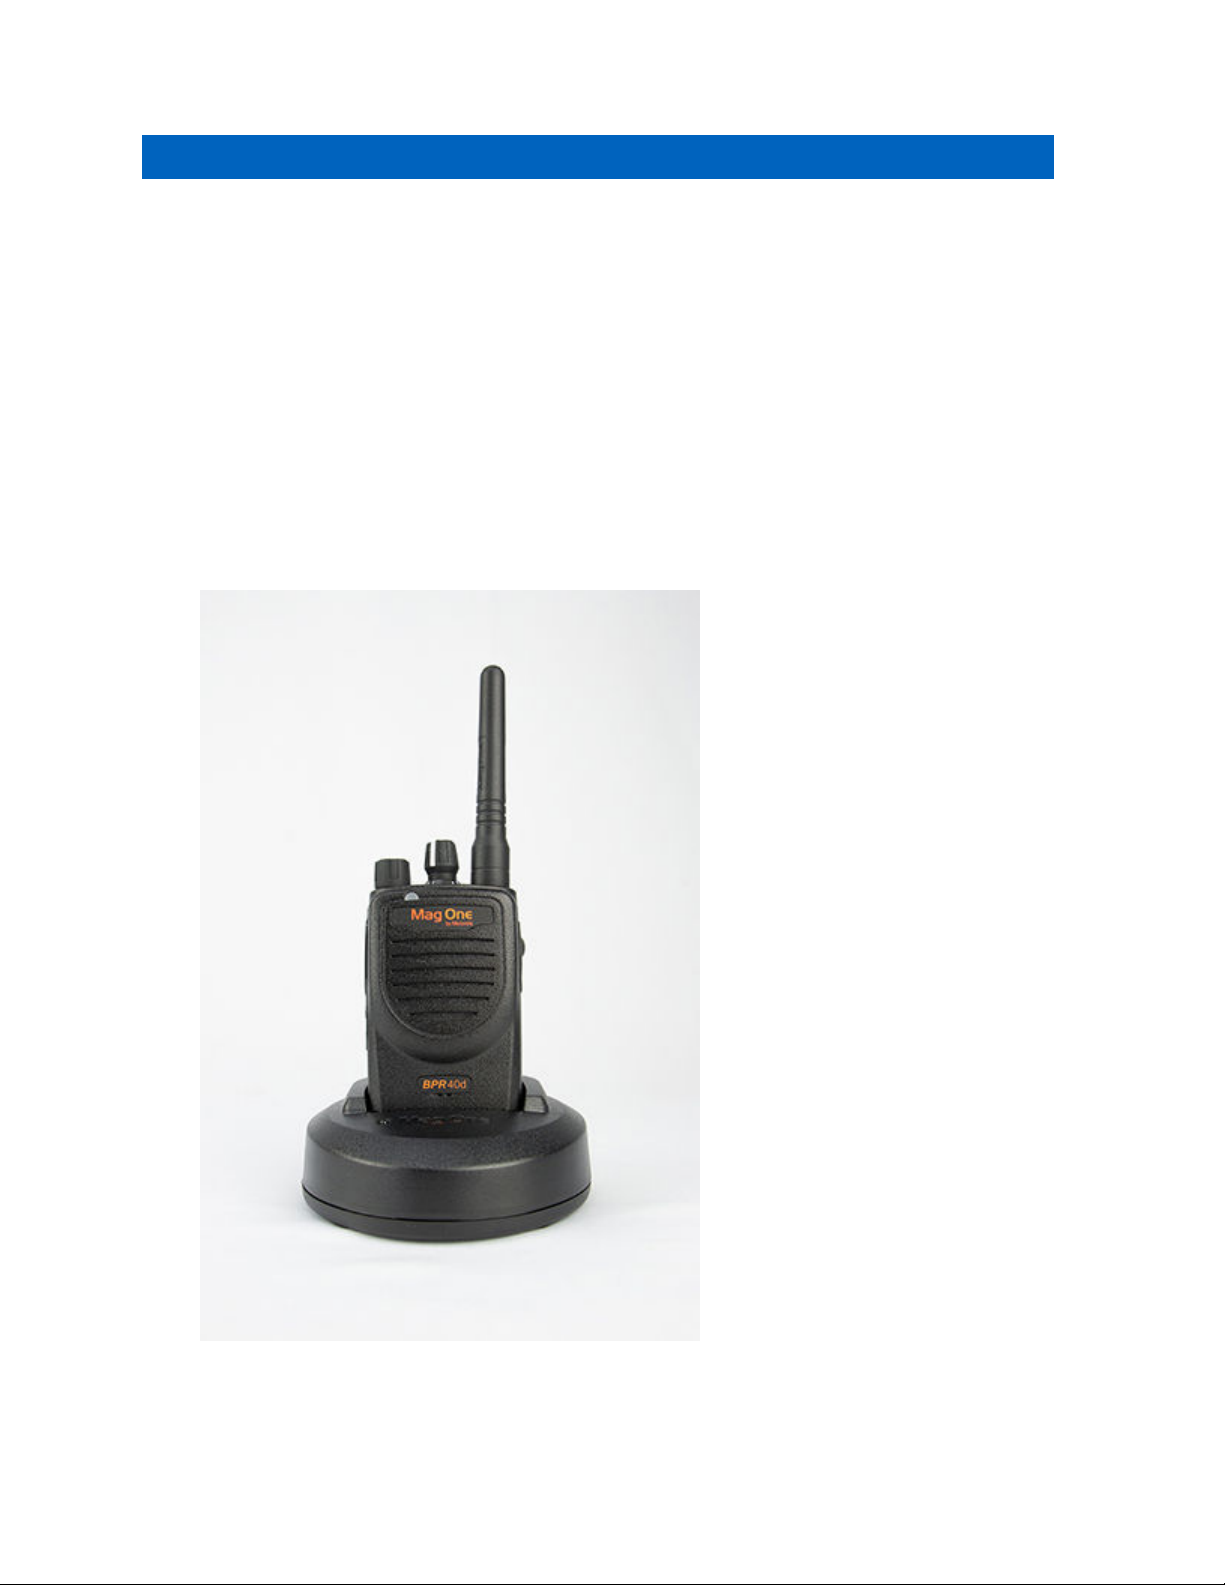
3.1 Charging the Battery................................................................................................................8
3.2 Attaching and Removing the Battery....................................................................................... 9
Attaching the Battery...........................................................................................................9
Removing the Battery....................................................................................................... 10
3.3 Attaching and Removing the Antenna................................................................................... 11
Attaching the Antenna.......................................................................................................11
Removing the Antenna..................................................................................................... 11
3.4 Attaching and Removing the Belt Clip................................................................................... 12
Attaching the Belt Clip.......................................................................................................12
Removing the Belt Clip..................................................................................................... 13
3.5 Attaching the Universal Connector Cover..............................................................................13
3.6 Removing the Universal Connector Cover............................................................................ 13
3.7 Turning the Radio On............................................................................................................ 14
3.8 Turning the Radio Off............................................................................................................ 14
3.9 Adjusting the Volume.............................................................................................................15
Chapter 4: Time-Out Timer.....................................................................................16
Chapter 5: Selecting Channels.............................................................................. 17
Chapter 6: Calls.......................................................................................................18
6.1 Group Calls............................................................................................................................18
6.1.1 Making Group Calls................................................................................................. 18
6.1.2 Responding to Group Calls......................................................................................18
6.2 Private Calls ..........................................................................................................................18
6.2.1 Making Private Calls................................................................................................ 19
6.2.2 Responding to Private Calls.....................................................................................19
6.3 All Calls..................................................................................................................................19
6.3.1 Making All Calls....................................................................................................... 19
Chapter 7: Call Alert Operation..............................................................................20
7.1 Making Call Alerts..................................................................................................................20
7.2 Responding to Call Alerts...................................................................................................... 20
MN007942A01-AA
Contents
2

Chapter 8: Talkaround............................................................................................ 21
8.1 Toggling Between Repeater and Talkaround Modes............................................................ 21
Chapter 9: Monitor Feature ................................................................................... 22
9.1 Monitoring Channels..............................................................................................................22
Chapter 10: Scan.....................................................................................................23
10.1 Turning Scan On or Off .......................................................................................................23
10.2 Responding to Transmissions During Scanning..................................................................23
10.3 Deleting Nuisance Channels............................................................................................... 24
Chapter 11: Initiating Radio Enable.......................................................................25
Chapter 12: Initiating Radio Disable......................................................................26
Chapter 13: Authorized Accessories List............................................................. 27
Legal and Compliance Statements..........................................................................29
Supplier's Declaration of Conformity............................................................................................29
Notice to Users (FCC and Industry Canada)............................................................................... 30
Copyrights....................................................................................................................................30
Computer Software Copyrights....................................................................................................31
Important Safety Information....................................................................................................... 31
MN007942A01-AA
Contents
3

Chapter 1
Read Me First
This user guide covers the basic operations of the radio models offered in your region.
Notations Used in This Manual
Throughout the text in this publication, you notice the use of Warning, Caution, and Notice. These
notations are used to emphasize that safety hazards exist, and the care that must be taken or
observed.
WARNING: An operational procedure, practice, or condition, and so on, which may result in
injury or death if not carefully observed.
CAUTION: An operational procedure, practice, or condition, and so on, which may result in
damage to the equipment if not carefully observed.
NOTICE: An operational procedure, practice, or condition, and so on, which is essential to
emphasize.
Special Notations
The following special notations are used throughout the text to highlight certain information or items:
Table 1: Special Notations
Example Description
Menu key or PTT button Bold words indicate a name of a key, button, or
soft menu item.
Your radio shows Bluetooth On. Typewriter words indicate the MMI strings or
messages displayed on your radio.
<required ID> The courier, bold, italic, and angle brackets indi-
cate user input.
Setup→Tone→All Tones Bold words with the arrow in between indicate
the navigation structure in the menu items.
Feature and Service Availability
Your dealer or administrator may have customized your radio for your specific needs.
NOTICE: Not all features in the manual are available in your radio. Contact your dealer or
administrator for more information.
You can consult your dealer or system administrator about the following:
• What are the functions of each button?
• Which optional accessories may suit your needs?
• What are the best radio usage practices for effective communication?
• What maintenance procedures promote longer radio life?
MN007942A01-AA
Chapter 1 : Read Me First
4

Chapter 2
Radio Overview
1
3
8
9
5
6
7
4
2
11
10
Action Description
1 Antenna
2 Channel Selector Knob
3 On/Off/Volume Control Knob
4 LED Indicator
5 Push-to-Talk (PTT) Button
6 Programmable Side Button 1
7 Programmable Side Button 2
8 Microphone
9 Speaker
10 Programming Port
11 Accessory Connector
MN007942A01-AA
Radio Overview
5

2.1
Programmable Buttons
Depending on the duration of a button press, the programmable buttons function differently.
Table 2: Button Press Duration
Action Description
Press Press and release.
Long press Press and hold for 4 seconds or less depending on the settings
through the Customer Programming Software (CPS).
2.1.1
Assignable Radio Functions
You can assign a list of radio functions to the programmable buttons.
Table 3: Types of Programmable Functions
Function Description
All Alert Tones On/Off Allows you to toggle all tones and alerts on or off.
Battery Indicator Allows you to indicate battery strength by using the LED Indicator.
High/Low Power Allows you to toggle transmit power level between high and low.
Monitor Allows you to monitor a channel.
Nuisance Delete Allows you to temporarily remove an unwanted channel, except for
the Selected Channel, from the scan list. The Selected Channel refers
to the selected zone or channel combination of you from which scan is
initiated.
One Touch Access Allows you to directly initiate a predefined Private Call, Group Call,
Call Alert, or Home Revert.
Repeater/Talkaround Allows you to toggle between using a repeater and communicating di-
rectly with another radio.
Scan On/Off Allows you to toggle scan on or off.
Tight/Normal Squelch Allows you to toggle squelch level between tight and normal.
2.2
LED Indications
The LED Indicator shows the operational status of your radio. A qualified technician can permanently
disable the LED indication by preprogramming it.
Table 4: LED Indications
Indication Status
Solid Red The radio is charging or transmitting.
Blinking Red The battery capacity is low.
Solid Yellow The radio is scanning for activity.
MN007942A01-AA
Chapter 2 : Radio Overview
6

Indication Status
Solid Green The radio is receiving transmission.
Blinking Green The radio is scanning for activity.
MN007942A01-AA
Chapter 2 : Radio Overview
7

Chapter 3
Getting Started
Getting Started provides instructions to prepare your radio for use.
3.1
Charging the Battery
Your radio is powered by a Lithium-Ion (Li-Ion) battery.
Prerequisites:Turn off your radio when charging.
Procedure:
• To comply with warranty terms and avoid damages, charge the battery using an authorized
charger.
• Charge a new battery 14 to 16 hours before initial use for best performance.
Batteries charge best at room temperature.
MN007942A01-AA
Chapter 3 : Getting Started
8

3.2
Attaching and Removing the Battery
Attaching the Battery
Procedure:
1Slide the battery into the battery compartment.
2Flip the battery latch close and press it onto the battery until it locks in place.
MN007942A01-AA
Chapter 3 : Getting Started
9

Removing the Battery
Procedure:
1Turn off your radio.
2Flip the battery latch open.
3Slide the battery out of the battery compartment and lift it.
MN007942A01-AA
Chapter 3 : Getting Started
10
Tabla de contenidos
Idiomas:


