LOGICDATA TOUCHdown LOGIC office Manual de usuario

User Manual
Cable Handswitch
for installation
below the desktop
Document Rev1
LOGIC
office

2
Contents
1Preface .................................................................................................................................................. 3
2General ................................................................................................................................................. 3
2.1 Intended Use ................................................................................................................................ 3
2.2 Functionality TOUCH ................................................................................................................... 3
2.3 Package Contents ........................................................................................................................ 4
2.4 Overview ...................................................................................................................................... 4
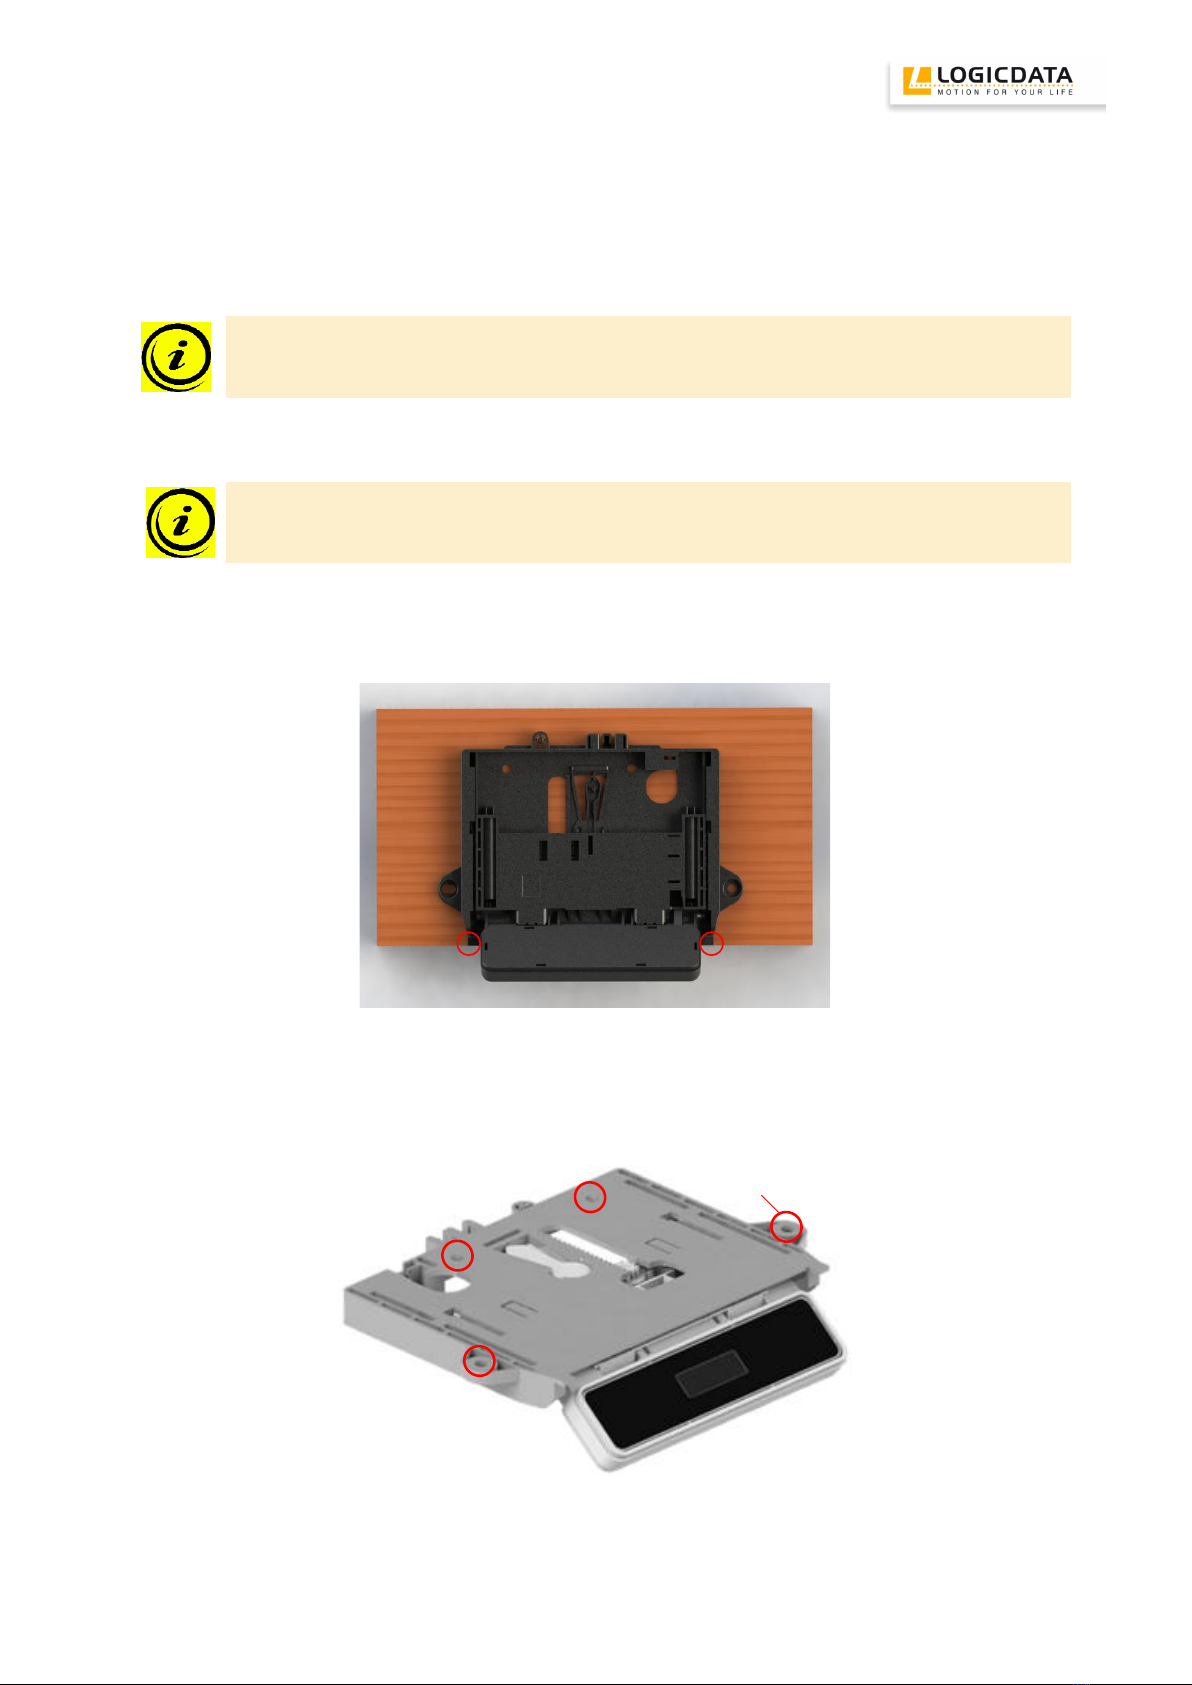
3Mounting Instructions ............................................................................................................................ 5
3.1 Information regarding the push-push function ............................................................................. 7
3.2 Information regarding the user interface panel ............................................................................ 8
4Functions .............................................................................................................................................. 9
4.1 Display .......................................................................................................................................... 9
4.2 Basic Functions ............................................................................................................................ 9
4.3 Advanced Functions ................................................................................................................... 10
4.3.1 Storing a position ................................................................................................................... 10
4.3.2 Recalling a saved position ..................................................................................................... 11
4.3.3 Enable and disable keylock ................................................................................................... 12
4.3.4 Menu function ........................................................................................................................ 12
5Appendix ............................................................................................................................................. 13
5.1 Possible faults and remedies ..................................................................................................... 13
6Further Information ............................................................................................................................. 14
6.1 End of life disposal ..................................................................................................................... 14
6.2 Technical data ............................................................................................................................ 14
6.3 Manufacturer .............................................................................................................................. 14
Bedienungsanleitung
Motorsteuerung für einen elektrisch
höhenverstellbaren Arbeitsplatz
COMPACTeco
Für die Firmware-Version 1.8
Rev0

3
1 Preface
Dear customer,
Thank you for choosing a TOUCH cable handswitch from LOGICDATA Electronic & Software
Entwicklungs GmbH. You are now in possession of a state-of-the-art product.
2 General
2.1 Intended Use
The TOUCH cable handswitch must be used with LOGICDATA control untis. The control unit must be
installed, initially operated and functional tested by qualified personnel only. Use other than described
above is only allowed with permission of LOGICDATA.
Note: for definitions and information concerning LOGICDATA control units, please refer to
the applicable user manual.
Aside of moving your table up and down your LOGICDATA control unit is able to carry out other
functions.
2.2 Functionality TOUCH
The TOUCH cable handswitch offers the following functionality:
Touch technology
Big and comfortable to use buttons
Strong, graphical picture
Display of 1/10 inch or cm
shift mechanism to hide the handswitch underneath the table plate
Easy and fast underside mounting

4
2.3 Package Contents
The TOUCH cable handswitch package contains:
Figure 1: Package contents
TOUCH-UD cable handswitch
Danger: only use original accessories. Parts may only be replaced by qualified service
technicians, otherwise the warranty/guarantee shall be null and void.
Caution: do not drop the handswitch on the floor! There is a danger of electric shock due to
broken housing parts.
Note: mounting screws are not within scope of delivery.
2.4 Overview
Desktop Up Key
Desktop Down KeyMemory Key
Display
Memory Position Key 1
Memory Position Key 3
Memory Position Key 2
Memory Position Key 4
Figure 2: Buttons and Display on TOUCH-UD-MDF-4M2-LD
Note: this document contains illustrations of the user interface design of the LOGICDATA
standard handswitch TOUCH-UD-MDF-4M2-LD. The user interface design can be
customized, contact LOGICDATA for further information!

5
3 Mounting Instructions
Mount the TOUCH cable handswitch underneath your desktop in an appropriate position. The following
tools are required for installation:
1 screw driver
Note: the handswitch is equipped with a shift mechanism. Mount the handswitch with the
user interface panel in the pulled out position to reach all screw holes.
1. Unpack the handswitch.
Note: ensure eco-friendly disposal of the packaging materials (separate the plastic parts and
cardboard for collection).
2. Place the handswitch on the underside of your desktop on the desired position. Note that the
handswitch should be reached comfortably. Its front side should not protrude the desktop front edge.
Figure 3: The 2 red marked edges of the handswitch should be flush with the front edge of the desktop (or shifted backwards for
desktop plates with radius)
3. Fix the handswitch with 4 screws. Use all 4 screw holes shown below.
*)
Figure 4: screw holes for mounting the handswitch; the hole marked with *) is a long slot for length compensation during the
mounting process

6
Note: Use the following types of screws to fix the TOUCH cable handswitch
cylinder-head screws
round-head screws
pan-head screws
Max. diameter of thread: 5mm
Max. diameter of head: 10mm
Note: if the screws are tightened too much or if the drill holes in the wooden plate and the
mounting holes on the handswitch are not aligned correctly, the handswitch gets deformed
and the push push function does not work properly. The correct torque to tighten the screws
must be checked depending on the used screw and wood type.
4. Connect the handswitch to the control unit using the jack marked with HS.
Caution: unplug the power cord of the control unit while mounting the handswitch!
Note: 4 lines will be shown on the display after the TOUCH cable handswitch was connected
to the control unit and powered. Do not touch the whole user interface of the TOUCH cable
handswitch before the 4 lines on the display disappear.
Figure 5: Connection of the TOUCH-UD to a COMPACTeco control unit

7
3.1 Information regarding the push-push function
The TOUCH-UD handswitch is equipped with a push-push function which is used to move out the user
interface panel automatically.
Note: to extend the control panel you have to press it while it is retracted. Afterwards you
have to release it. The control panel will extend automatically (push-push function). Do not
pull while the control panel is retracted. The control panel can get damaged.
Figure 6: links: press the user interface panel so that it extends automatically; right: lift the user interface panel to a horizontal
position and push it into the holder to retract the user interface panel
Note: the connection cable has to form a loop of at least 10 cm to ensure that the push-push
function works properly.
Figure 7: the cable loop highlighted red shall be at least 10 cm long to ensure that the push-push function works properly
Note: depending on the ambient temperature the user interface panel may take varying time
to move out (it may take longer if it is cooler)

8
3.2 Information regarding the user interface panel
The user interface panel is designed to get released from the fixed part in case of too high forces
(applied from the top).
Figure 8: the user interface panel released from the fixed part in case of too high forces applied to it
To mount it again on the sliding mechanism, proceed as follows:
1. Put the ends of the springs into the sliding mechanism.
Figure 9: left: springs inside the sliding mechanism: right: springs are in place
2. Press the user interface panel into the sliding mechanism at the depicted positions.
Figure 10: User interface panel pressed into the sliding mechanism

9
4 Functions
The TOUCH cable handswitch is capable of a wide range of functions, which are described below.
4.1 Display
The TOUCH cable handswitch has a 4 digit display with optional decimal point for position and
information display. The current desktop height, error codes and menus can be displayed. The unit (cm
or inch) of the displayed height and decimal point settings are depending on the parameters of the
control unit.
Figure 11: Display on TOUCH
4.2 Basic Functions
Function
Description
Note
Desk upwards
For an upward adjustment of the desk
push this button.
Push this button until the desired
height of the desk has been reached.
The desk will continue driving
upwards until you release the button,
or the maximum height is reached.
Desk downwards
For a downward adjustment of the
desk push this button.
Push this button until the desired
height of the desk has been reached.
The desk will continue driving
downwards until you release the
button, or the minimum height is
reached.

10
4.3 Advanced Functions
4.3.1 Storing a position
You can use this function to adjust the desktop to a saved height. To change to a saved position,
proceed as follows:
Note: if you are switching on the control unit for the first time, all the saved positions are set
to the lowest desktop height (minimum desktop position).
1.
Adjust the desktop to the position you want to save.
The display will show the desktop height (e.g. 34).
2.
Press the memory key.
The display will read S –.
3.
Press the required memory position key (e.g. 2).
The display will read S 2.
4.
The set desktop position will now be saved tot he selected memory position key.
You will hear an audible double click and after about 2 seconds the saved desktop
position will be displayed.
Tabla de contenidos


